turn signal DODGE DAKOTA 2011 3.G User Guide
[x] Cancel search | Manufacturer: DODGE, Model Year: 2011, Model line: DAKOTA, Model: DODGE DAKOTA 2011 3.GPages: 76, PDF Size: 4.62 MB
Page 3 of 76
INTRODUCTION/WELCOME
Welcome From Chrysler Group LLC . . . 2
CONTROLS AT A GLANCE
Driver Cockpit...............4
Instrument Cluster ............6
GETTING STARTED
KeyFOB ..................8
Remote Start................8
Theft Alarm ................9
Seat Belt ..................9
Supplemental Restraint System (SRS) —
Airbags .................. 10
Child Restraints ............. 11
Front Seats ................ 14
Heated Seats .............. 16
Tilt Steering Column .......... 17
OPERATING YOUR VEHICLE
Turn Signals/Wiper/Washer/High
Beams Lever............... 18
Headlight Switch ............ 19
Speed Control .............. 20
Climate Controls ............. 21
Wind Buffeting .............. 21
ELECTRONICS
Non-Touch-Screen Radios ....... 22
Steering Wheel Audio Controls .... 25
Uconnect™ Phone ........... 25
Uconnect™ Voice Command ...... 27
Programmable Features ........ 28
Universal Garage Door Opener
(HomeLink
®)............... 29
Power Outlets .............. 31
OFF-ROAD CAPABILITIES
Four-Wheel Drive Operation ...... 32
UTILITY
Rear Crate 'N Go®Storage....... 33 Rear Cargo Area Utility Rails
...... 33
Tailgate .................. 33
Trailer Towing Weights (Maximum
Trailer Weight Ratings) ......... 34
Recreational Towing (Behind
Motorhome, Etc.) ............ 34
Brake/Transmission Interlock
System .................. 36
WHAT TO DO IN EMERGENCIES
24-Hour Towing Assistance ...... 37
Instrument Cluster Warning Lights . . 37
If Your Engine Overheats ........ 40
Jacking And Tire Changing ....... 42
Jump-Starting .............. 47
Emergency Tow Hooks ......... 49
Towing A Disabled Vehicle ....... 50
Freeing A Stuck Vehicle ......... 51
Event Data Recorder (EDR) ....... 52
MAINTAINING YOUR VEHICLE
Opening The Hood........... 53
Engine Compartment .......... 54
Fluids And Capacities .......... 56
Maintenance Chart ........... 58
Fuses ................... 61
Tire Pressures .............. 64
Wheel And Wheel Trim Care ...... 64
Exterior Bulbs .............. 65
CONSUMER ASSISTANCE
Chrysler Group LLC Customer Center . 66
Chrysler Canada Inc. Customer Center 66
Assistance For The Hearing Impaired . 66
Publications Ordering .......... 66
Reporting Safety Defects In
The 50 United States And
Washington, D.C. ............ 67
MOPAR ACCESSORIES
Authentic Accessories By MOPAR®.. 68
INDEX.................. 69
TABLE OF CONTENTS
Page 9 of 76
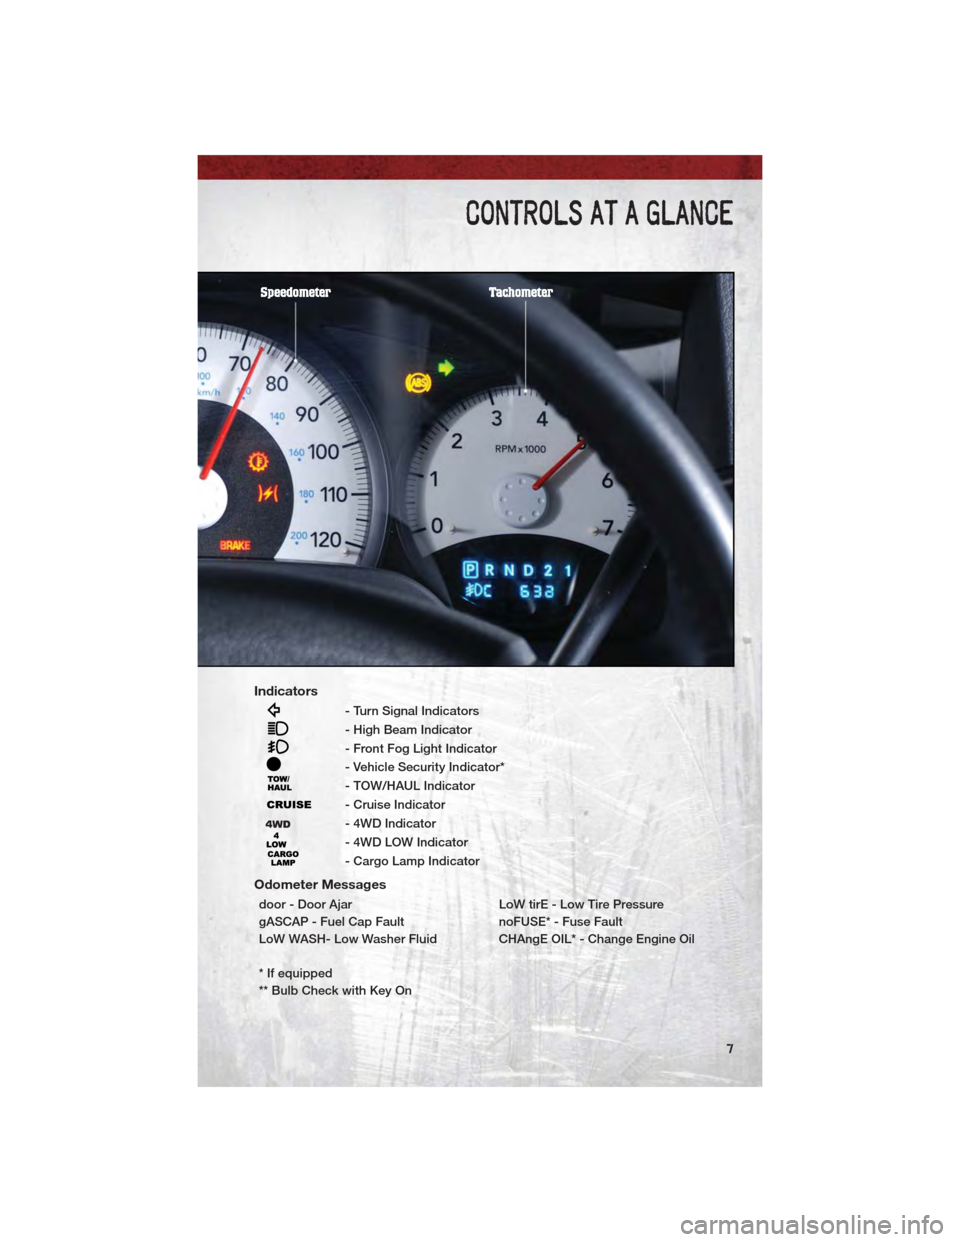
Indicators
- Turn Signal Indicators
- High Beam Indicator
- Front Fog Light Indicator
- Vehicle Security Indicator*
- TOW/HAUL Indicator
- Cruise Indicator
- 4WD Indicator
- 4WD LOW Indicator
- Cargo Lamp Indicator
Odometer Messages
door - Door AjarLoW tirE - Low Tire Pressure
gASCAP - Fuel Cap Fault noFUSE* - Fuse Fault
LoW WASH- Low Washer Fluid CHAngE OIL* - Change Engine Oil
* If equipped
** Bulb Check with Key On
CONTROLS AT A GLANCE
7
Page 19 of 76
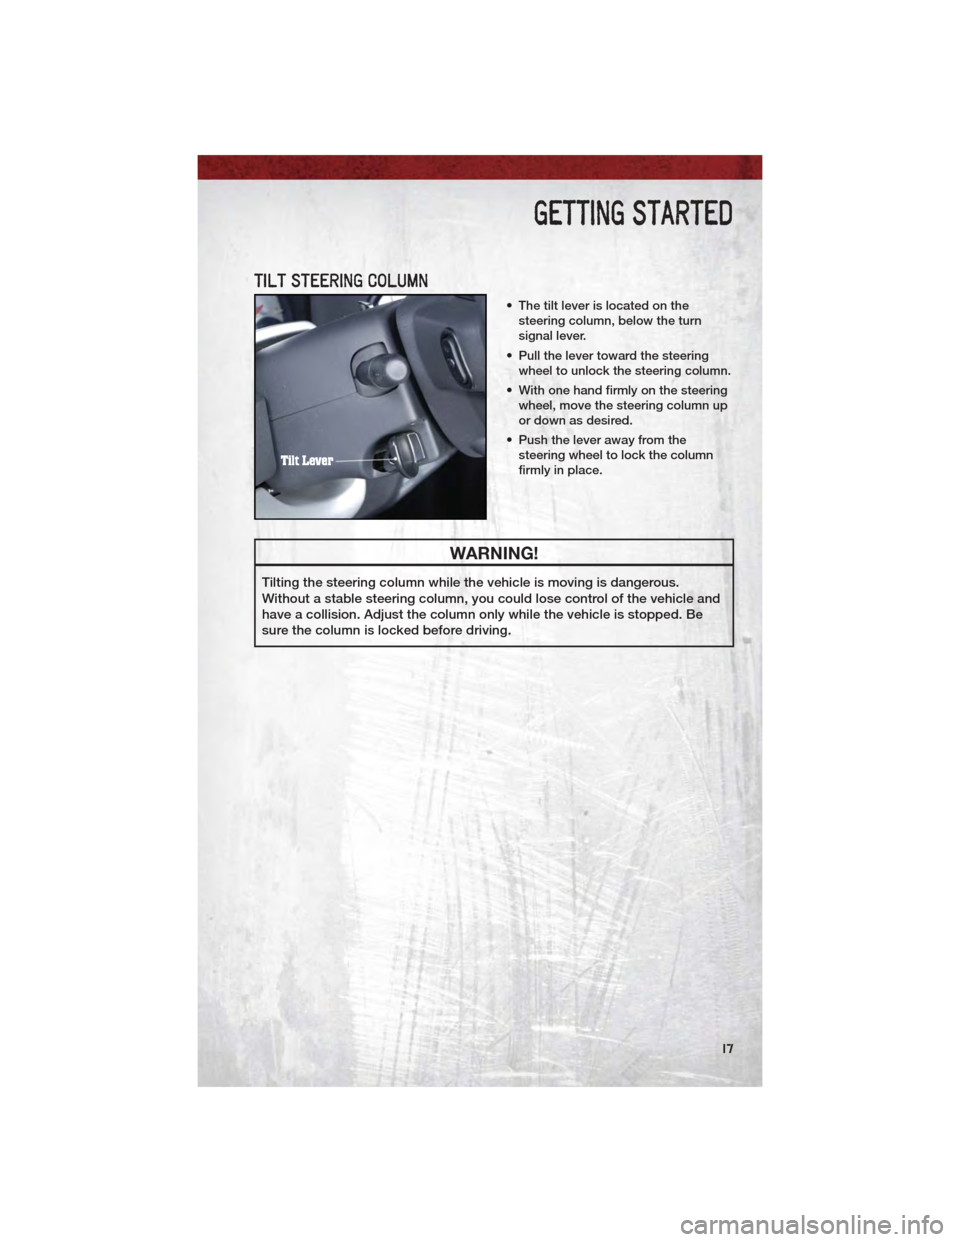
TILT STEERING COLUMN
• The tilt lever is located on thesteering column, below the turn
signal lever.
• Pull the lever toward the steering wheel to unlock the steering column.
• With one hand firmly on the steering wheel, move the steering column up
or down as desired.
• Push the lever away from the steering wheel to lock the column
firmly in place.
WARNING!
Tilting the steering column while the vehicle is moving is dangerous.
Without a stable steering column, you could lose control of the vehicle and
have a collision. Adjust the column only while the vehicle is stopped. Be
sure the column is locked before driving.
GETTING STARTED
17
Page 20 of 76
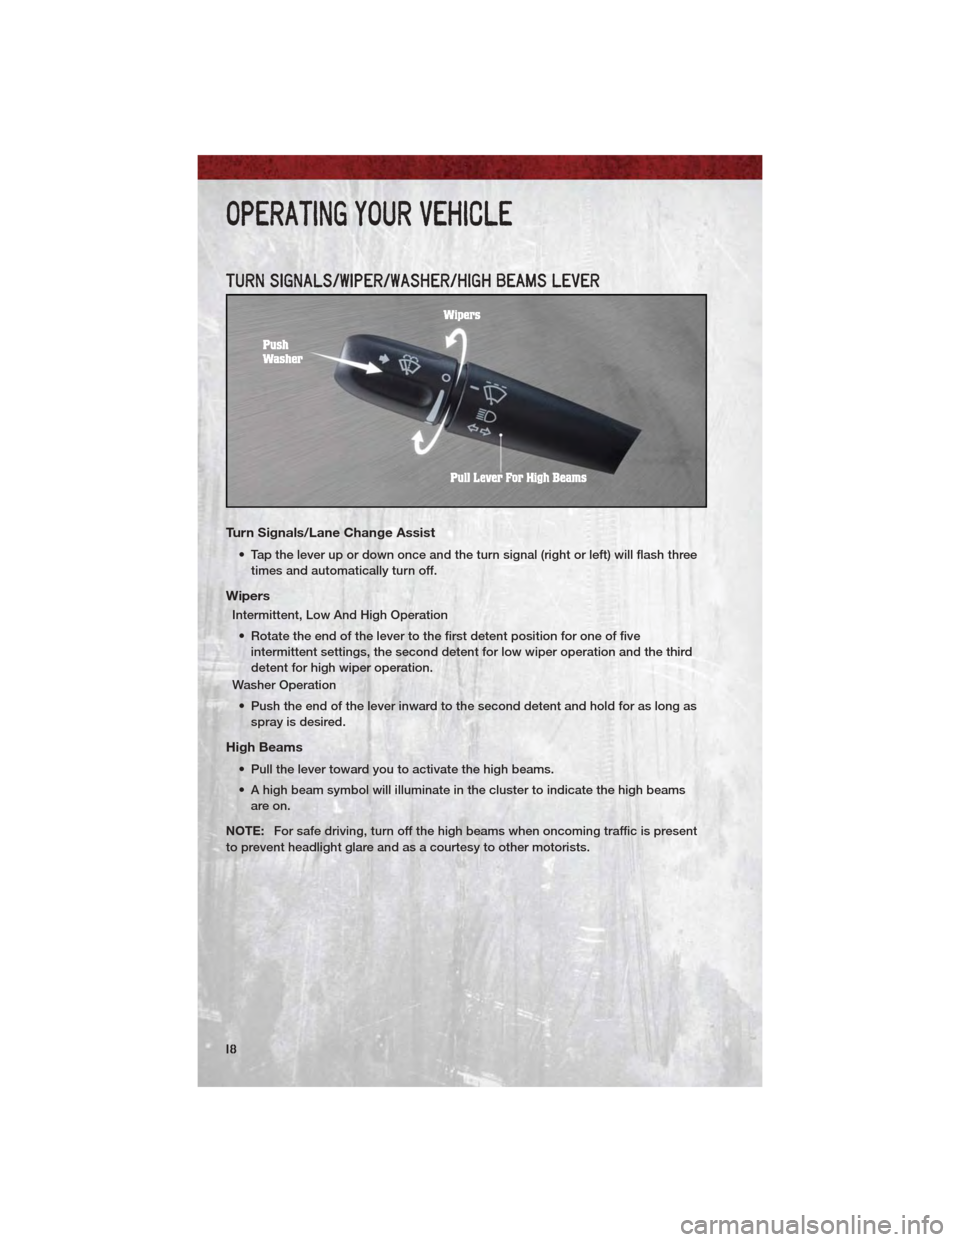
TURN SIGNALS/WIPER/WASHER/HIGH BEAMS LEVER
Turn Signals/Lane Change Assist
• Tap the lever up or down once and the turn signal (right or left) will flash threetimes and automatically turn off.
Wipers
Intermittent, Low And High Operation
• Rotate the end of the lever to the first detent position for one of five intermittent settings, the second detent for low wiper operation and the third
detent for high wiper operation.
Washer Operation
• Push the end of the lever inward to the second detent and hold for as long as spray is desired.
High Beams
• Pull the lever toward you to activate the high beams.
• A high beam symbol will illuminate in the cluster to indicate the high beamsare on.
NOTE: For safe driving, turn off the high beams when oncoming traffic is present
to prevent headlight glare and as a courtesy to other motorists.
OPERATING YOUR VEHICLE
18
Page 29 of 76
• Use the radio ON/OFF VOLUME rotary knob to adjust the volume to acomfortable level while the Uconnect™ system is speaking. Please note the
volume setting for Uconnect™ is different than the audio system.
NOTE: To access the tutorial, press the Uconnect™ hard-key. After the BEEP, say
“tutorial”. Press any hard-key/button or touch the display (Touch-Screen radio) to
cancel the tutorial.
WARNING!
• Any voice commanded system should be used only in safe driving conditions following local laws and phone use. All attention should be
kept on the roadway ahead. Failure to do so may result in a collision
causing you and others to be severely injured or killed.
• In an emergency, to use Uconnect™ Phone, your mobile phone must be: • turned on,
• paired to Uconnect™ Phone,
• and have network coverage.
Uconnect™ VOICE COMMAND
• The Uconnect™ Voice Command system allows you to control your AM, FMradio, satellite radio, disc player, HDD, Uconnect™ Phone, a memo recorder,
and supported portable media devices.
• When you press the Voice Command button
located on the radio
faceplate or steering wheel, you will hear a beep. The beep is your signal to
give a command. If you do not say a command within a few seconds, the
system will present you with a list of options. If you ever wish to interrupt the
system while it lists options, press the Voice Command button
, listen
for the BEEP, and say your command.
Voice Command for Text Messaging
• If equipped with Uconnect™ Voice Command, your Media Center 430N radio may be able to play incoming SMS messages through the vehicle sound
system.
• It also allows you to respond by selecting from various pre-defined phrases.
• Not all phones are compatible with this feature. Refer to the phone compatibility list at www.ramtrucks.com/uconnect. Connected mobile phones
must be bluetooth-compatible, and paired with your radio.
Changing The Volume
• Start a dialogue by pressing the Voice Command button,thensaya
command (for example, “tutorial”).
• Use the radio ON/OFF VOLUME rotary knob to adjust the volume to a comfortable level while the Voice Command system is speaking. The volume
setting for Voice Command is different than the audio system.
ELECTRONICS
27
Page 31 of 76
Auto Door Lock
• To have the doors lock automatically when the vehicle’s speed exceeds15 mph (24 km/h):
• Enter your vehicle and close all the doors.
• Fasten your seatbelt.
• Within 10 seconds, cycle the ignition switch between LOCK and ON and
then back to LOCK four times, ending up in the LOCK position (do not start
the engine).
• Press the power door LOCK switch to lock the doors. A single chime will indicate that programming is complete.
Sound Horn With Lock
• To turn the horn chirp on or off when the doors are locked:
• Press the LOCK button for at least 4 seconds, but no longer than 6 seconds.Then, press the PANIC button while still holding the LOCK button. A single
chime will sound to indicate that this feature has changed.
• Release both buttons at the same time.
Flashing Lights With Lock
• The turn signal lights flashing when the doors are locked or unlocked feature can be turned on or off. To turn this feature on or off:
• Press and hold the UNLOCK button for at least 4 seconds, but no longer
than 6 seconds. Then, press and hold the LOCK button while still holding
the UNLOCK button. A single chime will sound to indicate that this feature
has changed.
• Release both buttons at the same time.
UNIVERSAL GARAGE DOOR OPENER (HomeLink®)
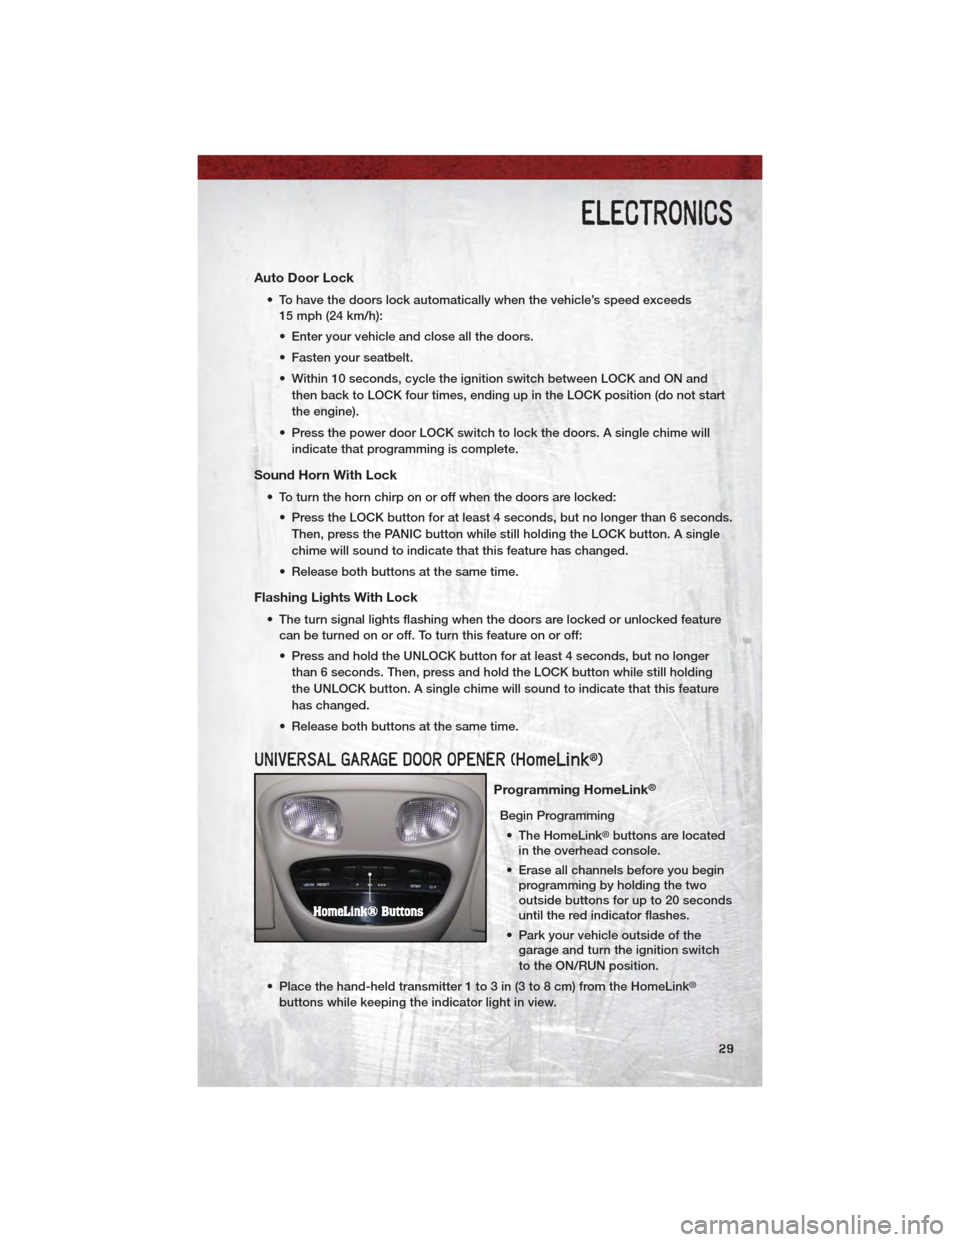
Programming HomeLink®
Begin Programming • The HomeLink
®buttons are located
in the overhead console.
• Erase all channels before you begin programming by holding the two
outside buttons for up to 20 seconds
until the red indicator flashes.
• Park your vehicle outside of the garage and turn the ignition switch
to the ON/RUN position.
• Place the hand-held transmitter 1 to 3 in (3 to 8 cm) from the HomeLink
®
buttons while keeping the indicator light in view.
ELECTRONICS
29
Page 40 of 76
• When the malfunction indicator is illuminated, the system may not be able todetect or signal low tire pressure as intended. TPMS malfunctions may occur
for a variety of reasons, including the installation of replacement or alternate
tires or wheels on the vehicle that prevent the TPMS from functioning properly.
Always check the TPMS malfunction telltale after replacing one or more tires
or wheels on your vehicle, to ensure that the replacement or alternate tires and
wheels allow the TPMS to continue to function properly.
CAUTION!
The TPMS has been optimized for the original equipment tires and wheels.
TPMS pressures and warning have been established for the tire size
equipped on your vehicle. Undesirable system operation or sensor damage
may result when using replacement equipment that is not of the same size,
type, and/or style. Aftermarket wheels can cause sensor damage. Do not
use tire sealant from a can, or balance beads if your vehicle is equipped
with a TPMS, as damage to the sensors may result.
- Engine Temperature Warning Light
• This light warns of an overheated engine condition.
• If the light turns on and a warning chime sounds while driving, safely pull overand stop the vehicle. If the A/C system is on, turn it off. Also, shift the
transmission into NEUTRAL and idle the vehicle. If the temperature reading
does not return to normal, turn the engine off immediately.
• We recommend that you do not operate the vehicle or engine damage will occur. Have the vehicle serviced immediately.
WARNING!
A hot engine cooling system is dangerous. You or others could be badly
burned by steam or boiling coolant. You may want to call an authorized
service center for service if your vehicle overheats.
BRAKE- Brake Warning Light
• The Brake Warning light illuminates when there is either a system malfunctionor the parking brake is applied. If the light is on and the parking brake is not
applied, it indicates a possible brake hydraulic malfunction, brake booster
problem or an Anti-Lock Brake System problem.
• We recommend you drive to the nearest service center and have the vehicle serviced immediately.
WHAT TO DO IN EMERGENCIES
38
Page 67 of 76
CAUTION!
Do not use scouring pads, steel wool, a bristle brush, or metal polishes. Do
not use oven cleaner. These products may damage the wheel's protective
finish. Avoid automatic car washes that use acidic solutions or harsh
brushes that may damage the wheel's protective finish. Only MOPAR
®
Wheel Cleaner or equivalent is recommended.
EXTERIOR BULBS
LIGHT BULBS – ExteriorBulb Number
Tail, Stop, Turn Lamp 3057
Center High-Mounted Stop Lamp
(CHMSL) 921
Fog Lamp - If Equipped 9145
Front Park/Turn Signal 3157NA
Front Side Marker 3157NA
Headlamp H13
License Lamp 168
Cargo Lamp 921
Backup Lamp 3157
MAINTAINING YOUR VEHICLE
65
Page 72 of 76
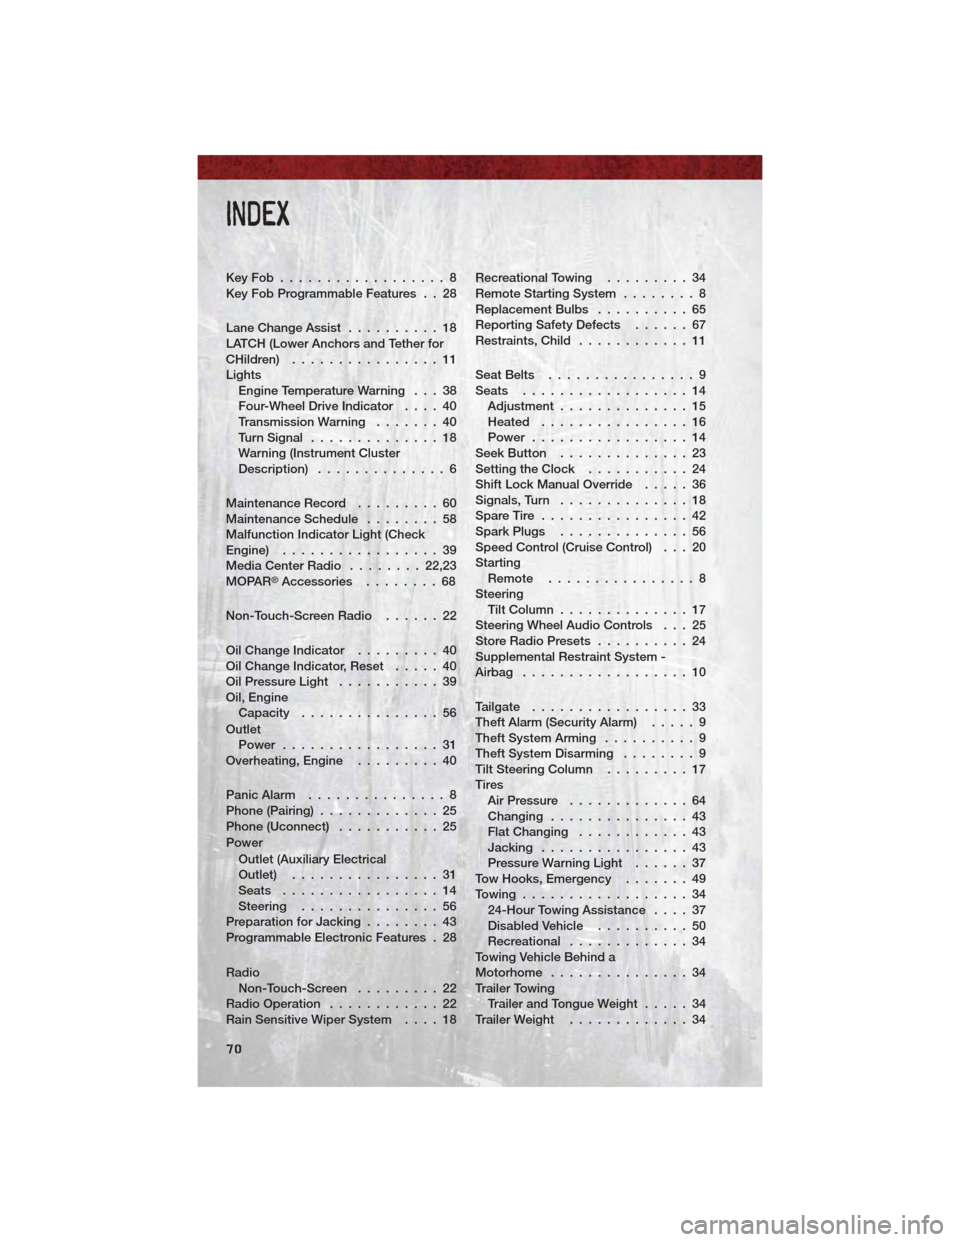
KeyFob..................8
Key Fob Programmable Features . . 28
Lane Change Assist..........18
LATCH (Lower Anchors and Tether for
CHildren) ................11
Lights Engine Temperature Warning . . . 38
Four-Wheel Drive Indicator ....40
Transmission Warning .......40
Turn Signal ..............18
Warning (Instrument Cluster
Description) ..............6
Maintenance Record .........60
Maintenance Schedule ........58
Malfunction Indicator Light (Check
Engine) .................39
Media Center Radio ........22,23
MOPAR
®Accessories ........68
Non-Touch-Screen Radio ......22
Oil Change Indicator .........40
Oil Change Indicator, Reset .....40
Oil Pressure Light ...........39
Oil, Engine Capacity ...............56
Outlet Power .................31
Overheating, Engine .........40
Panic Alarm ...............8
Phone (Pairing) .............25
Phone (Uconnect) ...........25
Power Outlet (Auxiliary Electrical
Outlet) ................31
Seats .................14
Steering ...............56
Preparation for Jacking ........43
Programmable Electronic Features . 28
Radio Non-Touch-Screen .........22
Radio Operation ............22
Rain Sensitive Wiper System ....18Recreational Towing
.........34
Remote Starting System ........8
Replacement Bulbs ..........65
Reporting Safety Defects ......67
Restraints,Child ............11
SeatBelts ................9
Seats ..................14 Adjustment ..............15
Heated ................16
Power .................14
SeekButton ..............23
Setting the Clock ...........24
Shift Lock Manual Override .....36
Signals, Turn ..............18
SpareTire ................42
SparkPlugs ..............56
Speed Control (Cruise Control) . . . 20
Starting Remote ................8
Steering TiltColumn..............17
Steering Wheel Audio Controls . . . 25
Store Radio Presets ..........24
Supplemental Restraint System -
Airbag ..................10
Tailgate .................33
Theft Alarm (Security Alarm) .....9
Theft System Arming ..........9
Theft System Disarming ........9
TiltSteeringColumn .........17
Tires Air Pressure .............64
Changing ...............43
Flat Changing ............43
Jacking ................43
Pressure Warning Light ......37
Tow Hooks, Emergency .......49
Towing..................34 24-Hour Towing Assistance ....37
DisabledVehicle ..........50
Recreational .............34
Towing Vehicle Behind a
Motorhome ...............34
Trailer Towing Trailer and Tongue Weight .....34
TrailerWeight .............34
INDEX
70
Page 73 of 76
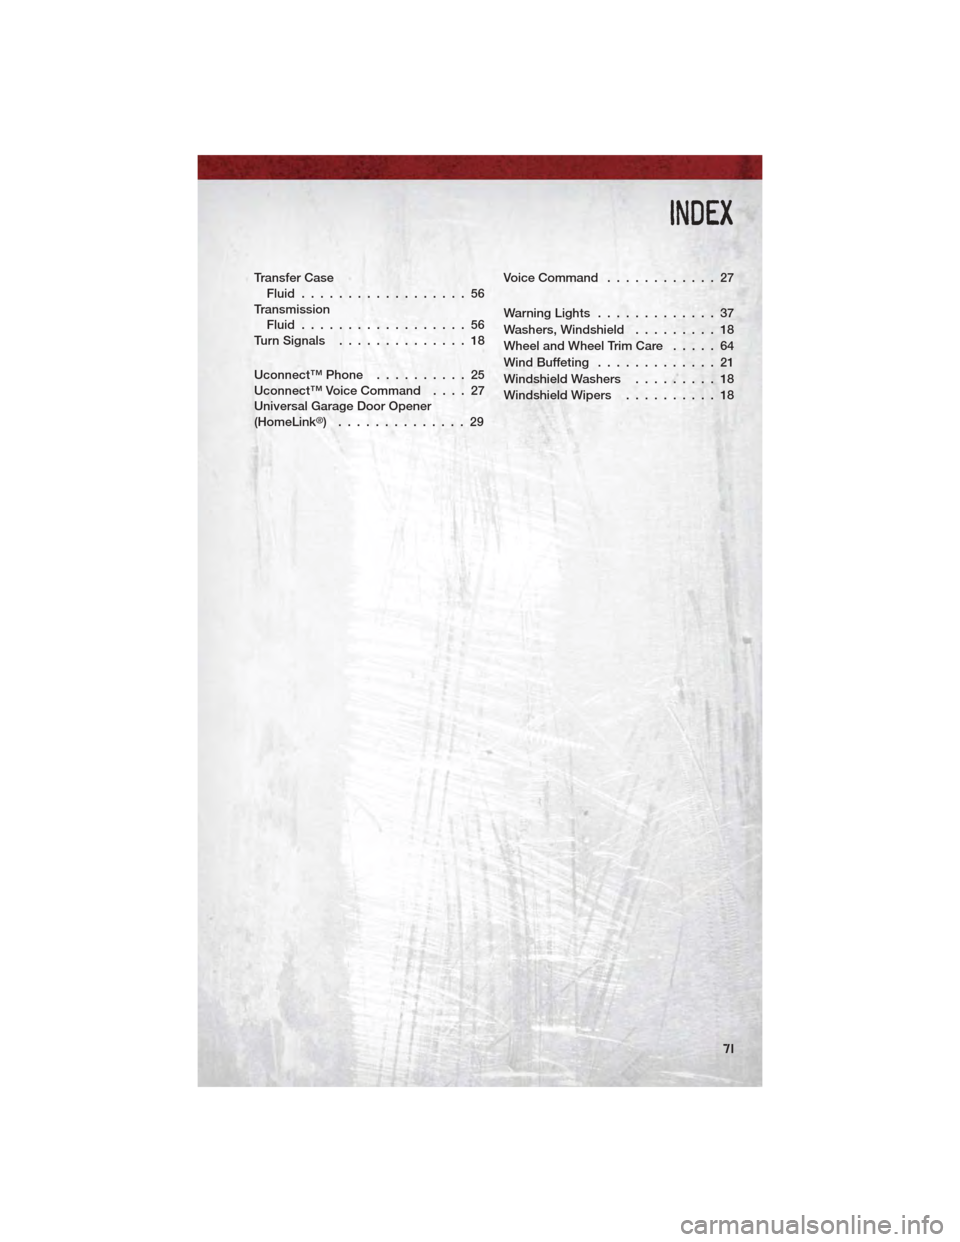
Transfer CaseFluid..................56
Transmission Fluid..................56
Turn Signals ..............18
Uconnect™ Phone ..........25
Uconnect™ Voice Command ....27
Universal Garage Door Opener
(HomeLink
®) ..............29 Voice Command
............27
WarningLights .............37
Washers, Windshield .........18
Wheel and Wheel Trim Care .....64
WindBuffeting .............21
Windshield Washers .........18
Windshield Wipers ..........18
INDEX
71