stop start DODGE DART 2013 PF / 1.G Owner's Manual
[x] Cancel search | Manufacturer: DODGE, Model Year: 2013, Model line: DART, Model: DODGE DART 2013 PF / 1.GPages: 132, PDF Size: 4.13 MB
Page 84 of 132
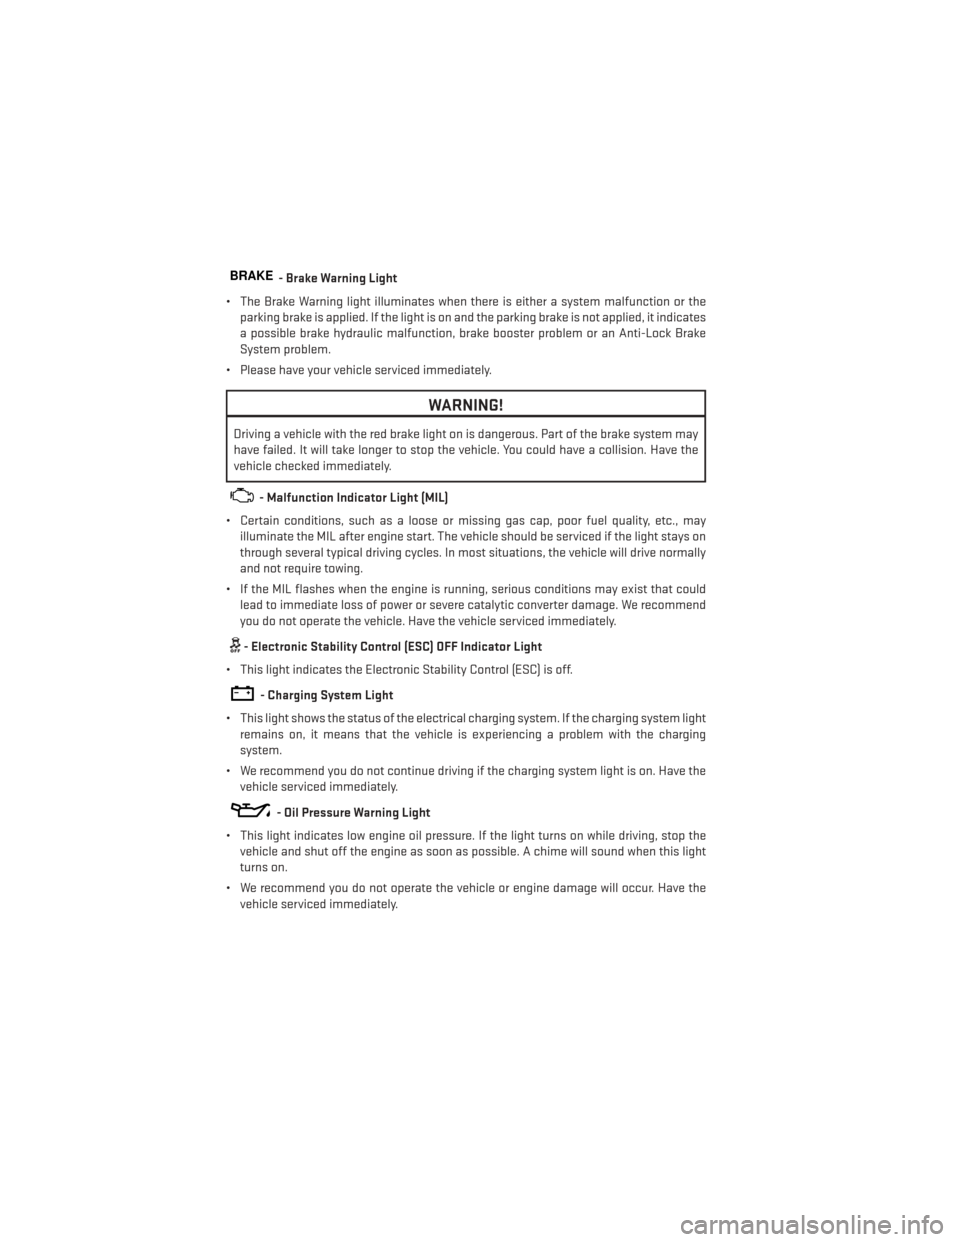
BRAKE- Brake Warning Light
• The Brake Warning light illuminates when there is either a system malfunction or the parking brake is applied. If the light is on and the parking brake is not applied, it indicates
a possible brake hydraulic malfunction, brake booster problem or an Anti-Lock Brake
System problem.
• Please have your vehicle serviced immediately.
WARNING!
Driving a vehicle with the red brake light on is dangerous. Part of the brake system may
have failed. It will take longer to stop the vehicle. You could have a collision. Have the
vehicle checked immediately.
- Malfunction Indicator Light (MIL)
• Certain conditions, such as a loose or missing gas cap, poor fuel quality, etc., may illuminate the MIL after engine start. The vehicle should be serviced if the light stays on
through several typical driving cycles. In most situations, the vehicle will drive normally
and not require towing.
• If the MIL flashes when the engine is running, serious conditions may exist that could lead to immediate loss of power or severe catalytic converter damage. We recommend
you do not operate the vehicle. Have the vehicle serviced immediately.
- Electronic Stability Control (ESC) OFF Indicator Light
• This light indicates the Electronic Stability Control (ESC) is off.
- Charging System Light
• This light shows the status of the electrical charging system. If the charging system light remains on, it means that the vehicle is experiencing a problem with the charging
system.
• We recommend you do not continue driving if the charging system light is on. Have the vehicle serviced immediately.
- Oil Pressure Warning Light
• This light indicates low engine oil pressure. If the light turns on while driving, stop the vehicle and shut off the engine as soon as possible. A chime will sound when this light
turns on.
• We recommend you do not operate the vehicle or engine damage will occur. Have the vehicle serviced immediately.
WHAT TO DO IN EMERGENCIES
82
Page 85 of 132
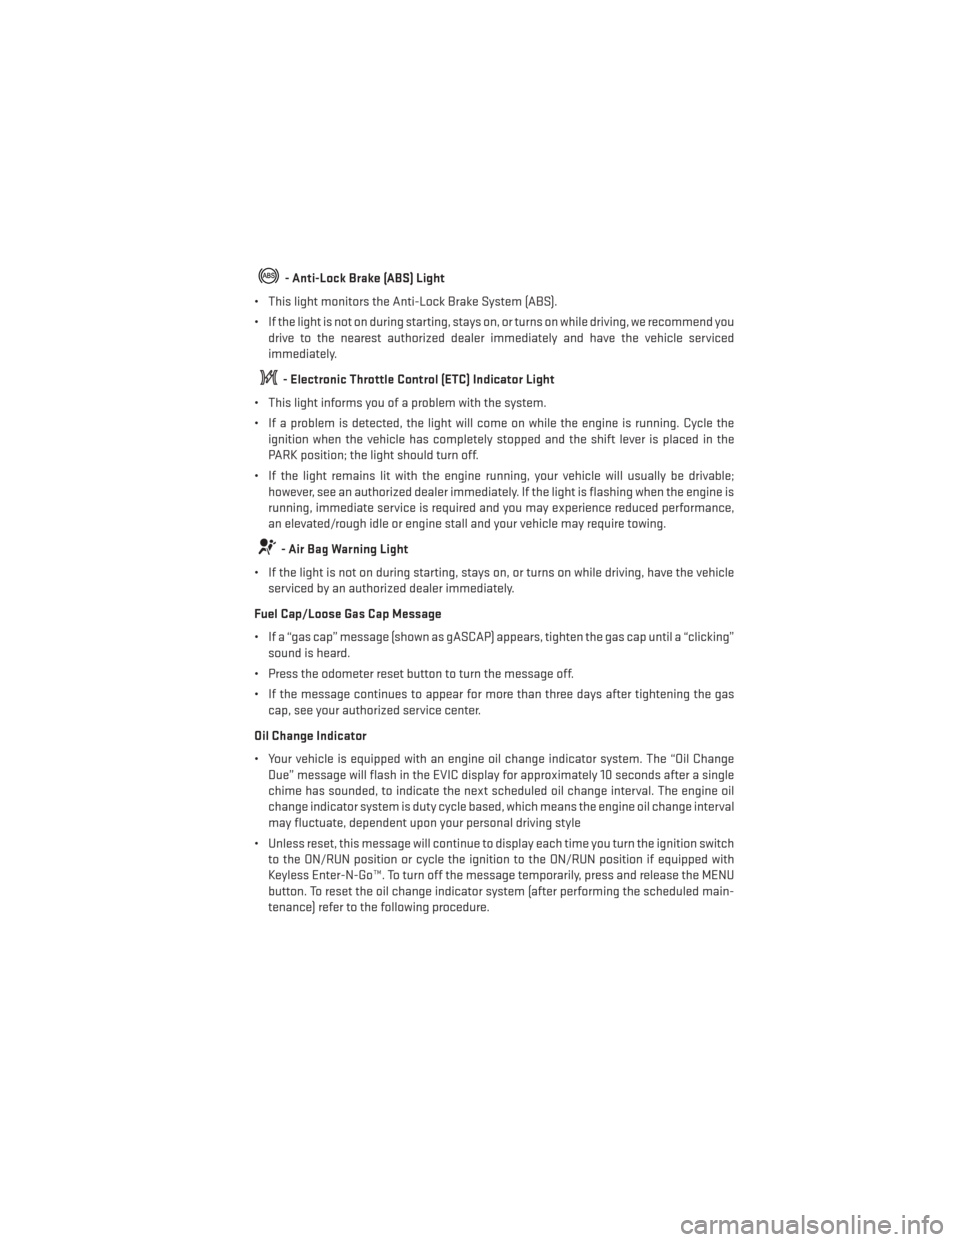
- Anti-Lock Brake (ABS) Light
• This light monitors the Anti-Lock Brake System (ABS).
• If the light is not on during starting, stays on, or turns on while driving, we recommend you drive to the nearest authorized dealer immediately and have the vehicle serviced
immediately.
- Electronic Throttle Control (ETC) Indicator Light
• This light informs you of a problem with the system.
• If a problem is detected, the light will come on while the engine is running. Cycle the ignition when the vehicle has completely stopped and the shift lever is placed in the
PARK position; the light should turn off.
• If the light remains lit with the engine running, your vehicle will usually be drivable; however, see an authorized dealer immediately. If the light is flashing when the engine is
running, immediate service is required and you may experience reduced performance,
an elevated/rough idle or engine stall and your vehicle may require towing.
- Air Bag Warning Light
• If the light is not on during starting, stays on, or turns on while driving, have the vehicle serviced by an authorized dealer immediately.
Fuel Cap/Loose Gas Cap Message
• If a “gas cap” message (shown as gASCAP) appears, tighten the gas cap until a “clicking” sound is heard.
• Press the odometer reset button to turn the message off.
• If the message continues to appear for more than three days after tightening the gas cap, see your authorized service center.
Oil Change Indicator
• Your vehicle is equipped with an engine oil change indicator system. The “Oil Change Due” message will flash in the EVIC display for approximately 10 seconds after a single
chime has sounded, to indicate the next scheduled oil change interval. The engine oil
change indicator system is duty cycle based, which means the engine oil change interval
may fluctuate, dependent upon your personal driving style
• Unless reset, this message will continue to display each time you turn the ignition switch to the ON/RUN position or cycle the ignition to the ON/RUN position if equipped with
Keyless Enter-N-Go™. To turn off the message temporarily, press and release the MENU
button. To reset the oil change indicator system (after performing the scheduled main-
tenance) refer to the following procedure.
WHAT TO DO IN EMERGENCIES
83
Page 86 of 132
Vehicles Equipped With Keyless Enter-N-Go™
1. Without pressing the brake pedal, cycle the ignition to the ON/RUN position (do not startthe engine).
2. Fully depress the accelerator pedal, slowly, three times within 10 seconds.
3. Cycle the ignition to the OFF/LOCK position.
Vehicles Not Equipped With Keyless Enter-N-Go™
1. Turn the ignition switch to the ON/RUN position (do not start the engine).
2. Fully depress the accelerator pedal, slowly, three times within 10 seconds.
3. Turn the ignition switch to the OFF/LOCK position.
NOTE:
If the indicator message illuminates when you start the vehicle, the oil change indicator
system did not reset. If necessary, repeat this procedure.
Resetting The Light After Servicing
• Vehicles Equipped With Keyless Enter-N-Go™
• Without pressing the brake pedal, push the ENGINE START/STOP button and cycle the ignition to the ON/RUN position (Do not start the engine.)
• Fully depress the accelerator pedal, slowly, three times within 10 seconds.
• Without pressing the brake pedal, push the ENGINE START/STOP button once to return the ignition to the OFF/LOCK position.
• Vehicles Not Equipped With Keyless Enter-N-Go™
• Turn the ignition switch to the ON/RUN position (Do not start the engine.)
• Fully depress the accelerator pedal, slowly, three times within 10 seconds.
• Turn the ignition switch to the OFF/LOCK position.
WHAT TO DO IN EMERGENCIES
84
Page 93 of 132
WARNING!
• Do not attempt to change a tire on the side of the vehicle close to moving traffic. Pullfar enough off the road to avoid the danger of being hit when operating the jack or
changing the wheel.
• Being under a jacked-up vehicle is dangerous. The vehicle could slip off the jack and
fall on you. You could be crushed. Never put any part of your body under a vehicle that
is on a jack. If you need to get under a raised vehicle, take it to an authorized service
center where it can be raised on a lift.
• Never start or run the engine while the vehicle is on a jack.
• The jack is designed to be used as a tool for changing tires only. The jack should not
be used to lift the vehicle for service purposes. The vehicle should be jacked on a firm
level surface only. Avoid ice or slippery areas.
• Carefully follow these tire changing warnings to help prevent personal injury or
damage to your vehicle:
• Always park on a firm, level surface as far from the edge of the roadway as possible
before raising the vehicle.
• Turn on the Hazard Warning flasher.
• Block the wheel diagonally opposite the wheel to be raised.
• Set the parking brake firmly and set an automatic transmission in PARK.
• Do not let anyone sit in the vehicle when it is on a jack.
• Do not get under the vehicle when it is on a jack.
• Only use the jack in the positions indicated and for lifting this vehicle during a tire
change.
• If working on or near a roadway, be extremely careful of motor traffic.
• To assure that spare tires, flat or inflated, are securely stowed, spares must be
stowed with the valve stem facing the ground.
• Raising the vehicle higher than necessary can make the vehicle less stable. It could
slip off the jack and hurt someone near it. Raise the vehicle only enough to remove
the tire.
• To avoid possible personal injury, handle the wheel covers with care to avoid contact
with any sharp edges.
• To avoid the risk of forcing the vehicle off the jack, do not tighten the wheel nuts fully
until the vehicle has been lowered. Failure to follow this warning may result in
personal injury.
• A loose tire or jack, thrown forward in a collision or hard stop could endanger the
occupants of the vehicle. Always stow the jack parts and the spare tire in the places
provided. Have the deflated (flat) tire repaired or replaced immediately.
WHAT TO DO IN EMERGENCIES
91
Page 125 of 132
Airbag...................16
Alarm (Security Alarm)..........13
Audio Settings ............39,41
Automatic Headlights ..........26
Automatic Temperature Control (ATC)................29,30
Automatic Transmission Fluid Type ..............108
AxleFluid................108
Belts, Seat .................15
BrakeFluid................108
Break-In Recommendations, New Vehicle .................24
BulbReplacement........... .119
Calibration, Compass ...........72
Change Oil Indicator ...........83
Changing A Flat Tire ...........86
Child Restraint ...............17
Child Restraint Tether Anchors ......17
Clock Setting ...............39
Compass Calibration ...........72
Cooling System Coolant Capacity ..........108
Cruise Light ................27
Customer Assistance ..........120
Customer Programmable Features ....75
Defects, Reporting ............121
Dimmer Control ..............26
Dimmer Switch, Headlight ........26
Electronics Your Vehicle's Sound System ....36
Electronic Vehicle Information Center (EVIC)..................71
Emergency, In Case of Brake Warning Light .........82
Freeing Vehicle When Stuck .....101
Jacking ................86
Overheating .............85
Engine Break-In Recommendations .....24
Compartment ............105
Oil ..................108
Oil Selection .............108
Overheating .............85 Starting ................12
Stopping
...............12
EventDataRecorder...........102
Exterior Lights ..............119
FlatTireChanging ............86
Fluid Capacities .............108
Fluids ..................108
Fluids, Lubricants and Genuine Parts . .108
FogLights ................26
Folding Rear Seat .............21
Freeing A Stuck Vehicle .........101
Front Heated Seats ............22
Fuel Filler Cap (Gas Cap) .........83
Filler Door Emergency Release . . .104
Filler Door (Gas Cap) .........104
Specifications ............108
Fuse ...................115
Fuses.................. .115
Garage Door Opener (HomeLink®) ....76
Headlights Automatic ..............
26
Dimmer Switch ............26
HighBeam ..............25
Heated Seats ...............22
Heated Steering Wheel ..........23
High Beam/Low Beam Select (Dimmer) Switch .................25
HomeLink® (Garage Door Opener) ....76
Hood Release ..............103
Instrument Cluster .............6
Indicators ...............7
Instrument Cluster Warning Lights . .6, 80
Intermittent Wipers (Delay Wipers) ....25
Introduction ................2
iPod®/USB/MP3 Control Bluetooth Streaming Audio .....56
Jacking Instructions ...........87
Jack Location ..............86
Jack Operation ..............87
Jump Starting ..............98
KeyFob...................8
INDEX
123
Page 126 of 132
Keyless Enter-N-Go............9
Lock/Unlock .............10
Starting/Stopping ..........12
Lane Change Assist ...........24
LATCH (Lower Anchors and Tether for CHildren) ................17
Lights Tire Pressure Monitoring (TPMS) . . .80
Warning (Instrument Cluster Descrip-
tion) ..................6
Maintenance Record ...........114
Maintenance Schedule ..........110
Malfunction Indicator Light (Check Engine) ................82
MOPAR® Accessories ..........122
Navigation Voice Commands .......68
New Vehicle Break-In Period .......24
Oil Change Indicator ...........83
Oil Change Indicator, Reset ........83
Oil, Engine Capacity...............108
Outlet Power .................78
Overheating, Engine ...........85
Phone (Pairing) ............42,63
Phone (Uconnect®) ..........42,62
Placard, Tire and Loading Information . .118
Power Glass Sunroof ............32
Outlet (Auxiliary Electrical Outlet) . .78
Seats .................19
Steering ...............108
Preparation for Jacking ..........87
Rain Sensitive Wiper System .......25
Rear Seat, Folding .............21
Recreational Towing ...........79
Remote Starting System ..........9
ReplacementBulbs .......... .119
Reporting Safety Defects ........121
Restraints, Child ..............17
Rocking Vehicle When Stuck .......101Seat Belts
.................15
Seats ...................19
Adjustment..............20
Heated ................22
Lumbar Support ...........19
Power .................19
Rear Folding .............21
Security Against Theft ..........13
Setting the Clock .............39
Shift Lever Override ...........100
Short Message Service (SMS) ......46
Signals, Turn ...............24
SIRIUSTravelLink.............61
SpareTire.................86
SparkPlugs...............108
Speed Control Cancel ................27
Resume ................27
Set ..................27
Starting Remote ................9
Steering Tilt Column ..............23
Wheel, Heated ............23
Steering Wheel Audio Controls ......70
Store Radio Presets .........39,50
Stuck,
Freeing ..............101
SunRoof.................32
Text Messaging ..............46
Tilt Steering Column ...........23
TIREFIT..................92
Tires Air Pressure .............118
Changing .............86,87
Flat Changing ............86
Jacking ................87
SpareTire ..............86
Towing...................79 Disabled Vehicle ..........100
Recreational .............79
Towing Vehicle Behind a Motorhome . . .79
Trailer Towing Trailer and Tongue Weight ......79
Trailer Weight ...............79
Transmission Fluid .................108
INDEX
124