instrument cluster DODGE DART 2013 PF / 1.G User Guide
[x] Cancel search | Manufacturer: DODGE, Model Year: 2013, Model line: DART, Model: DODGE DART 2013 PF / 1.GPages: 132, PDF Size: 4.13 MB
Page 3 of 132
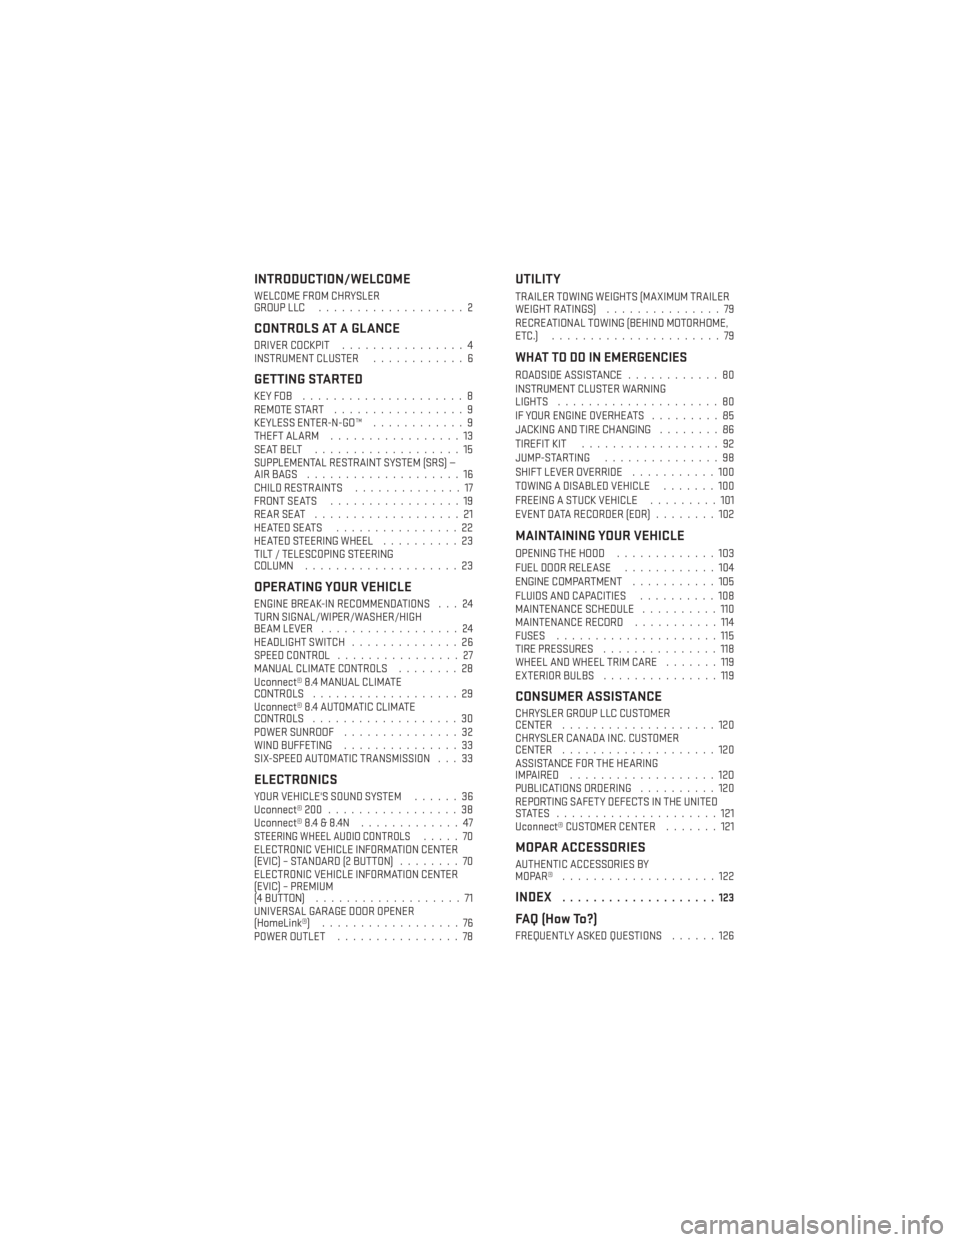
INTRODUCTION/WELCOME
WELCOME FROM CHRYSLER
GROUP LLC...................2
CONTROLS AT A GLANCE
DRIVER COCKPIT ................4
INSTRUMENT CLUSTER ............6
GETTING STARTED
KEYFOB .....................8
REMOTE START.................9
KEYLESS ENTER-N-GO™ ............9
THEFT ALARM .................13
SEATBELT ...................15
SUPPLEMENTAL RESTRAINT SYSTEM (SRS) —
AIRBAGS ....................16
CHILD RESTRAINTS ..............17
FRONT SEATS .................19
REARSEAT ...................21
HEATEDSEATS ................22
HEATED STEERING WHEEL ..........23
TILT / TELESCOPING STEERING
COLUMN ....................23
OPERATING YOUR VEHICLE
ENGINE BREAK-IN RECOMMENDATIONS . . . 24
TURN SIGNAL/WIPER/WASHER/HIGH
BEAM LEVER ..................24
HEADLIGHT SWITCH ..............26
SPEED CONTROL ................27
MANUAL CLIMATE CONTROLS ........28
Uconnect® 8.4 MANUAL CLIMATE
CONTROLS ...................29
Uconnect® 8.4 AUTOMATIC CLIMATE
CONTROLS ...................30
POWER SUNROOF ...............32
WIND BUFFETING ...............33
SIX-SPEED AUTOMATIC TRANSMISSION . . . 33
ELECTRONICS
YOUR VEHICLE'S SOUND SYSTEM ......36
Uconnect® 200 .................38
Uconnect® 8.4 & 8.4N .............47
STEERING WHEEL AUDIO CONTROLS.....70
ELECTRONIC VEHICLE INFORMATION CENTER
(EVIC) – STANDARD (2 BUTTON) ........70
ELECTRONIC VEHICLE INFORMATION CENTER
(EVIC) – PREMIUM
(4 BUTTON) ...................71
UNIVERSAL GARAGE DOOR OPENER
(HomeLink®) ..................76
POWER OUTLET ................78
UTILITY
TRAILER TOWING WEIGHTS (MAXIMUM TRAILER
WEIGHTRATINGS) ...............79
RECREATIONAL TOWING (BEHIND MOTORHOME,
ETC.) ......................79
WHAT TO DO IN EMERGENCIES
ROADSIDE ASSISTANCE ............80
INSTRUMENT CLUSTER WARNING
LIGHTS .....................80
IF YOUR ENGINE OVERHEATS .........85
JACKING AND TIRE CHANGING ........86
TIREFIT KIT ..................92
JUMP-STARTING ...............98
SHIFT LEVER OVERRIDE ...........100
TOWING A DISABLED VEHICLE .......100
FREEING A STUCK VEHICLE .........101
EVENT DATA RECORDER (EDR) ........102
MAINTAINING YOUR VEHICLE
OPENING THE HOOD.............103
FUEL DOOR RELEASE ............104
ENGINE COMPARTMENT ...........105
FLUIDS AND CAPACITIES ..........108
MAINTENANCE SCHEDULE ..........110
MAINTENANCE RECORD ...........114
FUSES .....................115
TIRE PRESSURES ...............118
WHEEL AND WHEEL TRIM CARE .......119
EXTERIOR BULBS ...............119
CONSUMER ASSISTANCE
CHRYSLER GROUP LLC CUSTOMER
CENTER....................120
CHRYSLER CANADA INC. CUSTOMER
CENTER ....................120
ASSISTANCE FOR THE HEARING
IMPAIRED ...................120
PUBLICATIONS ORDERING ..........120
REPORTING SAFETY DEFECTS IN THE UNITED
STATES .....................121
Uconnect® CUSTOMER CENTER .......121
MOPAR ACCESSORIES
AUTHENTIC ACCESSORIES BY
MOPAR® ....................122
INDEX....................123
FAQ (How To?)
FREQUENTLY ASKED QUESTIONS ......126
TABLE OF CONTENTS
Page 7 of 132
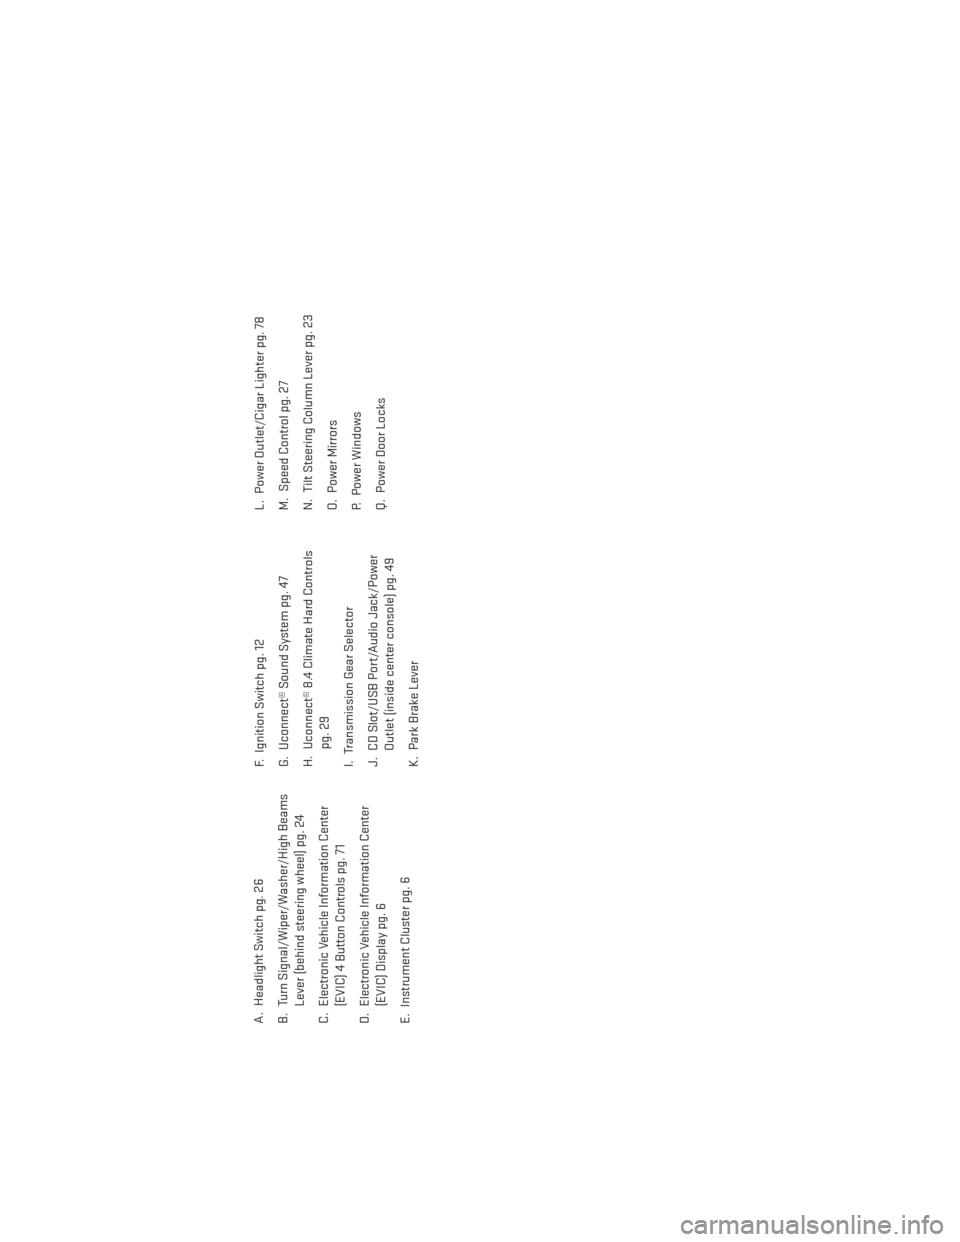
A. Headlight Switch pg. 26
B. Turn Signal/Wiper/Washer/High BeamsLever (behind steering wheel) pg. 24
C. Electronic Vehicle Information Center (EVIC) 4 Button Controls pg. 71
D. Electronic Vehicle Information Center (EVIC) Display pg. 6
E. Instrument Cluster pg. 6 F. Ignition Switch pg. 12
G. Uconnect® Sound System pg. 47
H. Uconnect® 8.4 Climate Hard Controls
pg. 29
I. Transmission Gear Selector
J. CD Slot/USB Port/Audio Jack/Power Outlet (inside center console) pg. 49
K. Park Brake Lever L. Power Outlet/Cigar Lighter pg. 78
M. Speed Control pg. 27
N. Tilt Steering Column Lever pg. 23
O. Power Mirrors
P. Power Windows
Q. Power Door Locks
CONTROLS AT A GLANCE
5
Page 8 of 132
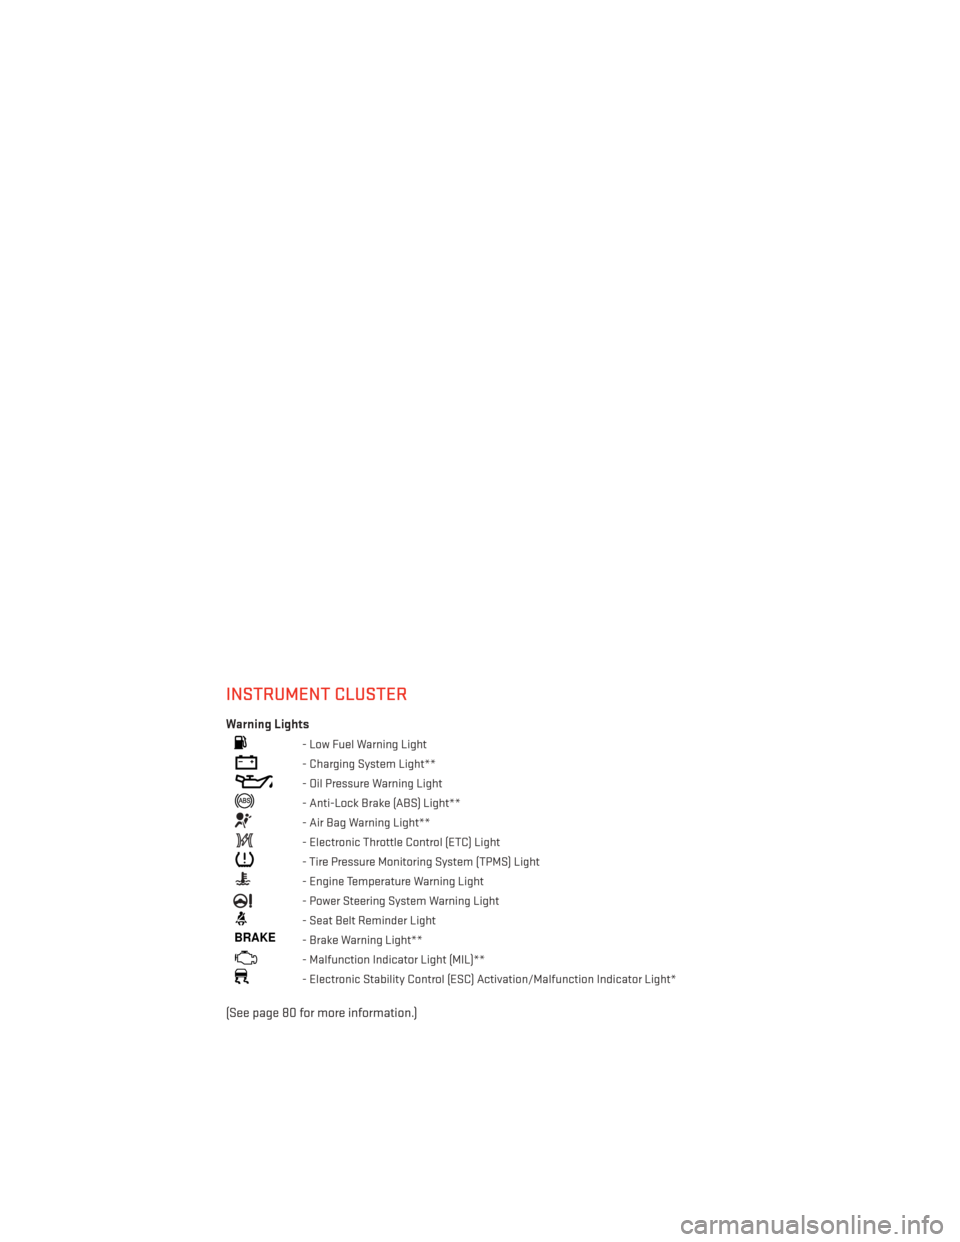
INSTRUMENT CLUSTER
Warning Lights
- Low Fuel Warning Light
- Charging System Light**
- Oil Pressure Warning Light
- Anti-Lock Brake (ABS) Light**
- Air Bag Warning Light**
- Electronic Throttle Control (ETC) Light
- Tire Pressure Monitoring System (TPMS) Light
- Engine Temperature Warning Light
- Power Steering System Warning Light
- Seat Belt Reminder Light
BRAKE- Brake Warning Light**
- Malfunction Indicator Light (MIL)**
- Electronic Stability Control (ESC) Activation/Malfunction Indicator Light*
(See page 80 for more information.)
CONTROLS AT A GLANCE
6
Page 28 of 132
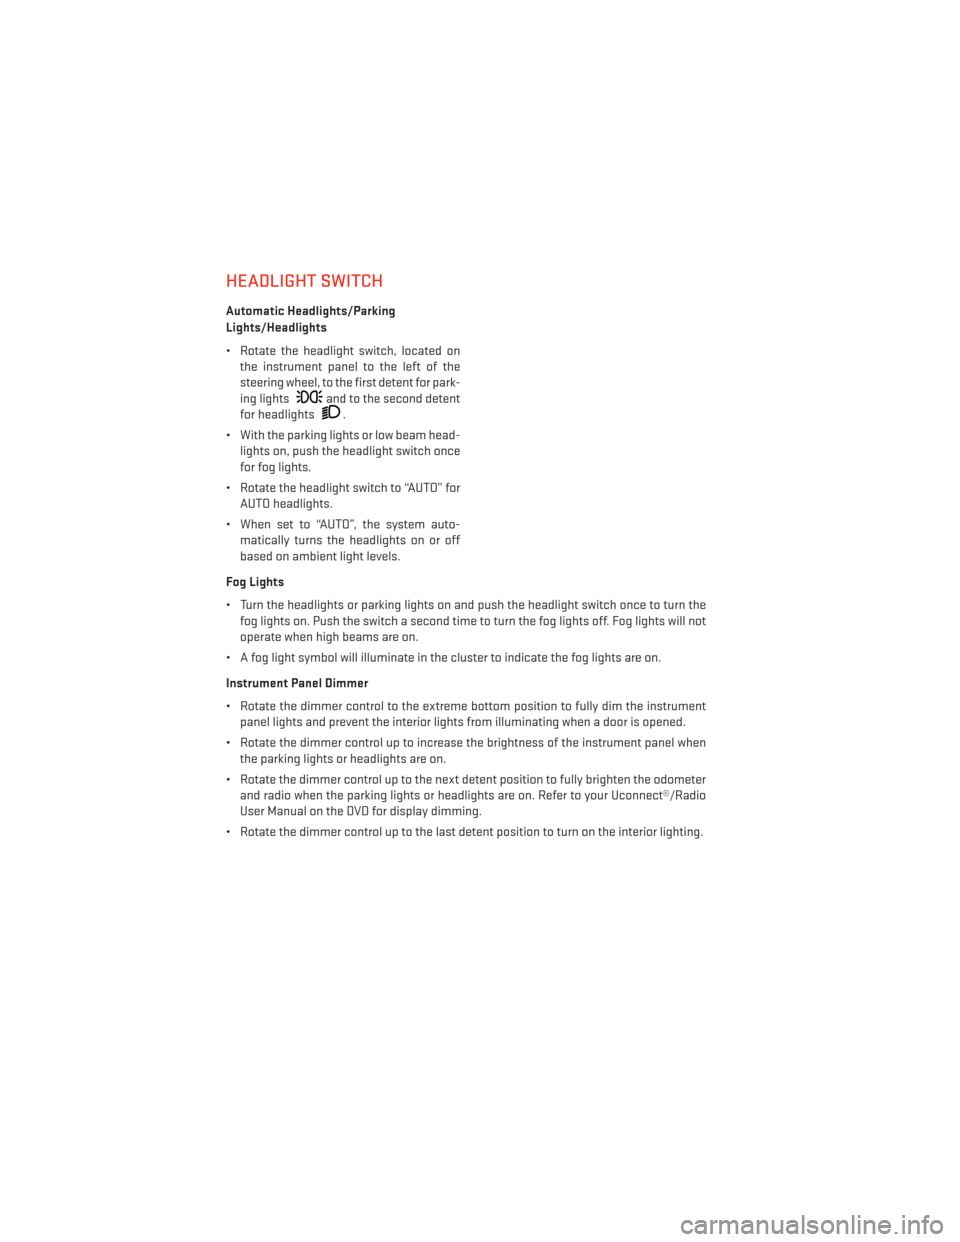
HEADLIGHT SWITCH
Automatic Headlights/Parking
Lights/Headlights
• Rotate the headlight switch, located onthe instrument panel to the left of the
steering wheel, to the first detent for park-
ing lights
and to the second detent
for headlights
.
• With the parking lights or low beam head- lights on, push the headlight switch once
for fog lights.
• Rotate the headlight switch to “AUTO” for AUTO headlights.
• When set to “AUTO”, the system auto- matically turns the headlights on or off
based on ambient light levels.
Fog Lights
• Turn the headlights or parking lights on and push the headlight switch once to turn the fog lights on. Push the switch a second time to turn the fog lights off. Fog lights will not
operate when high beams are on.
• A fog light symbol will illuminate in the cluster to indicate the fog lights are on.
Instrument Panel Dimmer
• Rotate the dimmer control to the extreme bottom position to fully dim the instrument panel lights and prevent the interior lights from illuminating when a door is opened.
• Rotate the dimmer control up to increase the brightness of the instrument panel when the parking lights or headlights are on.
• Rotate the dimmer control up to the next detent position to fully brighten the odometer and radio when the parking lights or headlights are on. Refer to your Uconnect®/Radio
User Manual on the DVD for display dimming.
• Rotate the dimmer control up to the last detent position to turn on the interior lighting.
OPERATING YOUR VEHICLE
26
Page 29 of 132
SPEED CONTROL
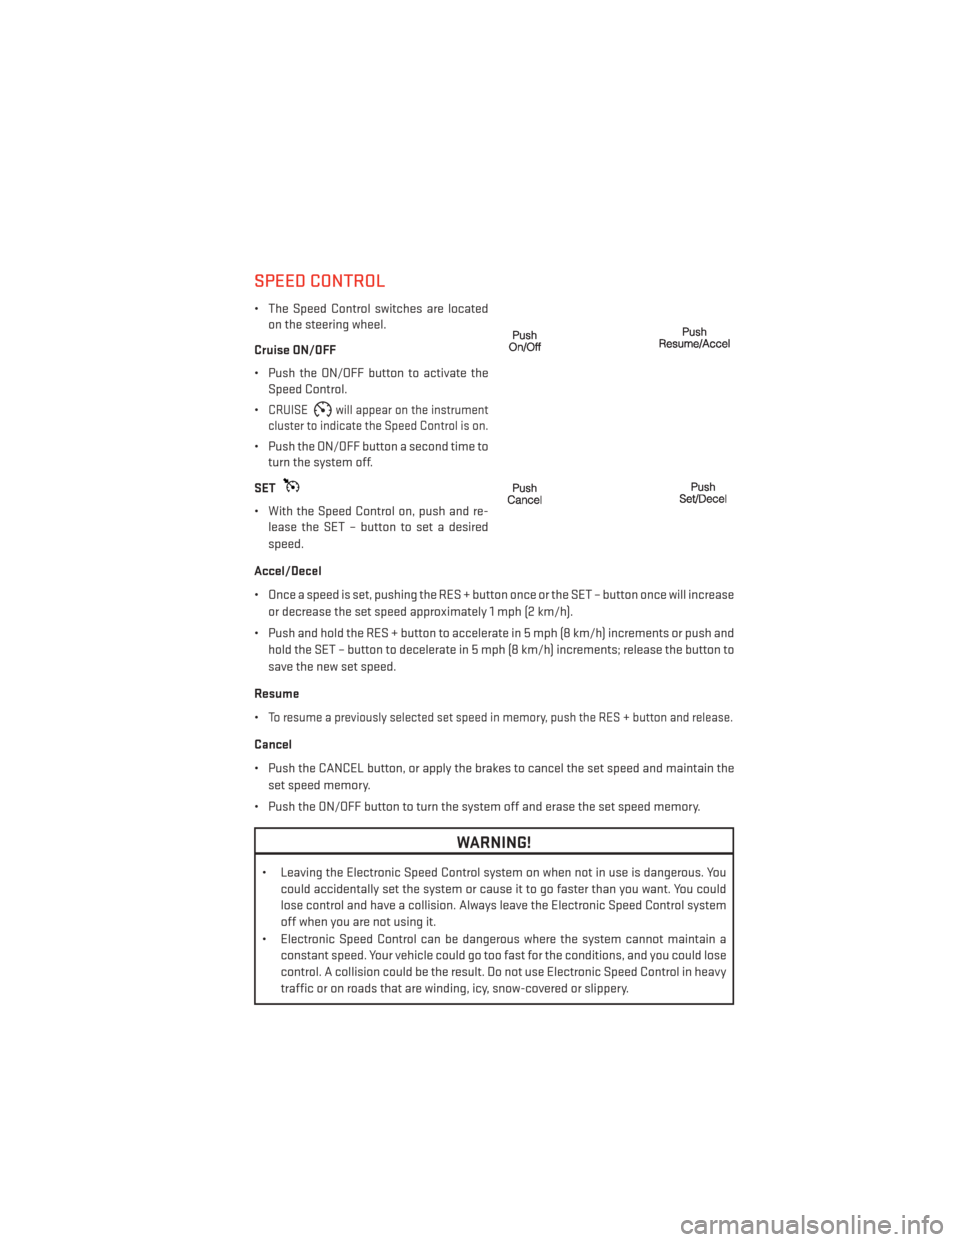
• The Speed Control switches are locatedon the steering wheel.
Cruise ON/OFF
• Push the ON/OFF button to activate the Speed Control.
•
CRUISEwill appear on the instrument
cluster to indicate the Speed Control is on.
• Push the ON/OFF button a second time to turn the system off.
SET
• With the Speed Control on, push and re- lease the SET – button to set a desired
speed.
Accel/Decel
• Once a speed is set, pushing the RES + button once or the SET – button once will increase or decrease the set speed approximately 1 mph (2 km/h).
• Push and hold the RES + button to accelerate in 5 mph (8 km/h) increments or push and hold the SET – button to decelerate in 5 mph (8 km/h) increments; release the button to
save the new set speed.
Resume
•
To resume a previously selected set speed in memory, push the RES + button and release.
Cancel
• Push the CANCEL button, or apply the brakes to cancel the set speed and maintain the set speed memory.
• Push the ON/OFF button to turn the system off and erase the set speed memory.
WARNING!
• Leaving the Electronic Speed Control system on when not in use is dangerous. You could accidentally set the system or cause it to go faster than you want. You could
lose control and have a collision. Always leave the Electronic Speed Control system
off when you are not using it.
• Electronic Speed Control can be dangerous where the system cannot maintain a constant speed. Your vehicle could go too fast for the conditions, and you could lose
control. A collision could be the result. Do not use Electronic Speed Control in heavy
traffic or on roads that are winding, icy, snow-covered or slippery.
OPERATING YOUR VEHICLE
27
Page 35 of 132
WARNING!
• Do not let children play with the sunroof, or leave children unattended in the vehiclewith the key fob in or near the vehicle. Occupants, particularly unattended children,
can become entrapped by the power sunroof while operating the power sunroof
switch. Such entrapment may result in serious injury or death.
• In a collision, there is a greater risk of being thrown from a vehicle with an open
sunroof. You could also be severely injured or killed. Always fasten your seat belt
properly and make sure all passengers are properly secured.
• Do not allow small children to operate the sunroof. Never allow your fingers, other
body parts, or any object to project through the sunroof opening. Injury may result.
WIND BUFFETING
• Wind buffeting can be described as a helicopter-type percussion sound. If buffeting
occurs with the rear windows open, adjust the front and rear windows together.
• If buffeting occurs with the sunroof open, adjust the sunroof opening, or adjust any window. This will minimize buffeting.
SIX-SPEED AUTOMATIC TRANSMISSION
• This vehicle may be equipped with a fuel efficient Dual-Dry Clutch, Six Speed AutomaticTransmission. This transmission offers a sportier driving experience with faster
AutoStick® shifting.
• During low-speed driving conditions in first gear, vehicle momentum changes may feel exaggerated in response to changes in accelerator pedal position. This behavior is
normal and is similar to vehicles equipped with a manual transmission.
NOTE:
• Very aggressive driving may result in some clutch odor similar to a manual transmission. An active warning message will display in the Instrument Cluster if cool down actions are
needed.
•
The first few shifts on a new vehicle may be somewhat abrupt. This is a normal condition,
and precision shifts will develop within a few hundred miles (kilometers).
• At low speeds you may hear mechanical noises similar to a manual transmission as the transmission changes gears. These noises are normal and will not damage the trans-
mission.
• Before and after the engine is started, you may hear a hydraulic pump for a short period of time. This noise is normal and will not damage the transmission.
Shifting The Transmission
• The transmission shift lever position (PRND) is displayed both on the shift lever and in the Electronic Vehicle Information Center (EVIC).
OPERATING YOUR VEHICLE
33
Page 36 of 132
• To drive, depress the brake pedal, press the button on the front of the shift lever and movethe shift lever from PARK or NEUTRAL to the DRIVE position.
• Manual shifts can also be made using the AutoStick® shift control.
• This transmission is programmed to prevent shifting from Reverse to Drive or Drive to Reverse, if vehicle speed is above 6 mph (10 km/h). This safety feature helps protect your
transmission from damage.
NOTE:
• When stopped on an incline, it is recommended that you always hold the vehicle in place using the brakes. On steep inclines, Hill Start Assist (HSA) will temporarily hold the car in
position when the brake pedal is released. If the accelerator pedal is not applied after a
short time, the car will roll back. Either reapply the brake (to hold the vehicle) or press the
accelerator to climb the hill.
• During acceleration, gear changes will feel smooth compared to a vehicle with a tradi- tional manual transmission. This is a benefit of the dual clutch design that avoids power
loss during up-shifts.
Instrument Cluster Messages
• Messages will be displayed in the instrument cluster (if equipped with an EVIC) to alert the driver when certain conditions occur. These messages are described below.
MESSAGE DESCRIPTION
GEAR NOT AVAILABLE In AutoStick® mode, the gear selected by the
driver is not available due to a fault condi-
tion. See your authorized dealer for diagnosis and service.
SHIFT NOT ALLOWED The gear position requested by the driver is
currently blocked. This occurs if NEUTRAL is requested while moving, if REVERSE is re-
quested while moving (at 6 mph [10 km/h] or faster), if DRIVE is requested while moving
backwards (at 6 mph [10 km/h] or faster), or if 3rd gear or higher is requested at a stop.
Make sure the vehicle is stopped before en- gaging DRIVE or REVERSE.
SHIFT TO NEUTRAL THEN D or R The transmission has shifted itself into NEU- TRAL (due to a fault condition, or overheatdue to excessive idling when stopped in
DRIVE with the brakes released), but the shift lever remains in gear. Shift into NEUTRAL
and then back into gear for continued driving. If the transmission will not reengage, see your authorized dealer.
AUTOSTICK NOT AVAILABLE AutoStick® mode is unavailable due to a shift lever fault. See your authorized dealer fordiagnosis and service.
OPERATING YOUR VEHICLE
34
Page 72 of 132
STEERING WHEEL AUDIO CONTROLS
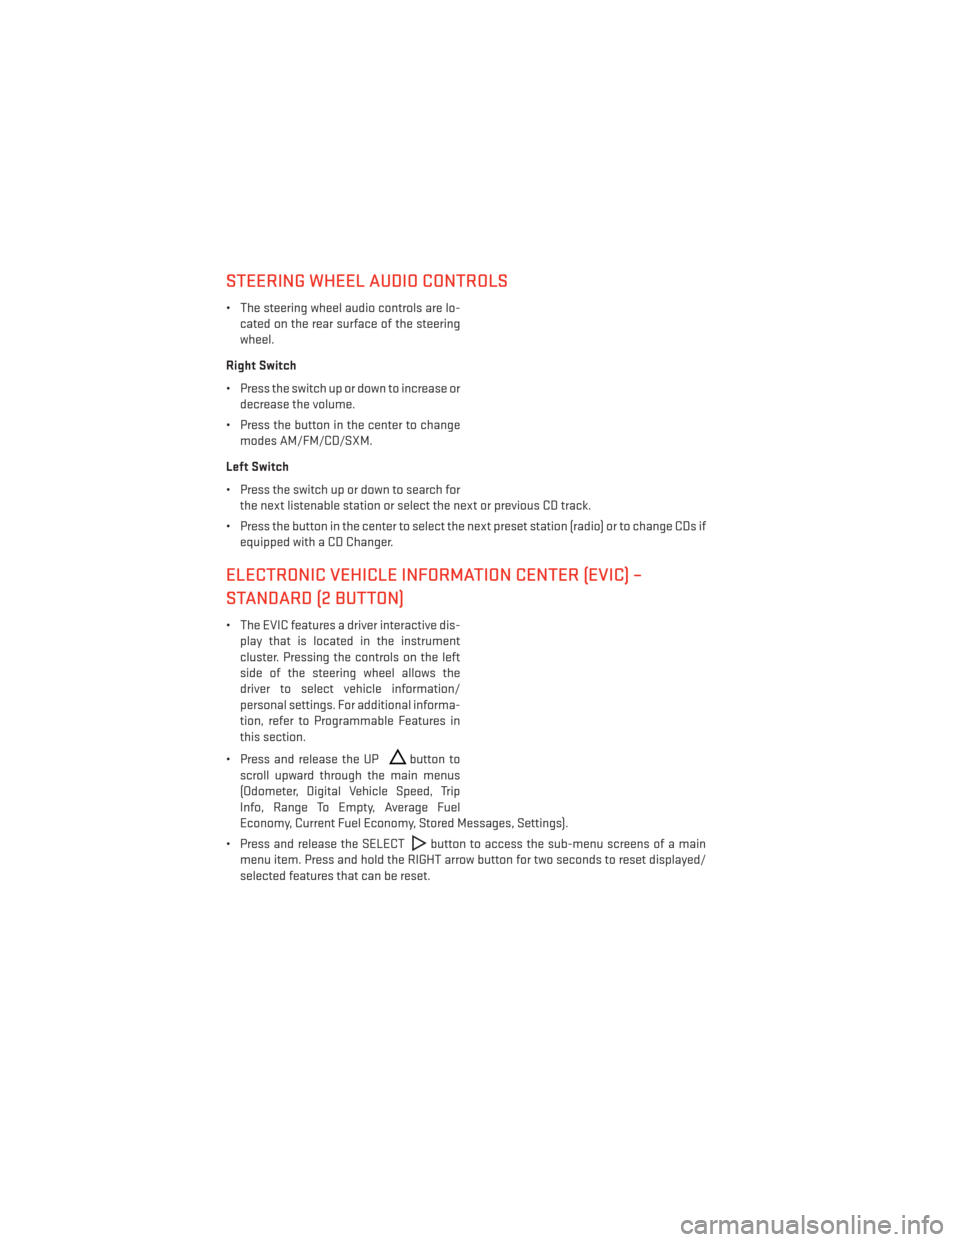
• The steering wheel audio controls are lo-cated on the rear surface of the steering
wheel.
Right Switch
• Press the switch up or down to increase or decrease the volume.
• Press the button in the center to change modes AM/FM/CD/SXM.
Left Switch
• Press the switch up or down to search for the next listenable station or select the next or previous CD track.
• Press the button in the center to select the next preset station (radio) or to change CDs if equipped with a CD Changer.
ELECTRONIC VEHICLE INFORMATION CENTER (EVIC) –
STANDARD (2 BUTTON)
• The EVIC features a driver interactive dis-play that is located in the instrument
cluster. Pressing the controls on the left
side of the steering wheel allows the
driver to select vehicle information/
personal settings. For additional informa-
tion, refer to Programmable Features in
this section.
• Press and release the UP
button to
scroll upward through the main menus
(Odometer, Digital Vehicle Speed, Trip
Info, Range To Empty, Average Fuel
Economy, Current Fuel Economy, Stored Messages, Settings).
• Press and release the SELECT
button to access the sub-menu screens of a main
menu item. Press and hold the RIGHT arrow button for two seconds to reset displayed/
selected features that can be reset.
ELECTRONICS
70
Page 73 of 132
Programmable Features
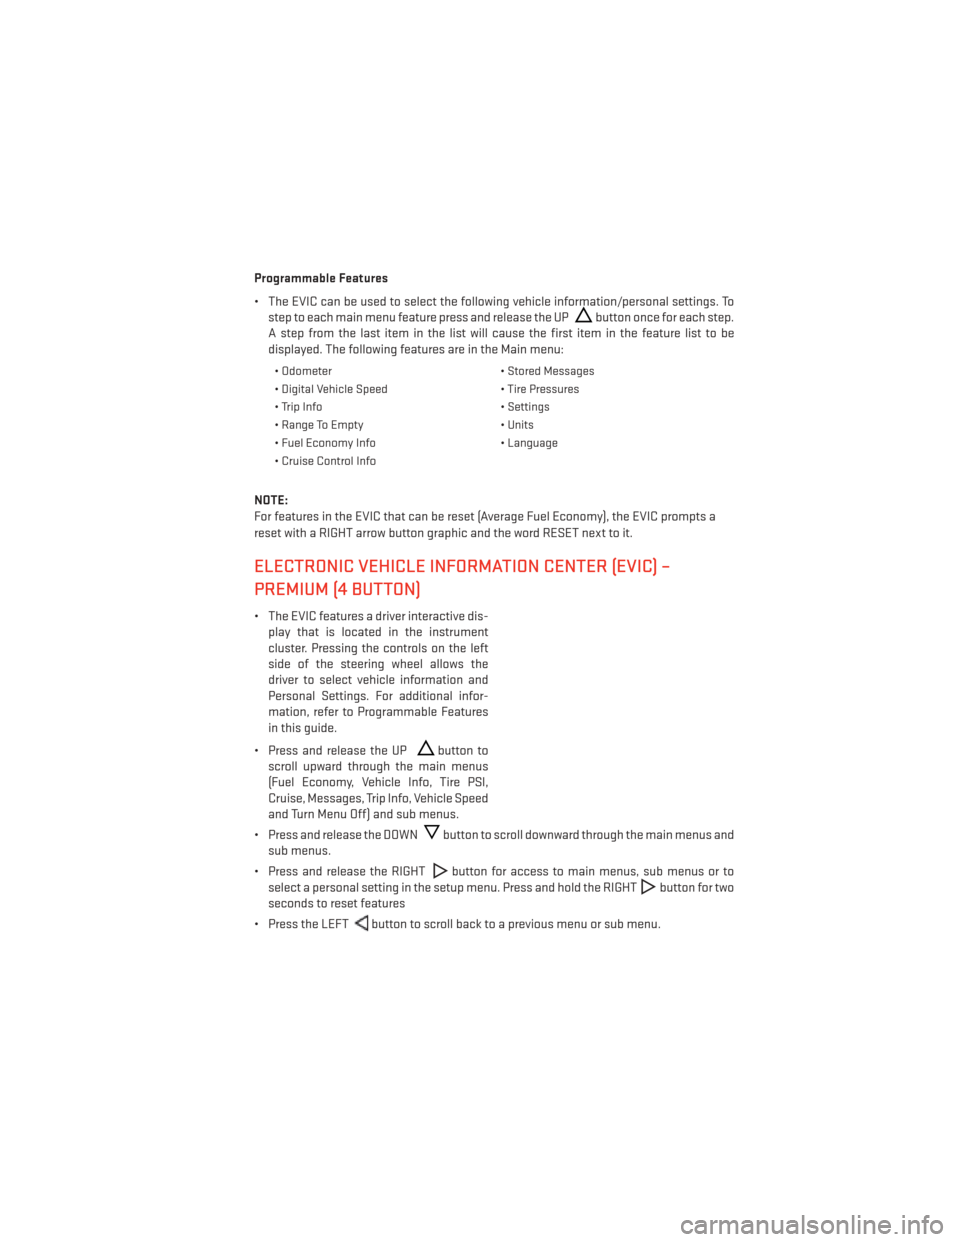
• The EVIC can be used to select the following vehicle information/personal settings. Tostep to each main menu feature press and release the UP
button once for each step.
A step from the last item in the list will cause the first item in the feature list to be
displayed. The following features are in the Main menu:
• Odometer • Stored Messages
• Digital Vehicle Speed • Tire Pressures
• Trip Info • Settings
• Range To Empty • Units
• Fuel Economy Info • Language
• Cruise Control Info
NOTE:
For features in the EVIC that can be reset (Average Fuel Economy), the EVIC prompts a
reset with a RIGHT arrow button graphic and the word RESET next to it.
ELECTRONIC VEHICLE INFORMATION CENTER (EVIC) –
PREMIUM (4 BUTTON)
• The EVIC features a driver interactive dis- play that is located in the instrument
cluster. Pressing the controls on the left
side of the steering wheel allows the
driver to select vehicle information and
Personal Settings. For additional infor-
mation, refer to Programmable Features
in this guide.
• Press and release the UP
button to
scroll upward through the main menus
(Fuel Economy, Vehicle Info, Tire PSI,
Cruise, Messages, Trip Info, Vehicle Speed
and Turn Menu Off) and sub menus.
• Press and release the DOWN
button to scroll downward through the main menus and
sub menus.
• Press and release the RIGHT
button for access to main menus, sub menus or to
select a personal setting in the setup menu. Press and hold the RIGHT
button for two
seconds to reset features
• Press the LEFT
button to scroll back to a previous menu or sub menu.
ELECTRONICS
71
Page 76 of 132
Screen Setup
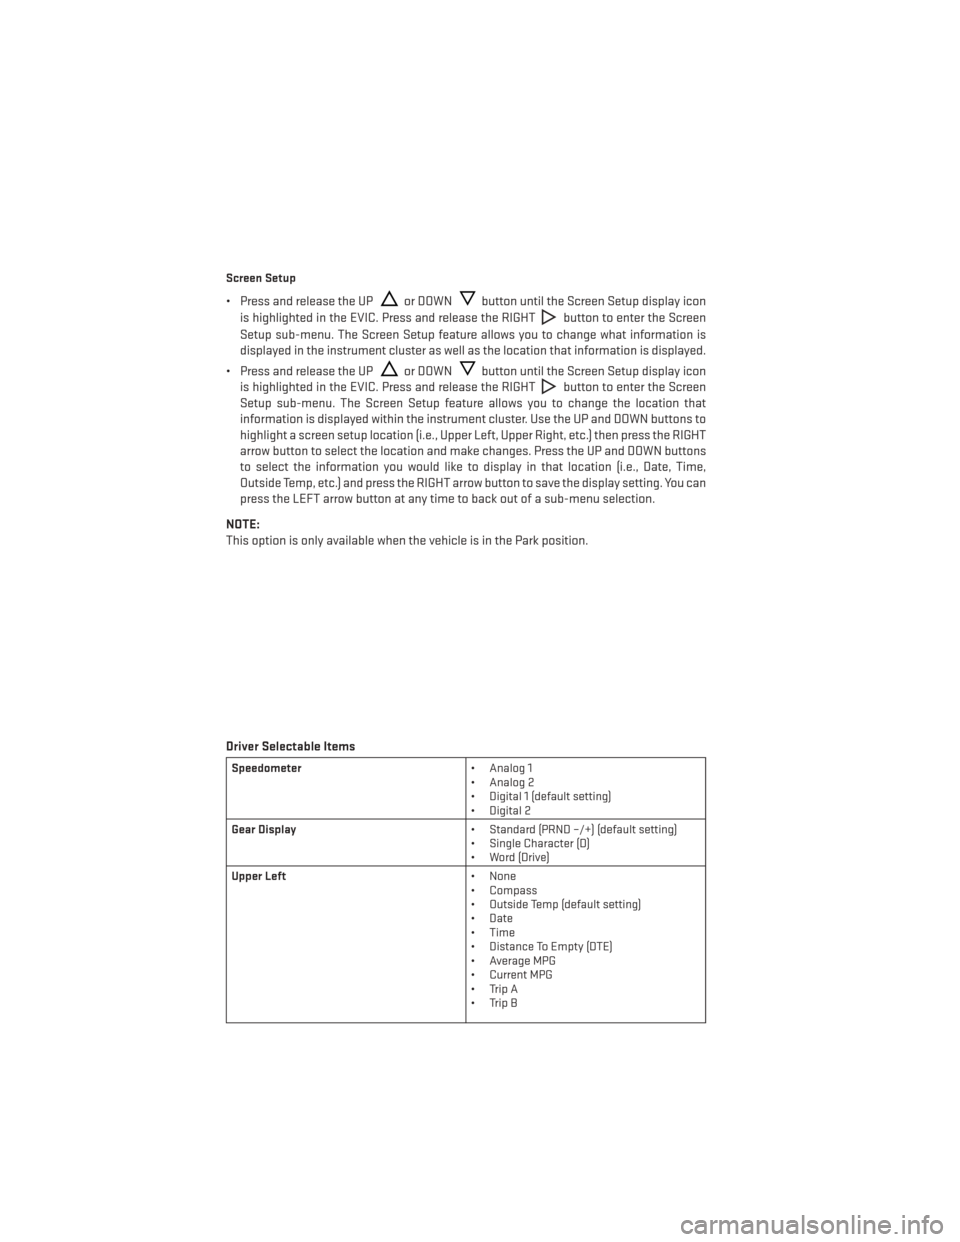
• Press and release the UPor DOWNbutton until the Screen Setup display icon
is highlighted in the EVIC. Press and release the RIGHT
button to enter the Screen
Setup sub-menu. The Screen Setup feature allows you to change what information is
displayed in the instrument cluster as well as the location that information is displayed.
• Press and release the UP
or DOWNbutton until the Screen Setup display icon
is highlighted in the EVIC. Press and release the RIGHT
button to enter the Screen
Setup sub-menu. The Screen Setup feature allows you to change the location that
information is displayed within the instrument cluster. Use the UP and DOWN buttons to
highlight a screen setup location (i.e., Upper Left, Upper Right, etc.) then press the RIGHT
arrow button to select the location and make changes. Press the UP and DOWN buttons
to select the information you would like to display in that location (i.e., Date, Time,
Outside Temp, etc.) and press the RIGHT arrow button to save the display setting. You can
press the LEFT arrow button at any time to back out of a sub-menu selection.
NOTE:
This option is only available when the vehicle is in the Park position.
Driver Selectable Items
Speedometer • Analog 1
• Analog 2
• Digital 1 (default setting)
• Digital 2
Gear Display • Standard (PRND –/+) (default setting)
• Single Character (D)
• Word (Drive)
Upper Left • None
• Compass
• Outside Temp (default setting)
• Date
• Time
• Distance To Empty (DTE)
• Average MPG
• Current MPG
• Trip A
• Trip B
ELECTRONICS
74