instrument panel DODGE DART 2015 PF / 1.G Owners Manual
[x] Cancel search | Manufacturer: DODGE, Model Year: 2015, Model line: DART, Model: DODGE DART 2015 PF / 1.GPages: 664, PDF Size: 16.96 MB
Page 602 of 664

Cleaning Headlights
Your vehicle has plastic headlights that are lighter and
less susceptible to stone breakage than glass headlights.
Plastic is not as scratch resistant as glass and therefore
different lens cleaning procedures must be followed.
To minimize the possibility of scratching the lenses and
reducing light output, avoid wiping with a dry cloth. To
remove road dirt, wash with a mild soap solution fol-
lowed by rinsing.
Do not use abrasive cleaning components, solvents, steel
wool or other aggressive material to clean the lenses.
Glass Surfaces
All glass surfaces should be cleaned on a regular basis
with MOPAR® Glass Cleaner or any commercial
household-type glass cleaner. Never use an abrasive type
cleaner. Use caution when cleaning the inside rear win-
dow equipped with electric defrosters or the right rear
quarter window equipped with the radio antenna. Do
not use scrapers or other sharp instruments that may
scratch the elements.
When cleaning the rear view mirror, spray cleaner on the
towel or rag that you are using. Do not spray cleaner
directly on the mirror.
Instrument Panel Cover
The instrument panel cover has a low glare surface which
minimizes reflections on the windshield. Do not use
protectants or other products which may cause undesir-
able reflections. Use soap and warm water to restore the
low glare surface.
600 MAINTAINING YOUR VEHICLE
Page 603 of 664
Instrument Panel Bezels
CAUTION!
When installing hanging air fresheners in your ve-
hicle, read the installation instructions carefully.
Some air fresheners will damage the finish of
painted or decorated parts if allowed to directly
contact any surface.
Cleaning Plastic Instrument Cluster Lenses
The lenses in front of the instruments in this vehicle are
molded in clear plastic. When cleaning the lenses, care
must be taken to avoid scratching the plastic.
1. Clean with a wet soft rag or micro-fiber towel. A mild
soap solution may be used, but do not use high
alcohol content or abrasive cleaners. If soap is used,
wipe clean with a clean damp rag.
2. Dry with a soft cloth.
Seat Belt Maintenance
Do not bleach, dye, or clean the belts with chemical
solvents or abrasive cleaners. This will weaken the fabric.
Sun damage can also weaken the fabric.
If the belts need cleaning, use MOPAR® Total Clean, a
mild soap solution, or lukewarm water. Do not remove
the belts from the vehicle to wash them. Dry with a soft
cloth.
Replace the belts if they appear frayed or worn or if the
buckles do not work properly.
WARNING!
A frayed or torn belt could rip apart in a collision and
leave you with no protection. Inspect the belt system
periodically, checking for cuts, frays, or loose parts.
Damaged parts must be replaced immediately. Do
(Continued)
7
MAINTAINING YOUR VEHICLE 601
Page 604 of 664
WARNING!(Continued)
not disassemble or modify the system. Seat belt
assemblies must be replaced after a collision if they
have been damaged (i.e., bent retractor, torn web-
bing, etc.).
FUSES
WARNING!
•When replacing a blown fuse, always use an appro-
priate replacement fuse with the same amp rating as
the original fuse. Never replace a fuse with another
fuse of higher amp rating. Never replace a blown
fuse with metal wires or any other material. Failure
to use proper fuses may result in serious personal
(Continued)
WARNING!(Continued)
injury, fire and/or property damage.
•Before replacing a fuse, make sure that the ignition
is off and that all the other services are switched off
and/or disengaged.
•If the replaced fuse blows again, contact an autho-
rized dealer.
•If a general protection fuse for safety systems (air
bag system, braking system), power unit systems
(engine system, gearbox system) or steering system
blows, contact an authorized dealer.
Interior Fuses
The interior fuses are located on the drivers side under
the instrument panel.
602 MAINTAINING YOUR VEHICLE
Page 609 of 664
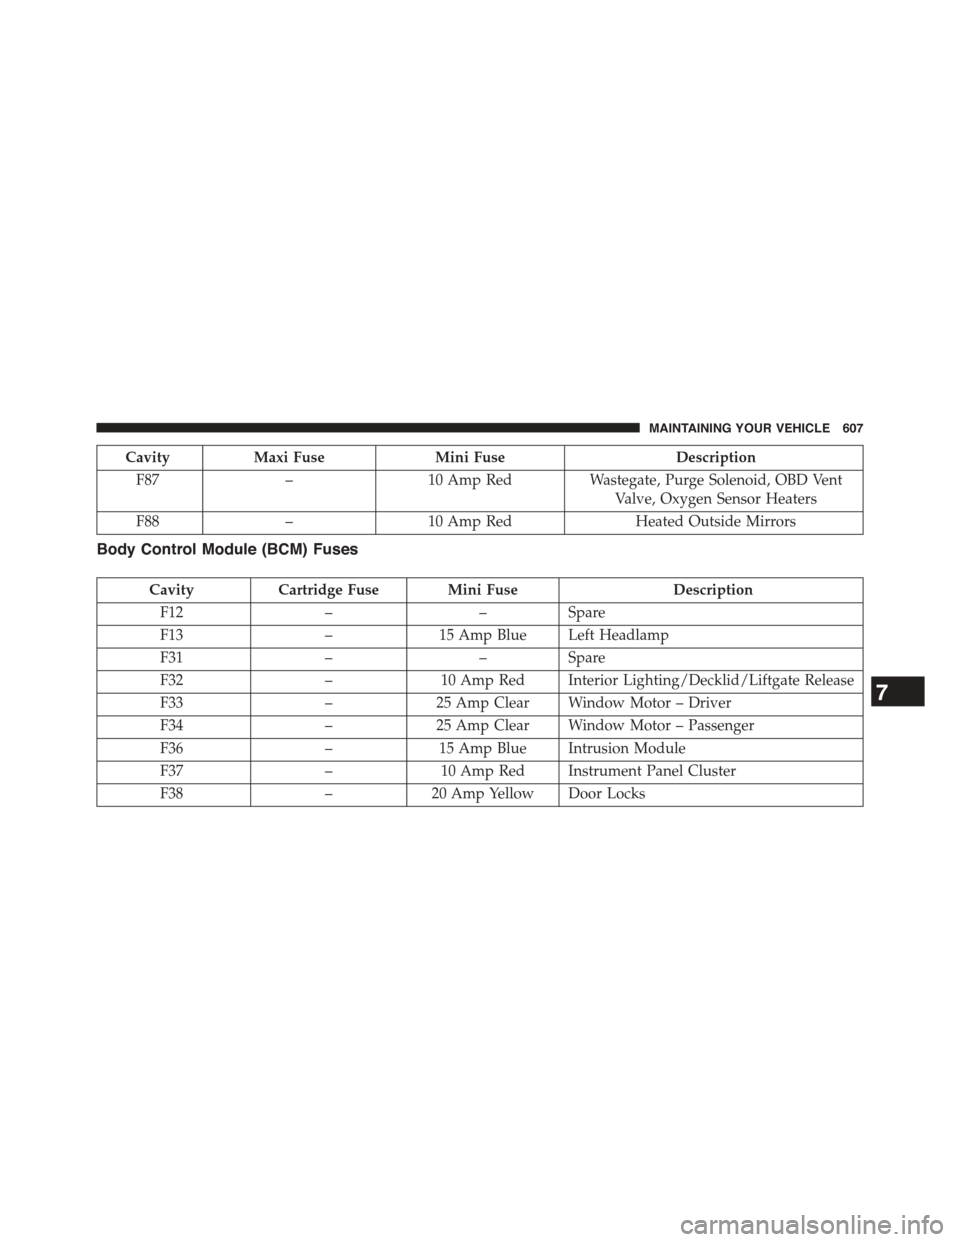
CavityMaxi FuseMini FuseDescription
F87–10 Amp RedWastegate, Purge Solenoid, OBD Vent
Valve, Oxygen Sensor Heaters
F88–10 Amp RedHeated Outside Mirrors
Body Control Module (BCM) Fuses
CavityCartridge Fuse Mini FuseDescription
F12––Spare
F13–15 Amp Blue Left Headlamp
F31––Spare
F32–10 Amp Red Interior Lighting/Decklid/Liftgate Release
F33–25 Amp Clear Window Motor – Driver
F34–25 Amp Clear Window Motor – Passenger
F36–15 Amp Blue Intrusion Module
F37–10 Amp Red Instrument Panel Cluster
F38–20 Amp Yellow Door Locks
7
MAINTAINING YOUR VEHICLE 607
Page 624 of 664
MAINTENANCE SCHEDULE
Your vehicle is equipped with an automatic oil change
indicator system. The oil change indicator system will
remind you that it is time to take your vehicle in for
scheduled maintenance.
Based on engine operation conditions, the oil change
indicator message will illuminate. This means that ser-
vice is required for your vehicle. Operating conditions
such as frequent short-trips, trailer tow, extremely hot or
cold ambient temperatures, and E85 fuel usage will
influence when the “Change Oil” message is displayed.
Severe Operating Conditions can cause the change oil
message to illuminate as early as 3,500 miles (5,600 km)
since last reset. Have your vehicle serviced as soon as
possible, within the next 500 miles (805 km).
Your authorized dealer will reset the oil change indicator
message after completing the scheduled oil change. If a
scheduled oil change is performed by someone other
than your authorized dealer, the message can be reset by
referring to the steps described under “Electronic Vehicle
Information Center (EVIC)/Driver Information Display
(DID)” in “Understanding Your Instrument Panel” for
further information.
NOTE:Under no circumstances should oil change inter-
vals exceed 10,000 miles (16,000 km) or twelve months,
whichever comes first.
Severe Duty All Models
Change Engine Oil at 4000 miles (6,500 km) if the vehicle
is operated in a dusty and off road environment. This
type of vehicle use is considered Severe Duty.
•Once A Month Or Before A Long Trip:
Check engine oil level.
Check windshield washer fluid level.
8
MAINTENANCE
SCHEDULES
622 MAINTENANCE SCHEDULES
Page 650 of 664
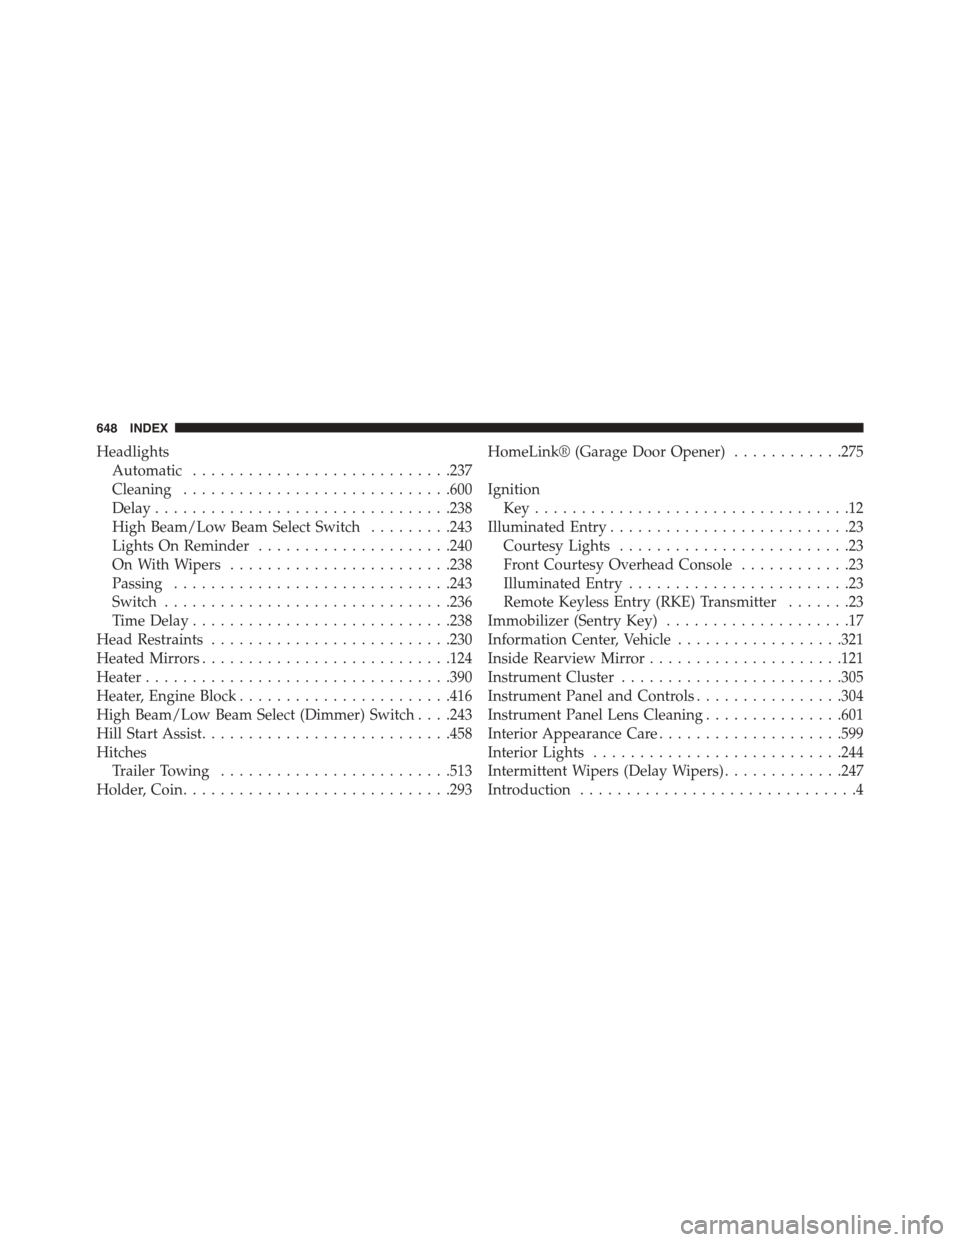
Headlights
Automatic............................237
Cleaning.............................600
Delay................................238
High Beam/Low Beam Select Switch.........243
Lights On Reminder.....................240
On With Wipers........................238
Passing..............................243
Switch...............................236
Time Delay............................238
Head Restraints..........................230
Heated Mirrors...........................124
Heater.................................390
Heater, Engine Block.......................416
High Beam/Low Beam Select (Dimmer) Switch . . . .243
Hill Start Assist...........................458
Hitches
Trailer Towing.........................513
Holder, Coin.............................293
HomeLink® (Garage Door Opener)............275
Ignition
Key . . . . . . . . . . . . . . . . . . . . . . . . . . . . . . . . . .12
Illuminated Entry..........................23
Courtesy Lights.........................23
Front Courtesy Overhead Console............23
Illuminated Entry........................23
Remote Keyless Entry (RKE) Transmitter.......23
Immobilizer (Sentry Key)....................17
Information Center, Vehicle..................321
Inside Rearview Mirror.....................121
Instrument Cluster........................305
Instrument Panel and Controls................304
Instrument Panel Lens Cleaning...............601
Interior Appearance Care....................599
Interior Lights...........................244
Intermittent Wipers (Delay Wipers).............247
Introduction..............................4
648 INDEX