warning light DODGE DART 2015 PF / 1.G Repair Manual
[x] Cancel search | Manufacturer: DODGE, Model Year: 2015, Model line: DART, Model: DODGE DART 2015 PF / 1.GPages: 664, PDF Size: 16.96 MB
Page 550 of 664
9. Lower the vehicle to the ground by turning the jack
handle counterclockwise.
10. Finish tightening the wheel bolts. Push down on the
wrench while at the end of the handle for increased
leverage. Tighten the wheel bolts in a star pattern
until each wheel bolt has been tightened twice. Refer
to “Torque Specifications” in this section for proper
lug bolt torque. If in doubt about the correct tight-
ness, have them checked with a torque wrench by
your authorized dealer or at a service station.
11. Lower the jack until it is free. Remove the wheel
blocks. Reassemble the lug wrench to the jack assem-
bly and stow it in the spare tire area. Secure the
assembly using the means provided. Release the
parking brake before driving the vehicle.
12. Stow the jack, tools and flat tire.
WARNING!
A loose tire or jack thrown forward in a collision or
hard stop could endanger the occupants of the ve-
hicle. Always stow the jack parts and the spare tire in
the places provided. Have the deflated (flat) tire
repaired or replaced immediately.
Road Tire Installation
Vehicles Equipped With Wheel Covers
1. Mount the road tire on the axle.
2. To ease the installation process for steel wheels with
wheel covers, install two wheel bolts on the wheel
which are on each side of the valve stem. Install the
wheel bolts with the threaded end of the bolt toward
the wheel. Lightly tighten the wheel bolts.
548 WHAT TO DO IN EMERGENCIES
Page 551 of 664
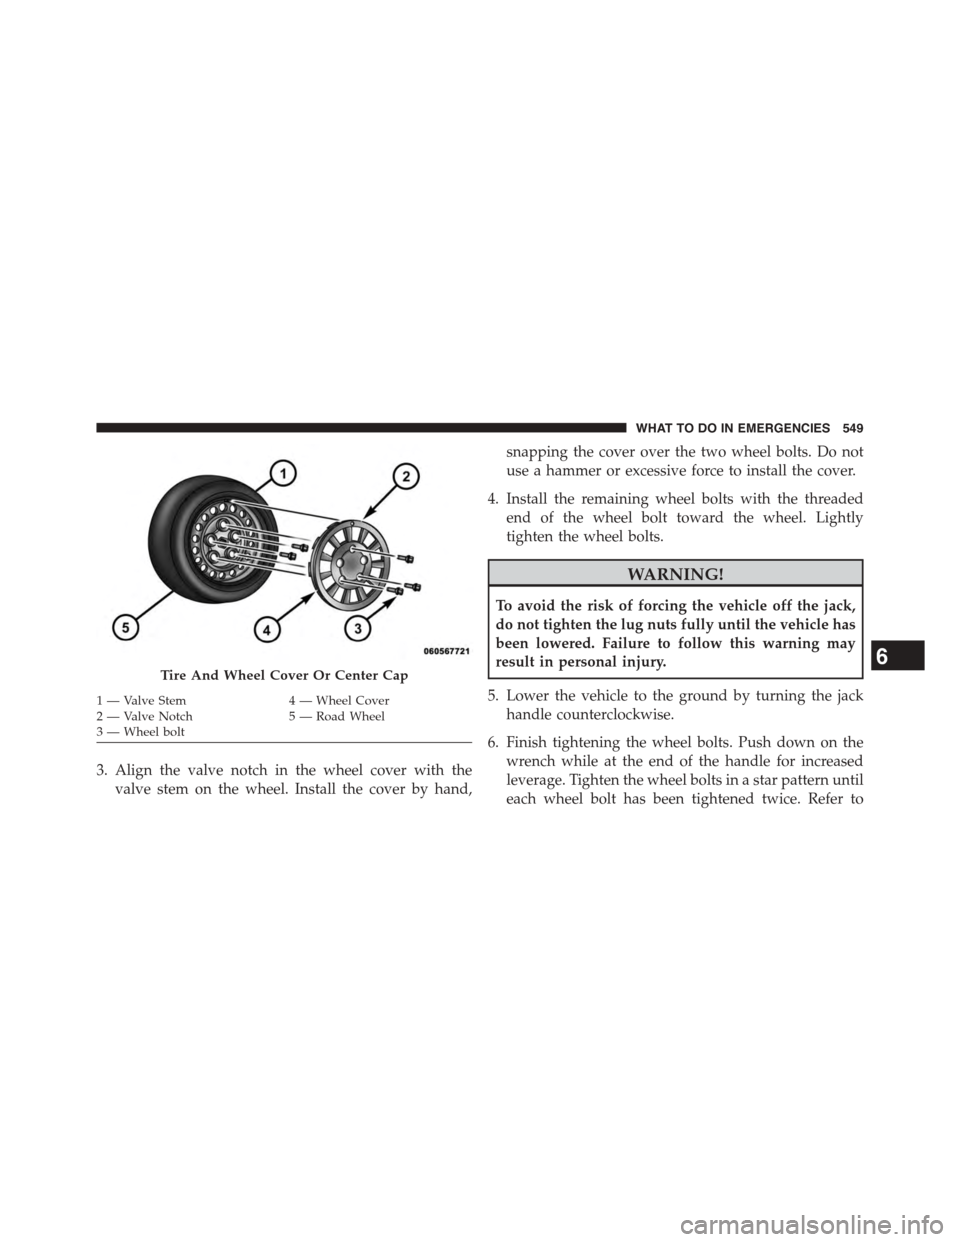
3. Align the valve notch in the wheel cover with the
valve stem on the wheel. Install the cover by hand,
snapping the cover over the two wheel bolts. Do not
use a hammer or excessive force to install the cover.
4. Install the remaining wheel bolts with the threaded
end of the wheel bolt toward the wheel. Lightly
tighten the wheel bolts.
WARNING!
To avoid the risk of forcing the vehicle off the jack,
do not tighten the lug nuts fully until the vehicle has
been lowered. Failure to follow this warning may
result in personal injury.
5. Lower the vehicle to the ground by turning the jack
handle counterclockwise.
6. Finish tightening the wheel bolts. Push down on the
wrench while at the end of the handle for increased
leverage. Tighten the wheel bolts in a star pattern until
each wheel bolt has been tightened twice. Refer to
Tire And Wheel Cover Or Center Cap
1 — Valve Stem4 — Wheel Cover2—ValveNotch5—RoadWheel3—Wheelbolt
6
WHAT TO DO IN EMERGENCIES 549
Page 552 of 664
“Torque Specifications” in this section for proper lug
bolt torque. If in doubt about the correct tightness,
have them checked with a torque wrench by your
authorized dealer or service station.
7. Lower the jack until it is free. Remove the wheel
blocks. Reassemble the lug wrench to the jack assem-
bly and stow it in the spare tire area. Secure the
assembly using the means provided. Release the park-
ing brake before driving the vehicle.
8. After 25 miles (40 km) check the wheel bolt torque
with a torque wrench to ensure that all wheel bolts are
properly seated against the wheel.
Road Tire Installation
1. Mount the road tire on the axle.
2. Install the remaining wheel bolts with the threaded
end of the wheel bolt toward the wheel. Lightly
tighten the wheel bolts.
WARNING!
To avoid the risk of forcing the vehicle off the jack,
do not tighten the lug nuts fully until the vehicle has
been lowered. Failure to follow this warning may
result in personal injury.
3. Lower the vehicle to the ground by turning the jack
handle counterclockwise.
4. Finish tightening the wheel bolts. Push down on the
wrench while at the end of the handle for increased
leverage. Tighten the wheel bolts in a star pattern until
each wheel bolt has been tightened twice. Refer to
“Torque Specifications” in this section for the proper
lug bolt torque. If in doubt about the correct tightness,
have them checked with a torque wrench by your
authorized dealer or service station.
550 WHAT TO DO IN EMERGENCIES
Page 553 of 664
5. Lower the jack until it is free. Remove the wheel
blocks. Reassemble the lug wrench to the jack assem-
bly and stow it in the spare tire area. Secure the
assembly using the means provided. Release the park-
ing brake before driving the vehicle.
6. After 25 miles (40 km) check the wheel bolt torque
with a torque wrench to ensure that all wheel bolts are
properly seated against the wheel.
JUMP-STARTING PROCEDURES
If your vehicle has a discharged battery it can be jump-
started using a set of jumper cables and a battery in
another vehicle or by using a portable battery booster
pack. Jump-starting can be dangerous if done improperly
so please follow the procedures in this section carefully.
NOTE:When using a portable battery booster pack
follow the manufacturer ’s operating instructions and
precautions.
CAUTION!
Do not use a portable battery booster pack or any
other booster source with a system voltage greater
than 12 Volts or damage to the battery, starter motor,
alternator or electrical system may occur.
WARNING!
Do not attempt jump-starting if the battery is frozen.
It could rupture or explode and cause personal injury.
Preparations For Jump-Start
The battery in your vehicle is located in the front of the
engine compartment, behind the left headlight assembly.
NOTE:The positive battery post is covered with a
protective cap. Lift up on the cap to gain access to the
positive battery post.
6
WHAT TO DO IN EMERGENCIES 551
Page 593 of 664
Brake System
In order to assure brake system performance, all brake
system components should be inspected periodically.
Refer to the “Maintenance Schedule” for the proper
maintenance intervals.
WARNING!
Riding the brakes can lead to brake failure and
possibly a collision. Driving with your foot resting or
riding on the brake pedal can result in abnormally
high brake temperatures, excessive lining wear, and
possible brake damage. You would not have your full
braking capacity in an emergency.
Brake Master Cylinder
The fluid level in the master cylinder should be checked
when performing under hood services, or immediately if
the brake system warning light is on.
Be sure to clean the top of the master cylinder area before
removing the cap. If necessary, add fluid to bring the
fluid level up to the requirements described on the brake
fluid reservoir. Fluid level can be expected to fall as the
brake pads wear. The brake fluid level should be checked
when the pads are replaced. However, low fluid level
may be caused by a leak and a checkup may be needed.
NOTE:If your vehicle is equipped with amanual trans-
mission, the brake fluid reservoir supplies fluid to both
the brake system and the clutch release system. The two
systems are separated in the reservoir, and a leak in one
system will not affect the other system. Themanual
transmissionclutch release system should not require
fluid replacement during the life of the vehicle. If the
brake fluid reservoir is low and the brake system does
not indicate any leaks or other problems, it may be a
result of a leak in the hydraulic clutch release system. See
your local authorized dealer for service.
7
MAINTAINING YOUR VEHICLE 591
Page 636 of 664
The manufacturer will not stand behind any service
contract that is not the manufacturer’s service contract. It
is not responsible for any service contract other than the
manufacturer’s service contract. If you purchased a ser-
vice contract that is not a manufacturer’s service contract,
and you require service after the manufacturer’s New
Vehicle Limited Warranty expires, please refer to the
contract documents, and contact the person listed in
those documents.
We appreciate that you have made a major investment
when you purchased the vehicle. An authorized dealer
has also made a major investment in facilities, tools, and
training to assure that you are absolutely delighted with
the ownership experience. You will be pleased with their
sincere efforts to resolve any warranty issues or related
concerns.
WARNING!
Engine exhaust (internal combustion engines only),
some of its constituents, and certain vehicle compo-
nents contain, or emit, chemicals known to the State
of California to cause cancer and birth defects, or
other reproductive harm. In addition, certain fluids
contained in vehicles and certain products of compo-
nent wear contain, or emit, chemicals known to the
State of California to cause cancer and birth defects,
or other reproductive harm.
WARRANTY INFORMATION
See the Warranty Information Booklet, located on the
DVD, for the terms and provisions of Chrysler Group
LLC warranties applicable to this vehicle and market.
634 IF YOU NEED CONSUMER ASSISTANCE
Page 642 of 664
About Your Brakes........................450
ABS (Anti-Lock Brake System)................453
Adding Engine Coolant (Antifreeze)............587
Adding Fuel.............................505
Adding Washer Fluid......................581
Additives, Fuel...........................503
Air bag . . . . . . . . . . . . . . . . . . . . . . . . . . . . . . . . .62
Air Bag
Advance Front Air Bag....................63
Air Bag Components.....................62
Air bag Operation.......................67
Air Bag Warning Light....................68
Driver Knee Air Bag......................77
Enhanced Accident Response................83
Event Data Recorder (EDR).................87
Front Air Bag . . . . . . . . . . . . . . . . . . . . . . . . . . .62
Front Passenger Knee Air bag...............77
If A Deployment Occurs...................82
Knee Impact Bolsters.....................77
Lighter Weight Passengers..................71
Maintaining Your Air Bag System............86
Occupant Classification Module (OCM)........68
Transporting Pets.......................109
Air bag Deployment........................62
Air bag Light.............................84
Air bag Maintenance........................86
Air Cleaner, Engine (Engine Air Cleaner Filter) . . . .575
Air Conditioner Maintenance.................577
Air Conditioning..........................390
Air Conditioning Controls...................390
Air Conditioning Filter.....................405
Air Conditioning, Operating Tips..............404
Air Conditioning Refrigerant.................577
Air Conditioning System....................390
Air Pressure, Tires.........................478
Alarm
Arm The System........................20
Rearming The System.....................20
640 INDEX
Page 643 of 664
Tamper Alert...........................22
Vehicle Security Alarm....................20
Alarm Light.............................315
Alarm, Panic.............................22
Alarm (Security Alarm)......................20
Alarm System (Security Alarm)................20
Alterations/Modifications, Vehicle...............7
Antifreeze (Engine Coolant)..................586
Capacities............................615
Disposal..............................589
Anti-Lock Brake System (ABS)................453
Anti-Lock Warning Light....................318
Appearance Care.........................595
Assistance Towing.........................150
Assist, Hill Start..........................458
Auto Down Power Windows..................44
Automatic Dimming Mirror..................122
Automatic Door Locks......................36
Automatic Headlights......................237
Automatic High Beams.....................239
Automatic Temperature Control (ATC)..........402
Automatic Transmission....................421
Adding Fluid..........................594
Fluid and Filter Changes..................595
Fluid Level Check.......................594
Fluid Type............................593
Gear Ranges...........................426
Special Additives.......................594
Autostick...............................443
Auto Unlock, Doors........................36
Auto Up Power Windows....................44
Battery.................................576
Keyless Transmitter Replacement (RKE)........27
Belts, Seat...............................112
Bluetooth®
Connecting To A Particular Mobile Phone Or
Audio Device After Pairing................17610
INDEX 641
Page 644 of 664
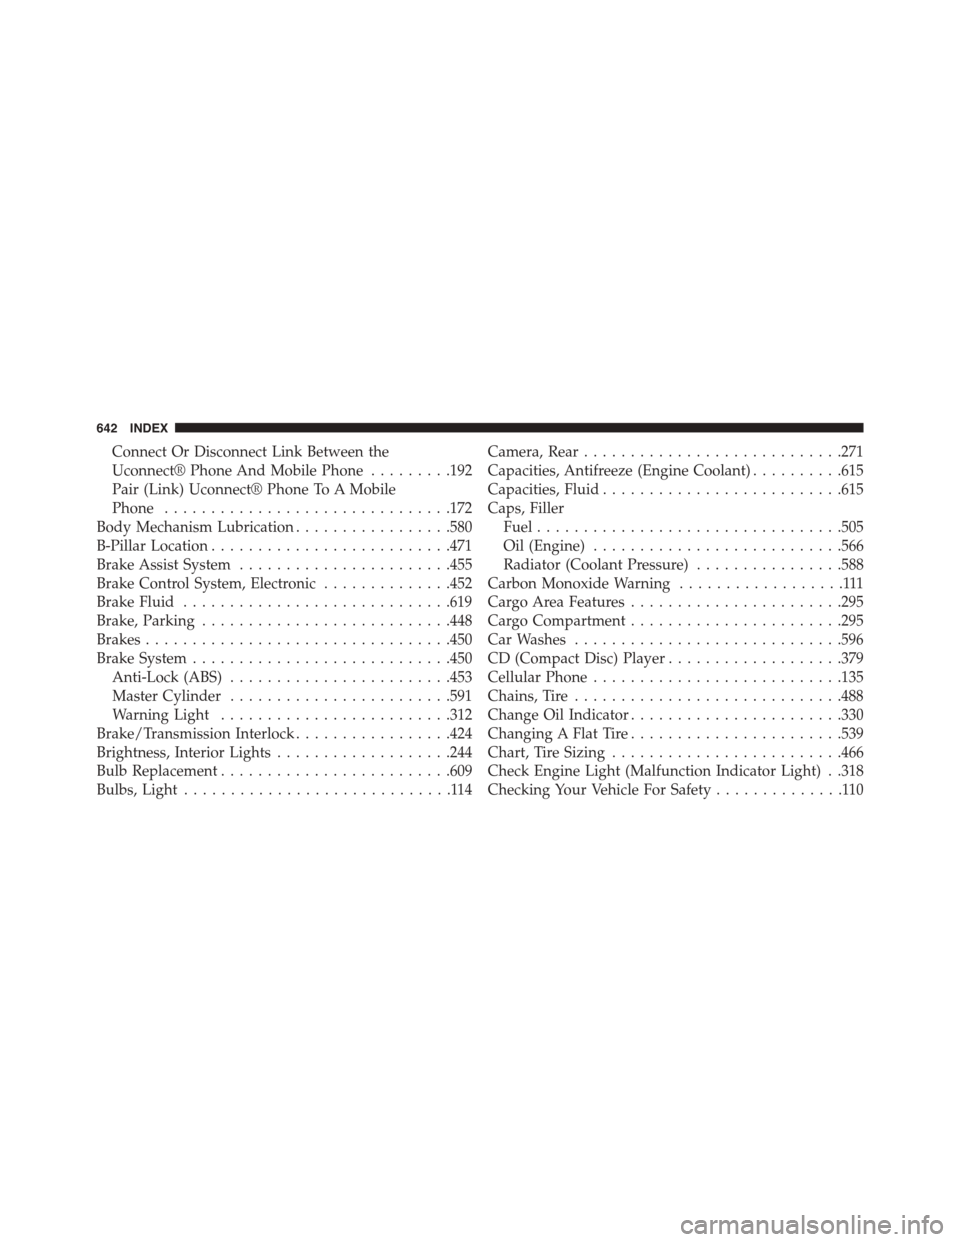
Connect Or Disconnect Link Between the
Uconnect® Phone And Mobile Phone.........192
Pair (Link) Uconnect® Phone To A Mobile
Phone...............................172
Body Mechanism Lubrication.................580
B-Pillar Location..........................471
Brake Assist System.......................455
Brake Control System, Electronic..............452
Brake Fluid.............................619
Brake, Parking...........................448
Brakes.................................450
Brake System............................450
Anti-Lock (ABS)........................453
Master Cylinder........................591
Warning Light.........................312
Brake/Transmission Interlock.................424
Brightness, Interior Lights...................244
Bulb Replacement.........................609
Bulbs, Light.............................114
Camera, Rear............................271
Capacities, Antifreeze (Engine Coolant)..........615
Capacities, Fluid..........................615
Caps, Filler
Fuel.................................505
Oil (Engine)...........................566
Radiator (Coolant Pressure)................588
Carbon Monoxide Warning..................111
Cargo Area Features.......................295
Cargo Compartment.......................295
Car Washes.............................596
CD (Compact Disc) Player...................379
Cellular Phone...........................135
Chains, Tire.............................488
Change Oil Indicator.......................330
Changing A Flat Tire.......................539
Chart, Tire Sizing.........................466
Check Engine Light (Malfunction Indicator Light) . .318
Checking Your Vehicle For Safety..............110
642 INDEX
Page 648 of 664
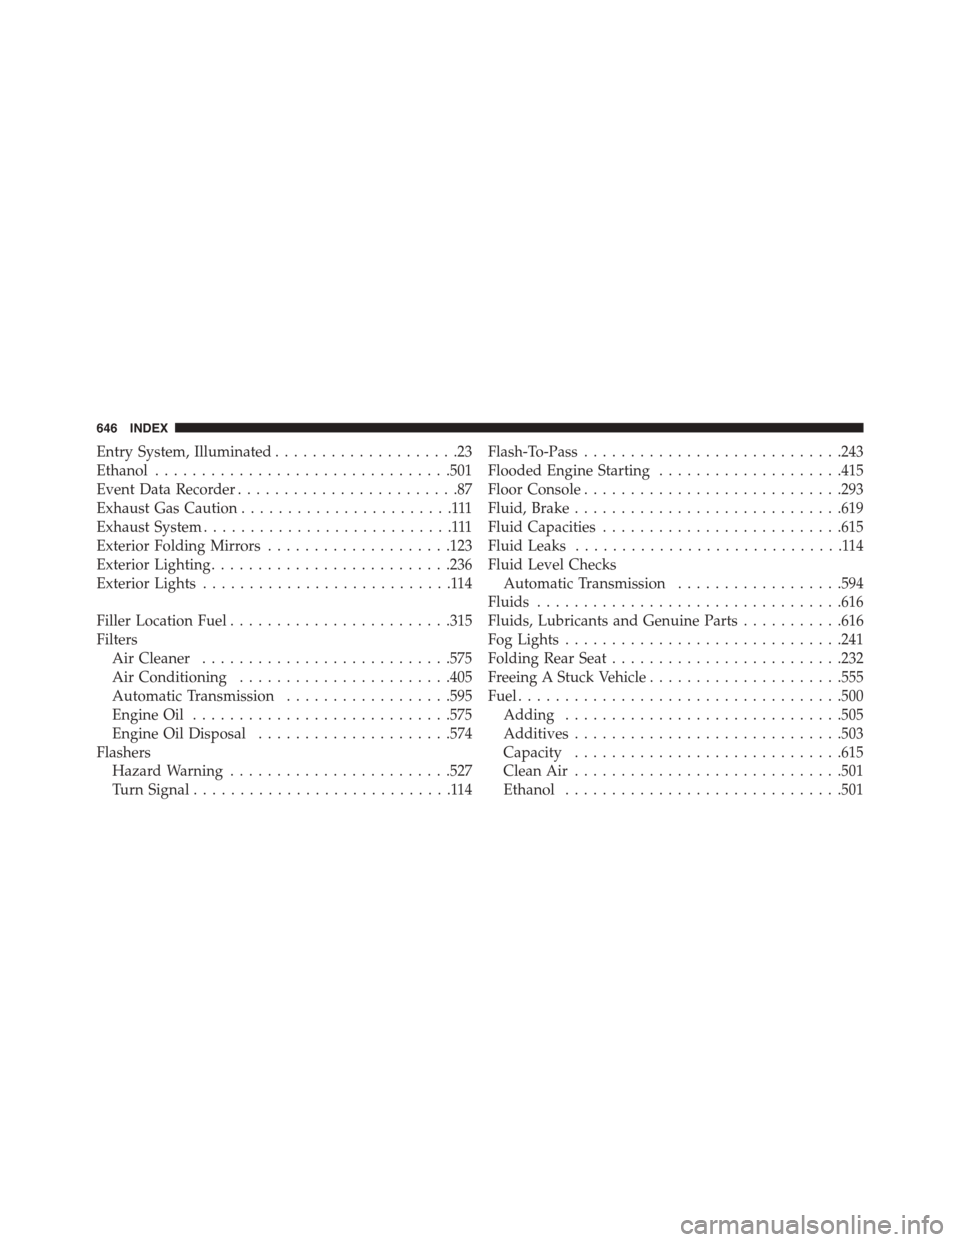
Entry System, Illuminated....................23
Ethanol................................501
Event Data Recorder........................87
Exhaust Gas Caution.......................111
Exhaust System...........................111
Exterior Folding Mirrors....................123
Exterior Lighting..........................236
Exterior Lights...........................114
Filler Location Fuel........................315
Filters
Air Cleaner...........................575
Air Conditioning.......................405
Automatic Transmission..................595
Engine Oil............................575
Engine Oil Disposal.....................574
Flashers
Hazard Warning........................527
Turn Signal............................114
Flash-To-Pass............................243
Flooded Engine Starting....................415
Floor Console............................293
Fluid, Brake.............................619
Fluid Capacities..........................615
Fluid Leaks.............................114
Fluid Level Checks
Automatic Transmission..................594
Fluids.................................616
Fluids, Lubricants and Genuine Parts...........616
Fog Lights..............................241
Folding Rear Seat.........................232
Freeing A Stuck Vehicle.....................555
Fuel...................................500
Adding..............................505
Additives.............................503
Capacity.............................615
Clean Air.............................501
Ethanol..............................501
646 INDEX