reset DODGE DART 2015 PF / 1.G Owners Manual
[x] Cancel search | Manufacturer: DODGE, Model Year: 2015, Model line: DART, Model: DODGE DART 2015 PF / 1.GPages: 664, PDF Size: 16.96 MB
Page 34 of 664
WARNING!(Continued)
•Keep Remote Keyless Entry (RKE) transmitters
away from children. Operation of the Remote Start
System, windows, door locks or other controls
could cause serious injury or death.
Remote Start Abort Message
The following messages will display in the EVIC/DID (if
equipped) if the vehicle fails to remote start or exits
remote start prematurely:
•Remote Start Aborted — Door Open
•Remote Start Aborted — Hood Open
•Remote Start Aborted — Trunk Open
•Remote Start Aborted — Fuel Low
•Remote Start Disabled — Start To Reset
•Remote Start Aborted — Too Cold
•Remote Start Aborted — Time Expired
The EVIC/DID message stays active until the ignition is
cycled to the ON/RUN position.
To Enter Remote Start Mode
Push and release the REMOTE START button
on the RKE transmitter twice within five sec-
onds. The vehicle doors will lock, parking
lights will flash and the horn will chirp twice (if
programmed). Then, the engine will start and the vehicle
will remain in the Remote Start mode for a 15-minute
cycle.
NOTE:
•If an engine fault is present or fuel level is low, the
vehicle will start and then shut down in 10 seconds.
32 THINGS TO KNOW BEFORE STARTING YOUR VEHICLE
Page 47 of 664
Manual Down
Push the switch for more than a half a second and release
when you want the window to stop.
Express Up
Lift the switch for less than a half a second and release.
The window will go up automatically.
Manual Up
Lift the switch for more than a half a second and release
when you want the window to stop.
NOTE:
•If the window runs into any obstacle during auto-
closure, it will reverse direction and then go back
down. Remove the obstacle and use the window
switch again to close the window.
•Any impact due to rough road conditions may trigger
the auto-reverse function unexpectedly during auto-
closure. If this happens, pull the switch lightly to the
first detent and hold to close the window manually.
WARNING!
There is no anti-pinch protection when the window
is almost closed. Be sure to clear all objects from the
window before closing.
Reset Auto-Up
Should the Auto Up feature stop working, the window
may need to be reset. To reset Auto Up:
1. Make sure the door is fully closed.
2. Pull the window switch up to close the window
completely and continue to hold the switch up for an
additional two seconds after the window is closed.
2
THINGS TO KNOW BEFORE STARTING YOUR VEHICLE 45
Page 86 of 664
•Cut off fuel to the engine.
•Flash hazard lights as long as the battery has power or
until the ignition switch is turned to the “OFF” posi-
tion.
•Turn on the interior lights, which remain on as long as
the battery has power or until the ignition switch is
turned to the “OFF” position.
•Unlock the doors automatically.
System Reset Procedure
In order to reset the Enhanced Accident Response System
functions after an event, the ignition switch must be
changed from ignition START or ON/RUN to ignition
OFF.
Air Bag Warning Light
The air bags must be ready to inflate for your protection
in a collision. The Occupant Restraint Control-
ler (ORC) monitors the internal circuits and
interconnecting wiring associated with air bag
system electrical components.
The ORC monitors the readiness of the electronic parts of
the air bag system whenever the ignition switch is in the
START or ON/RUN position. If the ignition switch is in
the OFF position or in the ACC position, the air bag
system is not on and the air bags will not inflate.
The ORC contains a backup power supply system that
may deploy the air bags even if the battery loses power or
it becomes disconnected prior to deployment.
The ORC turns on the Air Bag Warning Light in the
instrument panel for approximately four to eight seconds
for a self-check when the ignition switch is first turned to
84 THINGS TO KNOW BEFORE STARTING YOUR VEHICLE
Page 158 of 664
Voice Training
For users experiencing difficulty with the system recogniz-
ing their voice commands or numbers, the Uconnect®
Phone Voice Training feature may be used. To enter this
training mode, follow one of the two following procedures:
•From outside the Uconnect® Phone mode (e.g., from
radio mode), push and hold the Voice Command
button for five seconds until the session begins,
or,
•Push the Voice Commandbutton and say the
“Voice Training,” “System Training,” or “Start Voice
Training” command.
You can either push the Uconnect® Phone button to restore
the factory setting or repeat the words and phrases when
prompted by the Uconnect® Phone. For best results, the
Voice Training session should be completed when the
vehicle is parked with the engine running, all windows
closed, and the blower fan switched off.
This procedure may be repeated with a new user. The
system will adapt to the last trained voice only.
Reset
To Reset all settings using Voice Command:
1. Push the Phonebutton.
2. After the “Ready” prompt and the following beep, say
“Setup,” then “Reset.”
•This will delete all phone pairing, phone book en-
tries, and other settings in all language modes. The
System will prompt you before resetting to factory
settings.
Voice Command
Uconnect® Voice Command Tutorial
To hear a brief tutorial of the Voice Command features,
push the Voice Commandbutton and say “Voice
Command Tutorial.”
156 UNDERSTANDING THE FEATURES OF YOUR VEHICLE
Page 166 of 664
Voice Text Reply
Uconnect® Phone can read or send new messages on
your phone.
Read Messages:
If you receive a new text message while your phone is
connected to Uconnect® Phone and your phone is sup-
ported, an announcement will be made to notify you that
you have a new text message. If you wish to hear the new
message:
•Push the Phonebutton.
•After the “Ready” prompt and the following beep, say
“SMS Read” or “Read Messages.”
•Uconnect® Phone will play the new text message for
you.
After reading a message, you can “Reply” or “Forward”
the message using Uconnect® Phone.
Send Messages:
You can send messages using Uconnect® Phone, if your
mobile phone is supported. To send a new message:
•Push the Phonebutton.
•After the “Ready” prompt and the following beep, say
“SMS Send” or “Send Message.”
•You can either say the message you wish to send or say
“List Messages.” There are 20 preset messages.
To send a message, push the Voice Commandbut-
ton while the system is listing the message and say
“Send.”
Uconnect® Phone will prompt you to say the name or
number of the person you wish to send the message to.
164 UNDERSTANDING THE FEATURES OF YOUR VEHICLE
Page 167 of 664
List of Preset Messages:
1. Yes
2. No
3. Where are you?
4. I need more direction.
5. L O L
6. Why
7. I love you
8. Call me
9. Call me later
10. Thanks
11. See You in 15 minutes
12. I am on my way
13. I’ll be late
14. Are you there yet?
15. Where are we meeting?
16. Can this wait?
17. Bye for now
18. When can we meet
19. Send number to call
20. Start without me
3
UNDERSTANDING THE FEATURES OF YOUR VEHICLE 165
Page 183 of 664
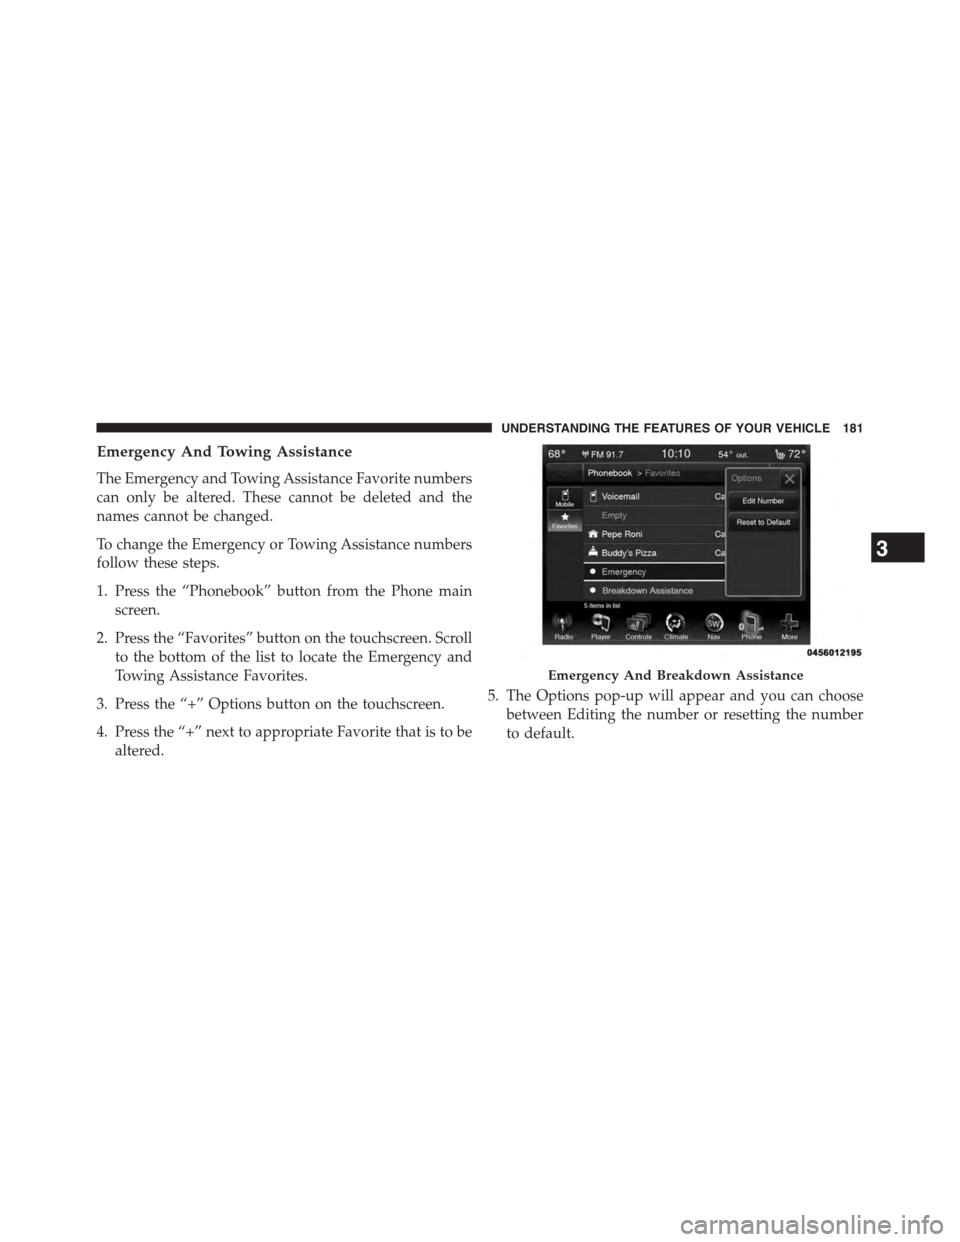
Emergency And Towing Assistance
The Emergency and Towing Assistance Favorite numbers
can only be altered. These cannot be deleted and the
names cannot be changed.
To change the Emergency or Towing Assistance numbers
follow these steps.
1. Press the “Phonebook” button from the Phone main
screen.
2. Press the “Favorites” button on the touchscreen. Scroll
to the bottom of the list to locate the Emergency and
Towing Assistance Favorites.
3. Press the “+” Options button on the touchscreen.
4. Press the “+” next to appropriate Favorite that is to be
altered.
5. The Options pop-up will appear and you can choose
between Editing the number or resetting the number
to default.
Emergency And Breakdown Assistance
3
UNDERSTANDING THE FEATURES OF YOUR VEHICLE 181
Page 198 of 664
Once a message is received and viewed or listened to,
you will have the following options:
•Send a Reply
•Forward
•Call
Send Messages Using Buttons On The Touchscreen:
You can send messages using Uconnect® Phone. To send
a new message:
1. Press the “Phone” button on the touchscreen.
2. Press the “messaging” button on the touchscreen then
“New Message.”
3. Press one of the 18 preset messages and the person
you wish to send the message to.
196 UNDERSTANDING THE FEATURES OF YOUR VEHICLE
Page 199 of 664
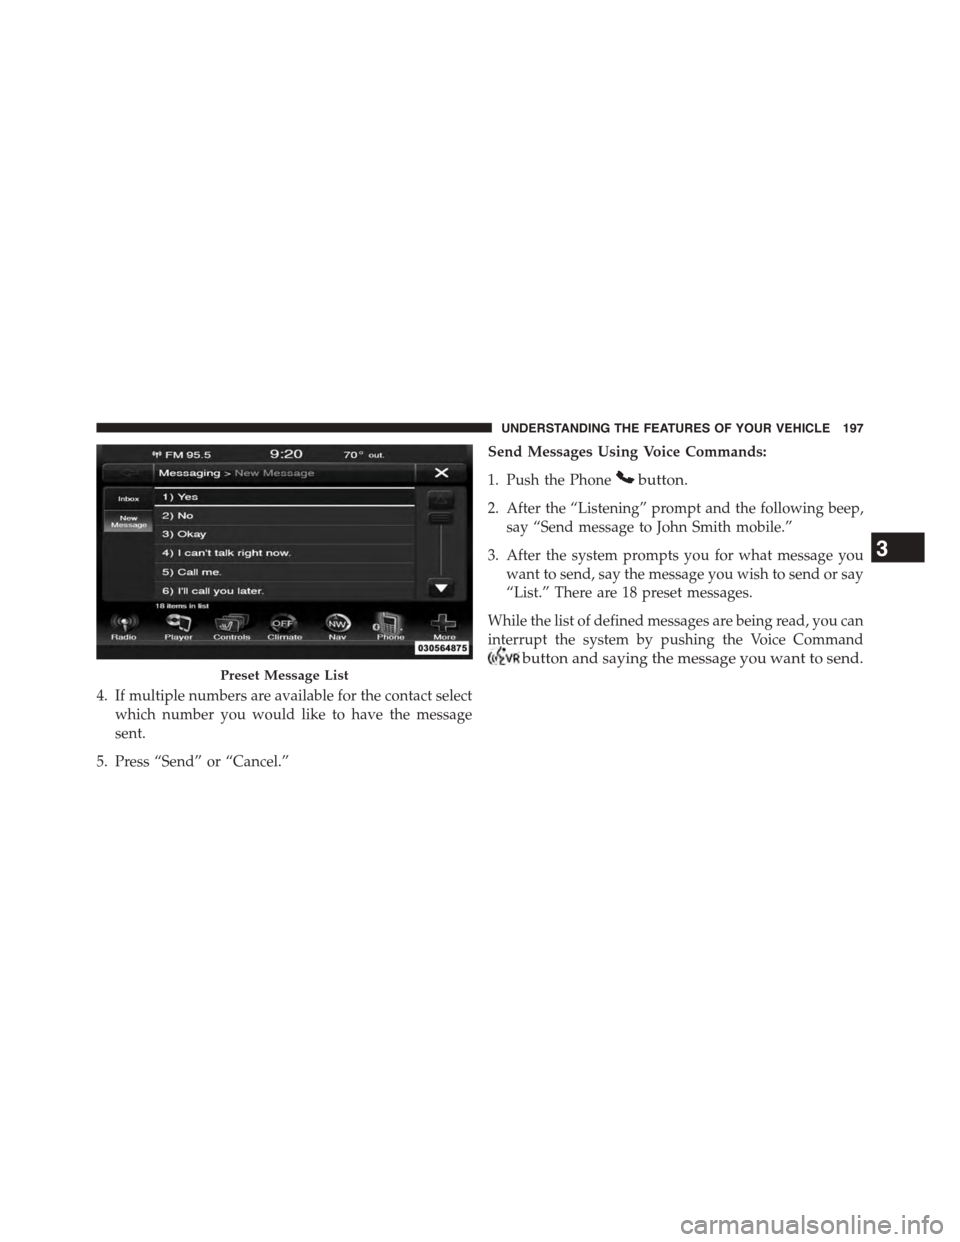
4. If multiple numbers are available for the contact select
which number you would like to have the message
sent.
5. Press “Send” or “Cancel.”
Send Messages Using Voice Commands:
1. Push the Phonebutton.
2. After the “Listening” prompt and the following beep,
say “Send message to John Smith mobile.”
3. After the system prompts you for what message you
want to send, say the message you wish to send or say
“List.” There are 18 preset messages.
While the list of defined messages are being read, you can
interrupt the system by pushing the Voice Command
button and saying the message you want to send.
Preset Message List
3
UNDERSTANDING THE FEATURES OF YOUR VEHICLE 197
Page 200 of 664
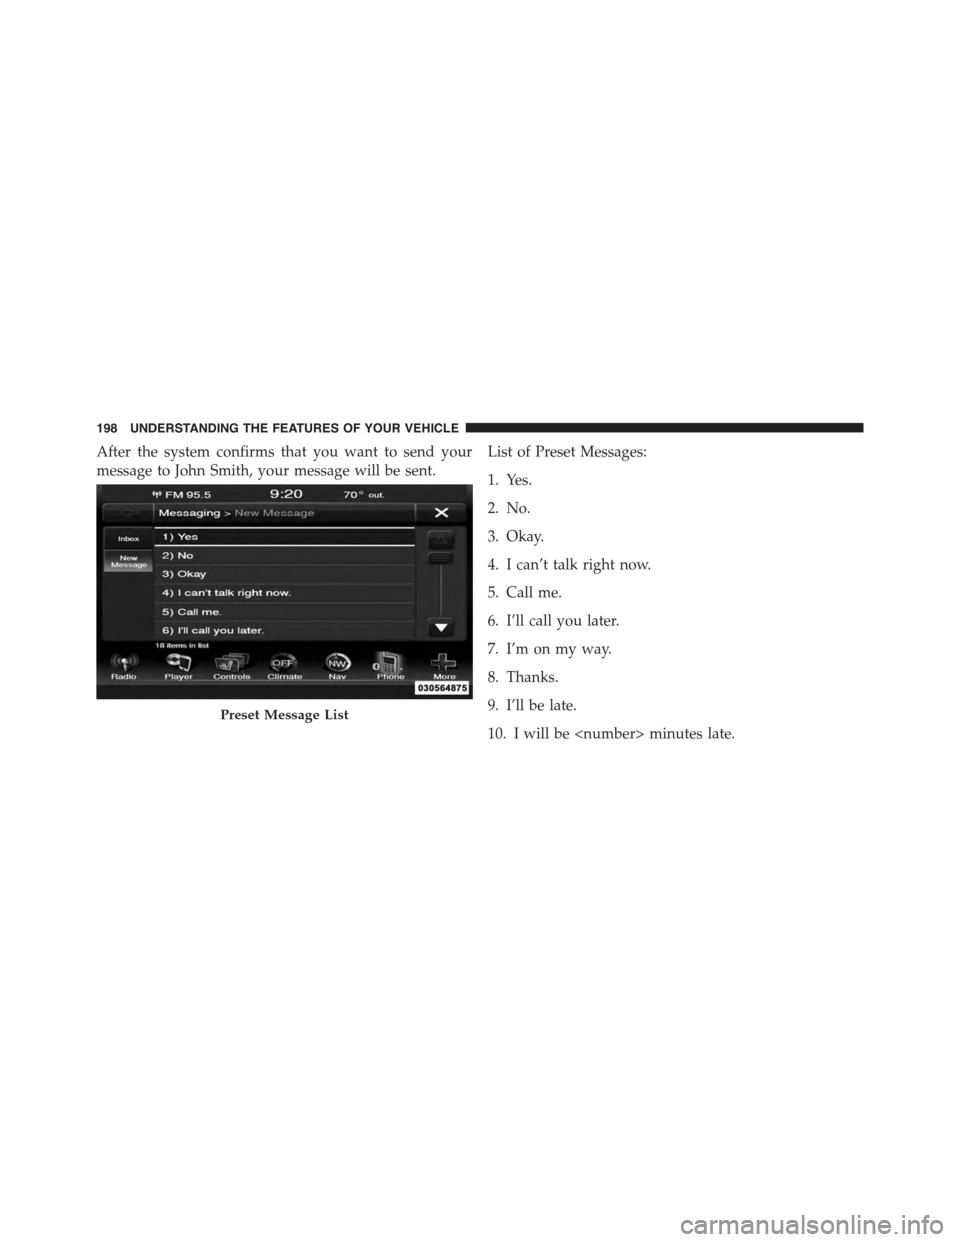
After the system confirms that you want to send your
message to John Smith, your message will be sent.
List of Preset Messages:
1. Yes.
2. No.
3. Okay.
4. I can’t talk right now.
5. Call me.
6. I’ll call you later.
7. I’m on my way.
8. Thanks.
9. I’ll be late.
10. I will be
Preset Message List
198 UNDERSTANDING THE FEATURES OF YOUR VEHICLE