reset DODGE DART 2015 PF / 1.G Owner's Manual
[x] Cancel search | Manufacturer: DODGE, Model Year: 2015, Model line: DART, Model: DODGE DART 2015 PF / 1.GPages: 164, PDF Size: 25.19 MB
Page 92 of 164
DRIVER INFORMATION DISPLAY (DID) — PREMIUM (4 BUTTON)
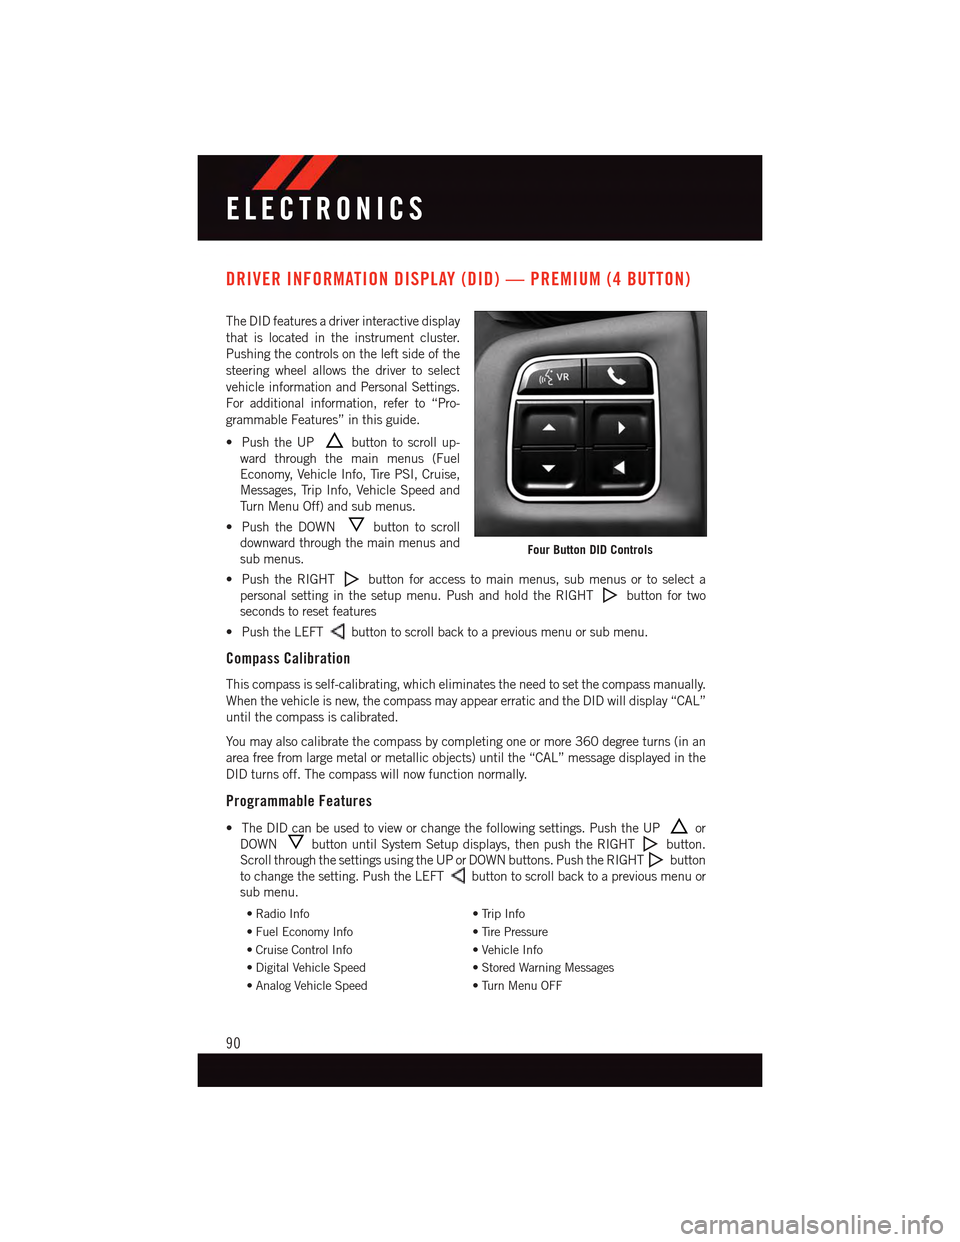
The DID features a driver interactive display
that is located in the instrument cluster.
Pushing the controls on the left side of the
steering wheel allows the driver to select
vehicle information and Personal Settings.
For additional information, refer to “Pro-
grammable Features” in this guide.
•PushtheUPbutton to scroll up-
ward through the main menus (Fuel
Economy, Vehicle Info, Tire PSI, Cruise,
Messages, Trip Info, Vehicle Speed and
Tu r n M e n u O f f ) a n d s u b m e n u s .
•PushtheDOWNbutton to scroll
downward through the main menus and
sub menus.
•PushtheRIGHTbutton for access to main menus, sub menus or to select a
personal setting in the setup menu. Push and hold the RIGHTbutton for two
seconds to reset features
•PushtheLEFTbutton to scroll back to a previous menu or sub menu.
Compass Calibration
This compass is self-calibrating, which eliminates the need to set the compass manually.
When the vehicle is new, the compass may appear erratic and the DID will display “CAL”
until the compass is calibrated.
Yo u m a y a l s o c a l i b r a t e t h e c o m p a s s b y c o m p l e t i n g o n e o r m o r e 3 6 0 d e g r e e t u r n s ( i n a n
area free from large metal or metallic objects) until the “CAL” message displayed in the
DID turns off. The compass will now function normally.
Programmable Features
•TheDIDcanbeusedtovieworchangethefollowingsettings.PushtheUPor
DOWNbutton until System Setup displays, then push the RIGHTbutton.
Scroll through the settings using the UP or DOWN buttons. Push the RIGHTbutton
to change the setting. Push the LEFTbutton to scroll back to a previous menu or
sub menu.
•RadioInfo•TripInfo
•FuelEconomyInfo•TirePressure
•CruiseControlInfo•VehicleInfo
•DigitalVehicleSpeed•StoredWarningMessages
•AnalogVehicleSpeed•TurnMenuOFF
Four Button DID Controls
ELECTRONICS
90
Page 106 of 164
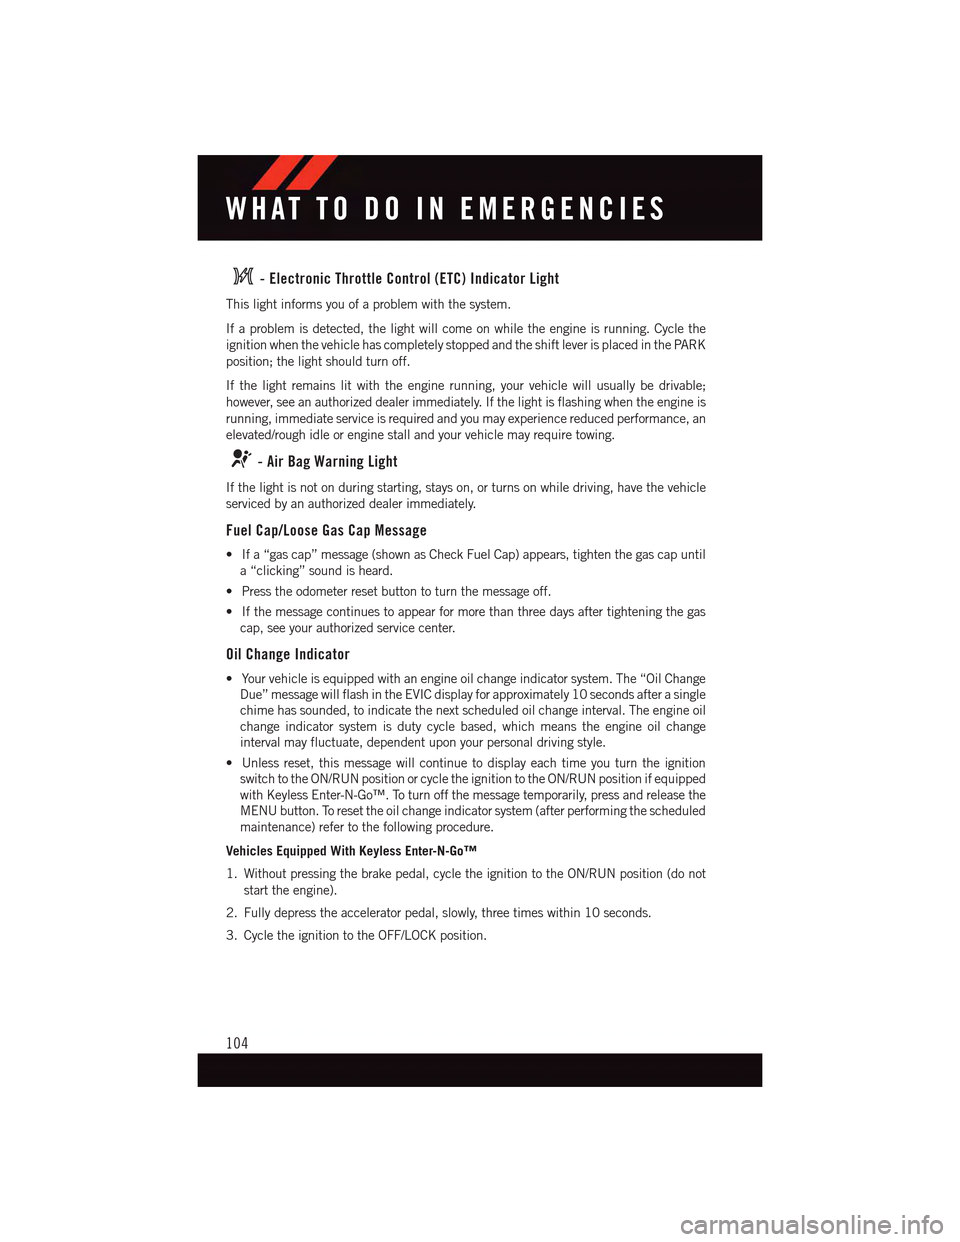
-ElectronicThrottleControl(ETC)IndicatorLight
This light informs you of a problem with the system.
If a problem is detected, the light will come on while the engine is running. Cycle the
ignition when the vehicle has completely stopped and the shift lever is placed in the PARK
position; the light should turn off.
If the light remains lit with the engine running, your vehicle will usually be drivable;
however, see an authorized dealer immediately. If the light is flashing when the engine is
running, immediate service is required and you may experience reduced performance, an
elevated/rough idle or engine stall and your vehicle may require towing.
-AirBagWarningLight
If the light is not on during starting, stays on, or turns on while driving, have the vehicle
serviced by an authorized dealer immediately.
Fuel Cap/Loose Gas Cap Message
•Ifa“gascap”message(shownasCheckFuelCap)appears,tightenthegascapuntil
a“clicking”soundisheard.
•Presstheodometerresetbuttontoturnthemessageoff.
•Ifthemessagecontinuestoappearformorethanthreedaysaftertighteningthegas
cap, see your authorized service center.
Oil Change Indicator
•Yourvehicleisequippedwithanengineoilchangeindicatorsystem.The“OilChange
Due” message will flash in the EVIC display for approximately 10 seconds after a single
chime has sounded, to indicate the next scheduled oil change interval. The engine oil
change indicator system is duty cycle based, which means the engine oil change
interval may fluctuate, dependent upon your personal driving style.
•Unlessreset,thismessagewillcontinuetodisplayeachtimeyouturntheignition
switch to the ON/RUN position or cycle the ignition to the ON/RUN position if equipped
with Keyless Enter-N-Go™. To turn off the message temporarily, press and release the
MENU button. To reset the oil change indicator system (after performing the scheduled
maintenance) refer to the following procedure.
Vehicles Equipped With Keyless Enter-N-Go™
1. Without pressing the brake pedal, cycle the ignition to the ON/RUN position (do not
start the engine).
2. Fully depress the accelerator pedal, slowly, three times within 10 seconds.
3. Cycle the ignition to the OFF/LOCK position.
WHAT TO DO IN EMERGENCIES
104
Page 107 of 164
Vehicles Not Equipped With Keyless Enter-N-Go™
1. Turn the ignition switch to the ON/RUN position (do not start the engine).
2. Fully depress the accelerator pedal, slowly, three times within 10 seconds.
3. Turn the ignition switch to the OFF/LOCK position.
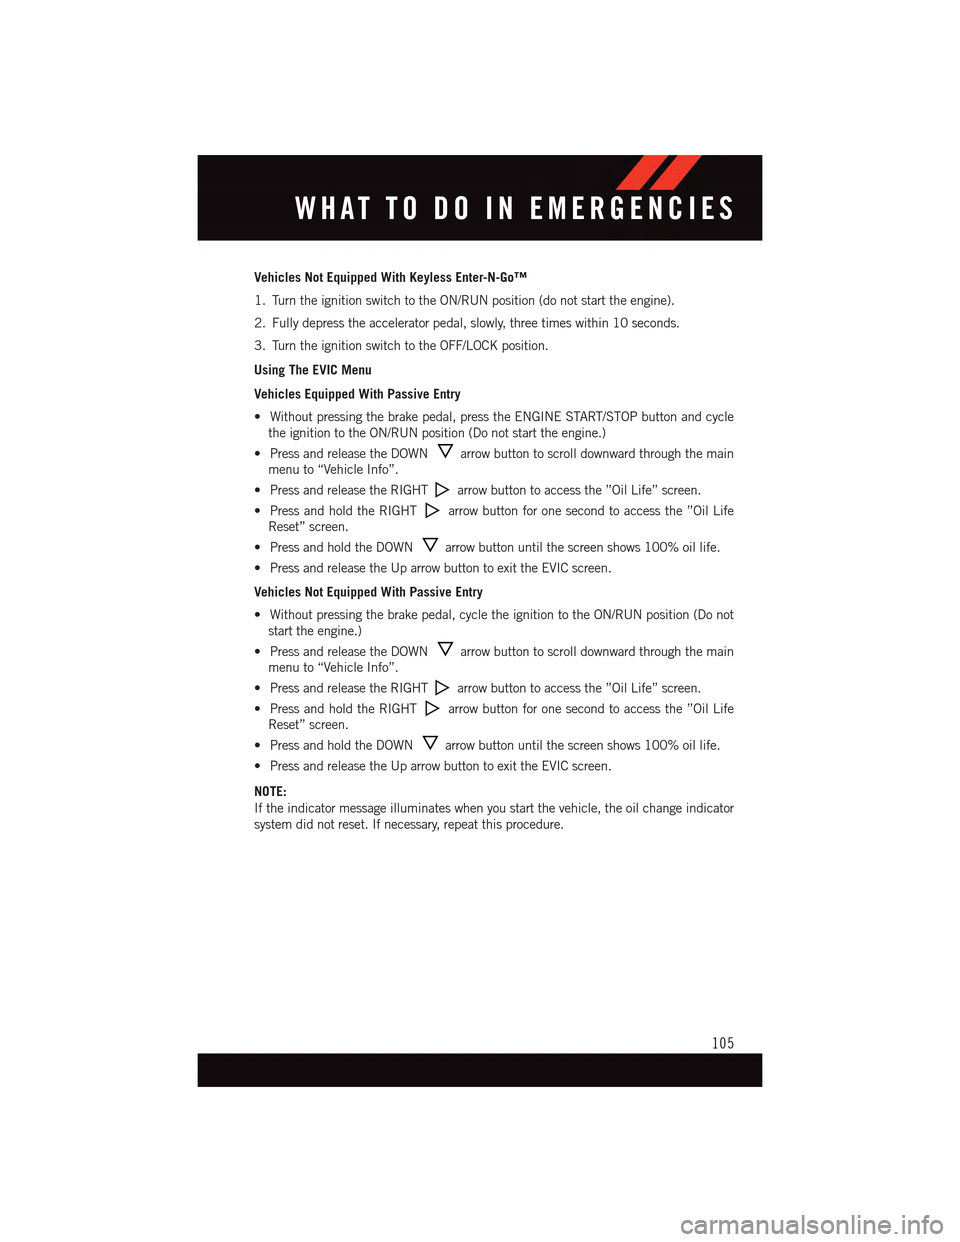
Using The EVIC Menu
Vehicles Equipped With Passive Entry
•Withoutpressingthebrakepedal,presstheENGINESTART/STOPbuttonandcycle
the ignition to the ON/RUN position (Do not start the engine.)
•PressandreleasetheDOWNarrow button to scroll downward through the main
menu to “Vehicle Info”.
•PressandreleasetheRIGHTarrow button to access the ”Oil Life” screen.
•PressandholdtheRIGHTarrow button for one second to access the ”Oil Life
Reset” screen.
•PressandholdtheDOWNarrow button until the screen shows 100% oil life.
•PressandreleasetheUparrowbuttontoexittheEVICscreen.
Vehicles Not Equipped With Passive Entry
•Withoutpressingthebrakepedal,cycletheignitiontotheON/RUNposition(Donot
start the engine.)
•PressandreleasetheDOWNarrow button to scroll downward through the main
menu to “Vehicle Info”.
•PressandreleasetheRIGHTarrow button to access the ”Oil Life” screen.
•PressandholdtheRIGHTarrow button for one second to access the ”Oil Life
Reset” screen.
•PressandholdtheDOWNarrow button until the screen shows 100% oil life.
•PressandreleasetheUparrowbuttontoexittheEVICscreen.
NOTE:
If the indicator message illuminates when you start the vehicle, the oil change indicator
system did not reset. If necessary, repeat this procedure.
WHAT TO DO IN EMERGENCIES
105
Page 136 of 164
MAINTENANCE SCHEDULE
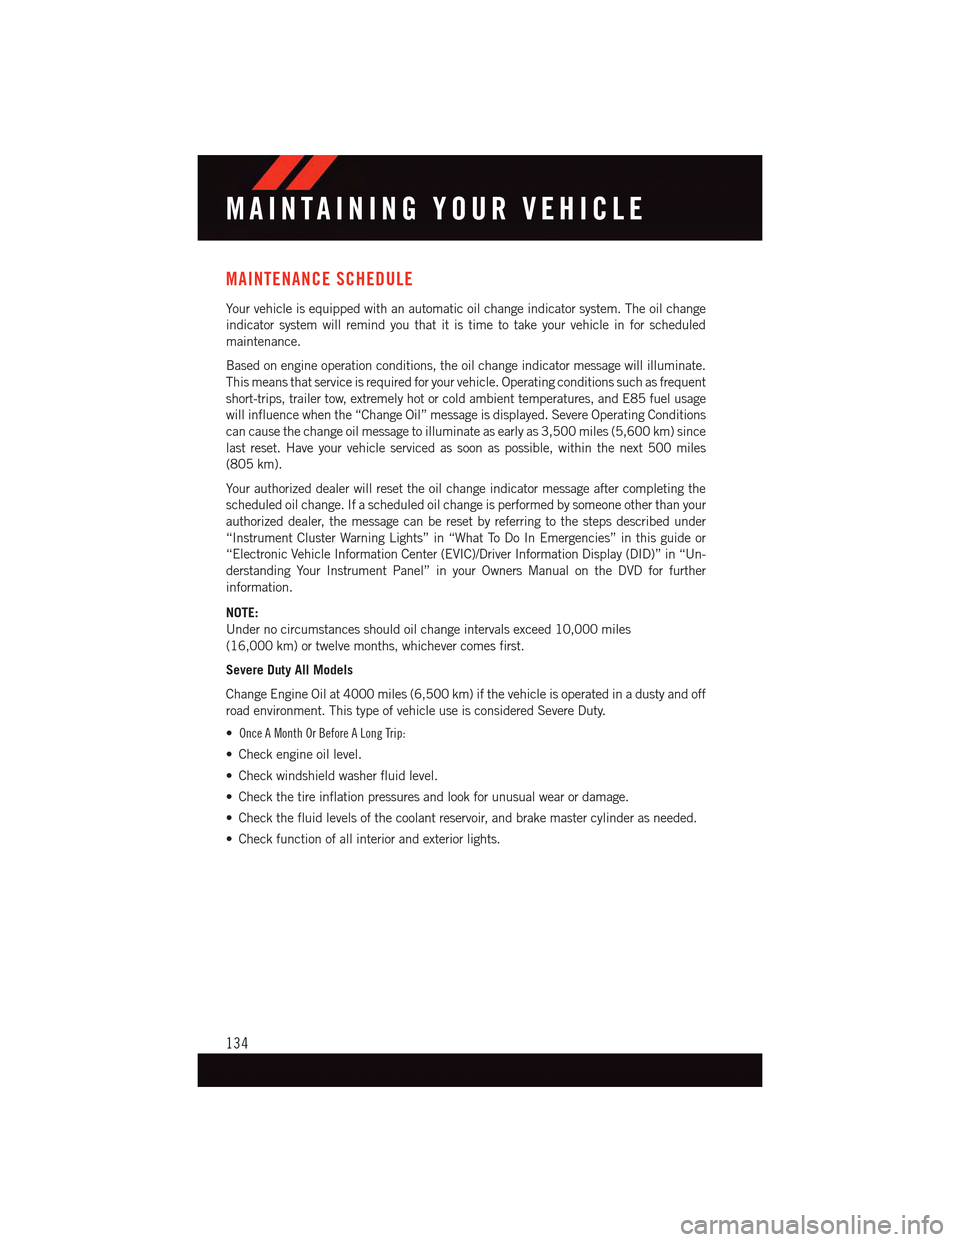
Yo u r v e h i c l e i s e q u i p p e d w i t h a n a u t o m a t i c o i l c h a n g e i n d i c a t o r s y s t e m . T h e o i l c h a n g e
indicator system will remind you that it is time to take your vehicle in for scheduled
maintenance.
Based on engine operation conditions, the oil change indicator message will illuminate.
This means that service is required for your vehicle. Operating conditions such as frequent
short-trips, trailer tow, extremely hot or cold ambient temperatures, and E85 fuel usage
will influence when the “Change Oil” message is displayed. Severe Operating Conditions
can cause the change oil message to illuminate as early as 3,500 miles (5,600 km) since
last reset. Have your vehicle serviced as soon as possible, within the next 500 miles
(805 km).
Yo u r a u t h o r i z e d d e a l e r w i l l r e s e t t h e o i l c h a n g e i n d i c a t o r m e s s a g e a f t e r c o m p l e t i n g t h e
scheduled oil change. If a scheduled oil change is performed by someone other than your
authorized dealer, the message can be reset by referring to the steps described under
“Instrument Cluster Warning Lights” in “What To Do In Emergencies” in this guide or
“Electronic Vehicle Information Center (EVIC)/Driver Information Display (DID)” in “Un-
derstanding Your Instrument Panel” in your Owners Manual on the DVD for further
information.
NOTE:
Under no circumstances should oil change intervals exceed 10,000 miles
(16,000 km) or twelve months, whichever comes first.
Severe Duty All Models
Change Engine Oil at 4000 miles (6,500 km) if the vehicle is operated in a dusty and off
road environment. This type of vehicle use is considered Severe Duty.
• Once A Month Or Before A Long Trip:
•Checkengineoillevel.
•Checkwindshieldwasherfluidlevel.
•Checkthetireinflationpressuresandlookforunusualwearordamage.
•Checkthefluidlevelsofthecoolantreservoir,andbrakemastercylinderasneeded.
•Checkfunctionofallinteriorandexteriorlights.
MAINTAINING YOUR VEHICLE
134
Page 152 of 164
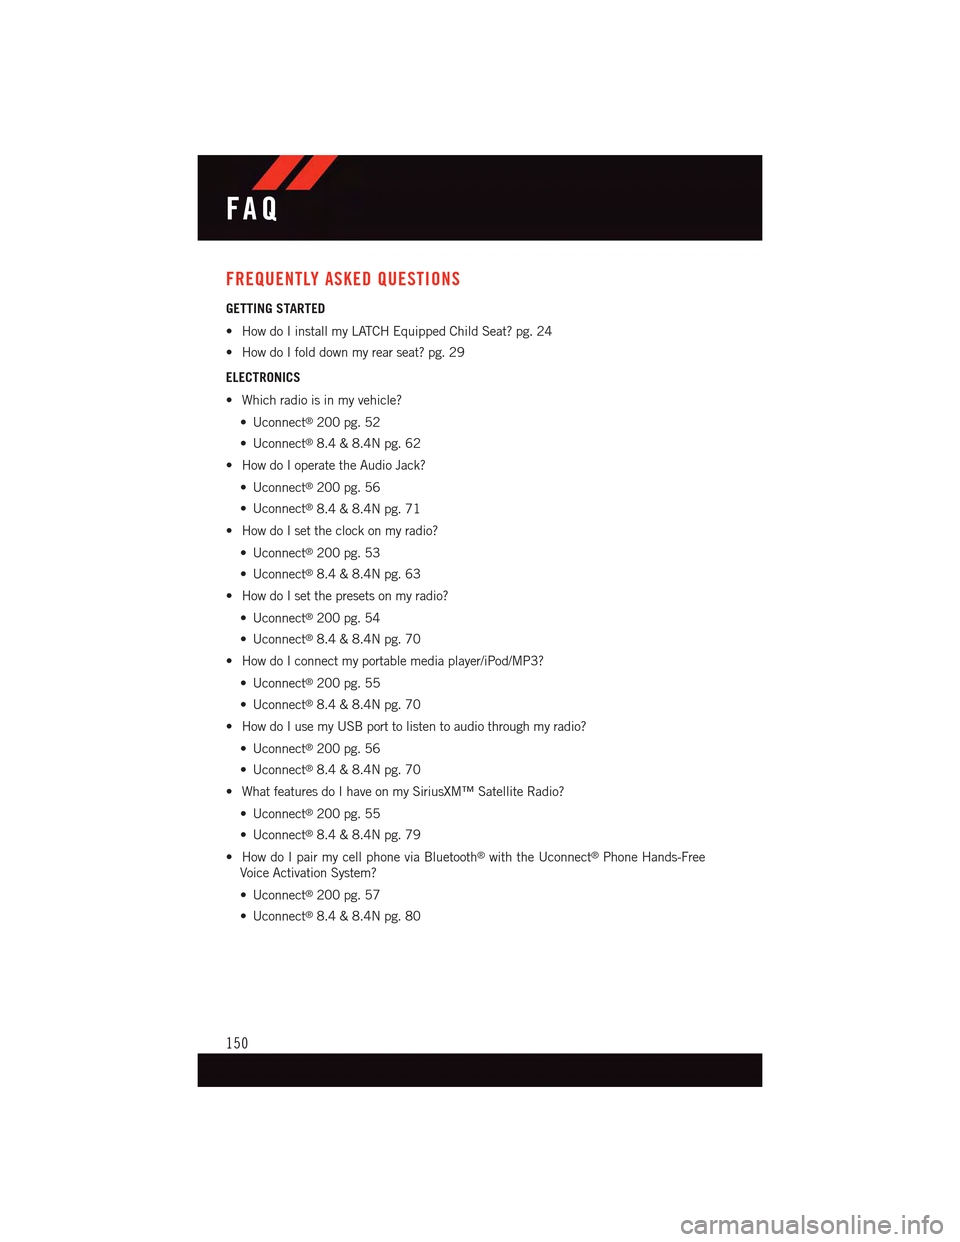
FREQUENTLY ASKED QUESTIONS
GETTING STARTED
•HowdoIinstallmyLATCHEquippedChildSeat?pg.24
•HowdoIfolddownmyrearseat?pg.29
ELECTRONICS
•Whichradioisinmyvehicle?
•Uconnect®200 pg. 52
•Uconnect®8.4 & 8.4N pg. 62
•HowdoIoperatetheAudioJack?
•Uconnect®200 pg. 56
•Uconnect®8.4 & 8.4N pg. 71
•HowdoIsettheclockonmyradio?
•Uconnect®200 pg. 53
•Uconnect®8.4 & 8.4N pg. 63
•HowdoIsetthepresetsonmyradio?
•Uconnect®200 pg. 54
•Uconnect®8.4 & 8.4N pg. 70
•HowdoIconnectmyportablemediaplayer/iPod/MP3?
•Uconnect®200 pg. 55
•Uconnect®8.4 & 8.4N pg. 70
•HowdoIusemyUSBporttolistentoaudiothroughmyradio?
•Uconnect®200 pg. 56
•Uconnect®8.4 & 8.4N pg. 70
•WhatfeaturesdoIhaveonmySiriusXM™SatelliteRadio?
•Uconnect®200 pg. 55
•Uconnect®8.4 & 8.4N pg. 79
•HowdoIpairmycellphoneviaBluetooth®with the Uconnect®Phone Hands-Free
Voice Activation System?
•Uconnect®200 pg. 57
•Uconnect®8.4 & 8.4N pg. 80
FAQ
150
Page 156 of 164
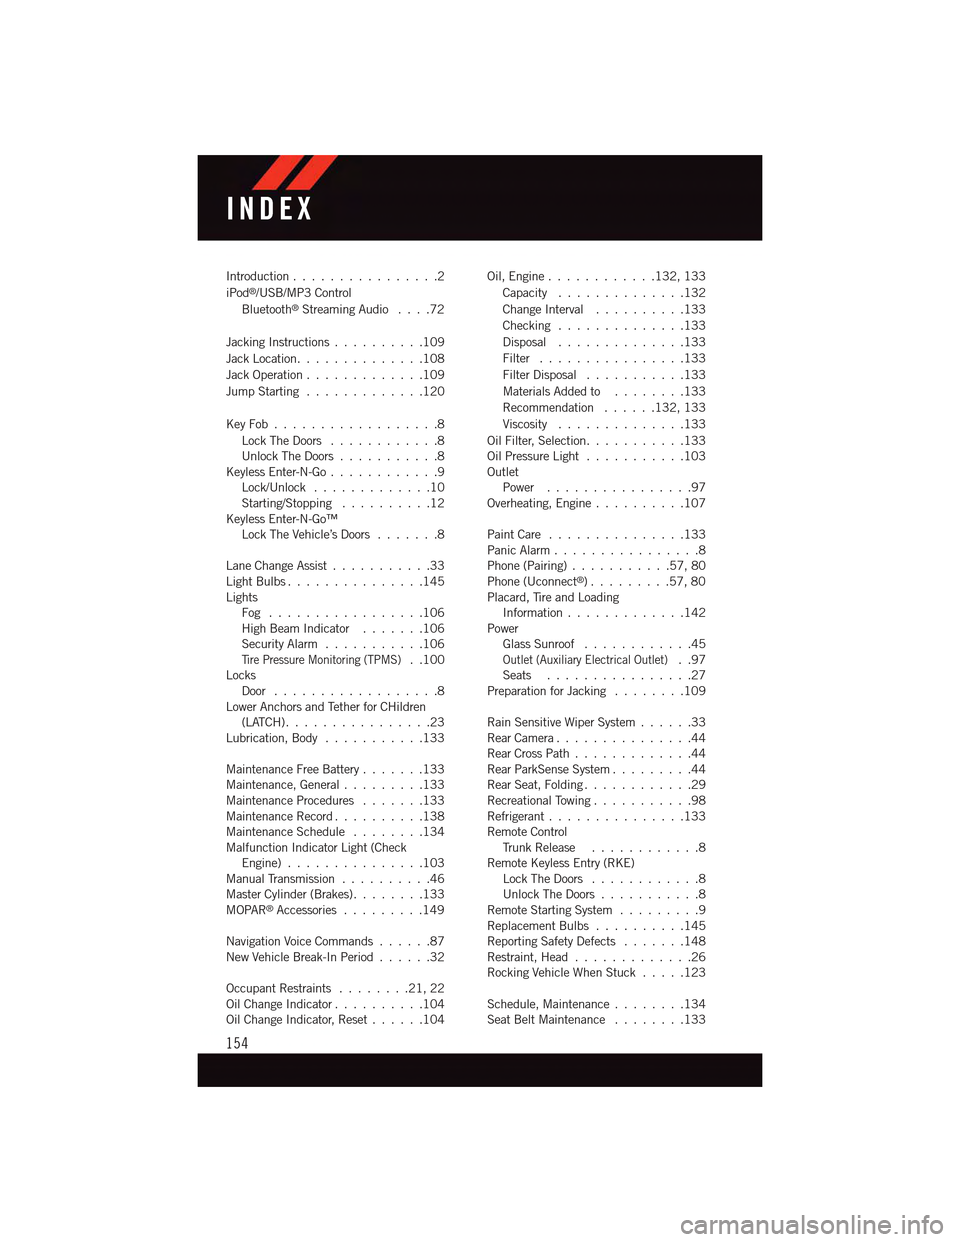
Introduction................2
iPod®/USB/MP3 Control
Bluetooth®Streaming Audio....72
Jacking Instructions . . . . . . . . . .109
Jack Location. . . . . . . . . . . . . .108
Jack Operation . . . . . . . . . . . . .109
Jump Starting.............120
Key Fob . . . . . . . . . . . . . . . . . .8
Lock The Doors............8Unlock The Doors...........8Keyless Enter-N-Go............9Lock/Unlock . . . . . . . . . . . . .10Starting/Stopping..........12Keyless Enter-N-Go™Lock The Vehicle’s Doors.......8
Lane Change Assist...........33Light Bulbs . . . . . . . . . . . . . . .145LightsFog . . . . . . . . . . . . . . . . .106High Beam Indicator . . . . . . .106Security Alarm...........106Ti r e P r e s s u r e M o n i t o r i n g ( T P M S )..100LocksDoor..................8Lower Anchors and Tether for CHildren(LATCH)................23Lubrication, Body...........133
Maintenance Free Battery . . . . . . .133Maintenance, General.........133Maintenance Procedures.......133Maintenance Record..........138Maintenance Schedule........134Malfunction Indicator Light (CheckEngine)...............103Manual Transmission..........46Master Cylinder (Brakes)........133MOPAR®Accessories.........149
Navigation Voice Commands......87New Vehicle Break-In Period . . . . . .32
Occupant Restraints........21,22Oil Change Indicator..........104Oil Change Indicator, Reset......104
Oil, Engine............132, 133
Capacity..............132
Change Interval..........133
Checking..............133
Disposal..............133
Filter................133
Filter Disposal...........133
Materials Added to........133
Recommendation......132, 133
Viscosity..............133
Oil Filter, Selection...........133Oil Pressure Light . . . . . . . . . . .103OutletPower................97Overheating, Engine..........107
Paint Care . . . . . . . . . . . . . . .133Panic Alarm................8Phone (Pairing)...........57,80Phone (Uconnect®). . . . . . . . .57,80Placard, Tire and LoadingInformation . . . . . . . . . . . . .142PowerGlass Sunroof............45Outlet (Auxiliary Electrical Outlet)..97Seats................27Preparation for Jacking........109
Rain Sensitive Wiper System......33Rear Camera...............44Rear Cross Path.............44Rear ParkSense System.........44Rear Seat, Folding............29Recreational Towing...........98Refrigerant . . . . . . . . . . . . . . .133Remote ControlTr u n k R e l e a s e . . . . . . . . . . . . 8Remote Keyless Entry (RKE)Lock The Doors............8Unlock The Doors...........8Remote Starting System.........9Replacement Bulbs..........145Reporting Safety Defects.......148Restraint, Head.............26Rocking Vehicle When Stuck.....123
Schedule, Maintenance........134Seat Belt Maintenance........133
INDEX
154
Page 157 of 164
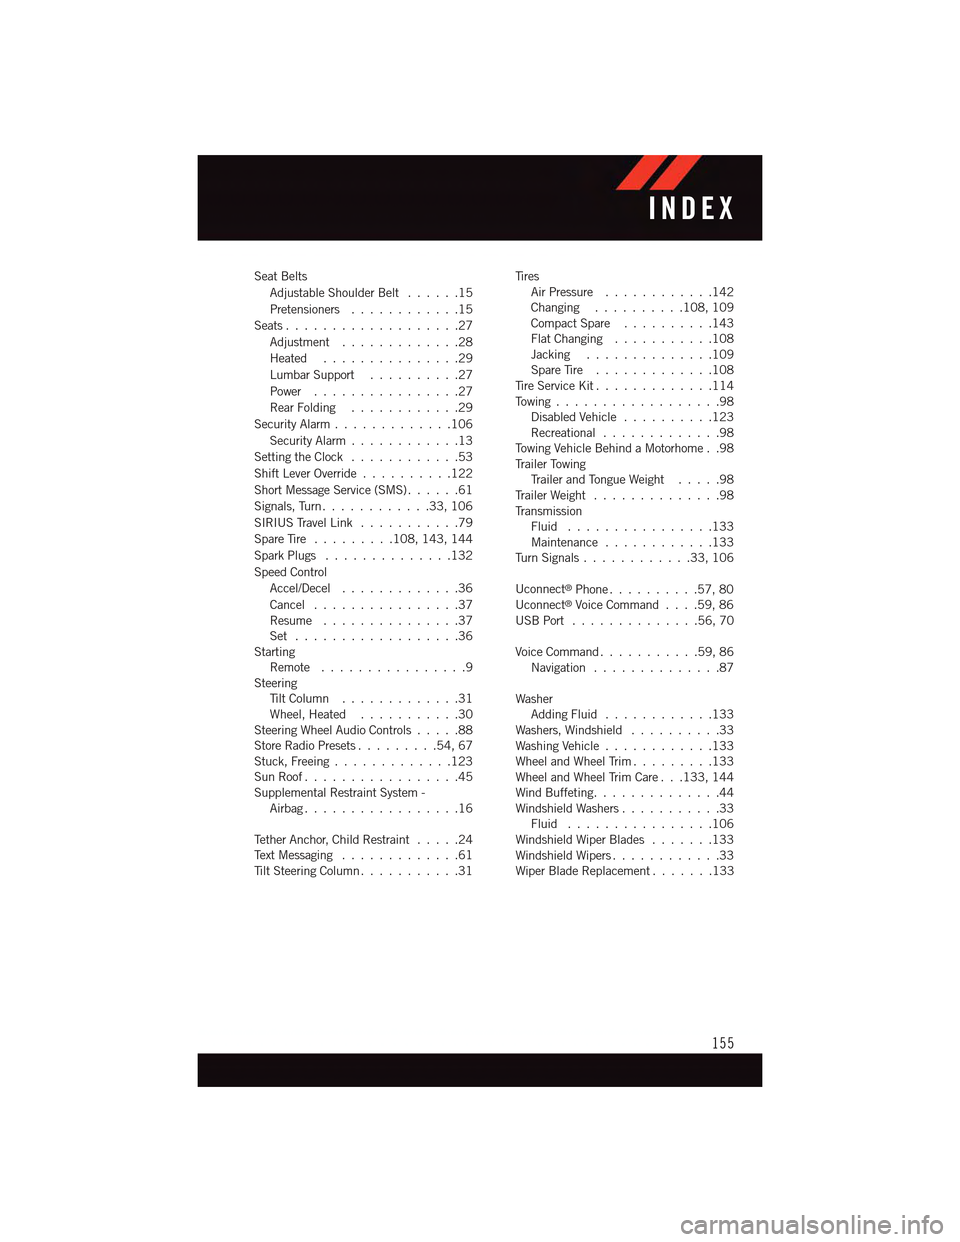
Seat Belts
Adjustable Shoulder Belt......15
Pretensioners............15
Seats . . . . . . . . . . . . . . . . . . .27
Adjustment.............28
Heated . . . . . . . . . . . . . . .29
Lumbar Support..........27
Power................27
Rear Folding............29
Security Alarm.............106
Security Alarm............13
Setting the Clock............53
Shift Lever Override..........122
Short Message Service (SMS)......61
Signals, Turn . . . . . . . . . . . .33, 106
SIRIUS Travel Link . . . . . . . . . . .79
Spare Tire . . . . . . . . .108, 143, 144
Spark Plugs . . . . . . . . . . . . . .132
Speed Control
Accel/Decel.............36
Cancel................37Resume . . . . . . . . . . . . . . .37Set . . . . . . . . . . . . . . . . . .36StartingRemote................9SteeringTi l t C o l u m n . . . . . . . . . . . . . 3 1Wheel, Heated...........30Steering Wheel Audio Controls.....88Store Radio Presets.........54,67Stuck, Freeing . . . . . . . . . . . . .123Sun Roof.................45Supplemental Restraint System -Airbag . . . . . . . . . . . . . . . . .16
Te t h e r A n c h o r, C h i l d R e s t r a i n t.....24Te x t M e s s a g i n g . . . . . . . . . . . . . 6 1Ti l t S t e e r i n g C o l u m n . . . . . . . . . . . 3 1
Ti r e sAir Pressure . . . . . . . . . . . .142Changing..........108, 109Compact Spare..........143Flat Changing...........108Jacking..............109Spare Tire.............108Ti r e S e r v i c e K i t.............114To w i n g . . . . . . . . . . . . . . . . . . 9 8Disabled Vehicle . . . . . . . . . .123Recreational.............98To w i n g V e h i c l e B e h i n d a M o t o r h o m e . . 9 8Tr a i l e r To w i n gTr a i l e r a n d To n g u e W e i g h t.....98Tr a i l e r W e i g h t . . . . . . . . . . . . . . 9 8Tr a n s m i s s i o nFluid . . . . . . . . . . . . . . . .133Maintenance............133Tu r n S i g n a l s............33,106
Uconnect®Phone..........57,80Uconnect®Voice Command....59,86USB Port . . . . . . . . . . . . . .56, 70
Voice Command...........59,86Navigation . . . . . . . . . . . . . .87
WasherAdding Fluid............133Washers, Windshield . . . . . . . . . .33Washing Vehicle . . . . . . . . . . . .133Wheel and Wheel Trim.........133Wheel and Wheel Trim Care . . .133, 144Wind Buffeting. . . . . . . . . . . . . .44Windshield Washers...........33Fluid . . . . . . . . . . . . . . . .106Windshield Wiper Blades.......133Windshield Wipers . . . . . . . . . . . .33Wiper Blade Replacement.......133
INDEX
155