light DODGE DART 2016 PF / 1.G Owner's Guide
[x] Cancel search | Manufacturer: DODGE, Model Year: 2016, Model line: DART, Model: DODGE DART 2016 PF / 1.GPages: 671, PDF Size: 4.75 MB
Page 128 of 671
When the vehicle is started, the BSM warning light will
momentarily illuminate in both outside rear view mirrors
to let the driver know that the system is operational.The BSM system sensors operate when the vehicle is in
any forward gear or REVERSE and enters stand-by mode
when the vehicle is in PARK (or applied PARK brake for
Manual transmission).
The BSM detection zone covers approximately one lane
width on both sides of the vehicle 12 ft (3.8 m). The zone
Rear Detection Zones
BSM Warning Light
126 UNDERSTANDING THE FEATURES OF YOUR VEHICLE
Page 129 of 671
length starts at the outside rear view mirror and extends
approximately 10 ft (3 m) beyond the rear bumper of the
vehicle. The BSM system monitors the detection zones on
both sides of the vehicle when the vehicle speed reaches
approximately 6 mph (10 km/h) or higher and will alert
the driver of vehicles in these areas.
NOTE:
•The BSM system does NOT alert the driver about
rapidly approaching vehicles that are outside the de-
tection zones.
• The BSM system detection zone DOES NOT change if
your vehicle is towing a trailer. Therefore, visually
verify the adjacent lane is clear for both your vehicle
and trailer before making a lane change. If the trailer or
other object (i.e., bicycle, sports equipment) extends
beyond the side of your vehicle, this may result in the
BSM warning light remaining illuminated the entire
time the vehicle is in a forward gear. The area on the rear fascia where the radar sensors are
located must remain free of snow, ice, and dirt/road
contamination so that the BSM system can function
properly. Do not block the area of the rear fascia where
the radar sensors are located with foreign objects (bum-
per stickers, bicycle racks, etc).
The BSM system notifies the driver of objects in the
detection zones by illuminating the BSM warning light
located in the outside mirrors in addition to sounding an
audible (chime) alert and reducing the radio volume.
Refer to “Modes Of Operation” for further information.
The BSM system monitors the detection zone from three
different entry points (side, rear, front) while driving to
see if an alert is necessary. The BSM system will issue an
alert during these types of zone entries.
3
UNDERSTANDING THE FEATURES OF YOUR VEHICLE 127
Page 131 of 671

Overtaking Traffic
If you pass another vehicle slowly (with a relative speed
of less than 15 mph (24 km/h) and the vehicle remains in
the blind spot for approximately 1.5 seconds, the warning
light will be illuminated. If the difference in speed
between the two vehicles is greater than 15 mph
(24 km/h), the warning light will not illuminate.The BSM system is designed not to issue an alert on
stationary objects such as guardrails, posts, walls, foliage,
berms, etc. However, occasionally the system may alert
on such objects. This is normal operation and your
vehicle does not require service.
Overtaking/Approaching
3
UNDERSTANDING THE FEATURES OF YOUR VEHICLE 129
Page 135 of 671
Modes Of Operation
Modes Of Operation With Uconnect System — If
Equipped
Three selectable modes of operation are available in the
Uconnect system screen. Refer to “Customer Program-
mable Features — Uconnect Access settings ” in “Under-
standing Your Instrument Panel” for further information.
Blind Spot Alert Lights Only
When operating in Blind Spot Alert mode, the BSM
system will provide a visual alert in the appropriate side
view mirror based on a detected object. However, when
the system is operating in Rear Cross Path mode, the
system will respond with both visual and audible alerts
when a detected object is present. Whenever an audible
alert is requested, the radio volume is reduced.Blind Spot Alert Lights/Chime
When operating in Blind Spot Alert Lights/Chime mode,
the BSM system will provide a visual alert in the appro-
priate side view mirror based on a detected object. If the
turn signal is then activated, and it corresponds to an
alert present on that side of the vehicle, an audible chime
will also be sounded. Whenever a turn signal and de-
tected object are present on the same side at the same
time, both the visual and audio alerts will be issued. In
addition to the audible alert the radio (if on) volume will
be muted.
NOTE:
•
Whenever an audible alert is requested by the BSM
system, the radio volume is muted.
• If the hazard flashers are on, the system will request
the appropriate visual alert only.
3
UNDERSTANDING THE FEATURES OF YOUR VEHICLE 133
Page 150 of 671
NOTE:After every Uconnect Phone language change
operation, only the language-specific 32 name phone-
book is usable. The paired phone name is not language-
specific and is usable across all languages.
Emergency Assistance
If you are in an emergency and the mobile phone is
reachable:
• Pick up the phone and manually dial the emergency
number for your area.
If the phone is not reachable and the Uconnect Phone is
operational, you may reach the emergency number as
follows:
• Push the Phone
button to begin.
•After the “Ready” prompt and the following beep, say
“Emergency” and the Uconnect Phone will instruct the paired mobile phone to call the emergency number.
This feature is supported in the U.S., Canada, and
Mexico.
NOTE:
• The emergency number dialed is based on the country
where the vehicle is purchased (911 for the U.S.,
Canada, and Mexico). The number dialed may not be
applicable with the available mobile service and area.
• If supported, this number may be programmable on
some systems. To do this, push the Phone
button
and say “Setup,” followed by “Emergency.”
• The Uconnect Phone does slightly lower your chances
of successfully making a phone call as compared to
using the mobile phone directly.
148 UNDERSTANDING THE FEATURES OF YOUR VEHICLE
Page 188 of 671
•The Uconnect Phone does slightly lower your chances
of successfully making a phone call as to that for the
mobile phone directly.
WARNING!
Your phone must be turned on and connected to the
Uconnect Phone to allow use of this vehicle feature
in emergency situations, when the mobile phone has
network coverage and stays connected to the
Uconnect Phone.
Roadside Assistance/Towing Assistance
If you need roadside/towing assistance:
1. Push the Phone
button to begin.
2. After the “Listening” prompt and the following beep, say “Roadside Assistance” or say “Towing Assis-
tance.” NOTE:
The roadside/towing assistance number dialed is
based on the country where the vehicle is purchased
(1-800-521-2779 for the U.S./Canada, 55-14-3454 for
Mexico City and 1-800-712-3040 for outside Mexico City
in Mexico). Please refer to the FCA US LLC 24-Hour
“Roadside Assistance” coverage details in the Warranty
Information Booklet and in the Owner ’s Information
Manual on the DVD under “Other References.”
Voice Mail Calling
To learn how to access your voice mail, refer to “Working
with Automated Systems.”
Working With Automated Systems
This method is used in instances where one generally has
to push numbers on the mobile phone keypad while
navigating through an automated telephone system.
You can use your Uconnect Phone to access a voice mail
system or an automated service, such as a paging service
186 UNDERSTANDING THE FEATURES OF YOUR VEHICLE
Page 236 of 671
CAUTION!(Continued)
secure both latches. Never drive your vehicle unless
the hood is fully closed, with both latches engaged.
WARNING!
Be sure the hood is fully latched before driving your
vehicle. If the hood is not fully latched, it could open
when the vehicle is in motion and block your vision.
Failure to follow this warning could result in serious
injury or death.
LIGHTS
Headlight Switch
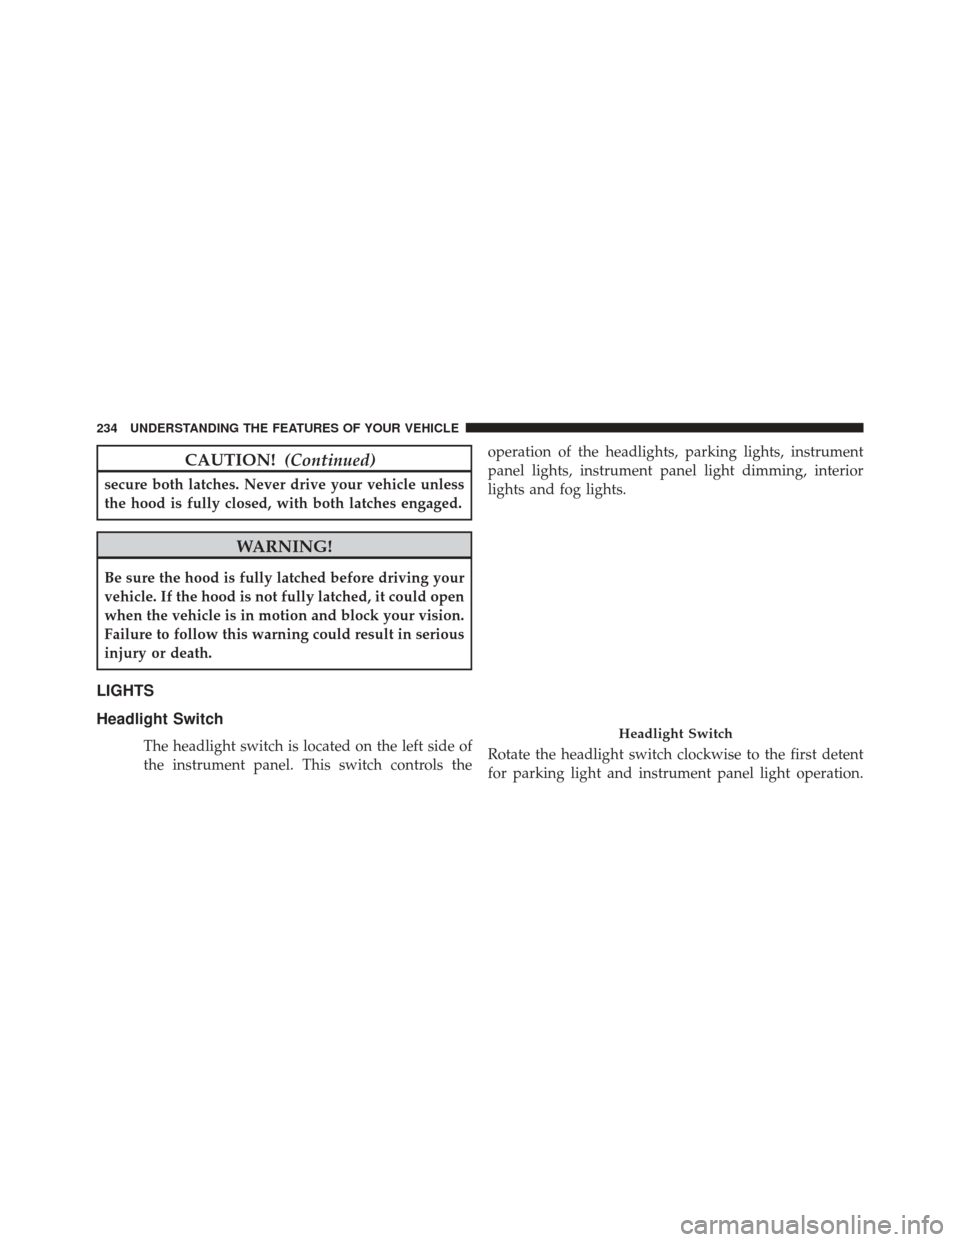
The headlight switch is located on the left side of
the instrument panel. This switch controls the operation of the headlights, parking lights, instrument
panel lights, instrument panel light dimming, interior
lights and fog lights.
Rotate the headlight switch clockwise to the first detent
for parking light and instrument panel light operation.Headlight Switch
234 UNDERSTANDING THE FEATURES OF YOUR VEHICLE
Page 237 of 671
Rotate the headlight switch to the second detent for
headlight, parking light and instrument panel light op-
eration.
Automatic Headlights — If Equipped
This system automatically turns the headlights on or off
according to ambient light levels. To turn the system on,
rotate the headlight switch counterclockwise to the
AUTO position. When the system is on, the headlight
time delay feature is also on. This means the headlights
will stay on for up to 90 seconds after you place the
ignition into the OFF position. To turn the automatic
system off, move the headlight switch out of the AUTO
position.
NOTE:The engine must be running before the headlights
will come on in the automatic mode.
Headlights On With Wipers (Available With
Automatic Headlights Only)
When this feature is active, the headlights will turn on
after the wipers are turned on if the headlight switch is
placed in the AUTO position and programmable feature
is set to ON. In addition, the headlights will turn off
when the wipers are turned off if they were turned on by
this feature.
NOTE: The Headlights On with Wipers feature can be
turned on or off using the Uconnect System. Refer to
“Uconnect Settings/Customer Programmable Features”
in “Understanding Your Instrument Panel” for further
information.
Headlight Time Delay
This feature provides the safety of headlight illumination
for up to 90 seconds (programmable) when leaving your
vehicle in an unlit area.
3
UNDERSTANDING THE FEATURES OF YOUR VEHICLE 235
Page 238 of 671
To activate the delay feature, place the ignition in the OFF
position while the headlights are still on. Then, turn off
the headlights within 45 seconds. The delay interval
begins when the headlight switch is turned off.
If you turn the headlights or parking lights on, or place
the ignition in ACC or RUN, the system will cancel the
delay.
If you turn the headlights off before the ignition, they will
turn off in the normal manner.
NOTE:
•The lights must be turned off within 45 seconds of
placing the ignition in the OFF position to activate this
feature.
• The headlight delay time is programmable using the
Uconnect System, refer to “Uconnect Settings” in “Un-
derstanding Your Instrument Panel” for further infor-
mation.Automatic High Beam Headlamp Control — If
Equipped
The Automatic High Beam Headlamp Control system
provides increased forward lighting at night by automat-
ing high beam control through the use of a digital camera
mounted on the inside rearview mirror. This camera
detects vehicle specific light and automatically switches
from high beams to low beams until the approaching
vehicle is out of view.
NOTE:
• The Automatic High Beam Headlamp Control can be
turned on or off using the Uconnect System. Refer to
“Uconnect Settings” in “Understanding Your Instru-
ment Panel” for further information.
• Broken, muddy, or obstructed headlights and taillights
of vehicles in the field of view will cause headlights to
remain on longer (closer to the vehicle). Also, dirt, film,
236 UNDERSTANDING THE FEATURES OF YOUR VEHICLE
Page 239 of 671
and other obstructions on the windshield or camera
lens will cause the system to function improperly.
• To opt out of the Advanced Auto High-Beam Sensitiv-
ity Control (default) and enter Reduced High-Beam
Sensitivity Control (not recommended), toggle high-
beam lever 6 full on/off cycles within 10 seconds of
ignition ON. System will return to default setting upon
ignition off.
If the windshield or Automatic High Beam Headlamp
Control mirror is replaced, the mirror must be re-aimed
to ensure proper performance. See your local authorized
dealer.
To Activate
1. Turn the headlight switch to the AUTO headlight position.
2. Push the multifunction lever away from you (toward front of vehicle) to engage the high beam mode. NOTE:
This system will not activate until the vehicle is
at or above 15 mph (24 km/h).
To Deactivate
1. Pull the multifunction lever toward you (or rearward in vehicle) to manually deactivate the system (normal
operation of low beams).
2. Push back on the multifunction lever to reactivate the system.
Daytime Running Lights (DRL)
The Daytime Running Lights will come on whenever the
ignition is placed in the RUN position, the headlights are
off and the parking brake is off. The headlight switch
must be used for normal nighttime driving.
3
UNDERSTANDING THE FEATURES OF YOUR VEHICLE 237