buttons DODGE DART 2016 PF / 1.G Owners Manual
[x] Cancel search | Manufacturer: DODGE, Model Year: 2016, Model line: DART, Model: DODGE DART 2016 PF / 1.GPages: 671, PDF Size: 4.75 MB
Page 26 of 671
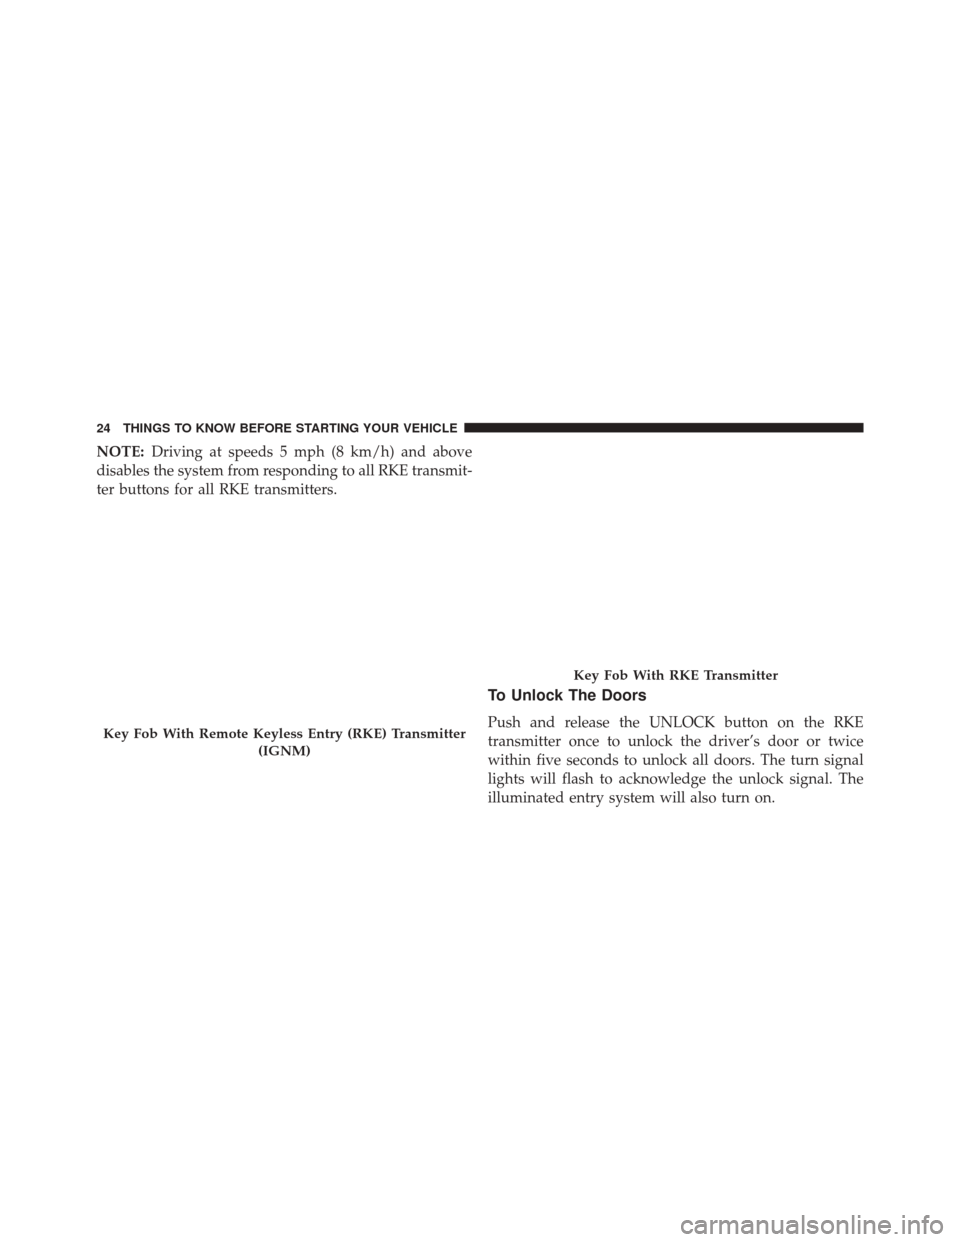
NOTE:Driving at speeds 5 mph (8 km/h) and above
disables the system from responding to all RKE transmit-
ter buttons for all RKE transmitters.
To Unlock The Doors
Push and release the UNLOCK button on the RKE
transmitter once to unlock the driver’s door or twice
within five seconds to unlock all doors. The turn signal
lights will flash to acknowledge the unlock signal. The
illuminated entry system will also turn on.Key Fob With Remote Keyless Entry (RKE) Transmitter
(IGNM)
Key Fob With RKE Transmitter
24 THINGS TO KNOW BEFORE STARTING YOUR VEHICLE
Page 39 of 671
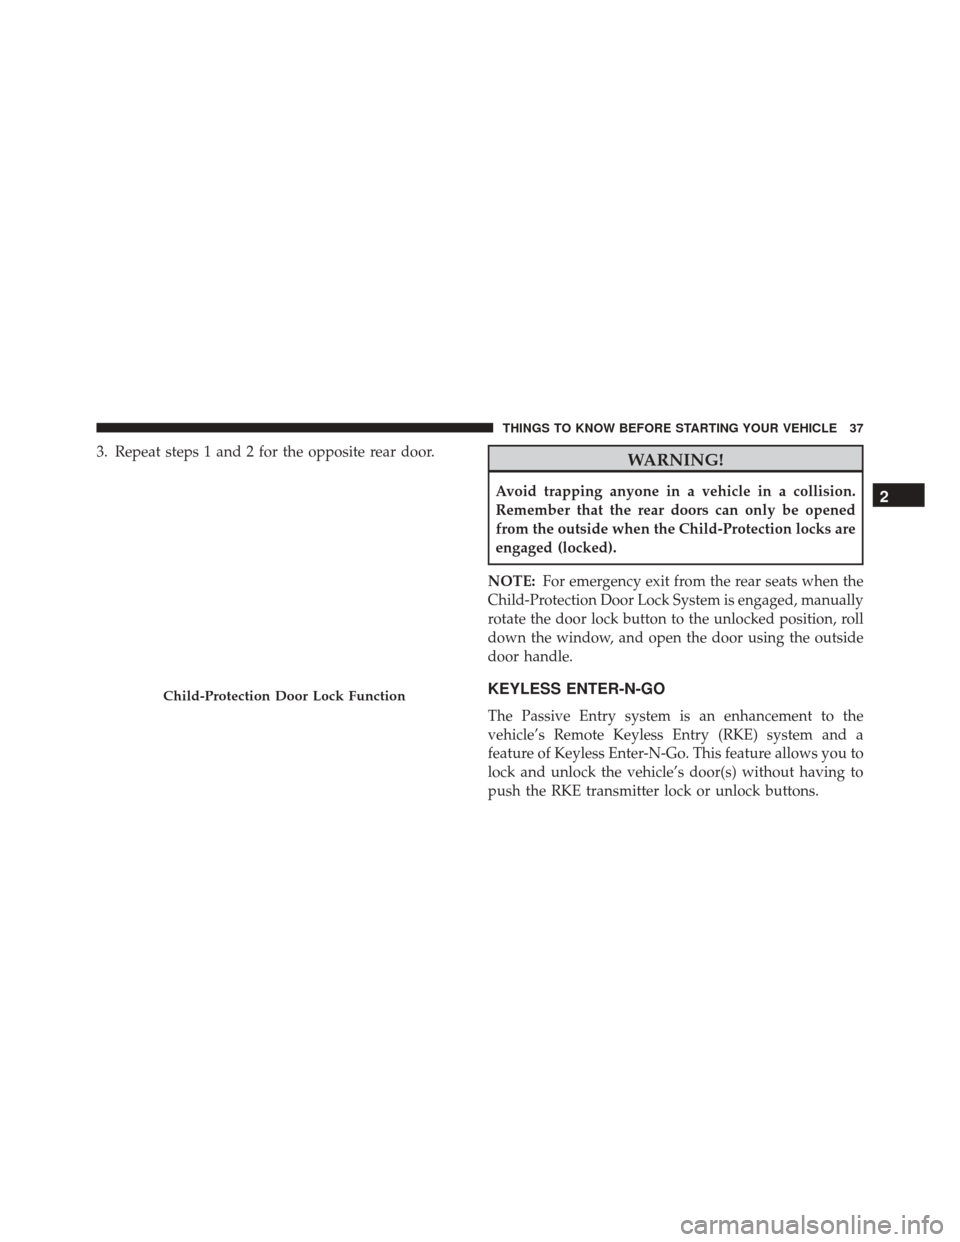
3. Repeat steps 1 and 2 for the opposite rear door.WARNING!
Avoid trapping anyone in a vehicle in a collision.
Remember that the rear doors can only be opened
from the outside when the Child-Protection locks are
engaged (locked).
NOTE: For emergency exit from the rear seats when the
Child-Protection Door Lock System is engaged, manually
rotate the door lock button to the unlocked position, roll
down the window, and open the door using the outside
door handle.
KEYLESS ENTER-N-GO
The Passive Entry system is an enhancement to the
vehicle’s Remote Keyless Entry (RKE) system and a
feature of Keyless Enter-N-Go. This feature allows you to
lock and unlock the vehicle’s door(s) without having to
push the RKE transmitter lock or unlock buttons.
Child-Protection Door Lock Function
2
THINGS TO KNOW BEFORE STARTING YOUR VEHICLE 37
Page 138 of 671
system. Only one linked (or paired) mobile phone can be
used with the system at a time. The system is available in
English, Spanish, or French languages.
WARNING!
Any voice commanded system should be used only
in safe driving conditions following all applicable
laws, including laws regarding phone use. Your at-
tention should be focused on safely operating the
vehicle. Failure to do so may result in a collision
causing serious injury or death.
Uconnect Phone Button The steering wheel controls will contain the
two control buttons (Uconnect Phone
but-
ton and Voice Command
button) that will
enable you to access the system. When you
push the Uconnect Phone
button you will hear a
BEEP. The beep is your signal to give a command.
Voice Command Button
When you push the Voice Command
but-
ton you will hear a BEEP. The beep is your
signal to give a command.
The Uconnect Phone can be used with any Hands-Free
Profile certified Bluetooth mobile phone. See the
Uconnect website for supported phones. Refer to your
mobile service provider or the phone manufacturer for
details.
The Uconnect Phone is fully integrated with the vehicle’s
audio system. The volume of the Uconnect Phone can be
adjusted either from the radio volume control knob or
from the steering wheel radio control (right switch), if so
equipped.
The radio display will be used for visual prompts from
the Uconnect Phone such as “Phone” or caller ID.
136 UNDERSTANDING THE FEATURES OF YOUR VEHICLE
Page 184 of 671
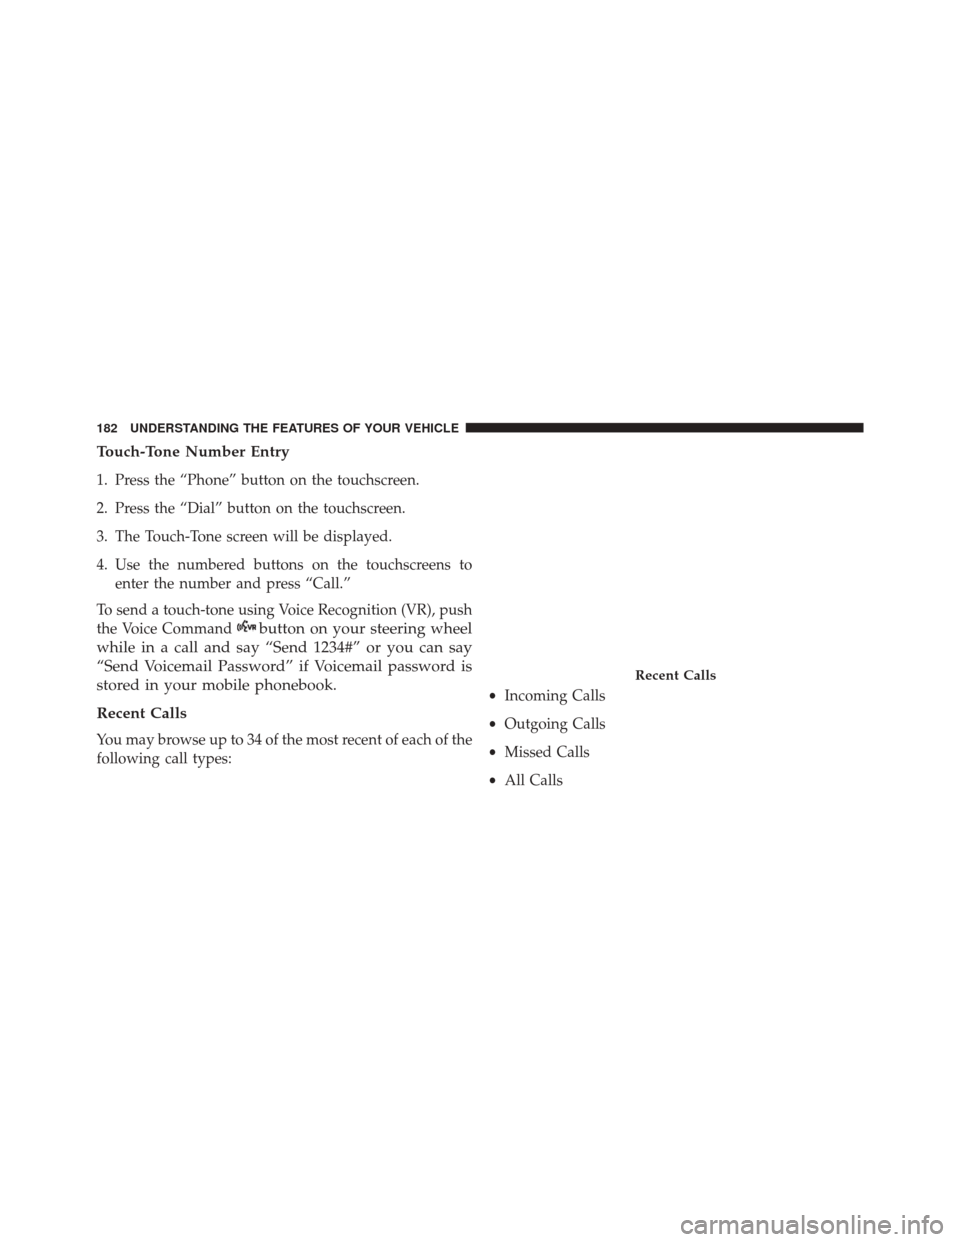
Touch-Tone Number Entry
1. Press the “Phone” button on the touchscreen.
2. Press the “Dial” button on the touchscreen.
3. The Touch-Tone screen will be displayed.
4. Use the numbered buttons on the touchscreens toenter the number and press “Call.”
To send a touch-tone using Voice Recognition (VR), push
the Voice Command
button on your steering wheel
while in a call and say “Send 1234#” or you can say
“Send Voicemail Password” if Voicemail password is
stored in your mobile phonebook.
Recent Calls
You may browse up to 34 of the most recent of each of the
following call types: •
Incoming Calls
• Outgoing Calls
• Missed Calls
• All Calls
Recent Calls
182 UNDERSTANDING THE FEATURES OF YOUR VEHICLE
Page 195 of 671
Once a message is received and viewed or listened to,
you will have the following options:
•Send a Reply
• Forward
• Call
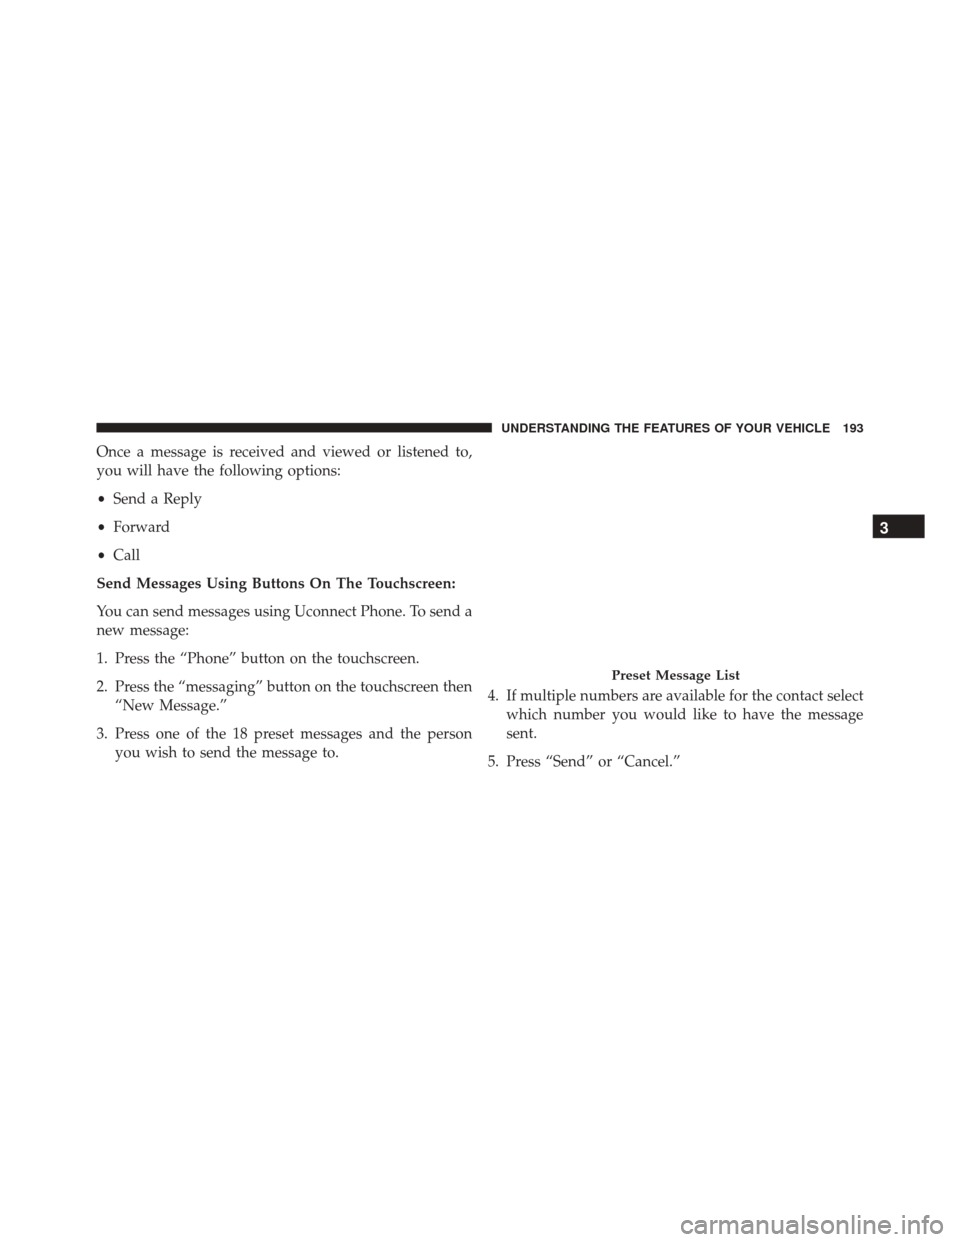
Send Messages Using Buttons On The Touchscreen:
You can send messages using Uconnect Phone. To send a
new message:
1. Press the “Phone” button on the touchscreen.
2. Press the “messaging” button on the touchscreen then “New Message.”
3. Press one of the 18 preset messages and the person you wish to send the message to. 4. If multiple numbers are available for the contact select
which number you would like to have the message
sent.
5. Press “Send” or “Cancel.”
Preset Message List
3
UNDERSTANDING THE FEATURES OF YOUR VEHICLE 193
Page 226 of 671
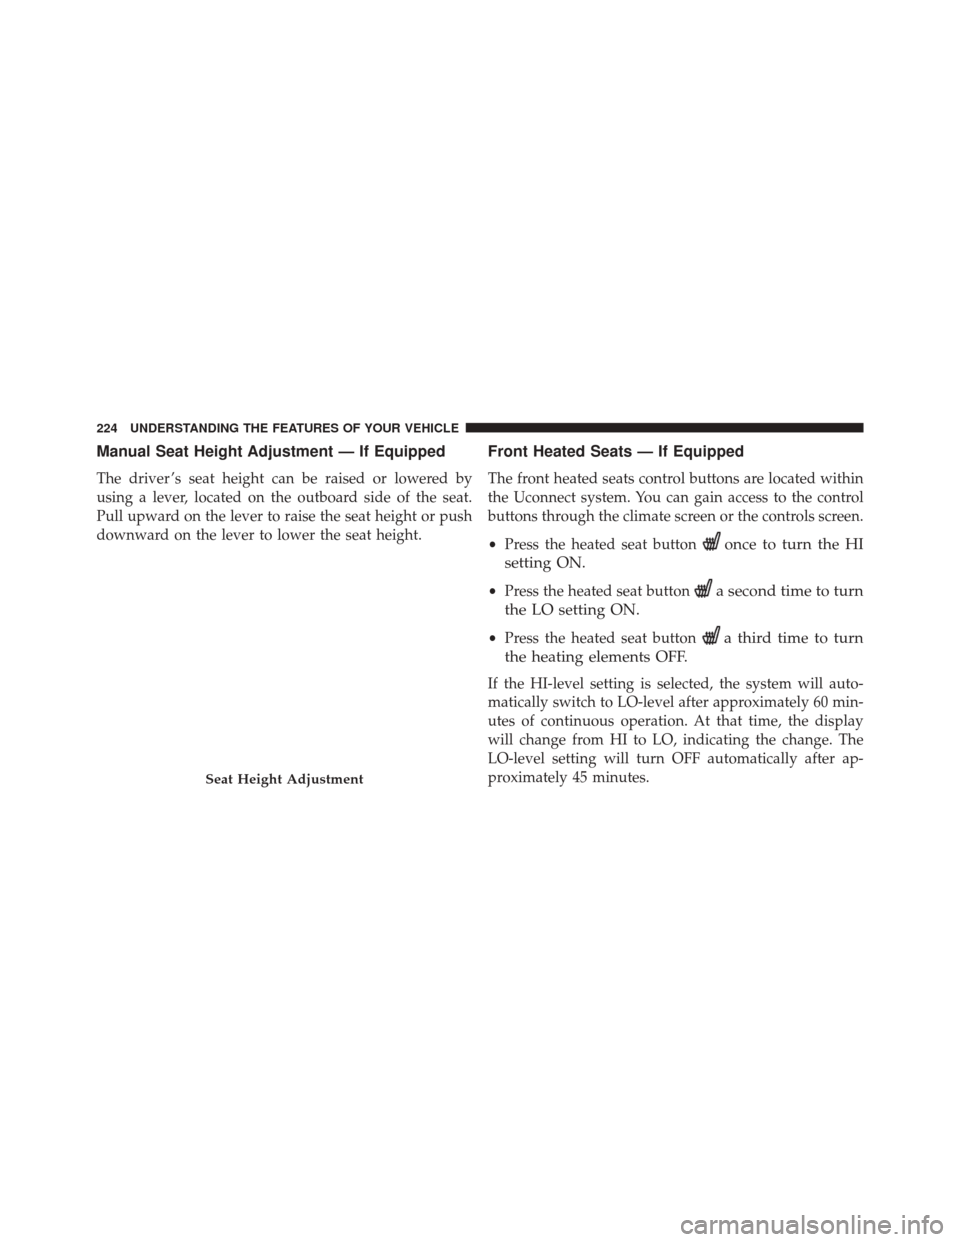
Manual Seat Height Adjustment — If Equipped
The driver ’s seat height can be raised or lowered by
using a lever, located on the outboard side of the seat.
Pull upward on the lever to raise the seat height or push
downward on the lever to lower the seat height.
Front Heated Seats — If Equipped
The front heated seats control buttons are located within
the Uconnect system. You can gain access to the control
buttons through the climate screen or the controls screen.
•Press the heated seat button
once to turn the HI
setting ON.
• Press the heated seat buttona second time to turn
the LO setting ON.
• Press the heated seat buttona third time to turn
the heating elements OFF.
If the HI-level setting is selected, the system will auto-
matically switch to LO-level after approximately 60 min-
utes of continuous operation. At that time, the display
will change from HI to LO, indicating the change. The
LO-level setting will turn OFF automatically after ap-
proximately 45 minutes.
Seat Height Adjustment
224 UNDERSTANDING THE FEATURES OF YOUR VEHICLE
Page 252 of 671
WARNING!
•Persons who are unable to feel pain to the skin
because of advanced age, chronic illness, diabetes,
spinal cord injury, medication, alcohol use, exhaus-
tion, or other physical conditions must exercise
care when using the steering wheel heater. It may
cause burns even at low temperatures, especially if
used for long periods.
• Do not place anything on the steering wheel that
insulates against heat, such as a blanket or steering
wheel covers of any type and material. This may
cause the steering wheel heater to overheat.
ELECTRONIC SPEED CONTROL — IF EQUIPPED
When engaged, the Electronic Speed Control takes over
accelerator operations at speeds greater than 25 mph
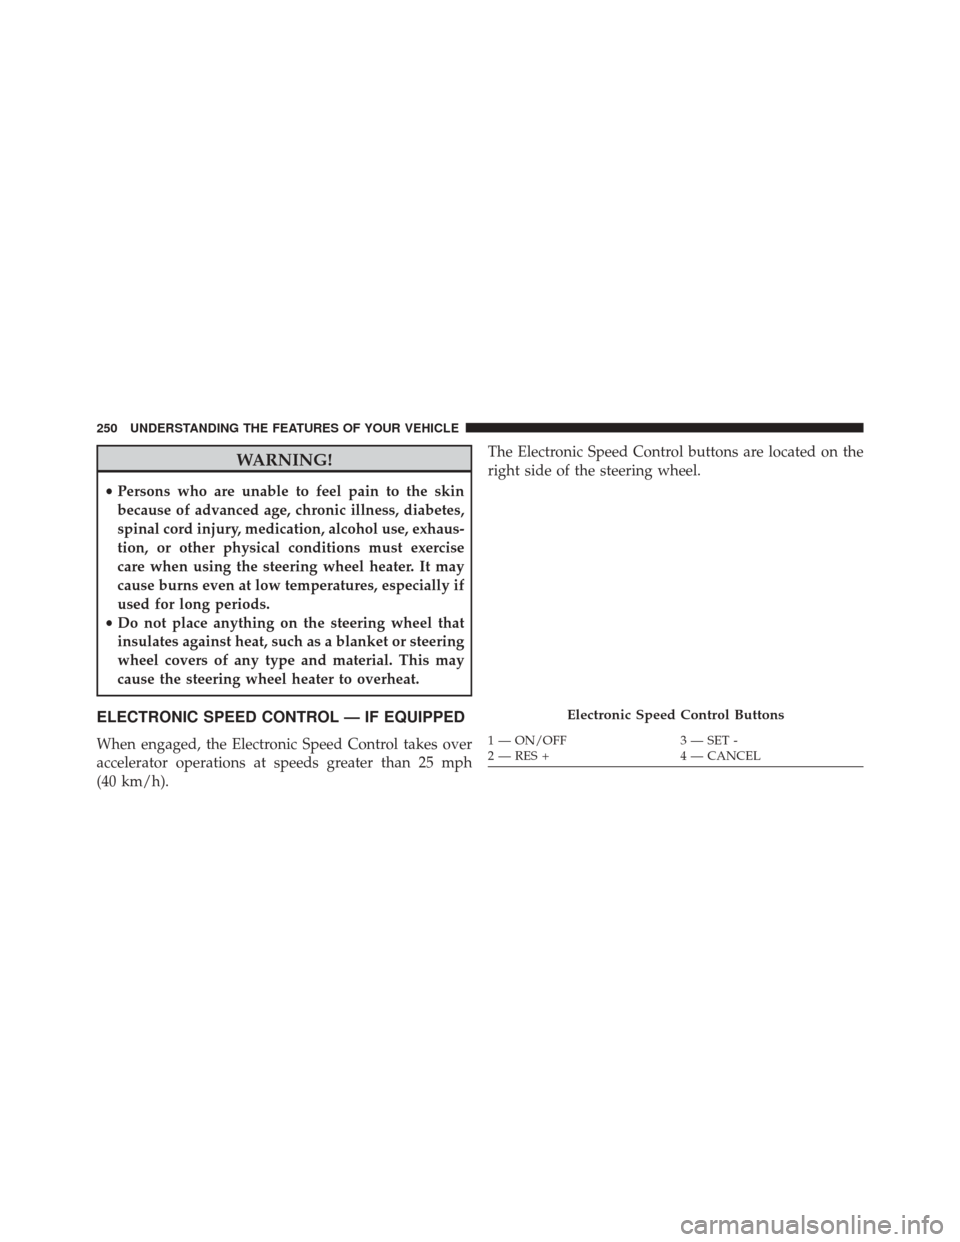
(40 km/h). The Electronic Speed Control buttons are located on the
right side of the steering wheel.
Electronic Speed Control Buttons
1 — ON/OFF
3 — SET -
2 — RES + 4 — CANCEL
250 UNDERSTANDING THE FEATURES OF YOUR VEHICLE
Page 272 of 671
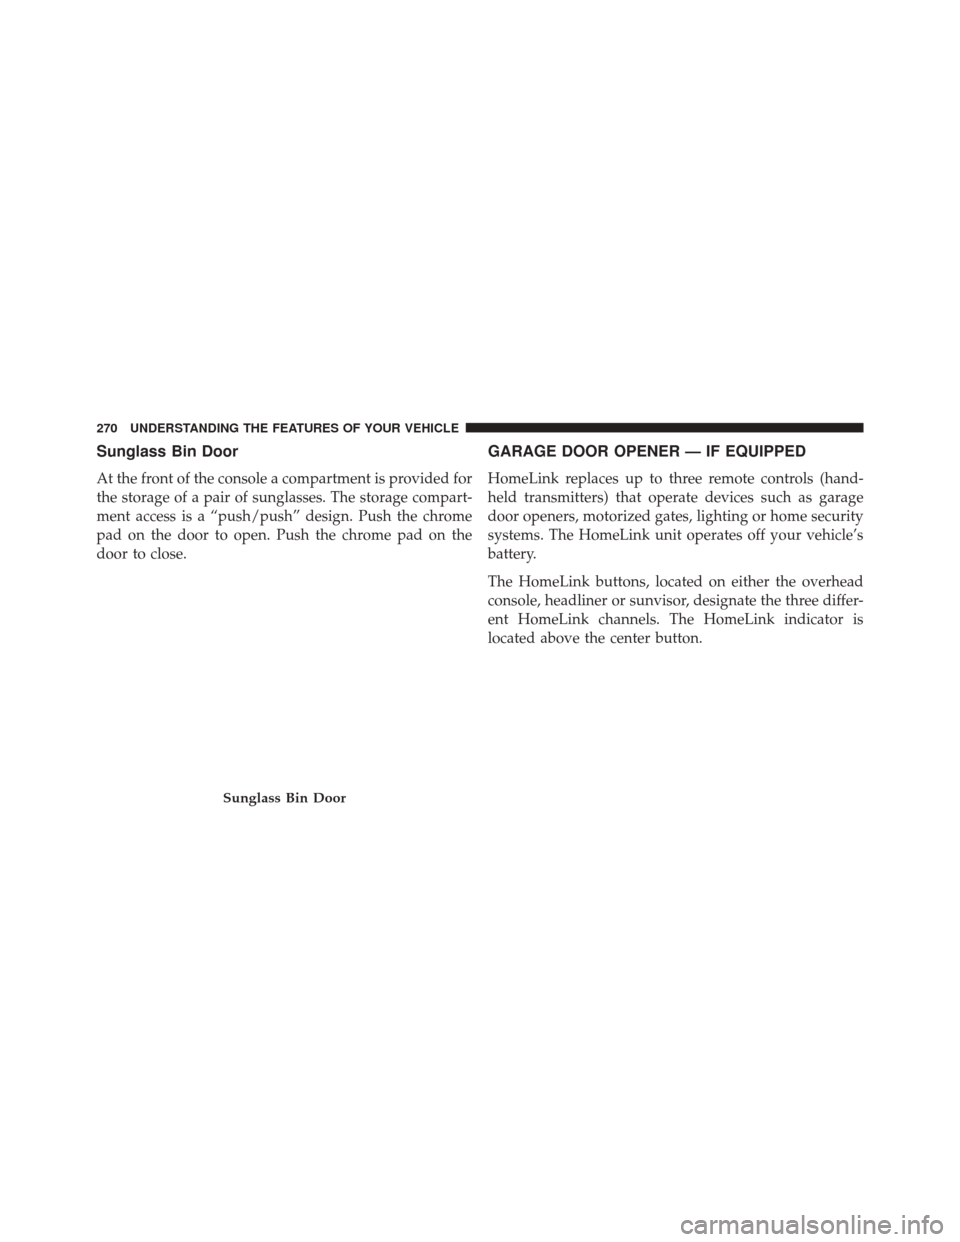
Sunglass Bin Door
At the front of the console a compartment is provided for
the storage of a pair of sunglasses. The storage compart-
ment access is a “push/push” design. Push the chrome
pad on the door to open. Push the chrome pad on the
door to close.
GARAGE DOOR OPENER — IF EQUIPPED
HomeLink replaces up to three remote controls (hand-
held transmitters) that operate devices such as garage
door openers, motorized gates, lighting or home security
systems. The HomeLink unit operates off your vehicle’s
battery.
The HomeLink buttons, located on either the overhead
console, headliner or sunvisor, designate the three differ-
ent HomeLink channels. The HomeLink indicator is
located above the center button.
Sunglass Bin Door
270 UNDERSTANDING THE FEATURES OF YOUR VEHICLE
Page 273 of 671
NOTE:HomeLink is disabled when the Vehicle Security
Alarm is active.
Before You Begin Programming HomeLink
Be sure that your vehicle is parked outside of the garage
before you begin programming. For more efficient programming and accurate transmis-
sion of the radio-frequency signal it is recommended that
a new battery be placed in the hand-held transmitter of
the device that is being programmed to the HomeLink
system.
To erase the channels place the ignition in the ON/RUN
position and push and hold the two outside HomeLink
buttons (I and III) for up 20 seconds or until the red
indicator flashes.
NOTE:
•
Erasing all channels should only be performed when
programming HomeLink for the first time. Do not
erase channels when programming additional buttons.
• If you have any problems, or require assistance, please
call toll-free 1-800-355-3515 or, on the Internet at
HomeLink.com for information or assistance.
HomeLink Buttons/Overhead Consoles
3
UNDERSTANDING THE FEATURES OF YOUR VEHICLE 271
Page 275 of 671
2. Place the hand-held transmitter 1 to 3 inches (3 to 8cm) away from the HomeLink button you wish to
program while keeping the HomeLink indicator light
in view.
3. Push and hold the HomeLink button you want to program while you push and hold the hand-held
transmitter button.
4. Continue to hold both buttons and observe the indi- cator light. The HomeLink indicator will flash slowly
and then rapidly after HomeLink has received the
frequency signal from the hand-held transmitter. Re-
lease both buttons after the indicator light changes
from slow to rapid.
5. At the garage door opener motor (in the garage), locate the “LEARN” or “TRAINING” button. This can
usually be found where the hanging antenna wire is
attached to the garage door opener/device motor. Firmly push and release the “LEARN” or “TRAIN-
ING” button. On some garage door openers/devices
there may be a light that blinks when the garage door
opener/device is in the LEARN/TRAIN mode.
NOTE: You have 30 seconds in which to initiate the next
step after the LEARN button has been pushed.
6. Return to the vehicle and push the programmed HomeLink button twice (holding the button for two
seconds each time). If the garage door opener/device
activates, programming is complete.
NOTE: If the garage door opener/device does not acti-
vate, push the button a third time (for two seconds) to
complete the training.
To program the remaining two HomeLink buttons, repeat
each step for each remaining button. DO NOT erase the
channels.
3
UNDERSTANDING THE FEATURES OF YOUR VEHICLE 273