brake DODGE DURANGO 2012 3.G User Guide
[x] Cancel search | Manufacturer: DODGE, Model Year: 2012, Model line: DURANGO, Model: DODGE DURANGO 2012 3.GPages: 140, PDF Size: 4.3 MB
Page 5 of 140
Rollover Warning
WARNING!
• Pedals that cannot move freely can cause loss of vehicle control and increasethe risk of serious personal injury.
• Always make sure that objects cannot fall into the driver foot well while the vehicle is moving. Objects can become trapped under the brake pedal and
accelerator pedal causing a loss of vehicle control.
• Failure to properly follow floor mat installation or mounting can cause interference with the brake pedal and accelerator pedal operation causing
loss of control of the vehicle.
• Refer to your Owner's Manual on the DVD for further details.
• Never use the ‘PARK’ position as a substitute for the parking brake. Always apply the parking brake fully when parked to guard against vehicle movement
and possible injury or damage.
USE OF AFTERMARKET PRODUCTS (ELECTRONICS)
The use of aftermarket devices including cell phones, MP3 players, GPS systems, or
chargers may affect the performance of on-board wireless features including Keyless
Enter-N-Go™ and Remote Start range. If you are experiencing difficulties with any of
your wireless features, try disconnecting your aftermarket devices to see if the situation
improves. If your symptoms persist, please see an authorized dealer.
CHRYSLER, DODGE, JEEP, RAM TRUCK, ATF+4, MOPAR and Uconnect are registered
trademarks of Chrysler Group LLC. COPYRIGHT ©2012 CHRYSLER GROUP LLC
INTRODUCTION/WELCOME
3
Page 7 of 140

A. Headlight Switch pg. 27
B. Turn Signal/Wiper/Washer/High BeamsLever (behind steering wheel) pg. 28
C. Instrument Cluster pg. 6
D. Electronic Vehicle Information Center (EVIC) Display pg. 76
E. Ignition Switch (behind steering wheel)
F. Audio System (touch-screen-radio shown) pg. 40
G. Climate Controls pg. 35 H. SWITCH PANEL
− Electronic Stability Control pg. 91
− Tow/Haul
− Heated Steering Wheel pg. 25
− Hazard Switch
− Power Inverter pg. 80
− ParkSense
®pg. 36
− Power Folding Third Row Head Restraints pg. 23
I. Transmission Gear Selector J. Power Outlet pg. 81
K. Speed Control pg. 30
L. EVIC Controls pg. 76
M. Fuel Door Release pg. 109
N. Parking Brake Release
O. Power Mirrors
P. Power Windows
Q. Power Door Locks
R. Driver's Memory Buttons pg. 19
CONTROLS AT A GLANCE
5
Page 8 of 140
INSTRUMENT CLUSTER
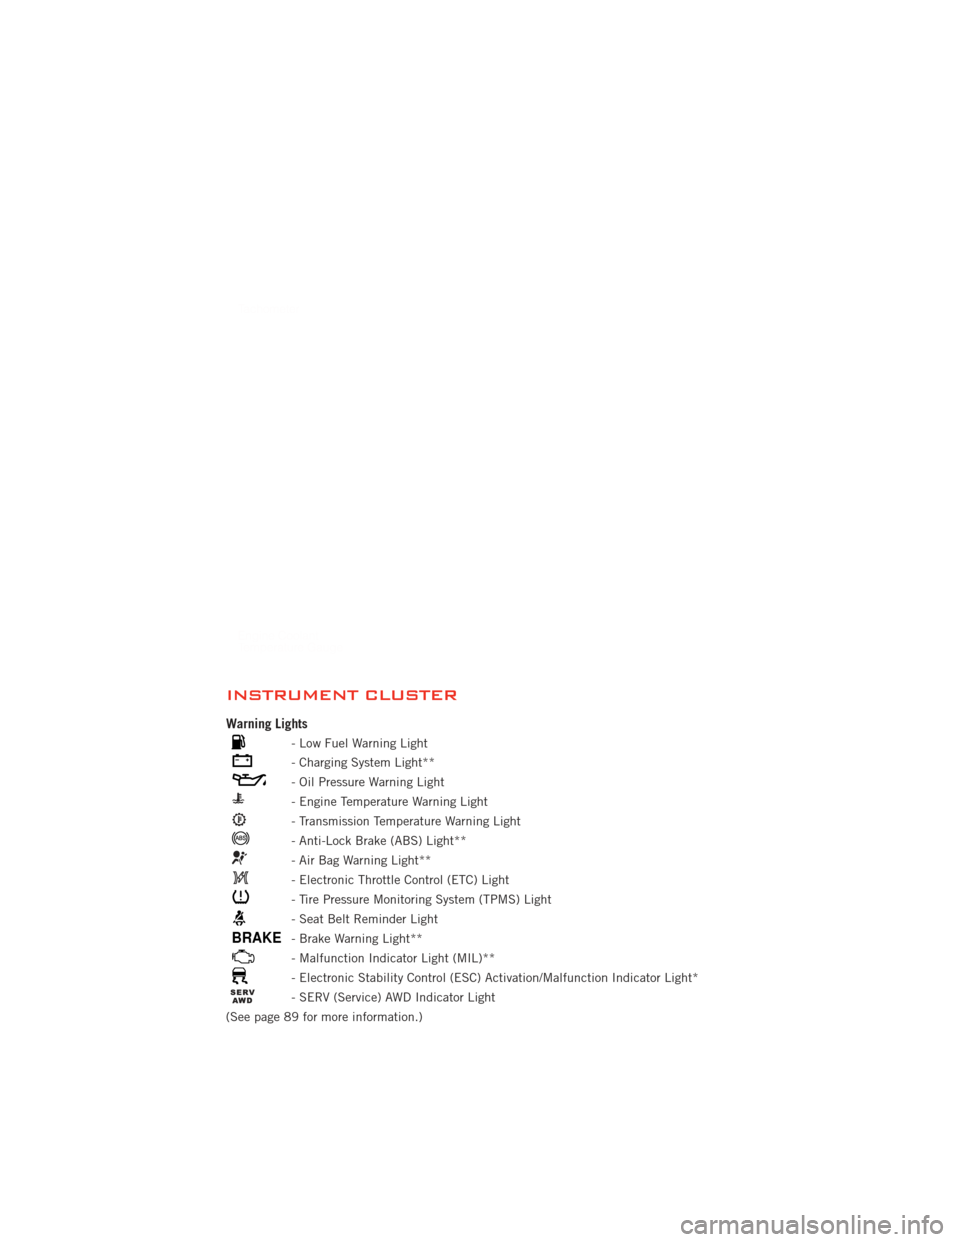
Warning Lights
- Low Fuel Warning Light
- Charging System Light**
- Oil Pressure Warning Light
- Engine Temperature Warning Light
- Transmission Temperature Warning Light
- Anti-Lock Brake (ABS) Light**
- Air Bag Warning Light**
- Electronic Throttle Control (ETC) Light
- Tire Pressure Monitoring System (TPMS) Light
- Seat Belt Reminder Light
BRAKE- Brake Warning Light**
- Malfunction Indicator Light (MIL)**
- Electronic Stability Control (ESC) Activation/Malfunction Indicator Light*
- SERV (Service) AWD Indicator Light
(See page 89 for more information.)
CONTROLS AT A GLANCE
6
Page 12 of 140
WARNING!
• Leaving unattended children in a vehicle is dangerous for a number ofreasons. A child or others could be severely injured or killed. Children should
be warned not to touch the parking brake, brake pedal, or the shift lever. Do
not leave the Key Fob inside the vehicle or in the ignition. A child could start
the vehicle, operate power windows, other controls, or move the vehicle.
• Do not leave children or animals inside parked vehicles in hot weather. Interior heat build-up may cause them to be severely injured or killed.
• Keep Key Fob transmitters away from children. Operation of the Remote Start System, windows, door locks or other controls could cause serious injury or
death.
• Driving with the liftgate open can allow poisonous exhaust gases into your vehicle. You and your passengers could be injured by these fumes. Keep the
flipper glass closed when you are operating the vehicle.
REMOTE START
• Press the REMOTE START buttonx2on the Key Fob twice within five seconds.
Pressing the REMOTE START button a third time shuts the engine off.
• To drive the vehicle, with a valid Keyless Enter-N-Go™ Key Fob within 5 ft (1.5 m) of the driver's side of the vehicle, grab the front driver door handle to unlock the
driver's door automatically, then press the Start/Stop switch. Or press the UNLOCK
button, insert the Key Fob in the ignition and turn to the ON/RUN position.
• With remote start, the engine will only run for 15 minutes (timeout) unless the ignition is placed in the ON/RUN position.
• The vehicle must be started with the Key Fob after two consecutive timeouts.
WARNING!
• Do not start or run an engine in a closed garage or confined area. Exhaust gas contains Carbon Monoxide (CO) which is odorless and colorless. Carbon
Monoxide is poisonous and can cause you or others to be severely injured or
killed when inhaled.
• Keep Key Fob transmitters away from children. Operation of the Remote Start System, windows, door locks or other controls could cause you and others to
be severely injured or killed.
GETTING STARTED
10
Page 15 of 140
Engine Starting/Stopping
Starting• With a valid Keyless Enter-N-Go™ Key Fob inside the vehicle.
• Place the shift lever in PARK or NEUTRAL.
• While pressing the brake pedal, press the ENGINE START/STOP button once.
If the engine fails to start, the starter
will disengage automatically after
10 seconds.
• To stop the cranking of the engine prior to the engine starting, press the button again.
Stopping • Place the shift lever in PARK.
• Press the ENGINE START/STOP button once. The ignition switch will return to the OFF position.
• If the shift lever is not in PARK, the ENGINE START/STOP button must be held for two
seconds and vehicle speed must be above 5 mph (8 km/h) before the engine will shut
off.
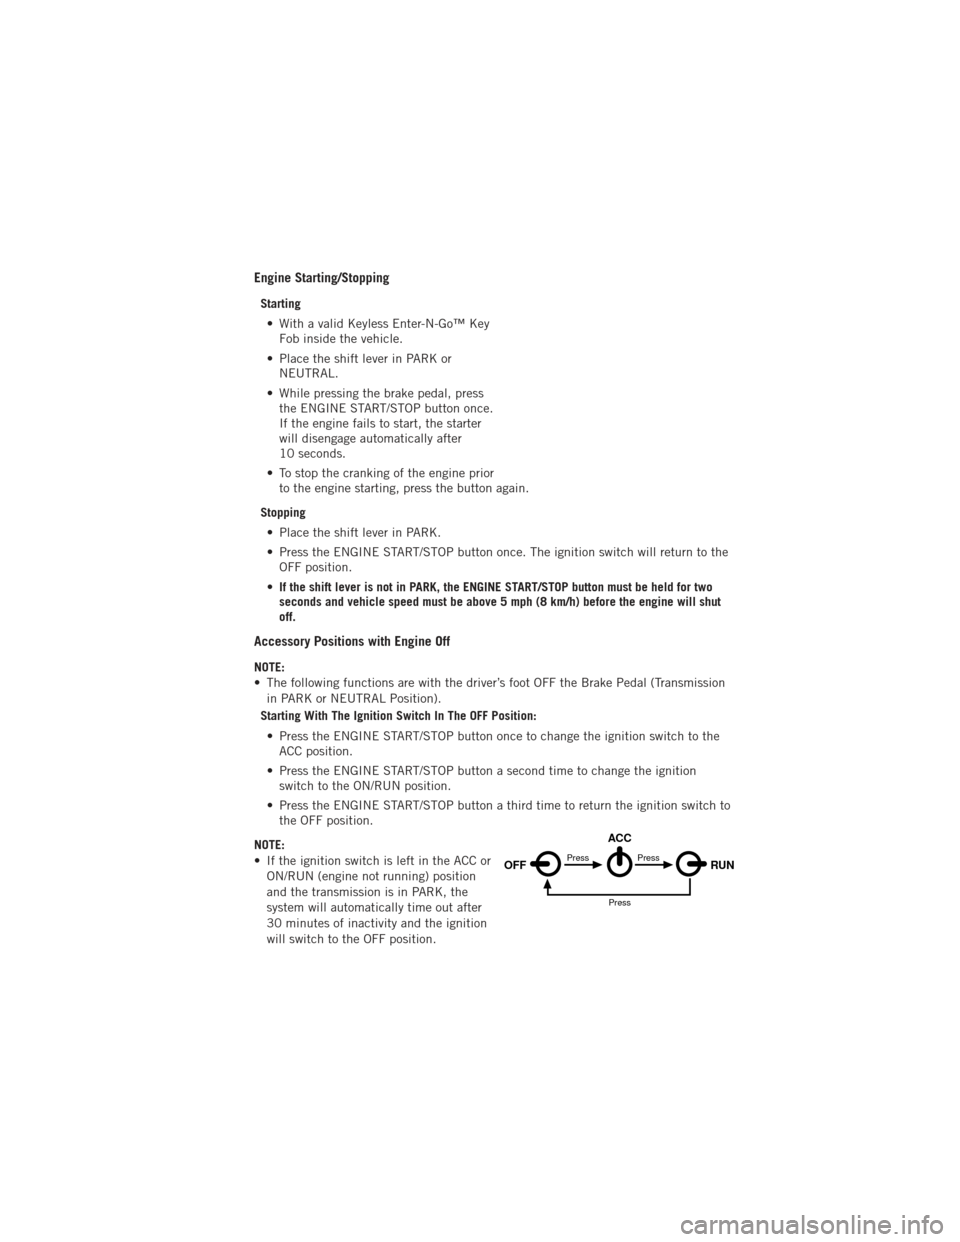
Accessory Positions with Engine Off
NOTE:
• The following functions are with the driver’s foot OFF the Brake Pedal (Transmission
in PARK or NEUTRAL Position).
Starting With The Ignition Switch In The OFF Position:
• Press the ENGINE START/STOP button once to change the ignition switch to the ACC position.
• Press the ENGINE START/STOP button a second time to change the ignition switch to the ON/RUN position.
• Press the ENGINE START/STOP button a third time to return the ignition switch to the OFF position.
NOTE:
• If the ignition switch is left in the ACC or ON/RUN (engine not running) position
and the transmission is in PARK, the
system will automatically time out after
30 minutes of inactivity and the ignition
will switch to the OFF position.
OFF RUN
ACCPress
Press
Press
GETTING STARTED
13
Page 32 of 140
SPEED CONTROL
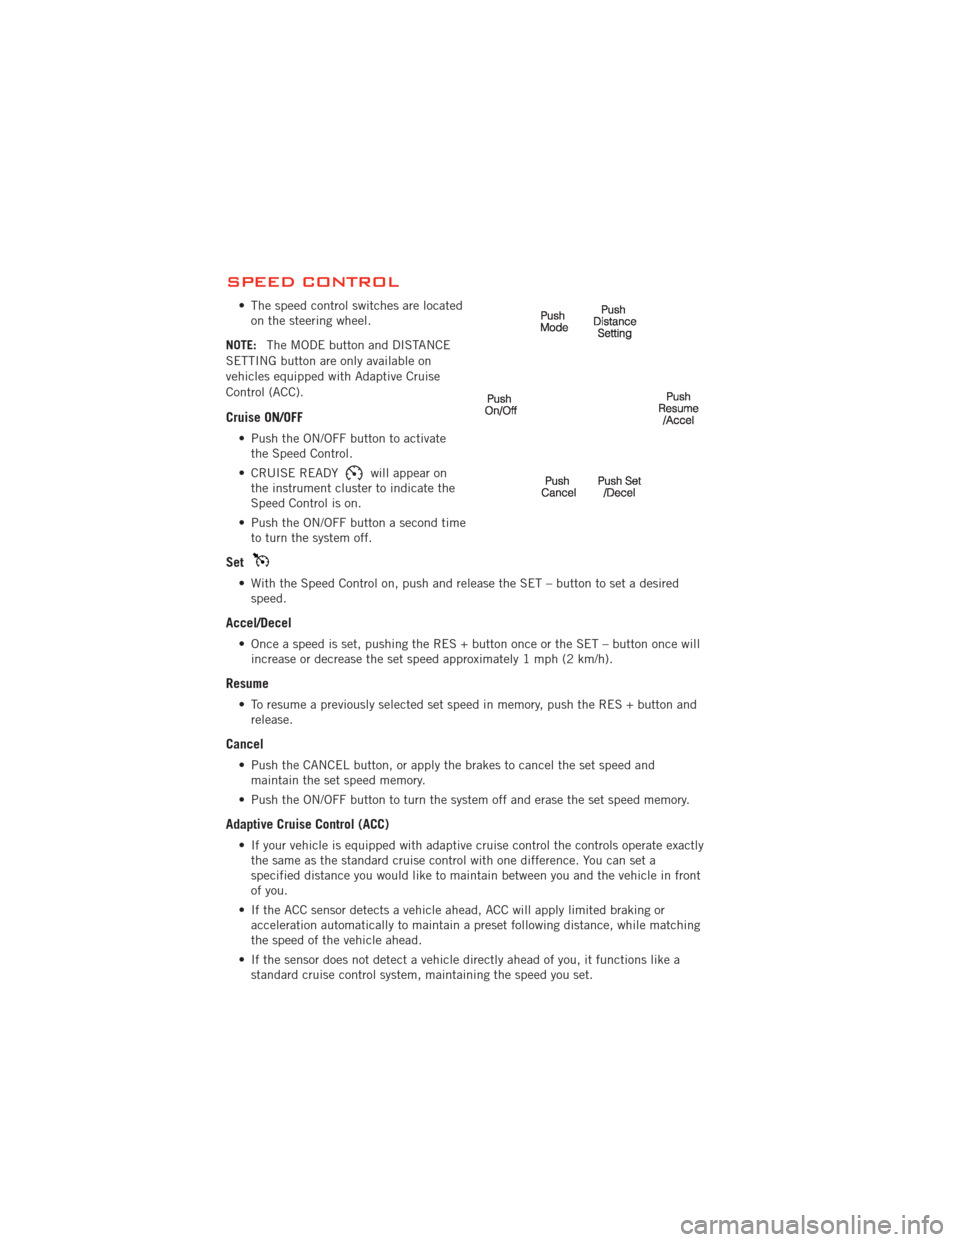
• The speed control switches are locatedon the steering wheel.
NOTE: The MODE button and DISTANCE
SETTING button are only available on
vehicles equipped with Adaptive Cruise
Control (ACC).
Cruise ON/OFF
• Push the ON/OFF button to activate the Speed Control.
• CRUISE READY
will appear on
the instrument cluster to indicate the
Speed Control is on.
• Push the ON/OFF button a second time to turn the system off.
Set
• With the Speed Control on, push and release the SET – button to set a desiredspeed.
Accel/Decel
• Once a speed is set, pushing the RES + button once or the SET – button once willincrease or decrease the set speed approximately 1 mph (2 km/h).
Resume
• To resume a previously selected set speed in memory, push the RES + button andrelease.
Cancel
• Push the CANCEL button, or apply the brakes to cancel the set speed andmaintain the set speed memory.
• Push the ON/OFF button to turn the system off and erase the set speed memory.
Adaptive Cruise Control (ACC)
• If your vehicle is equipped with adaptive cruise control the controls operate exactly the same as the standard cruise control with one difference. You can set a
specified distance you would like to maintain between you and the vehicle in front
of you.
• If the ACC sensor detects a vehicle ahead, ACC will apply limited braking or acceleration automatically to maintain a preset following distance, while matching
the speed of the vehicle ahead.
• If the sensor does not detect a vehicle directly ahead of you, it functions like a standard cruise control system, maintaining the speed you set.
OPERATING YOUR VEHICLE
30
Page 34 of 140
Far• The default status of FCW is the “Far” setting.
• The far setting provides warnings for potential collisions more distant in front of the vehicle, allowing the driver to have the most reaction time to avoid a collision.
• This setting is designed to provide early warnings per NHTSA (National Highway Traffic Safety Administration) recommendations.
• More cautious drivers that do not mind frequent warnings may prefer this setting.
NOTE: This setting gives you the most reaction time.
Near • Changing the FCW status to the “Near” setting, allows the system to warn you of a potential frontal collision when you are much closer.
• This setting provides less reaction time than the “Far” setting, which allows for a more dynamic driving experience.
• More dynamic or aggressive drivers that want to avoid frequent warnings may prefer this setting.
Off • Changing the FCW status to “Off” prevents the system from warning you of a potential frontal collision.
NOTE:
• If FCW is set to “Off”, “FCW OFF” will be displayed in the EVIC.
Refer to the Owner's Manual on the DVD for further details.
WARNING!
• Leaving the Electronic or Adaptive Speed Control system on when not in use is dangerous. You could accidentally set the system or cause it to go faster
than you want. You could lose control and have a collision. Always leave the
Electronic or Adaptive Speed Control system off when you are not using it.
• Electronic Speed Control can be dangerous where the system cannot maintain a constant speed. Your vehicle could go too fast for the conditions,
and you could lose control. A collision could be the result. Do not use
Electronic Speed Control in heavy traffic or on roads that are winding, icy,
snow-covered or slippery.
• Adaptive Cruise Control (ACC) is a convenience system. It is not a substitute for active driving involvement. Pay attention to road, traffic, and weather
conditions, vehicle speed, distance to the vehicle ahead, and brake operation
to ensure safe operation of the vehicle under all road conditions. Your
attention is always required while driving to maintain safe control of your
vehicle. Failure to follow these warnings can result in a collision or serious
personal injury.
(Continued)
OPERATING YOUR VEHICLE
32
Page 85 of 140
ALL-WHEEL DRIVE OPERATION
Single-Speed Operating Instructions/Precautions
• This system contains a single-speed (HI range only) transfer case, which providesconvenient full-time all-wheel drive. No driver interaction is required. The Brake
Traction Control (BTC) System, which combines standard ABS and Traction
Control, provides resistance to any wheel that is slipping to allow additional torque
transfer to wheels with traction.
NOTE: This system is not appropriate for conditions where AWD LOW range is
recommended. Refer to “Off-Road Driving Tips” in “Starting and Operating” on the
DVD for further information.
Electronically Shifted Transfer Case (Three-Position Switch)
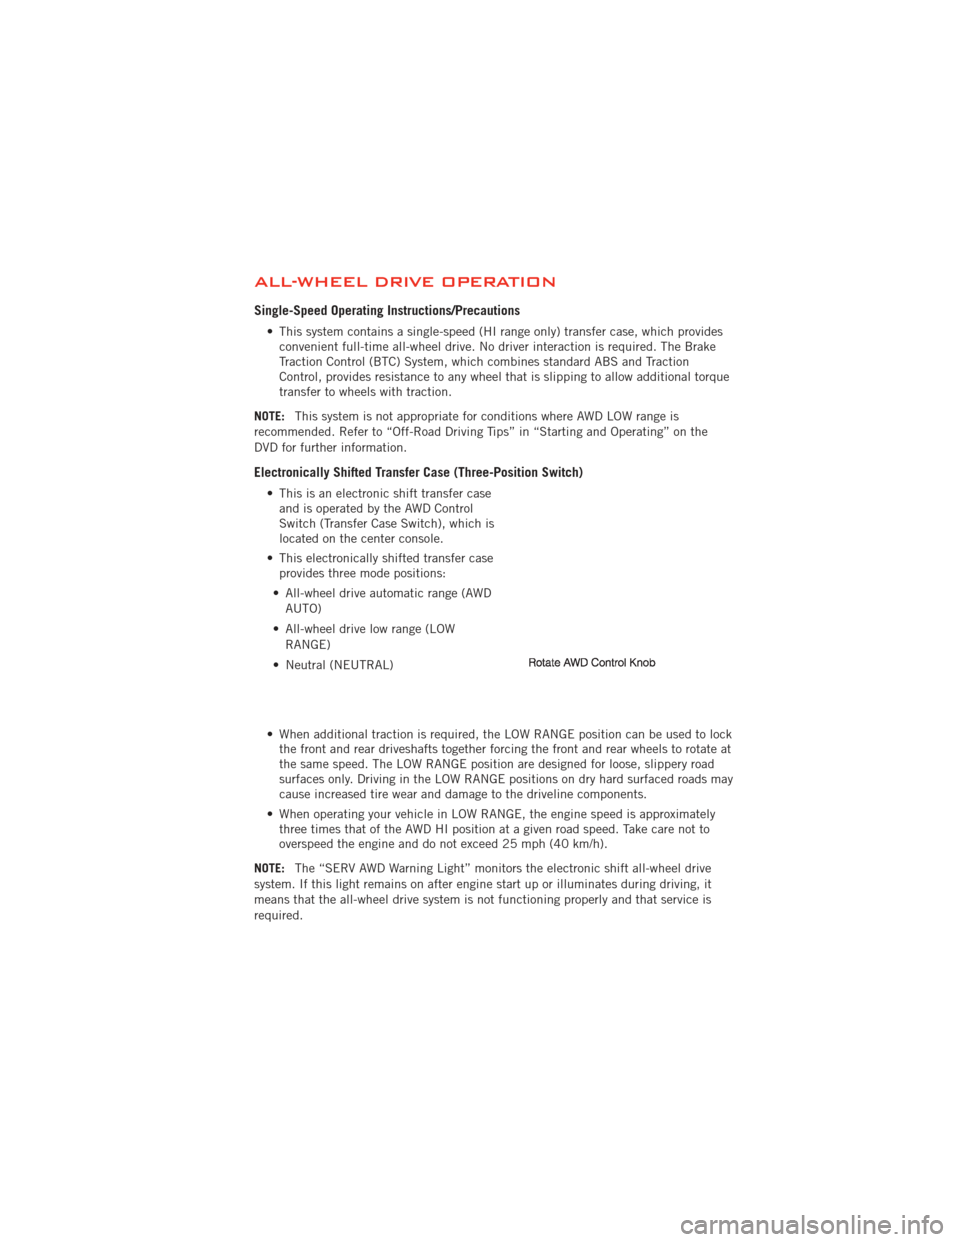
• This is an electronic shift transfer case and is operated by the AWD Control
Switch (Transfer Case Switch), which is
located on the center console.
• This electronically shifted transfer case provides three mode positions:
• All-wheel drive automatic range (AWD AUTO)
• All-wheel drive low range (LOW RANGE)
• Neutral (NEUTRAL)
• When additional traction is required, the LOW RANGE position can be used to lock the front and rear driveshafts together forcing the front and rear wheels to rotate at
the same speed. The LOW RANGE position are designed for loose, slippery road
surfaces only. Driving in the LOW RANGE positions on dry hard surfaced roads may
cause increased tire wear and damage to the driveline components.
• When operating your vehicle in LOW RANGE, the engine speed is approximately three times that of the AWD HI position at a given road speed. Take care not to
overspeed the engine and do not exceed 25 mph (40 km/h).
NOTE: The “SERV AWD Warning Light” monitors the electronic shift all-wheel drive
system. If this light remains on after engine start up or illuminates during driving, it
means that the all-wheel drive system is not functioning properly and that service is
required.
OFF-ROAD CAPABILITIES
83
Page 86 of 140
Shifting Procedures
AWD AUTO To LOW RANGE
NOTE: When shifting into or out of LOW RANGE some gear noise may be heard. This
noise is normal and is not detrimental to the vehicle or occupants.
• Shifting can be performed with the vehicle rolling 2 to 3 mph (3 to 5 km/h) orcompletely stopped. Use either of the following procedures:
Preferred Procedure • With the engine running, slow the vehicle to 2 to 3 mph (3 to 5 km/h).
• Shift the transmission into NEUTRAL.
• While still rolling, rotate the transfer case control switch to the desired position.
• After the desired position indicator light is ON (not flashing), shift the transmissionback into gear.
Alternate Procedure • Bring the vehicle to complete stop.
• With the ignition switch in the ON position and the engine either OFF or running,shift the transmission into NEUTRAL.
• Rotate the transfer case control switch to the desired position.
• After the desired position indicator light is ON (not flashing), shift the transmission back into gear.
NOTE:
• If Steps 1 or 2 of either the Preferred or Alternate Procedure are not satisfied prior to attempting the shift or if they no longer are being met while the shift attempt is in
process, the desired position indicator light will flash continuously while the original
position indicator light is ON, until all requirements have been met.
• The ignition switch must be in the ON position for a shift to take place and for the position indicator lights to be operable. If the ignition switch is not in the ON
position, then the shift will not take place and no position indicator lights will be on
or flashing.
WARNING!
• Always engage the parking brake when powering down the vehicle if the“SERV AWD Warning Light” is illuminated. Not engaging the parking brake
may allow the vehicle to roll which may cause personal injury.
• You or others could be injured if you leave the vehicle unattended with the transfer case in the NEUTRAL position without first fully engaging the
parking brake. The transfer case NEUTRAL position disengages both the front
and rear driveshafts from the powertrain and will allow the vehicle to move
regardless of the transmission position. The parking brake should always be
applied when the driver is not in the vehicle.
OFF-ROAD CAPABILITIES
84
Page 90 of 140
• Press and hold the brake pedal and shift the transmission into NEUTRAL.
• Press and hold the transfer case N (Neutral) button for four seconds, until the lightnext to the N symbol starts to blink, indicating shift in progress. The light will stop
blinking (stay on solid) when the shift to N (Neutral) is complete.
• Start the engine and shift the transmission into REVERSE.
• Release the brake pedal for five seconds and ensure that there is no vehicle movement.
• Turn the engine off and firmly apply the parking brake.
• Shift the transmission into PARK and remove the Key Fob.
• Attach the vehicle to the tow vehicle using a suitable tow bar and release the parking brake.
CAUTION!
• Towing with the rear wheels on the ground will cause severe transmissiondamage. Damage from improper towing is not covered under the New Vehicle
Limited Warranty.
• Front or rear wheel lifts should not be used. Internal damage to the transmission or transfer case will occur if a front or rear wheel lift is used
when recreational towing.
• It is necessary to follow these steps to be certain that the transfer case is fully in NEUTRAL before recreational towing to prevent damage to internal
parts.
WARNING!
You or others could be injured if you leave the vehicle unattended with the
transfer case in the NEUTRAL position without first fully engaging the parking
brake. The transfer case NEUTRAL position disengages both the front and rear
driveshafts from the powertrain and will allow the vehicle to move even if the
transmission is in PARK. The parking brake should always be applied when the
driver is not in the vehicle.
UTILITY
88