rear view mirror DODGE DURANGO 2012 3.G User Guide
[x] Cancel search | Manufacturer: DODGE, Model Year: 2012, Model line: DURANGO, Model: DODGE DURANGO 2012 3.GPages: 140, PDF Size: 4.3 MB
Page 3 of 140

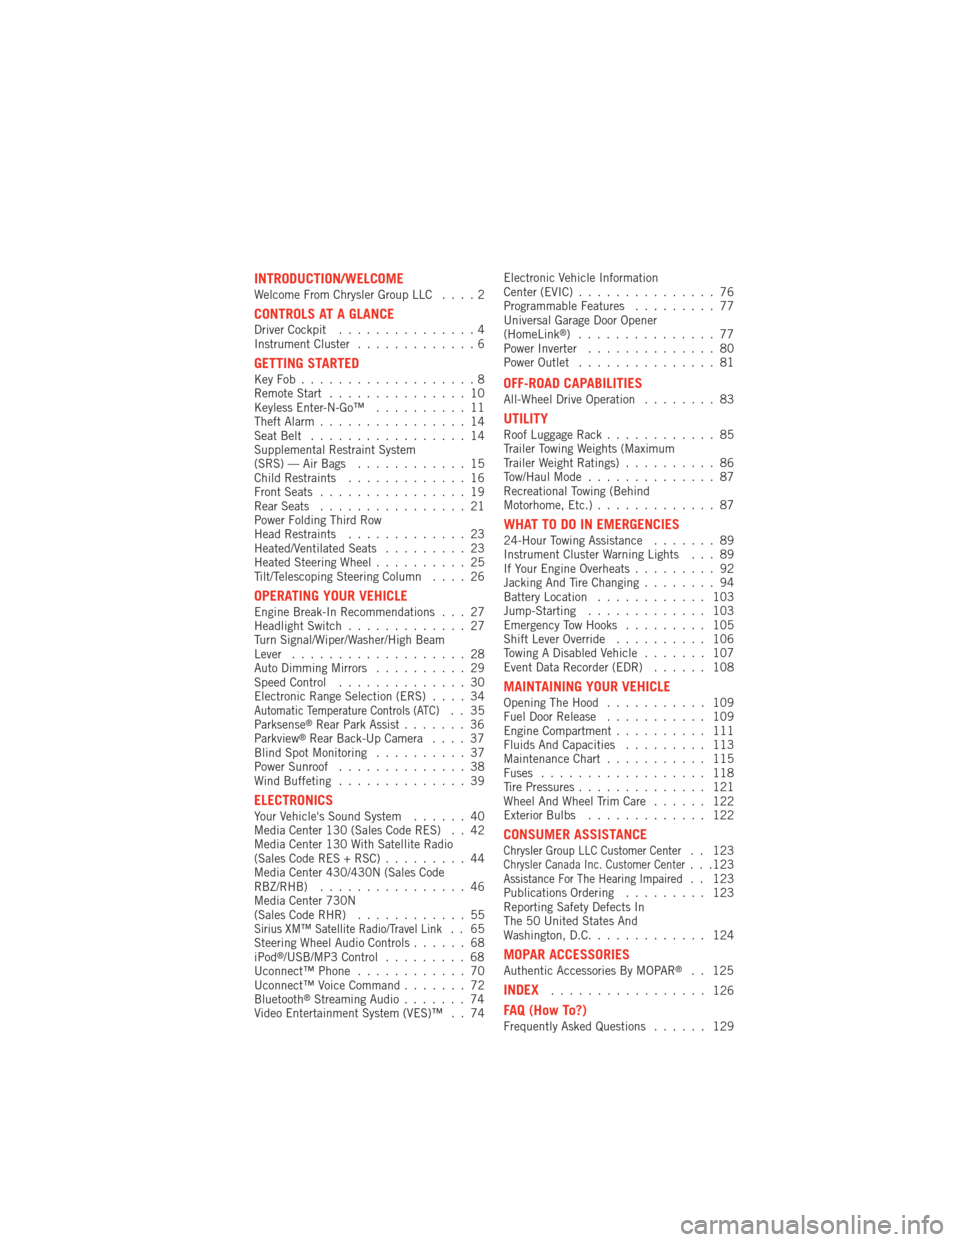
INTRODUCTION/WELCOMEWelcome From Chrysler Group LLC....2
CONTROLS AT A GLANCEDriver Cockpit...............4
Instrument Cluster .............6
GETTING STARTEDKeyFob...................8
Remote Start...............10
Keyless Enter-N-Go™ ..........11
Theft Alarm ................14
Seat Belt .................14
Supplemental Restraint System
(SRS) — Air Bags ............15
Child Restraints .............16
Front Seats ................19
Rear Seats ................21
Power Folding Third Row
Head Restraints .............23
Heated/Ventilated Seats .........23
Heated Steering Wheel ..........25
Tilt/Telescoping Steering Column ....26
OPERATING YOUR VEHICLEEngine Break-In Recommendations . . . 27
Headlight Switch.............27
Turn Signal/Wiper/Washer/High Beam
Lever ...................28
Auto Dimming Mirrors ..........29
Speed Control ..............30
Electronic Range Selection (ERS) ....34
Automatic Temperature Controls (ATC).. 35
Parksense®Rear Park Assist .......36
Parkview®Rear Back-Up Camera ....37
Blind Spot Monitoring ..........37
Power Sunroof ..............38
Wind Buffeting ..............39
ELECTRONICSYour Vehicle's Sound System ......40
Media Center 130 (Sales Code RES) . . 42
Media Center 130 With Satellite Radio
(Sales Code RES + RSC) .........44
Media Center 430/430N (Sales Code
RBZ/RHB) ................46
Media Center 730N
(Sales Code RHR) ............55
Sirius XM™ Satellite Radio/Travel Link.. 65
Steering Wheel Audio Controls ......68
iPod
®/USB/MP3 Control .........68
Uconnect™ Phone ............70
Uconnect™ Voice Command .......72
Bluetooth
®Streaming Audio .......74
Video Entertainment System (VES)™ . . 74 Electronic Vehicle Information
Center (EVIC)
...............76
Programmable Features .........77
Universal Garage Door Opener
(HomeLink
®) ...............77
Power Inverter ..............80
Power Outlet ...............81
OFF-ROAD CAPABILITIESAll-Wheel Drive Operation ........83
UTILITYRoof Luggage Rack............85
Trailer Towing Weights (Maximum
Trailer Weight Ratings) ..........86
Tow/Haul Mode ..............87
Recreational Towing (Behind
Motorhome, Etc.) .............87
WHAT TO DO IN EMERGENCIES24-Hour Towing Assistance .......89
Instrument Cluster Warning Lights . . . 89
If Your Engine Overheats .........92
Jacking And Tire Changing ........94
Battery Location ............ 103
Jump-Starting ............. 103
Emergency Tow Hooks ......... 105
Shift Lever Override .......... 106
Towing A Disabled Vehicle ....... 107
Event Data Recorder (EDR) ...... 108
MAINTAINING YOUR VEHICLEOpening The Hood........... 109
Fuel Door Release ........... 109
Engine Compartment .......... 111
Fluids And Capacities ......... 113
Maintenance Chart ........... 115
Fuses .................. 118
Tire Pressures .............. 121
Wheel And Wheel Trim Care ...... 122
Exterior Bulbs ............. 122
CONSUMER ASSISTANCEChrysler Group LLC Customer Center. . 123Chrysler Canada Inc. Customer Center...123Assistance For The Hearing Impaired. . 123
Publications Ordering ......... 123
Reporting Safety Defects In
The 50 United States And
Washington, D.C. ............ 124
MOPAR ACCESSORIESAuthentic Accessories By MOPAR®. . 125
INDEX................. 126
FAQ (How To?)Frequently Asked Questions ...... 129
TABLE OF CONTENTS
Page 31 of 140

Rain Sensing Wipers• This feature senses moisture on the vehicle's windshield and automatically activates the wipers for the driver when the switch is in the intermittent position.
Rotate the end of the lever to one of four settings to activate this feature and
adjust sensitivity.
• This feature can be activated/deactivated using the Electronic Vehicle Information Center (EVIC). Refer to the Programmable Features under the Electronics section
in this guide.
• Refer to the Owner's Manual on the DVD for further details.
Rear Wiper
Wiper Operation
• Rotate the center portion of the lever forward to the first detent for intermittent operation and to the second detent for rear wiper operation.
Washer Operation
• Rotate the center portion of the lever past the second detent to activate the rear washer.
High Beam Operation
• Push the lever forward to activate the high beams. Pull the lever toward you forflash to pass.
NOTE: For safe driving, turn off high beams when oncoming traffic is present to
prevent headlight glare and as a courtesy to other motorists.
AUTO DIMMING MIRRORS
• The rearview and driver side exterior mirror automatically adjusts for headlight glare from vehicles behind you.
• You can turn the feature on or off by pressing the button at the base of the rearview mirror. A light next to the button will illuminate to indicate when the
dimming feature is activated.
OPERATING YOUR VEHICLE
29
Page 39 of 140

PARKVIEW®REAR BACK-UP CAMERA
• You can see an on-screen image of the rear of your vehicle whenever the shift leveris put into REVERSE. The ParkView®Rear Back-Up Camera image will be
displayed on the radio display screen, located on the center stack of the
instrument panel.
• If the radio display screen appears foggy, clean the camera lens located on the liftgate.
WARNING!
Drivers must be careful when backing up even when using the ParkView®Rear
Back-Up Camera. Always check carefully behind your vehicle, and be sure to
check for pedestrians, animals, other vehicles, obstructions, or blind spots
before backing up. You must continue to pay attention while backing up.
Failure to do so can result in serious injury or death.
BLIND SPOT MONITORING
• The Blind Spot Monitoring (BSM) system uses two radar-based sensors, located inside the rear bumper fascia, to detect Highway licensable vehicles (automobiles,
trucks, motorcycles etc.) that enter the blind spot zones from the rear/front/side of
the vehicle.
• The Blind Spot Monitoring (BSM) system warning light, located in the outside mirrors, will illuminate if a vehicle moves into a blind spot zone.
• The BSM system can also be configured to sound an audible (chime) alert and mute the radio to notify you of objects that have entered the detection zones.
• Refer to your owner's manual on the DVD for further details.
OPERATING YOUR VEHICLE
37