ABS DODGE DURANGO 2014 3.G User Guide
[x] Cancel search | Manufacturer: DODGE, Model Year: 2014, Model line: DURANGO, Model: DODGE DURANGO 2014 3.GPages: 188, PDF Size: 3.8 MB
Page 10 of 188
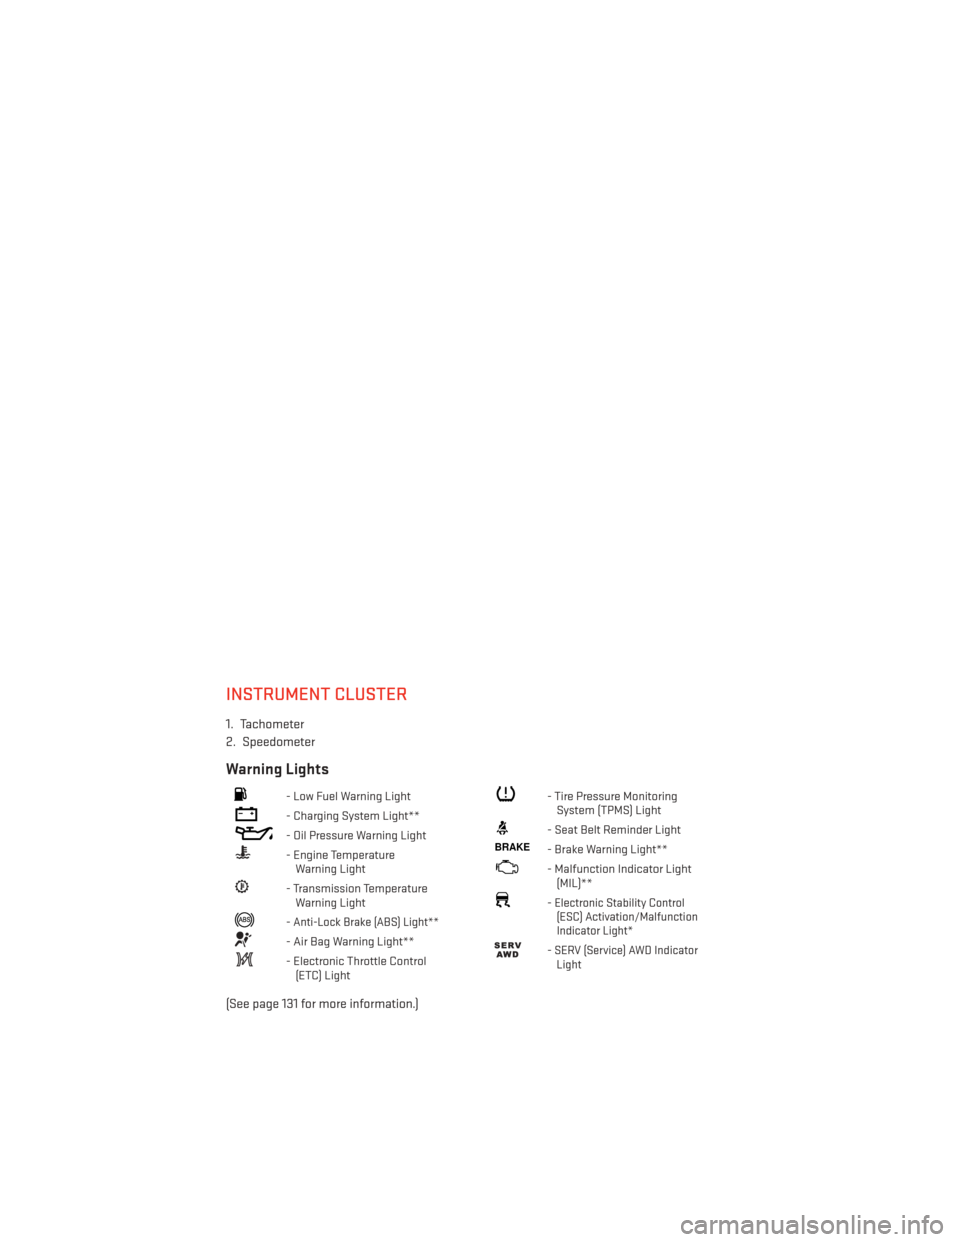
INSTRUMENT CLUSTER
1. Tachometer
2. Speedometer
Warning Lights
- Low Fuel Warning Light
- Charging System Light**
- Oil Pressure Warning Light
- Engine TemperatureWarning Light
- Transmission TemperatureWarning Light
-Anti-Lock Brake (ABS) Light**
- Air Bag Warning Light**
- Electronic Throttle Control(ETC) Light
- Tire Pressure MonitoringSystem (TPMS) Light
- Seat Belt Reminder Light
BRAKE- Brake Warning Light**
- Malfunction Indicator Light(MIL)**
-Electronic Stability Control(ESC) Activation/Malfunction
Indicator Light*
-SERV (Service) AWD Indicator Light
(See page 131 for more information.)
CONTROLS AT A GLANCE
8
Page 58 of 188
Using Uconnect® Access
Getting Started With Apps
Applications (Apps) and features in your Uconnect® Access system deliver services that are
customized for the driver and are certified by Chrysler Group, LLC. Two different types are:
1.Built-In Features — use the built-in 3G Cellular Network on your Uconnect® 8.4A or 8.4AN
radio.
2. Uconnect® Access via Mobile (if equipped) — uses the Uconnect Access app and your
smartphone's data plan to access your personal Pandora®, iHeartRadio, Aha™ and
Slacker accounts from the vehicle and control them using the vehicle touchscreen.
Customer's data plan charges will apply.
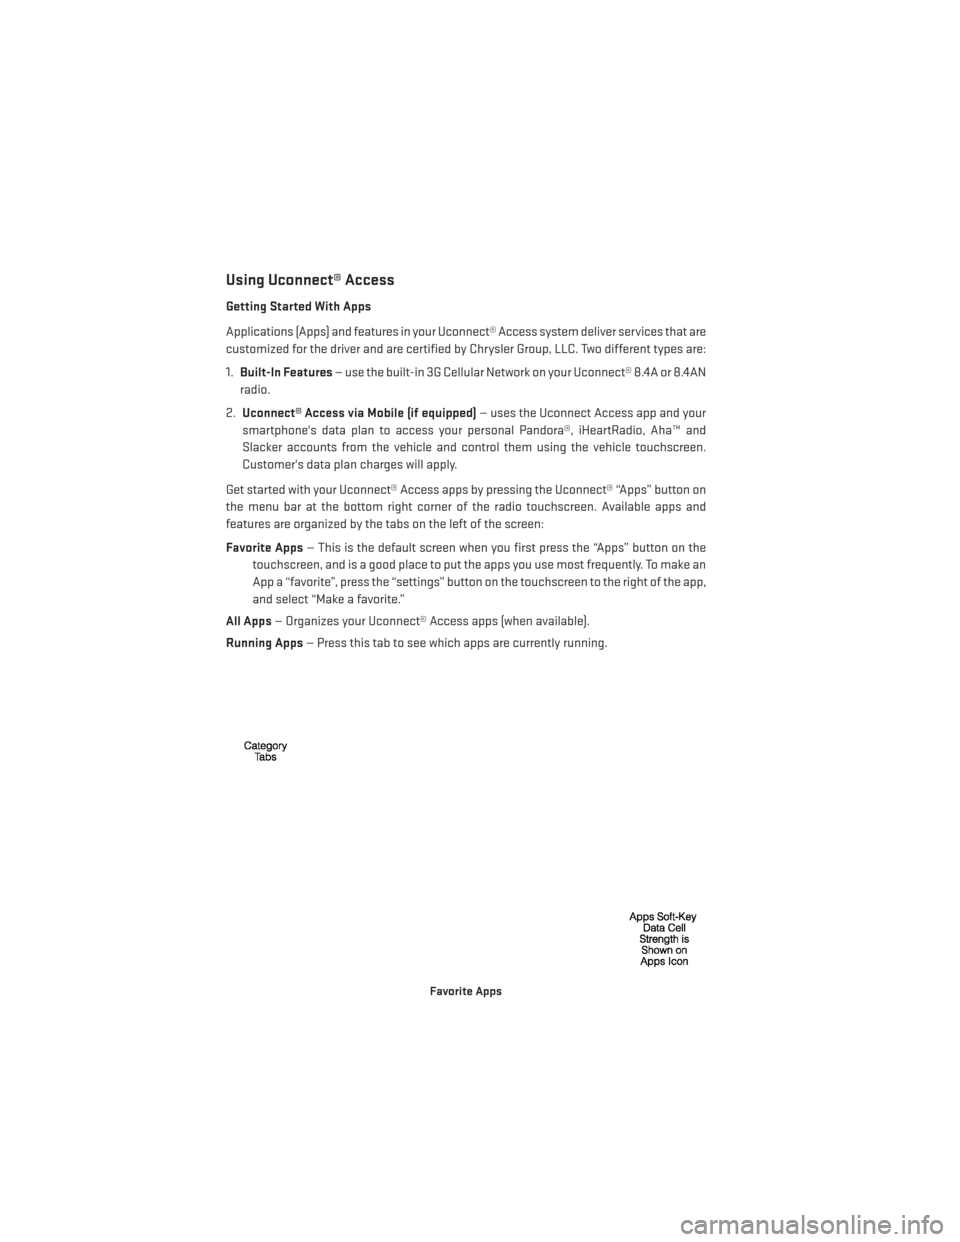
Get started with your Uconnect® Access apps by pressing the Uconnect® “Apps” button on
the menu bar at the bottom right corner of the radio touchscreen. Available apps and
features are organized by the tabs on the left of the screen:
Favorite Apps — This is the default screen when you first press the “Apps” button on the
touchscreen, and is a good place to put the apps you use most frequently. To make an
App a “favorite”, press the “settings” button on the touchscreen to the right of the app,
and select “Make a favorite.”
All Apps — Organizes your Uconnect® Access apps (when available).
Running Apps — Press this tab to see which apps are currently running.
Favorite Apps
ELECTRONICS
56
Page 125 of 188
ALL-WHEEL DRIVE OPERATION
Single-Speed Operating Instructions/Precautions
This system contains a single-speed (HI range only) transfer case, which provides conve-
nient full-time all-wheel drive. No driver interaction is required. The Brake Traction Control
(BTC) System, which combines standard ABS and Traction Control, provides resistance to
any wheel that is slipping to allow additional torque transfer to wheels with traction.
NOTE:
This system is not appropriate for conditions where AWD LOW range is recommended. Refer to
“Off-Road Driving Tips” in “Starting and Operating” on the DVD for further information.
Electronically Shifted Transfer Case (Three-Position Switch)
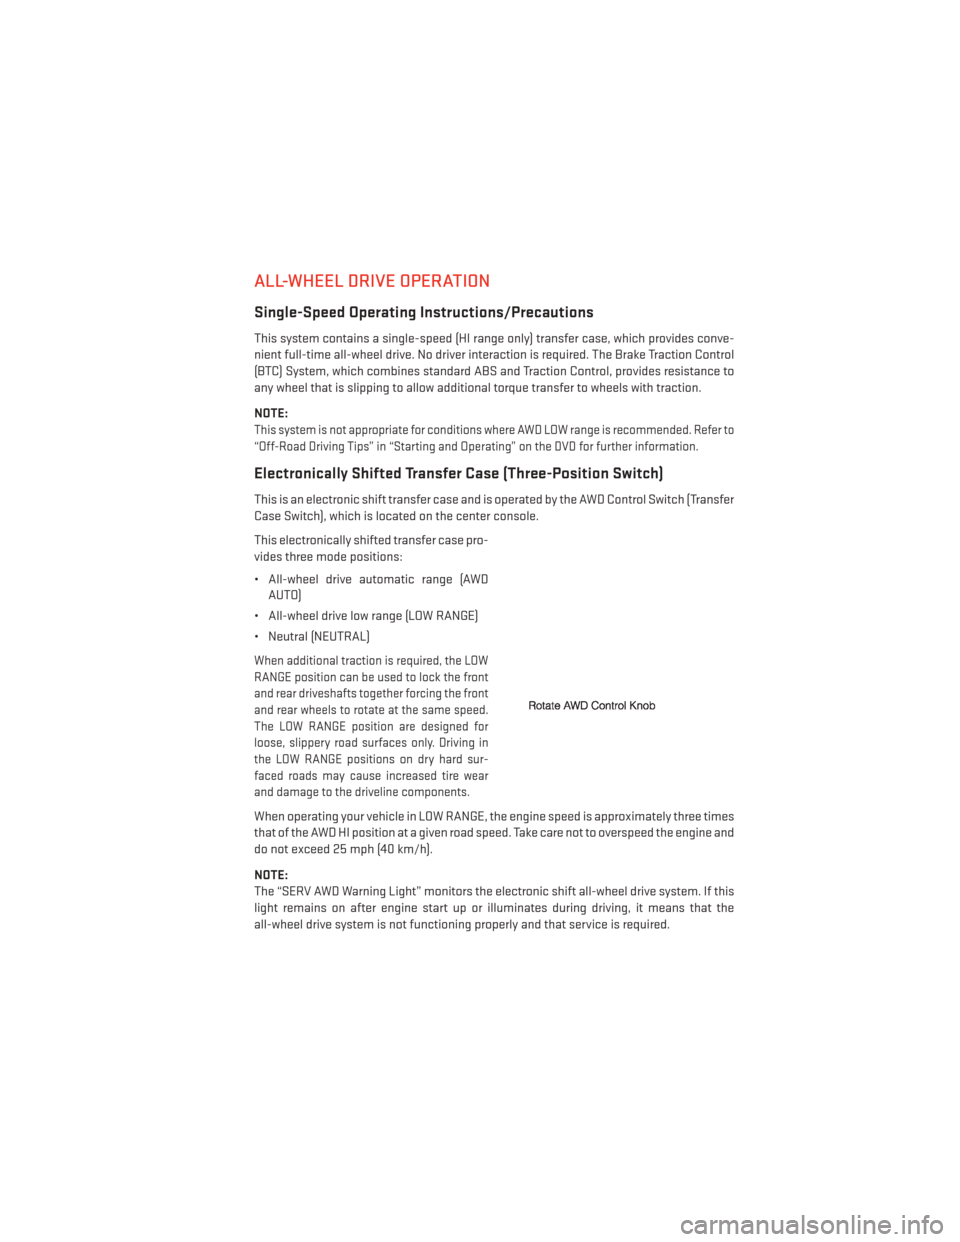
This is an electronic shift transfer case and is operated by the AWD Control Switch (Transfer
Case Switch), which is located on the center console.
This electronically shifted transfer case pro-
vides three mode positions:
• All-wheel drive automatic range (AWDAUTO)
• All-wheel drive low range (LOW RANGE)
• Neutral (NEUTRAL)
When additional traction is required, the LOW
RANGE position can be used to lock the front
and rear driveshafts together forcing the front
and rear wheels to rotate at the same speed.
The LOW RANGE position are designed for
loose, slippery road surfaces only. Driving in
the LOW RANGE positions on dry hard sur-
faced roads may cause increased tire wear
and damage to the driveline components.
When operating your vehicle in LOW RANGE, the engine speed is approximately three times
that of the AWD HI position at a given road speed. Take care not to overspeed the engine and
do not exceed 25 mph (40 km/h).
NOTE:
The “SERV AWD Warning Light” monitors the electronic shift all-wheel drive system. If this
light remains on after engine start up or illuminates during driving, it means that the
all-wheel drive system is not functioning properly and that service is required.
OFF-ROAD CAPABILITIES
123
Page 134 of 188
When the malfunction indicator is illuminated, the system may not be able to detect or
signal low tire pressure as intended. TPMS malfunctions may occur for a variety of reasons,
including the installation of replacement or alternate tires or wheels on the vehicle that
prevent the TPMS from functioning properly. Always check the TPMS malfunction telltale
after replacing one or more tires or wheels on your vehicle, to ensure that the replacement
or alternate tires and wheels allow the TPMS to continue to function properly.
NOTE:
Tire pressures change by approximately 1 psi (7 kPa) per 12° F (7° C) of air temperature
change. Keep this in mind when checking tire pressure inside a garage, especially in the
Winter. Example: If garage temperature is 68°F (20°C) and the outside temperature is 32°F
(0°C), then the cold tire inflation pressure should be increased by 3 psi (21 kPa), which equals
1 psi (7 kPa) for every 12°F (7°C) for this outside temperature condition.
CAUTION!
The TPMS has been optimized for the original equipment tires and wheels. TPMS
pressures and warning have been established for the tire size equipped on your vehicle.
Undesirable system operation or sensor damage may result when using replacement
equipment that is not of the same size, type, and/or style. Aftermarket wheels can cause
sensor damage. Do not use tire sealant from a can, or balance beads if your vehicle is
equipped with a TPMS, as damage to the sensors may result.
BRAKE- Brake Warning Light
This light monitors various brake functions, including brake fluid level and parking brake
application. If the brake light turns on it may indicate that the parking brake is applied, that the
brake fluid level is low, or that there is a problem with the anti-lock brake system reservoir.
If the light remains on when the parking brake has been disengaged, and the fluid level is at
the full mark on the master cylinder reservoir, it indicates a possible brake hydraulic system
malfunction or that a problem with the Brake Booster has been detected by the Anti-Lock
Brake System (ABS)/Electronic Stability Control (ESC) system. In this case, the light will
remain on until the condition has been corrected. If the problem is related to the brake
booster, the ABS pump will run when applying the brake and a brake pedal pulsation may be
felt during each stop.
The dual brake system provides a reserve braking capacity in the event of a failure to a
portion of the hydraulic system. A leak in either half of the dual brake system is indicated by
the Brake Warning Light, which will turn on when the brake fluid level in the master cylinder
has dropped below a specified level. The light will remain on until the cause is corrected.
Vehicles equipped with the Anti-Lock Brake System (ABS), are also equipped with Electronic
Brake Force Distribution (EBD). In the event of an EBD failure, the Brake Warning Light will
turn on along with the ABS Light. Immediate repair to the ABS system is required.
WHAT TO DO IN EMERGENCIES
132
Page 137 of 188
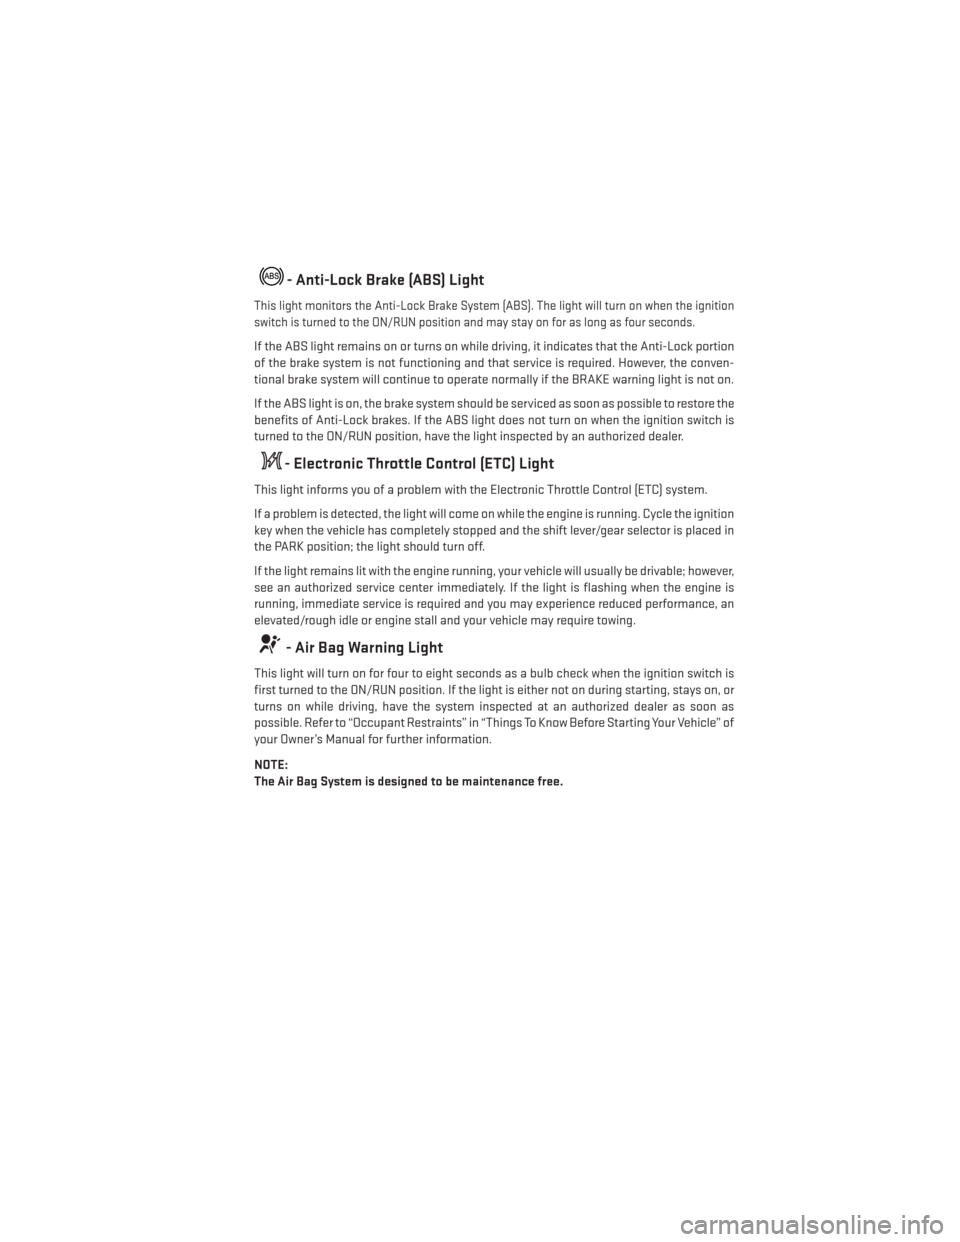
- Anti-Lock Brake (ABS) Light
This light monitors the Anti-Lock Brake System (ABS). The light will turn on when the ignition
switch is turned to the ON/RUN position and may stay on for as long as four seconds.
If the ABS light remains on or turns on while driving, it indicates that the Anti-Lock portion
of the brake system is not functioning and that service is required. However, the conven-
tional brake system will continue to operate normally if the BRAKE warning light is not on.
If the ABS light is on, the brake system should be serviced as soon as possible to restore the
benefits of Anti-Lock brakes. If the ABS light does not turn on when the ignition switch is
turned to the ON/RUN position, have the light inspected by an authorized dealer.
- Electronic Throttle Control (ETC) Light
This light informs you of a problem with the Electronic Throttle Control (ETC) system.
If a problem is detected, the light will come on while the engine is running. Cycle the ignition
key when the vehicle has completely stopped and the shift lever/gear selector is placed in
the PARK position; the light should turn off.
If the light remains lit with the engine running, your vehicle will usually be drivable; however,
see an authorized service center immediately. If the light is flashing when the engine is
running, immediate service is required and you may experience reduced performance, an
elevated/rough idle or engine stall and your vehicle may require towing.
- Air Bag Warning Light
This light will turn on for four to eight seconds as a bulb check when the ignition switch is
first turned to the ON/RUN position. If the light is either not on during starting, stays on, or
turns on while driving, have the system inspected at an authorized dealer as soon as
possible. Refer to “Occupant Restraints” in “Things To Know Before Starting Your Vehicle” of
your Owner’s Manual for further information.
NOTE:
The Air Bag System is designed to be maintenance free.
WHAT TO DO IN EMERGENCIES
135
Page 142 of 188
4. Slide the tire out from under the vehicleand rotate it vertically behind the rear
bumper.
5. Spread the retaining tabs on the plastic plate and pull the metal stamping toward
you to release it from the plastic plate.
6. Slide the metal stamping up the steel extension tube and winch cable. Rotate
the metal stamping and push it through
the hole in the plastic plate and wheel.
WHAT TO DO IN EMERGENCIES
140
Page 177 of 188
Adaptive Cruise Control (ACC)(Cruise Control) ............35
AddingFuel ...............155
Airbag...................16
Air Bag AdvanceFrontAirBag ........16
AirBags................16
AirBagWarningLight ......16,135
Driver Knee Air Bag ..........16
FrontAirBag .............16
Rollover ................16
Side Impacts .............16
Air Conditioning ...........42,43
Alarm Arm The System ...........14
Disarm The System ..........15
Vehicle Security Alarm ........14
Alarm (Security Alarm) ..........14
AllWheelDrive(AWD)..........123
Anti-Lock Brake System (ABS) .....135
Arming System (Security Alarm) .....14
Assistance Towing ............131
Automatic Dimming Mirror ........33
Automatic Headlights ..........30
Automatic High Beams ..........31
Automatic Temperature Control (ATC)...42
SYNC Temperature Button ......44
Automatic Transmission Fluid Type ..............159
AxleFluid..............159,160
Back-UpCamera.............45
Battery ..................147
Charging System Light .......134
Blind Spot Monitoring ...........46
BrakeFluid.............159,160
Brake System WarningLight ............132
Break-In Recommendations, New Vehicle ..............30
BulbReplacement............169
Calibration, Compass ..........116
Caps, Filler Fuel .................153 Cargo Compartment
Luggage Carrier ...........125
Change Oil Indicator ...........136
ChangingAFlatTire...........138
Charging System Light .........134
Check Engine Light (Malfunction Indicator Light) .....133
Child Restraints CarSeat................17
Child Restraints ............17
Child Seat Installation .......18,19
Installing Child Restraints Using
he Vehicle Seat Belt ..........19
Lower Anchors And Tethers
For Children ..........17, 18, 19
Using The Top Tether Anchorage . . .19
ChildSeat.................18
Climate Control ..............42
Cluster Warning/Indicator Lights AirBagWarningLight ........135
Brake Warning Light .........132
Compass Calibration ...........116
Cooling System Coolant Capacity ..........159
Cruise Control (Speed Control) ......33
Cruise Light ................33
Customer Assistance ..........170
Customer Programmable Features . . .116
Defects, Reporting ............171
DimmerControl..............31
Dimmer Switch, Headlight ........31
Disabled Vehicle Towing .........131
Disarming, Security System .......15
Discharged Battery ...........147
Driver Cockpit ...............7
ECO....................116
Economy (Fuel) Mode ...........41
Electronically Shifted Transfer Case. . .123
Electronic Power Distribution Center (Fuses) ................165
Electronics Your Vehicle's Sound System . .48, 49
Electronic Speed Control (Cruise Control) ............33
INDEX
175