center console DODGE DURANGO 2014 3.G User Guide
[x] Cancel search | Manufacturer: DODGE, Model Year: 2014, Model line: DURANGO, Model: DODGE DURANGO 2014 3.GPages: 188, PDF Size: 3.8 MB
Page 29 of 188
NOTE:
Vehicle Equipped With Remote Start
On models that are equipped with remote start, this feature can be programmed to come on
during a remote start through the Uconnect® system. Refer to “Uconnect® Settings” in
“Understanding Your Instrument Panel” in the Owner's Manual on the DVD.
Rear Heated Seats
Second row heated seat switches are located
on the rear of the center console:
• Press the switch once to select High-levelheating.
• Press the switch a second time to select Low-level heating.
• Press the switch a third time to shut the heating elements Off.
• If the High-level setting is selected, the system will automatically switch to Low-
level after approximately 60 minutes. The
Low-level setting will turn Off automati-
cally after approximately 45 minutes.
WARNING!
• Persons who are unable to feel pain to the skin because of advanced age, chronic
illness, diabetes, spinal cord injury, medication, alcohol use, exhaustion or other
physical conditions must exercise care when using the seat heater. It may cause
burns even at low temperatures, especially if used for long periods of time.
• Do not place anything on the seat that insulates against heat, such as a blanket or
cushion. This may cause the seat heater to overheat. Sitting in a seat that has been
overheated could cause serious burns due to the increased surface temperature of
the seat.
1 — Heated Seat Switches
GETTING STARTED
27
Page 41 of 188
ELECTRONIC SHIFTER
Your vehicle is equipped with a fuel efficient
eight-speed transmission. The Electronic
gear selector is located on the center console.
The transmission gear (PRND) is displayed
both above the shifter control and in the Elec-
tronic Vehicle Information Center (EVIC).
• To select a gear range, simply rotate theshifter control.
NOTE:
You must press the brake pedal to shift the
transmission out of PARK or from NEUTRAL
into DRIVE or REVERSE.
• To shift past multiple gear ranges at once (such as PARK to DRIVE), simply rotate
the switch to the appropriate detent.
• Select the DRIVE range for normal driving.
WARNING!
•Never use the PARK position as a substitute for the parking brake. Always apply the
parking brake fully when parked to guard against vehicle movement and possible injury
or damage.
• Your vehicle could move and injure you and others if it is not in PARK. Make sure the transmission is in PARK before leaving the vehicle.
• It is dangerous to shift out of PARK or NEUTRAL if the engine speed is higher than idle speed. If your foot is not firmly pressing the brake pedal, the vehicle could accelerate
quickly forward or in reverse. You could lose control of the vehicle and hit someone or
something. Only shift into gear when the engine is idling normally and your foot is
firmly pressing the brake pedal.
• Unintended movement of a vehicle could injure those in or near the vehicle. As with all vehicles, you should never exit a vehicle while the engine is running. Before exiting
a vehicle, always apply the parking brake, shift the transmission into PARK, turn the
engine OFF, and remove the key fob. When the ignition is in the OFF position, the
transmission is locked in PARK, securing the vehicle against unwanted movement.
• When leaving the vehicle, always make sure the ignition switch is in the OFF position remove the key fob from the vehicle, and lock the vehicle.
• Never leave children alone in a vehicle, or with access to an unlocked vehicle. Allowing children to be in a vehicle unattended is dangerous for a number of reasons.
A child or others could be seriously or fatally injured. Children should be warned not
to touch the parking brake, brake pedal or the transmission gear selector.
• Do not leave the key fob in or near the vehicle (or in a location accessible to children), and do not leave the ignition of a vehicle equipped with Keyless Enter-N-Go™ in the
ACC or ON/RUN mode. A child could operate power windows, other controls, or move
the vehicle.
OPERATING YOUR VEHICLE
39
Page 51 of 188
8. Emergency 911 Button pg. 58
9. Uconnect® Radio pg. 66
10. Uconnect® Radio Screen Off Button
11. Uconnect® Radio Back Button
12. Tune/Scroll Knob/Browse/Enter Button
13. Media Hub: AUX Audio Jack, USB Port, and SD Card Slot(located inside front console) pg. 69
14. CD Player Inside Center Console pg. 68
ELECTRONICS
49
Page 70 of 188
SiriusXM Premier Over 160 Channels
•Get every channel available on your satellite radio, and enjoy all you want, all in one place.
Hear commercial-free music plus sports, news, talk and entertainment. Get all the premium
programming, including Howard Stern, every NFL game, Oprah Radio®, every MLB® and
NHL® game, every NASCAR® race, Martha Stewart and more. And get 20+ extra channels,
including SiriusXM Latino, offering 20 channels of commercial free music, news, talk,
comedy, sports and more dedicated to Spanish language programming.
• To access SiriusXM Satellite Radio, press the RADIO hard-key and then the “SXM” soft-key.
• SiriusXM services require subscriptions, sold separately after the 12-month trial in- cluded with the new vehicle purchase. If you decide to continue your service at the end
of your trial subscription, the plan you choose will automatically renew and bill at
then-current rates until you call SiriusXM at 1-866-635-2349 for U.S. residents and
1-888-539-7474 for Canadian residents to cancel. See SiriusXM Customer Agreement
for complete terms at www.siriusxm.com for U.S. residents and www.siriusxm.ca for
Canadian residents. All fees and programming subject to change. Our satellite service is
available only to those at least 18 and older in the 48 contiguous USA and D.C. Our Sirius
satellite service is also available in PR (with coverage limitations). Our Internet radio
service is available throughout our satellite service area and in AK and HI. ©2014 Sirius
XM Radio Inc. Sirius, XM and all related marks and logos are trademarks of Sirius XM
Radio Inc.
Disc Operation
• Your vehicle may have a remote CD player located in the lower center console storage bin.
• CD/Disc Mode is entered by either inserting a CD/Disc or by touching the “Media” button located on the side of the display. Once in Media Mode, select “Disc”.
• Gently insert one CD into the CD player with the CD label facing as indicated on the illustration located on the Disc player.
Seek Up/Down Buttons
• Press to seek through Disc tracks.
• Hold either button to bypass tracks without stopping.
Browse
• Touch the “Browse” soft-key to scroll through and select a desired track on the Disc. Touch the “Exit” soft-key if you wish to cancel the browse function.
ELECTRONICS
68
Page 81 of 188
Disc Operation
•Your vehicle may have a remote CD player located in the lower center console storage bin.
• CD/Disc Mode is entered by either inserting a CD/Disc or by touching the “Media” buttonlocated on the side of the display. Once in Media Mode, select “Disc”.
• Gently insert one CD into the CD player with the CD label facing as indicated on the illustration located on the Disc player.
Seek Up/Down Buttons
• Press to seek through Disc tracks.
• Hold either button to bypass tracks without stopping.
Browse
• Touch the “Browse” soft-key to scroll through and select a desired track on the Disc. Touch the “Exit” soft-key if you wish to cancel the browse function.
MEDIA HUB – PLAYING iPod®/USB/MP3 DEVICES
• There are many ways to play music from iPod®/MP3 players or USB devices through yourvehicle's sound system.
Audio Jack (AUX)
• The AUX allows a portable device, such as an MP3 player or an iPod®, to be plugged into the radio and utilize the vehicle’s sound system, using a 3.5 mm audio cable, to amplify
the source and play through the vehicle speakers.
• Touching the Media soft-key then choose AUX source will change the mode to auxiliary device if the audio jack is connected, allowing the music from your portable device to be
heard through the vehicle's speakers. In order to activate the AUX, plug in the audio jack.
• The functions of the portable device are controlled using the device buttons. The volume may be controlled using the radio or portable device.
• To route the audio cable out of the center console, use the access cut out in the front of the console.
USB Port
• Connect your iPod® or compatible device using a USB cable into the USB Port. USB Memory sticks with audio files can also be used. Then, audio from the device can be
played on the vehicle’s sound system while providing metadata (artist, track title, album,
etc.) information on the radio display.
• When connected, the iPod®/compatible USB device can be controlled using the radio or Steering Wheel Audio Controls to play, skip to the next or previous track, browse, and list
the contents.
• The iPod® battery charges when plugged into the USB port (if supported by the specific device).
• To route the USB/iPod® cable out of the center console, use the access cut out.
ELECTRONICS
79
Page 101 of 188
Disc Operation
•Your vehicle may have a remote CD player located in the lower center console storage bin.
• CD/Disc Mode is entered by either inserting a CD/Disc or by touching the “Media” buttonlocated on the side of the display. Once in Media Mode, select “Disc”.
• Gently insert one CD into the CD player with the CD label facing as indicated on the illustration located on the Disc player.
Seek Up/Down Buttons
• Press to seek through Disc tracks.
• Hold either button to bypass tracks without stopping.
Browse
• Touch the “Browse” soft-key to scroll through and select a desired track on the Disc. Touch the “Exit” soft-key if you wish to cancel the browse function.
MEDIA HUB – PLAYING iPod®/USB/MP3 DEVICES
• There are many ways to play music from iPod®/MP3 players or USB devices through yourvehicle's sound system.
Audio Jack (AUX)
• The AUX allows a portable device, such as an MP3 player or an iPod®, to be plugged into the radio and utilize the vehicle’s sound system, using a 3.5 mm audio cable, to amplify
the source and play through the vehicle speakers.
• Touching the Media soft-key then choose AUX source will change the mode to auxiliary device if the audio jack is connected, allowing the music from your portable device to be
heard through the vehicle's speakers. In order to activate the AUX, plug in the audio jack.
• The functions of the portable device are controlled using the device buttons. The volume may be controlled using the radio or portable device.
• To route the audio cable out of the center console, use the access cut out in the front of the console.
USB Port
• Connect your iPod® or compatible device using a USB cable into the USB Port. USB Memory sticks with audio files can also be used. Then, audio from the device can be
played on the vehicle’s sound system while providing metadata (artist, track title, album,
etc.) information on the radio display.
• When connected, the iPod®/compatible USB device can be controlled using the radio or Steering Wheel Audio Controls to play, skip to the next or previous track, browse, and list
the contents.
• The iPod® battery charges when plugged into the USB port (if supported by the specific device).
• To route the USB/iPod® cable out of the center console, use the access cut out.
ELECTRONICS
99
Page 120 of 188
UNIVERSAL GARAGE DOOR OPENER (HomeLink®)
•HomeLink® replaces up to three hand-held transmitters that operate devices such as
garage door openers, motorized gates, lighting or home security systems. The HomeLink®
unit is powered by your vehicles 12 Volt battery.
• The HomeLink® buttons that are located in the overhead console or sunvisor designate the three different HomeLink® channels.
• The HomeLink® indicator is located above the center button.
Before You Begin Programming HomeLink®
•Be sure that your vehicle is parked outside of
the garage before you begin programming.
•For more efficient programming and accu-
rate transmission of the radio-frequency
signal it is recommended that a new battery
be placed in the hand-held transmitter of
the device that is being programmed to the
HomeLink® system.
•Erase all channels before you begin pro-
gramming. To erase the channels, place
the ignition switch into the ON/RUN posi-
tion, then press and hold the two out-
side HomeLink® buttons (I and III) for up to
20 seconds or until the red indicator flashes.
NOTE:
• Erasing all channels should only be performed when programming HomeLink® for the
first time. Do not erase channels when programming additional buttons.
• If you have any problems, or require assistance, please call toll-free 1–800–355– 3515 or, on the Internet at www.HomeLink.com for information or assistance.
Programming A Rolling Code
NOTE:
For programming Garage Door Openers that were manufactured after 1995. These Garage Door
Openers can be identified by the “LEARN” or “TRAIN” button located where the hanging
antenna is attached to the Garage Door Opener. It is NOT the button that is normally used to
open and close the door. The name and color of the button may vary by manufacturer.
1. Place the ignition switch into the ON/RUN position.
2. Place the hand-held transmitter 1 to 3 in (3 to 8 cm) away from the HomeLink® button you
wish to program while keeping the HomeLink® indicator light in view.
3. Simultaneously press and hold both the HomeLink® button you want to program and the hand-held transmitter button.
ELECTRONICS
118
Page 122 of 188
Using HomeLink®
• To operate, press and release the programmed HomeLink® button. Activation will nowoccur for the programmed device (e.g., garage door opener, gate operator, security
system, entry door lock, home/office lighting, etc.,). The hand-held transmitter of the
device may also be used at any time.
WARNING!
• Your motorized door or gate will open and close while you are programming the
universal transceiver. Do not program the transceiver if people or pets are in the path
of the door or gate.
• Do not run your vehicle in a closed garage or confined area while programming the
transceiver. Exhaust gas from your vehicle contains Carbon Monoxide (CO) which is
odorless and colorless. Carbon Monoxide is poisonous when inhaled and can cause
you and others to be severely injured or killed.
POWER INVERTER
There is a 115 Volt, 150 Watt power inverter outlet located on the back of the center console.
This outlet can power cellular phones, electronics and other low power devices requiring
power up to 150 Watts.
NOTE:
The power inverter is designed with built-in
overload protection. If the power rating of
150 Watts is exceeded, the power inverter
will automatically shut down. Once the elec-
trical device has been removed from the
outlet, the inverter should automatically re-
set. If the power rating exceeds approxi-
mately 170 Watts, the power inverter may
have to be reset manually. To reset the in-
verter manually, unplug the device and plug
it in again. To avoid overloading the circuit,
check the power ratings on electrical devices prior to using the inverter.
WARNING!
To Avoid Serious Injury or Death DO NOT:
• insert any objects into the receptacles
• touch with wet hands
Close the lid when not in use. If this outlet is mishandled, it may cause an electric shock
and failure.
ELECTRONICS
120
Page 123 of 188
POWER OUTLET
The front power outlet is located in the front center storage bin of the instrument panel.
There are two power outlets located in the center console.
The rear power outlet is located in the right
rear cargo area.
The power outlets are labeled with either a
“key” or a “battery” symbol to indicate how
the outlet is powered. Power outlets labeled
with a “key” are powered when the ignition
switch is in the ON/RUN or ACC position,
while the outlets labeled with a “battery” are
connected directly to the battery and pow-
ered at all times.
ELECTRONICS
121
Page 125 of 188
ALL-WHEEL DRIVE OPERATION
Single-Speed Operating Instructions/Precautions
This system contains a single-speed (HI range only) transfer case, which provides conve-
nient full-time all-wheel drive. No driver interaction is required. The Brake Traction Control
(BTC) System, which combines standard ABS and Traction Control, provides resistance to
any wheel that is slipping to allow additional torque transfer to wheels with traction.
NOTE:
This system is not appropriate for conditions where AWD LOW range is recommended. Refer to
“Off-Road Driving Tips” in “Starting and Operating” on the DVD for further information.
Electronically Shifted Transfer Case (Three-Position Switch)
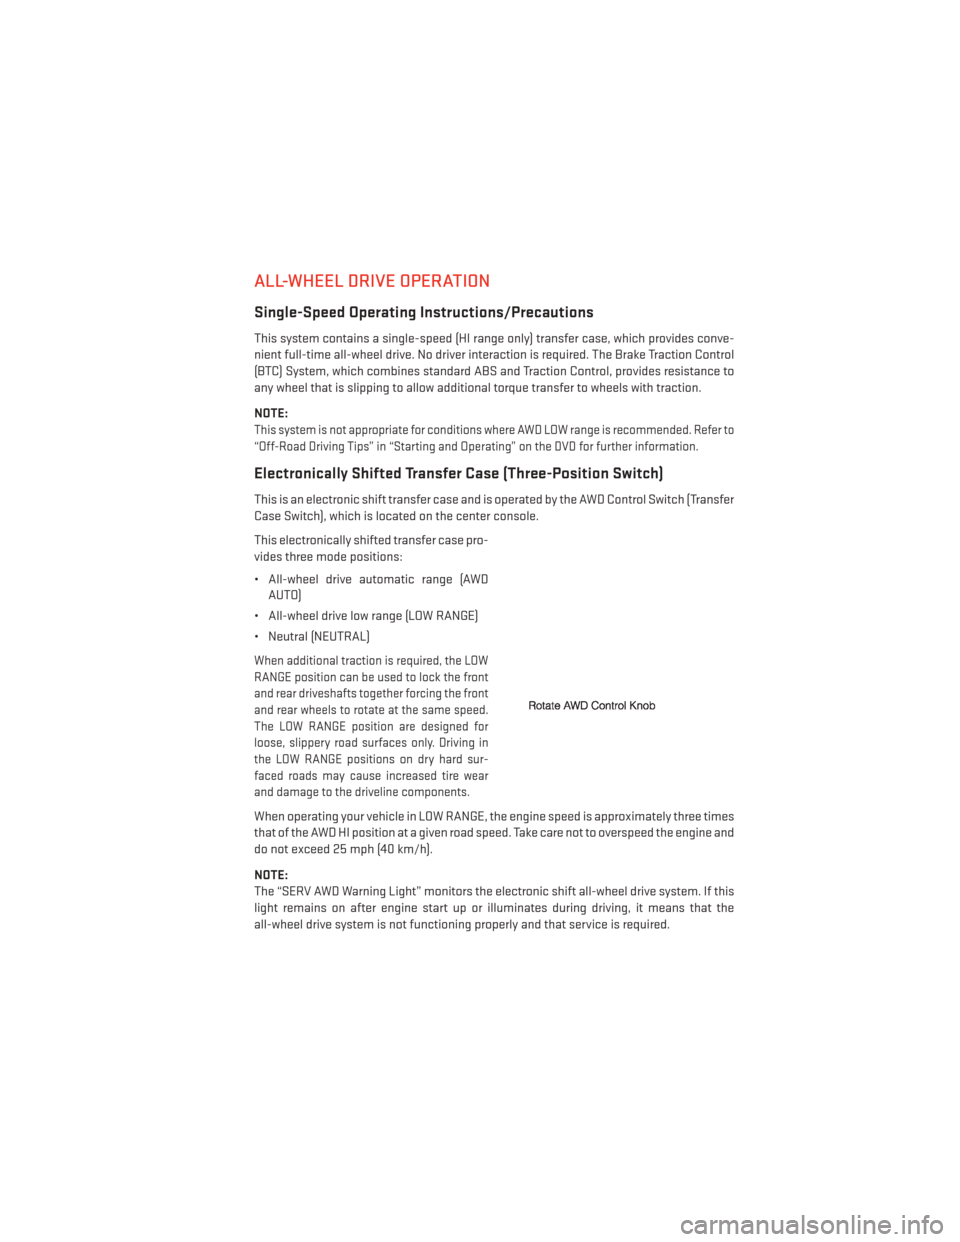
This is an electronic shift transfer case and is operated by the AWD Control Switch (Transfer
Case Switch), which is located on the center console.
This electronically shifted transfer case pro-
vides three mode positions:
• All-wheel drive automatic range (AWDAUTO)
• All-wheel drive low range (LOW RANGE)
• Neutral (NEUTRAL)
When additional traction is required, the LOW
RANGE position can be used to lock the front
and rear driveshafts together forcing the front
and rear wheels to rotate at the same speed.
The LOW RANGE position are designed for
loose, slippery road surfaces only. Driving in
the LOW RANGE positions on dry hard sur-
faced roads may cause increased tire wear
and damage to the driveline components.
When operating your vehicle in LOW RANGE, the engine speed is approximately three times
that of the AWD HI position at a given road speed. Take care not to overspeed the engine and
do not exceed 25 mph (40 km/h).
NOTE:
The “SERV AWD Warning Light” monitors the electronic shift all-wheel drive system. If this
light remains on after engine start up or illuminates during driving, it means that the
all-wheel drive system is not functioning properly and that service is required.
OFF-ROAD CAPABILITIES
123