charging DODGE DURANGO 2014 3.G User Guide
[x] Cancel search | Manufacturer: DODGE, Model Year: 2014, Model line: DURANGO, Model: DODGE DURANGO 2014 3.GPages: 188, PDF Size: 3.8 MB
Page 10 of 188
INSTRUMENT CLUSTER
1. Tachometer
2. Speedometer
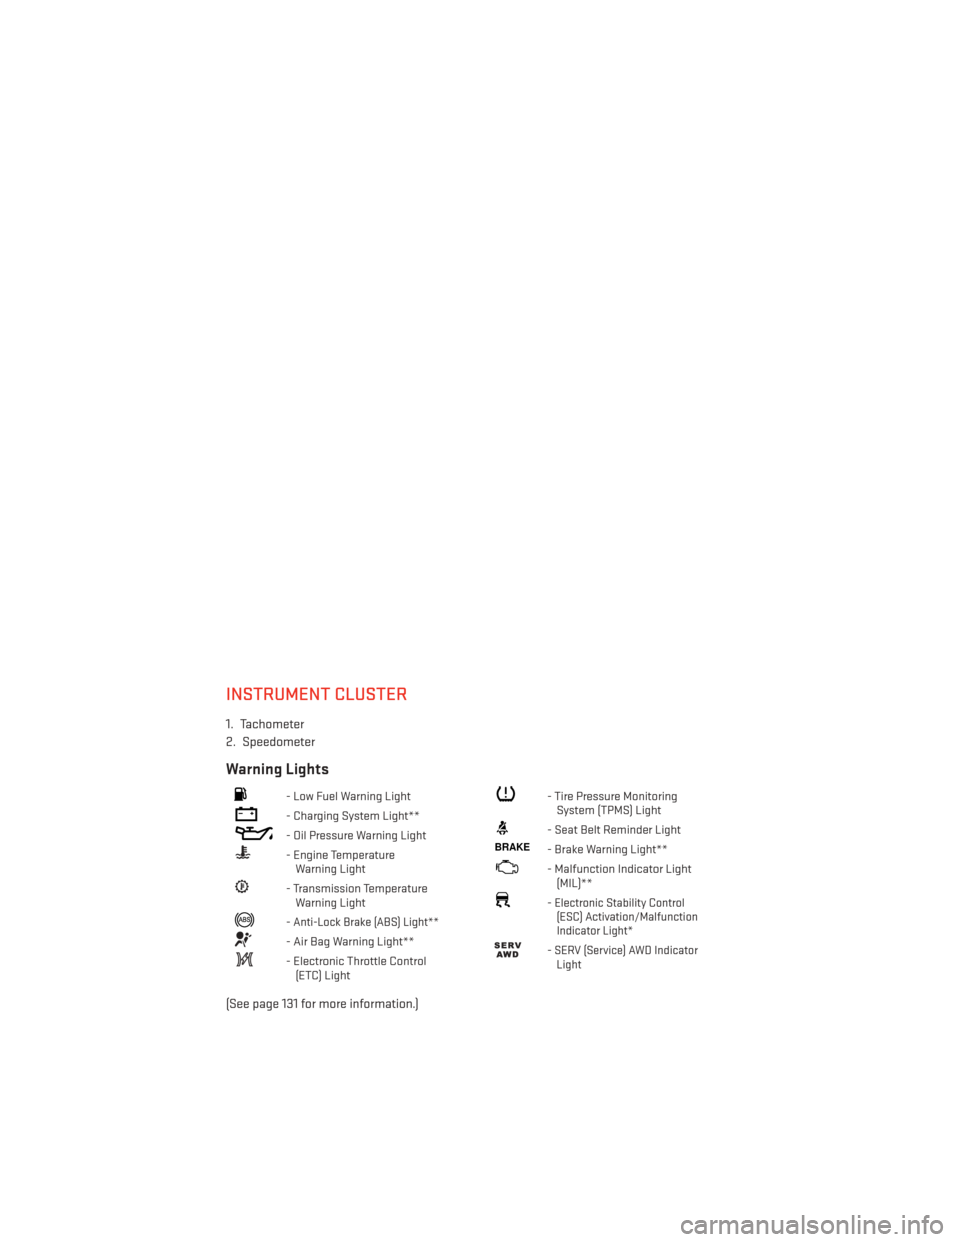
Warning Lights
- Low Fuel Warning Light
- Charging System Light**
- Oil Pressure Warning Light
- Engine TemperatureWarning Light
- Transmission TemperatureWarning Light
-Anti-Lock Brake (ABS) Light**
- Air Bag Warning Light**
- Electronic Throttle Control(ETC) Light
- Tire Pressure MonitoringSystem (TPMS) Light
- Seat Belt Reminder Light
BRAKE- Brake Warning Light**
- Malfunction Indicator Light(MIL)**
-Electronic Stability Control(ESC) Activation/Malfunction
Indicator Light*
-SERV (Service) AWD Indicator Light
(See page 131 for more information.)
CONTROLS AT A GLANCE
8
Page 71 of 188
USB/Audio Jack (AUX)/Bluetooth® Operation
USB/iPod®
• USB/iPod® Mode is entered by either inserting a USB Jump Drive or iPod® cable into theUSB port or by touching the “Media” hard-key located left of the display. Once in Media
Mode, touch the “Source” soft-key and select USB/iPod®
• Pressing the “Media” hard-key, then touch the “Source” soft-key and then select “USB/ iPod®” to change the mode to the USB device if the device is connected, allowing the
music from your portable device to play through the vehicle's speakers.
Audio Jack (AUX)
• The AUX allows a portable device, such as an MP3 player or an iPod®, to be plugged into the radio and utilize the vehicle’s audio system, using a 3.5 mm audio cable, to amplify
the source and play through the vehicle speakers.
• Pressing the “Media” hard-key, then touch the “Source” soft-key and then select AUX to change the mode to auxiliary device if the audio jack is connected, allowing the music
from your portable device to play through the vehicle's speakers.
• The functions of the portable device are controlled using the device buttons, not the buttons on the radio. The volume may be controlled using the radio or portable device.
Bluetooth®
• If using a Bluetooth® equipped device, you may also be able to stream music to your vehicle's sound system.
• Press the “Media” hard-key, then touch the “Source” soft-key. Select “Bluetooth®” to change the mode to Bluetooth® if the device is paired, allowing the music from your
portable device to play through the vehicle's speakers.
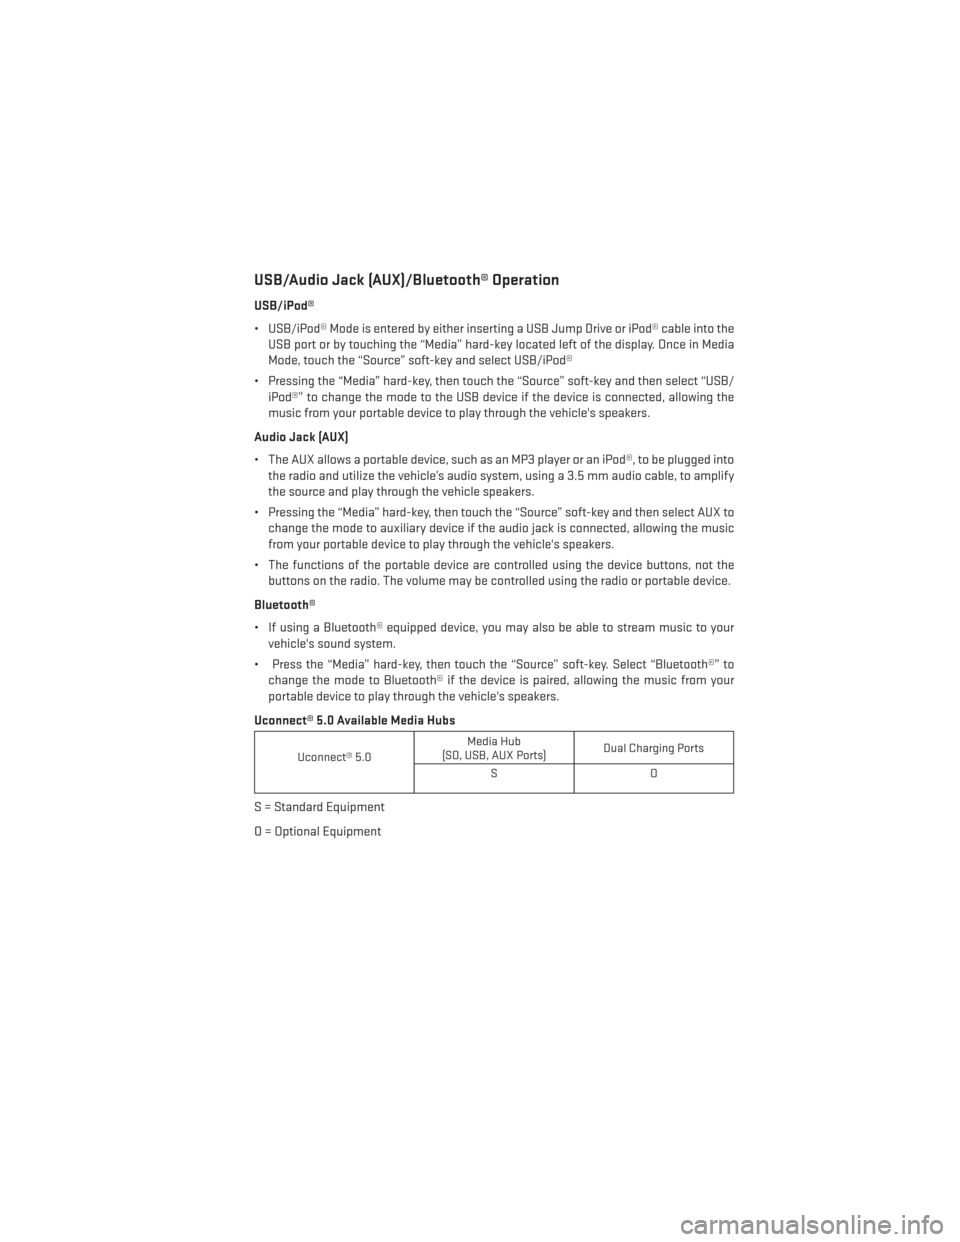
Uconnect® 5.0 Available Media Hubs
Uconnect® 5.0 Media Hub
(SD, USB, AUX Ports) Dual Charging Ports
SO
S = Standard Equipment
O = Optional Equipment
ELECTRONICS
69
Page 136 of 188
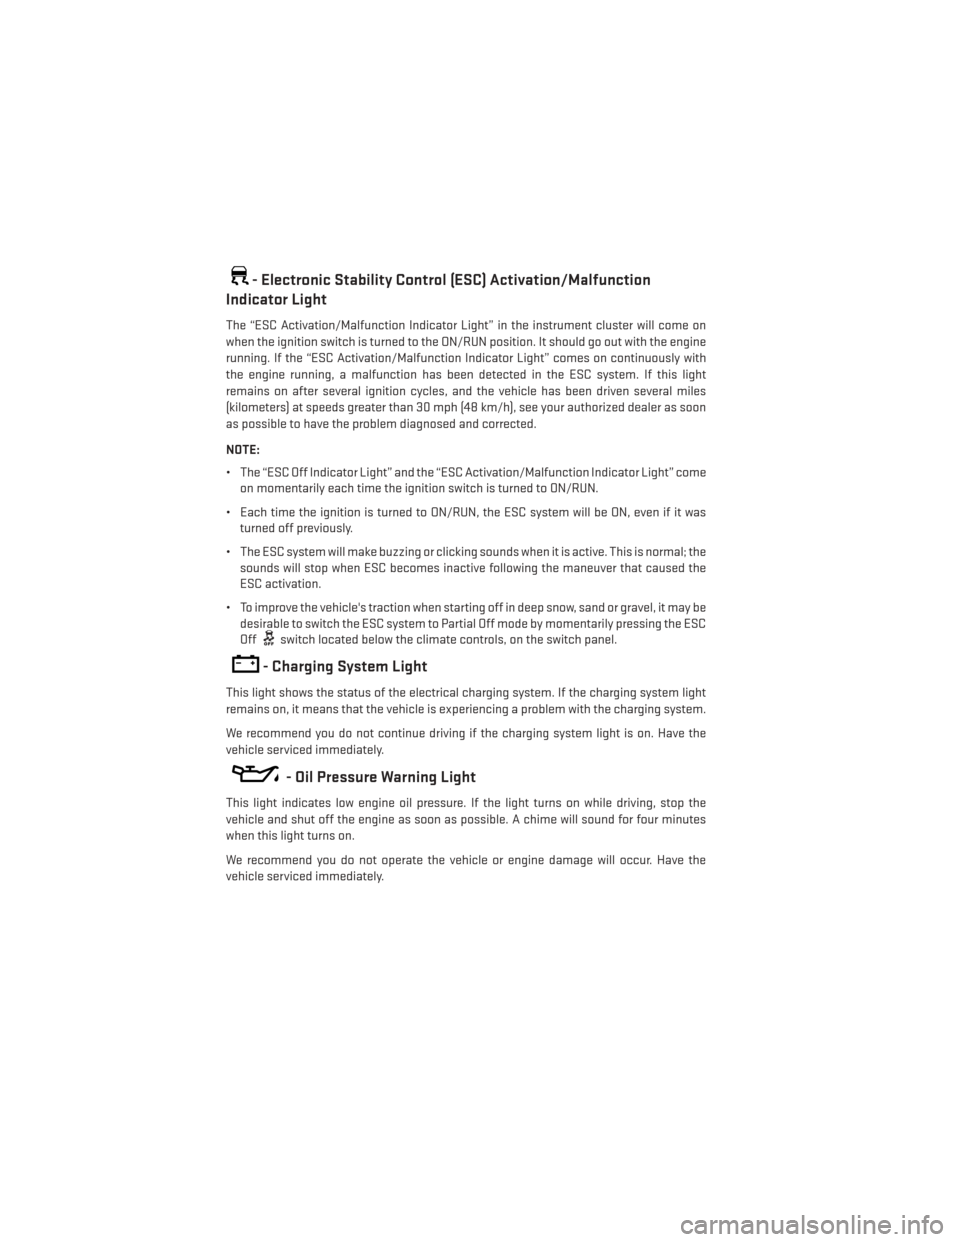
- Electronic Stability Control (ESC) Activation/Malfunction
Indicator Light
The “ESC Activation/Malfunction Indicator Light” in the instrument cluster will come on
when the ignition switch is turned to the ON/RUN position. It should go out with the engine
running. If the “ESC Activation/Malfunction Indicator Light” comes on continuously with
the engine running, a malfunction has been detected in the ESC system. If this light
remains on after several ignition cycles, and the vehicle has been driven several miles
(kilometers) at speeds greater than 30 mph (48 km/h), see your authorized dealer as soon
as possible to have the problem diagnosed and corrected.
NOTE:
• The “ESC Off Indicator Light” and the “ESC Activation/Malfunction Indicator Light” come
on momentarily each time the ignition switch is turned to ON/RUN.
• Each time the ignition is turned to ON/RUN, the ESC system will be ON, even if it was turned off previously.
• The ESC system will make buzzing or clicking sounds when it is active. This is normal; the sounds will stop when ESC becomes inactive following the maneuver that caused the
ESC activation.
• To improve the vehicle's traction when starting off in deep snow, sand or gravel, it may be desirable to switch the ESC system to Partial Off mode by momentarily pressing the ESC
Off
switch located below the climate controls, on the switch panel.
- Charging System Light
This light shows the status of the electrical charging system. If the charging system light
remains on, it means that the vehicle is experiencing a problem with the charging system.
We recommend you do not continue driving if the charging system light is on. Have the
vehicle serviced immediately.
- Oil Pressure Warning Light
This light indicates low engine oil pressure. If the light turns on while driving, stop the
vehicle and shut off the engine as soon as possible. A chime will sound for four minutes
when this light turns on.
We recommend you do not operate the vehicle or engine damage will occur. Have the
vehicle serviced immediately.
WHAT TO DO IN EMERGENCIES
134
Page 150 of 188
Jump-Starting Procedure
1. Connect the positive(+)end of the jumper cable to the remote positive (+)post of the
vehicle with discharged battery.
2. Connect the opposite end of the positive (+)jumper cable to the positive (+)post of the
booster battery.
3. Connect the negative end (-)of the jumper cable to the negative (-)post of the booster
battery.
4. Connect the opposite end of the negative (-)jumper cable to the remote negative (-)post
of the vehicle with the discharged battery.
5. Start the engine in the vehicle that has the booster battery, let the engine idle a few minutes, and then start the engine in the vehicle with the discharged battery.
Once the engine is started, remove the jumper cables in the reverse sequence:
1. Disconnect the negative (-)jumper cable from the remote negative (-)post of the vehicle
with the discharged battery.
2. Disconnect the negative end (-)of the jumper cable from the negative (-)post of the
booster battery.
3. Disconnect the opposite end of the positive (+)jumper cable from the positive (+)post of
the booster battery.
4. Disconnect the positive (+)end of the jumper cable from the remote positive (+)post of
the vehicle with the discharged battery.
5. Reinstall the protective cover over the remote positive (+)post of the vehicle with the
discharged battery.
6. Reinstall the protective plug over the remote negative (-)post of the vehicle with the
discharged battery.
NOTE:
If frequent jump-starting is required to start your vehicle you should have the battery and
charging system inspected at your authorized dealer.
WHAT TO DO IN EMERGENCIES
148
Page 151 of 188
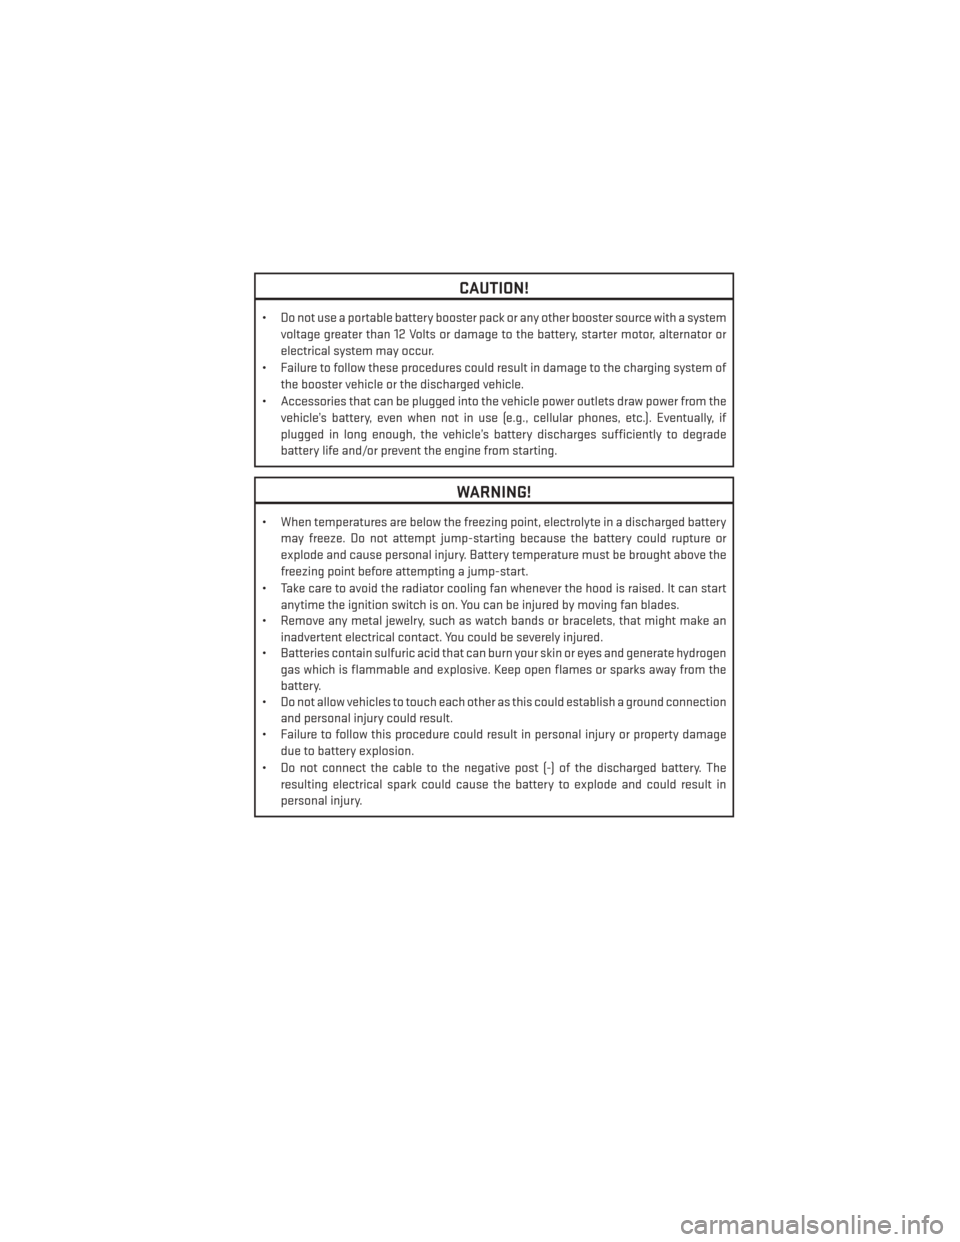
CAUTION!
• Do not use a portable battery booster pack or any other booster source with a systemvoltage greater than 12 Volts or damage to the battery, starter motor, alternator or
electrical system may occur.
• Failure to follow these procedures could result in damage to the charging system of the booster vehicle or the discharged vehicle.
• Accessories that can be plugged into the vehicle power outlets draw power from the vehicle’s battery, even when not in use (e.g., cellular phones, etc.). Eventually, if
plugged in long enough, the vehicle’s battery discharges sufficiently to degrade
battery life and/or prevent the engine from starting.
WARNING!
• When temperatures are below the freezing point, electrolyte in a discharged batterymay freeze. Do not attempt jump-starting because the battery could rupture or
explode and cause personal injury. Battery temperature must be brought above the
freezing point before attempting a jump-start.
• Take care to avoid the radiator cooling fan whenever the hood is raised. It can start anytime the ignition switch is on. You can be injured by moving fan blades.
• Remove any metal jewelry, such as watch bands or bracelets, that might make an
inadvertent electrical contact. You could be severely injured.
• Batteries contain sulfuric acid that can burn your skin or eyes and generate hydrogen
gas which is flammable and explosive. Keep open flames or sparks away from the
battery.
• Do not allow vehicles to touch each other as this could establish a ground connection
and personal injury could result.
• Failure to follow this procedure could result in personal injury or property damage
due to battery explosion.
• Do not connect the cable to the negative post (-) of the discharged battery. The resulting electrical spark could cause the battery to explode and could result in
personal injury.
WHAT TO DO IN EMERGENCIES
149
Page 177 of 188
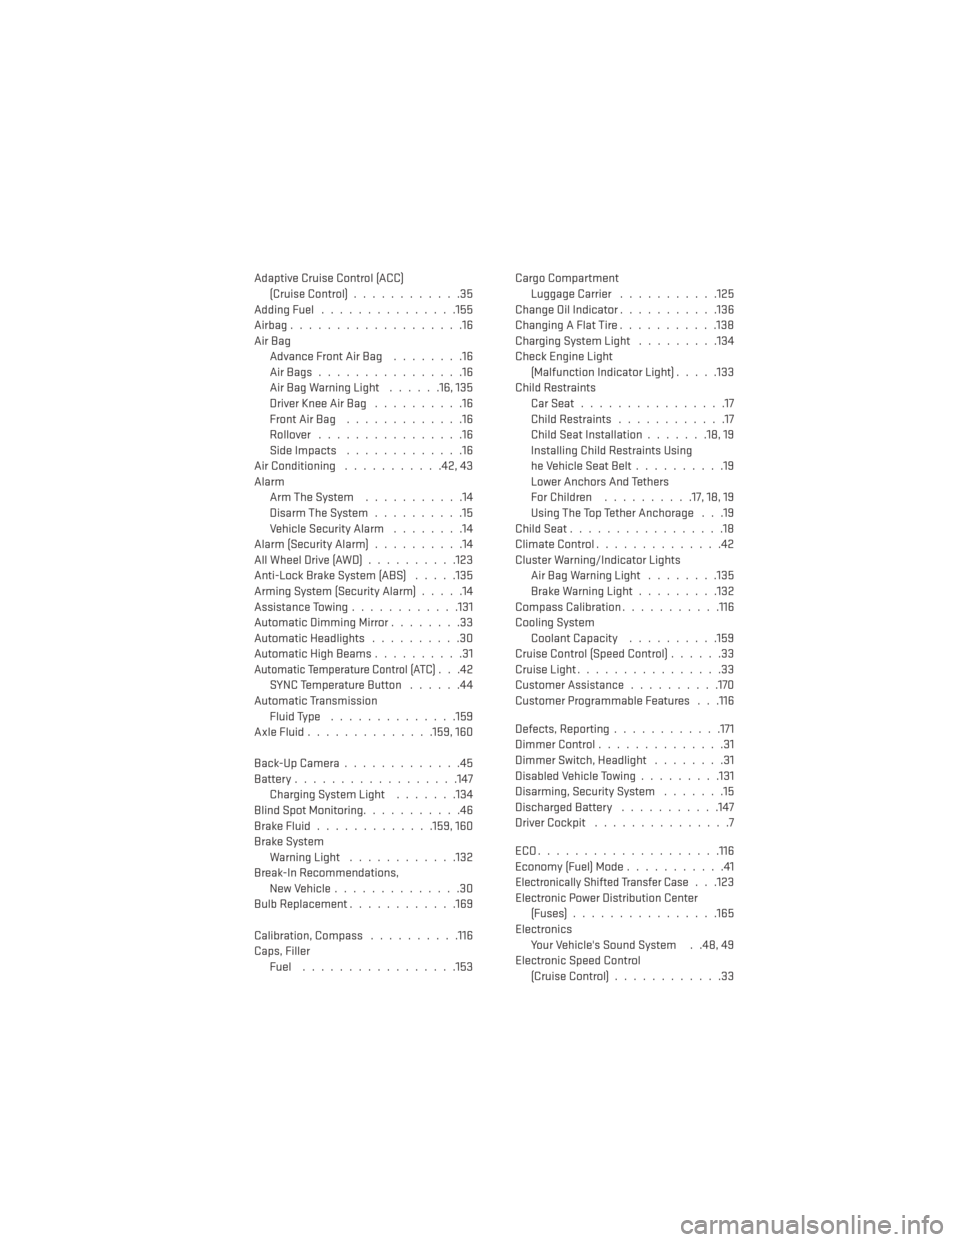
Adaptive Cruise Control (ACC)(Cruise Control) ............35
AddingFuel ...............155
Airbag...................16
Air Bag AdvanceFrontAirBag ........16
AirBags................16
AirBagWarningLight ......16,135
Driver Knee Air Bag ..........16
FrontAirBag .............16
Rollover ................16
Side Impacts .............16
Air Conditioning ...........42,43
Alarm Arm The System ...........14
Disarm The System ..........15
Vehicle Security Alarm ........14
Alarm (Security Alarm) ..........14
AllWheelDrive(AWD)..........123
Anti-Lock Brake System (ABS) .....135
Arming System (Security Alarm) .....14
Assistance Towing ............131
Automatic Dimming Mirror ........33
Automatic Headlights ..........30
Automatic High Beams ..........31
Automatic Temperature Control (ATC)...42
SYNC Temperature Button ......44
Automatic Transmission Fluid Type ..............159
AxleFluid..............159,160
Back-UpCamera.............45
Battery ..................147
Charging System Light .......134
Blind Spot Monitoring ...........46
BrakeFluid.............159,160
Brake System WarningLight ............132
Break-In Recommendations, New Vehicle ..............30
BulbReplacement............169
Calibration, Compass ..........116
Caps, Filler Fuel .................153 Cargo Compartment
Luggage Carrier ...........125
Change Oil Indicator ...........136
ChangingAFlatTire...........138
Charging System Light .........134
Check Engine Light (Malfunction Indicator Light) .....133
Child Restraints CarSeat................17
Child Restraints ............17
Child Seat Installation .......18,19
Installing Child Restraints Using
he Vehicle Seat Belt ..........19
Lower Anchors And Tethers
For Children ..........17, 18, 19
Using The Top Tether Anchorage . . .19
ChildSeat.................18
Climate Control ..............42
Cluster Warning/Indicator Lights AirBagWarningLight ........135
Brake Warning Light .........132
Compass Calibration ...........116
Cooling System Coolant Capacity ..........159
Cruise Control (Speed Control) ......33
Cruise Light ................33
Customer Assistance ..........170
Customer Programmable Features . . .116
Defects, Reporting ............171
DimmerControl..............31
Dimmer Switch, Headlight ........31
Disabled Vehicle Towing .........131
Disarming, Security System .......15
Discharged Battery ...........147
Driver Cockpit ...............7
ECO....................116
Economy (Fuel) Mode ...........41
Electronically Shifted Transfer Case. . .123
Electronic Power Distribution Center (Fuses) ................165
Electronics Your Vehicle's Sound System . .48, 49
Electronic Speed Control (Cruise Control) ............33
INDEX
175