USB DODGE DURANGO 2015 3.G Owners Manual
[x] Cancel search | Manufacturer: DODGE, Model Year: 2015, Model line: DURANGO, Model: DODGE DURANGO 2015 3.GPages: 689, PDF Size: 20.05 MB
Page 290 of 689
!Uconnect® RADIOS — IF EQUIPPED........354
!iPod®/USB/MP3 CONTROL — IF EQUIPPED . .354
▫Connecting The iPod® Or External USB
Device.............................354
▫Using This Feature.....................355
▫Second Row USB Charging Port...........356
!Uconnect® REAR SEAT ENTERTAINMENT (RSE)
SYSTEM — IF EQUIPPED................357
▫Getting Started.......................357
▫Dual Video Screen.....................359
▫Blu-ray™ Disc Player...................360
▫Play Video Games.....................362
▫Play A DVD/Blu-ray™ Disc Using The
Touchscreen Radio.....................363
▫Important Notes For Dual Video Screen
System.............................365
▫Blu-ray™ Disc Player Remote Control — If
Equipped...........................366
▫Replacing The Remote Control Batteries......367
▫Headphones Operation.................368
▫Controls............................369
▫Replacing The Headphone Batteries.........370
▫Unwired® Stereo Headphone Lifetime Limited
Warranty...........................370
!STEERING WHEEL AUDIO CONTROLS — IF
EQUIPPED...........................377
▫Radio Operation......................378
▫CD Player...........................378
288 UNDERSTANDING YOUR INSTRUMENT PANEL
Page 356 of 689

Uconnect® RADIOS — IF EQUIPPED
For detailed information about your Uconnect® radio,
refer to your Uconnect® Supplement Manual.
iPod®/USB/MP3 CONTROL — IF EQUIPPED
This feature allows an iPod® or external USB device to be
plugged into the USB port, located in the lower section of
the front integrated center stack, in front of the rotary
shifter.
iPod® control supports Mini, 4G, Photo, Nano, 5G iPod®
and iPhone® devices. Some iPod® software versions
may not fully support the iPod® control features. Please
visit Apple’s website for software updates.
For further information, refer to the Uconnect® Supple-
ment Manual.
Connecting The iPod® Or External USB Device
Use the connection cable to connect an iPod® or external
USB device to the vehicles USB/AUX connector port
which is located in the center console.
Once the audio device is connected and synchronized to
the vehicles iPod®/USB/MP3 control system (iPod® or
Integrated Center Console USB/AUX SD Card Media HUB
354 UNDERSTANDING YOUR INSTRUMENT PANEL
Page 357 of 689
external USB device may take a few minutes to connect),
the audio device starts charging and is ready for use.
NOTE:If the audio device battery is completely dis-
charged, it may not communicate with the iPod®/USB/
MP3 control system until a minimum charge is attained.
Leaving the audio device connected to the iPod®/USB/
MP3 control system may charge it to the required level.
Using This Feature
By using an iPod® cable, or an external USB device to
connect to the USB port:
•The audio device can be played on the vehicle’s sound
system, providing metadata (artist, track title, album,
etc.) information on the radio display.
•The audio device can be controlled using the radio
buttons to Play, Browse, and List the iPod® contents.
•The audio device battery charges when plugged into
the USB/AUX connector (if supported by the specific
audio device).
NOTE:For further information, refer to the Uconnect®
Supplement Manual.
4
UNDERSTANDING YOUR INSTRUMENT PANEL 355
Page 358 of 689

Second Row USB Charging Port
Second row USB connector ports can be used for charging
purposes only. Use the connection cable to connect an
iPod® or external USB device to the vehicle’s USB charging
ports which are located either on the rear of the front center
console and/or in the second row center console.
Front Center Console Rear USB Ports
Second Row Center Console USB Port
356 UNDERSTANDING YOUR INSTRUMENT PANEL
Page 406 of 689
Media
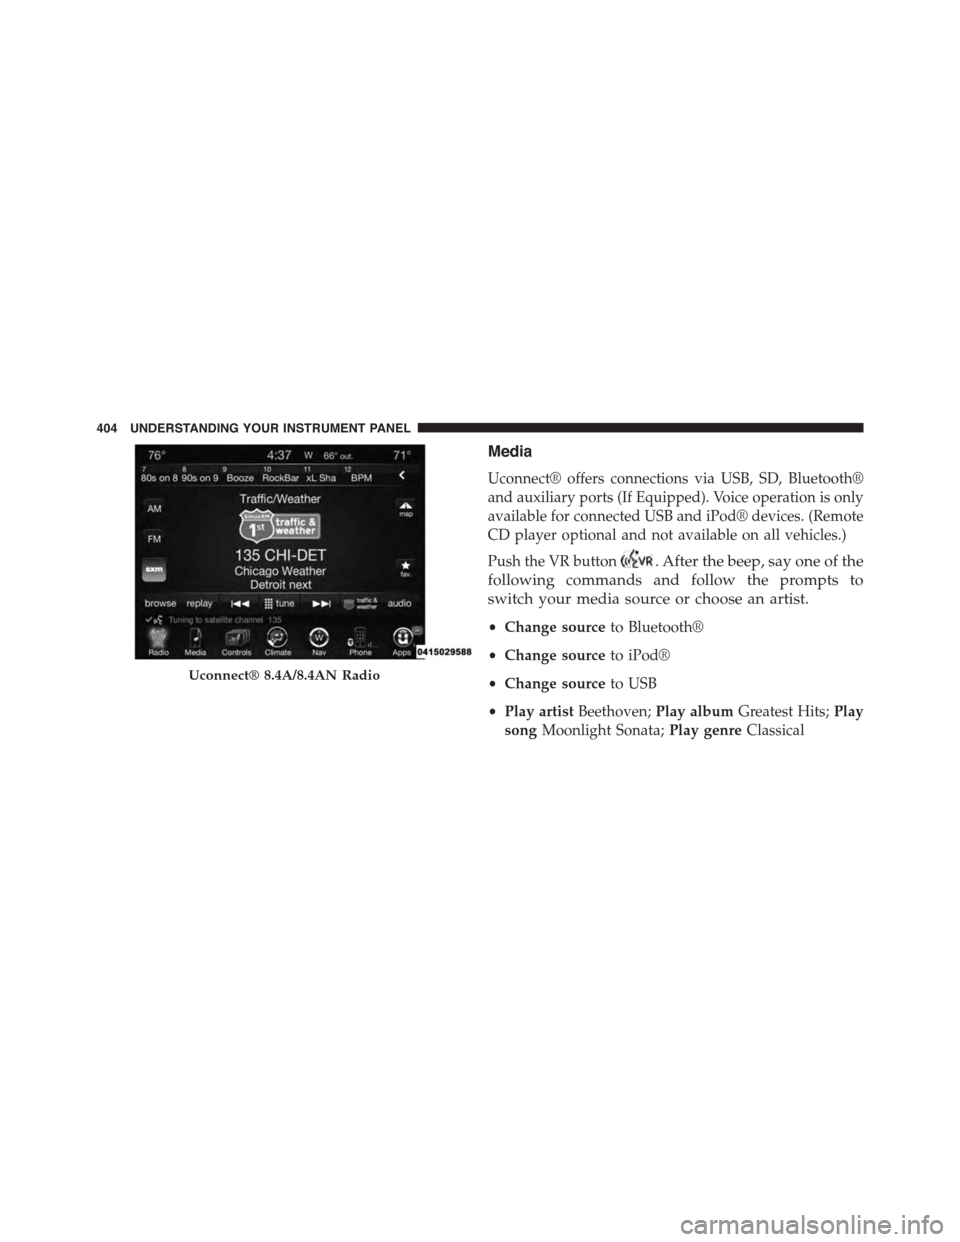
Uconnect® offers connections via USB, SD, Bluetooth®
and auxiliary ports (If Equipped). Voice operation is only
available for connected USB and iPod® devices. (Remote
CD player optional and not available on all vehicles.)
Push the VR button. After the beep, say one of the
following commands and follow the prompts to
switch your media source or choose an artist.
•Change sourceto Bluetooth®
•Change sourceto iPod®
•Change sourceto USB
•Play artistBeethoven;Play albumGreatest Hits;Play
songMoonlight Sonata;Play genreClassical
Uconnect® 8.4A/8.4AN Radio
404 UNDERSTANDING YOUR INSTRUMENT PANEL
Page 407 of 689
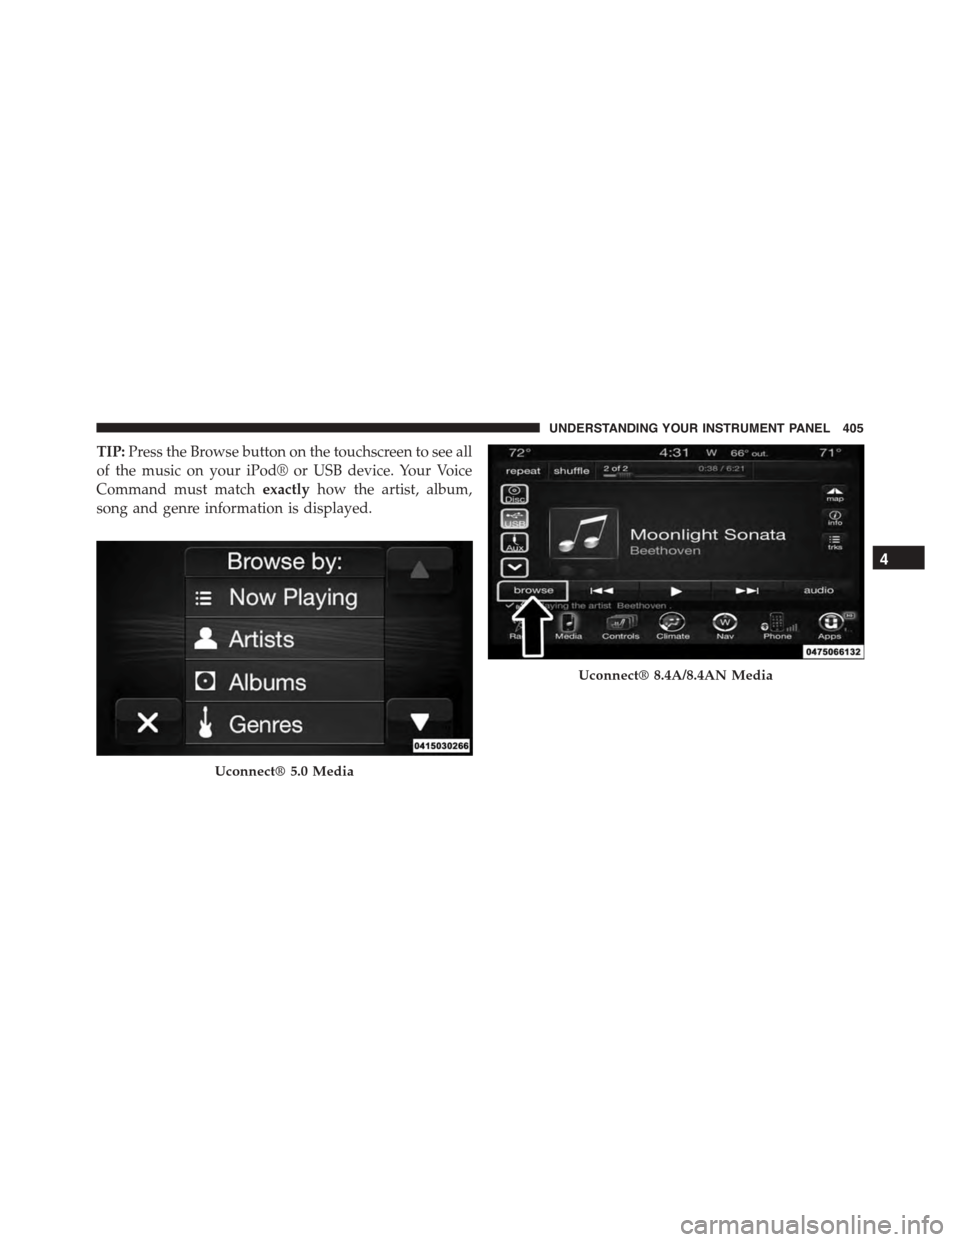
TIP:Press the Browse button on the touchscreen to see all
of the music on your iPod® or USB device. Your Voice
Command must matchexactlyhow the artist, album,
song and genre information is displayed.
Uconnect® 5.0 Media
Uconnect® 8.4A/8.4AN Media
4
UNDERSTANDING YOUR INSTRUMENT PANEL 405
Page 463 of 689
Traction Control System (TCS)
This system monitors the amount of wheel spin of each of
the driven wheels. If wheel spin is detected, brake
pressure is applied to the slipping wheel(s) and engine
power is reduced to provide enhanced acceleration and
stability.
A feature of the TCS system, Brake Limited Differential
(BLD), functions similar to a limited-slip differential and
controls the wheel spin across a driven axle. If one wheel
on a driven axle is spinning faster than the other, the
system will apply the brake of the spinning wheel. This
will allow more engine torque to be applied to the wheel
that is not spinning. This feature remains active even if
ESC system is in the “Partial Off” mode. Refer to “Elec-
tronic Stability Control (ESC)” in this section for further
information.
Brake Assist System (BAS)
The BAS is designed to optimize the vehicle’s braking
capability during emergency braking maneuvers. The
system detects an emergency braking situation by sens-
ing the rate and amount of brake application and then
applies optimum pressure to the brakes. This can help
reduce braking distances. The BAS complements the
anti-lock brake system (ABS). Applying the brakes very
quickly results in the best BAS assistance. To receive the
benefit of the system, you must applycontinuousbrak-
ing pressure during the stopping sequence (do not
“pump” the brakes). Do not reduce brake pedal pressure
unless braking is no longer desired. Once the brake pedal
is released, the BAS is deactivated.
5
STARTING AND OPERATING 461
Page 676 of 689
Hood Release............................170
Ignition
Key . . . . . . . . . . . . . . . . . . . . . . . . . . . . . . . . . .13
Illuminated Entry..........................21
Immobilizer (Sentry Key)....................16
Inside Rearview Mirror.....................120
Instrument Cluster........................292
Instrument Panel and Controls................290
Instrument Panel Lens Cleaning...............624
Interior Appearance Care....................623
Intermittent Wipers (Delay Wipers).............183
Introduction..............................4
Inverter, Power...........................259
iPod®/USB/MP3 Control...................354
Jacking And Tire Changing Instructions.........557
Jacking Instructions........................558
Jack Location............................552
Jack Operation...........................551
Jump Starting............................567
Key Fob . . . . . . . . . . . . . . . . . . . . . . . . . . . . . . . . .14
Arm The Alarm.........................19
Disarm The Alarm.......................20
Panic Alarm............................24
Programming Additional Key Fobs...........18
Programming Additional Transmitters.........18
Unlock Liftgate.........................44
Key-In Reminder..........................15
Keyless Enter-N-Go........................424
Keyless Enter-N-Go™
Lock The Vehicle’s Doors..................326
Passive Entry...........................35
Passive Entry Programming.................35
Unlock Liftgate.........................44
Keyless Entry System.......................22
Keyless Go...............................13
674 INDEX