check engine DODGE DURANGO 2015 3.G Owners Manual
[x] Cancel search | Manufacturer: DODGE, Model Year: 2015, Model line: DURANGO, Model: DODGE DURANGO 2015 3.GPages: 689, PDF Size: 20.05 MB
Page 14 of 689
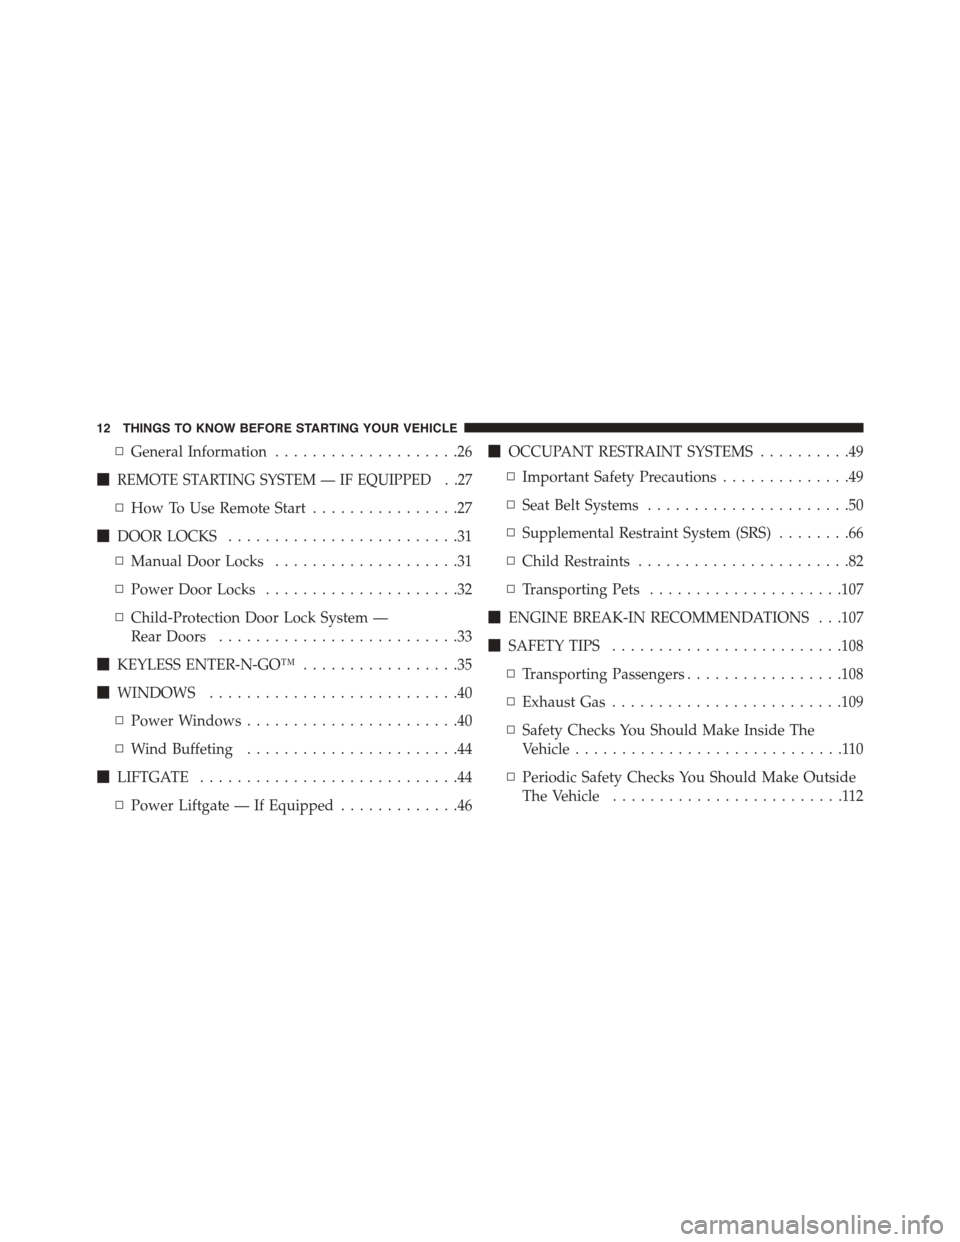
▫General Information....................26
!REMOTE STARTING SYSTEM — IF EQUIPPED . .27
▫How To Use Remote Start................27
!DOOR LOCKS.........................31
▫Manual Door Locks....................31
▫Power Door Locks.....................32
▫Child-Protection Door Lock System —
Rear Doors..........................33
!KEYLESS ENTER-N-GO™.................35
!WINDOWS...........................40
▫Power Windows.......................40
▫Wind Buffeting.......................44
!LIFTGATE............................44
▫Power Liftgate — If Equipped.............46
!OCCUPANT RESTRAINT SYSTEMS..........49
▫Important Safety Precautions..............49
▫Seat Belt Systems......................50
▫Supplemental Restraint System (SRS)........66
▫Child Restraints.......................82
▫Transporting Pets.....................107
!ENGINE BREAK-IN RECOMMENDATIONS . . .107
!SAFETY TIPS.........................108
▫Transporting Passengers.................108
▫Exhaust Gas.........................109
▫Safety Checks You Should Make Inside The
Vehicle.............................110
▫Periodic Safety Checks You Should Make Outside
The Vehicle.........................112
12 THINGS TO KNOW BEFORE STARTING YOUR VEHICLE
Page 19 of 689
The system uses a Key Fob with a factory-mated Remote
Keyless Entry (RKE) transmitter, a Keyless Ignition Node
(KIN), and a RF receiver to prevent unauthorized vehicle
operation. Therefore, only Key Fobs that are pro-
grammed to the vehicle can be used to start and operate
the vehicle. The system will not allow the engine to crank
if an invalid Key Fob is used to start and operate the
vehicle. The system will shut the engine off in two
seconds if an invalid Key Fob is used to start the engine.
After placing the ignition to the ON/RUN position, the
Vehicle Security Light will turn on for three seconds for a
bulb check. If the light remains on after the bulb check, it
indicates that there is a problem with the electronics. In
addition, if the light begins to flash after the bulb check,
it indicates that someone used an invalid Key Fob to start
the engine. Either of these conditions will result in the
engine being shut off after two seconds.
If the Vehicle Security Light turns on during normal
vehicle operation (vehicle running for longer than 10
seconds), it indicates that there is a fault in the electron-
ics. Should this occur, have the vehicle serviced as soon
as possible by an authorized dealer.
CAUTION!
•Do not make modifications or alterations to the
immobilizer system. Modifications or alterations to
the immobilization system may result in a loss of
security protection.
•The Sentry Key® Immobilizer system is not com-
patible with some aftermarket remote starting sys-
tems. Use of these systems may result in vehicle
starting problems and loss of security protection.
All of the Key Fobs provided with your new vehicle have
been programmed to the vehicle electronics.
2
THINGS TO KNOW BEFORE STARTING YOUR VEHICLE 17
Page 29 of 689
NOTE:Changes or modifications not expressly approved
by the party responsible for compliance could void the
user’s authority to operate the equipment.
If your RKE transmitter fails to operate from a normal
distance, check for these two conditions:
1. A weak battery in the transmitter. The expected life of
the battery is a minimum of three years.
2. Closeness to a radio transmitter such as a radio station
tower, airport transmitter, and some mobile or CB
radios.
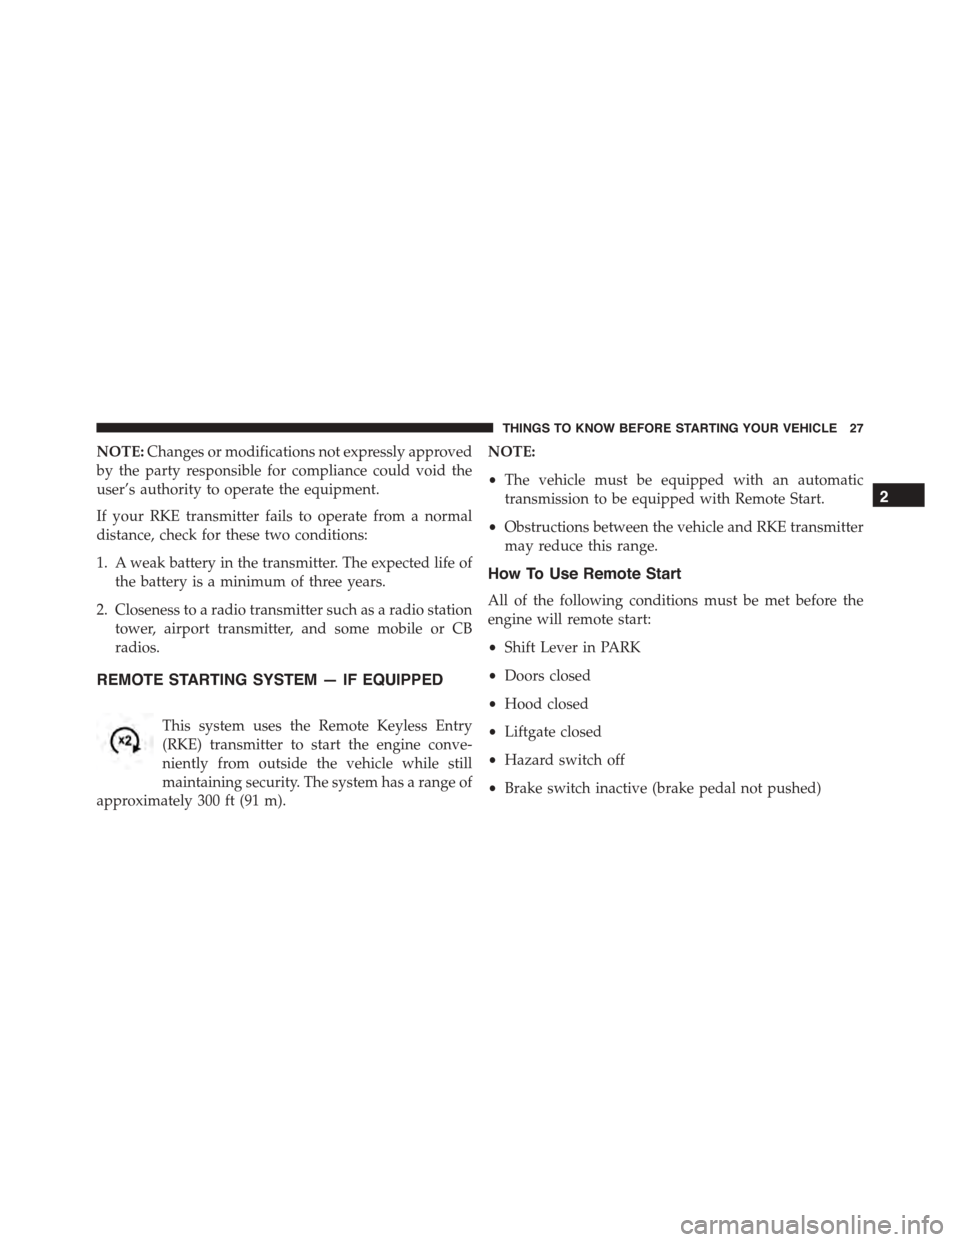
REMOTE STARTING SYSTEM — IF EQUIPPED
This system uses the Remote Keyless Entry
(RKE) transmitter to start the engine conve-
niently from outside the vehicle while still
maintaining security. The system has a range of
approximately 300 ft (91 m).
NOTE:
•The vehicle must be equipped with an automatic
transmission to be equipped with Remote Start.
•Obstructions between the vehicle and RKE transmitter
may reduce this range.
How To Use Remote Start
All of the following conditions must be met before the
engine will remote start:
•Shift Lever in PARK
•Doors closed
•Hood closed
•Liftgate closed
•Hazard switch off
•Brake switch inactive (brake pedal not pushed)
2
THINGS TO KNOW BEFORE STARTING YOUR VEHICLE 27
Page 81 of 689
free, if any of the following occurs, have an authorized
dealer service the air bag system immediately.
•The Air Bag Warning Light does not come on during
the four to eight seconds when the ignition is first
placed in the ON/RUN position.
•The Air Bag Warning Light remains on after the four to
eight-second interval.
•The Air Bag Warning Light comes on intermittently or
remains on while driving.
NOTE:If the speedometer, tachometer, or any engine
related gauges are not working, the Occupant Restraint
Controller (ORC) may also be disabled. In this condition
the air bags may not be ready to inflate for your protec-
tion. Have an authorized dealer service the air bag
system immediately.
WARNING!
Ignoring the Air Bag Warning Light in your instru-
ment panel could mean you won’t have the air bags
to protect you in a collision. If the light does not come
on as a bulb check when the ignition is first placed in
the on position, and stays on after you start the
vehicle, or if it comes on as you drive, have an
authorized dealer service the air bag system immedi-
ately.
2
THINGS TO KNOW BEFORE STARTING YOUR VEHICLE 79
Page 114 of 689
WARNING!(Continued)
•Always make sure that objects cannot fall into the
driver footwell while the vehicle is moving. Ob-
jects can become trapped under the brake pedal
and accelerator pedal causing a loss of vehicle
control.
•If required, mounting posts must be properly in-
stalled, if not equipped from the factory.
Failure to properly follow floor mat installation or
mounting can cause interference with the brake
pedal and accelerator pedal operation causing loss of
control of the vehicle.
Periodic Safety Checks You Should Make Outside
The Vehicle
Tires
Examine tires for excessive tread wear and uneven wear
patterns. Check for stones, nails, glass, or other objects
lodged in the tread or sidewall. Inspect the tread for cuts
and cracks. Inspect sidewalls for cuts, cracks, and bulges.
Check the wheel nuts for tightness. Check the tires
(including spare) for proper cold inflation pressure.
Lights
Have someone observe the operation of brake lights and
exterior lights while you work the controls. Check turn
signal and high beam indicator lights on the instrument
panel.
Door Latches
Check for proper closing, latching, and locking.
Fluid Leaks
Check area under vehicle after overnight parking for fuel,
engine coolant, oil, or other fluid leaks. Also, if gasoline
fumes are detected or if fuel, power steering fluid (if
equipped), or brake fluid leaks are suspected. The cause
should be located and corrected immediately.
11 2 T H I N G S TO K N O W B E F O R E S TA R T I N G Y O U R V E H I C L E
Page 278 of 689
mirrors (if equipped). An indicator in the button will
illuminate when the rear window defroster is on. The
rear window defroster automatically turns off after ap-
proximately 10 minutes. For an additional five minutes of
operation, push the button a second time.
NOTE:To prevent excessive battery drain, use the rear
window defroster only when the engine is operating.
CAUTION!
Failure to follow these cautions can cause damage to
the heating elements:
•Use care when washing the inside of the rear
window. Do not use abrasive window cleaners on
the interior surface of the window. Use a soft cloth
and a mild washing solution, wiping parallel to the
heating elements. Labels can be peeled off after
soaking with warm water.
(Continued)
CAUTION!(Continued)
•Do not use scrapers, sharp instruments, or abrasive
window cleaners on the interior surface of the
window.
•Keep all objects a safe distance from the window.
ROOF LUGGAGE RACK — IF EQUIPPED
The crossbars and side rails are designed to carry weight
on vehicles equipped with a luggage rack.The load must
not exceed 150 lbs (68 kg), and should be uniformly
distributed over the luggage rack crossbars.
The crossbars on your vehicle are delivered stowed
within the roof rack side rails. Crossbars should always
be used whenever cargo is placed on the roof rack. Check
the straps frequently to be sure that the load remains
securely attached.
276 UNDERSTANDING THE FEATURES OF YOUR VEHICLE
Page 294 of 689
INSTRUMENT CLUSTER DESCRIPTIONS
1. Tachometer
Indicates the engine speed in revolutions per minute
(RPM x 1000).
2. Seat Belt Reminder Light
When the ignition switch is first turned to the
ON/RUN position, this light will turn on for four
to eight seconds as a bulb check. During the bulb
check, if the driver’s seat belt is unbuckled, a chime will
sound. After the bulb check or when driving, if the driver
or front passenger seat belt remains unbuckled, the Seat
Belt Indicator Light will flash or remain on continuously.
Refer to “Occupant Restraints” in “Things To Know
Before Starting Your Vehicle” for further information.
3. Anti-Lock Brake (ABS) Light
This light monitors the Anti-Lock Brake System
(ABS). The light will turn on when the ignition
switch is turned to the ON/RUN position and
may stay on for as long as four seconds.
If the ABS light remains on or turns on while driving, it
indicates that the Anti-Lock portion of the brake system
is not functioning and that service is required. However,
the conventional brake system will continue to operate
normally if the BRAKE warning light is not on.
If the ABS light is on, the brake system should be serviced
as soon as possible to restore the benefits of Anti-Lock
brakes. If the ABS light does not turn on when the
ignition switch is turned to the ON/RUN position, have
the light inspected by an authorized dealer.
4. High Beam Indicator
Indicates that headlights are on high beam.
292 UNDERSTANDING YOUR INSTRUMENT PANEL
Page 295 of 689
5. Front Fog Light Indicator — If Equipped
This indicator will illuminate when the front fog
lights are on.
6. Selectable DID Information
This area of the cluster will display selectable informa-
tion such as compass, outside temperature, etc. For
further information, refer to “Driver Information Display
(DID) — If Equipped” of your Owner ’s Manual for more
information.
7. Turn Signal Indicator
The arrows will flash with the exterior turn
signals when the turn signal lever is operated.
A tone will chime, and an DID message will
appear if either turn signal is left on for more
than 1 mile (1.6 km).
NOTE:If either indicator flashes at a rapid rate, check
for a defective outside light bulb.
8. Speedometer
Indicates vehicle speed.
9. Selectable DID Information
This area of the cluster will display selectable informa-
tion such as compass, outside temperature, etc. For
further information, refer to “Driver Information Display
(DID) — If Equipped” of your Owner ’s Manual for more
information.
10. Malfunction Indicator Light (MIL)
The Malfunction Indicator Light (MIL) is part of
an onboard diagnostic system called OBD II that
monitors engine and automatic transmission con-
trol systems. The light will illuminate when the key is in
the ON/RUN position before engine start. If the bulb
does not come on when turning the key from OFF to
ON/RUN, have the condition checked promptly.
4
UNDERSTANDING YOUR INSTRUMENT PANEL 293
Page 312 of 689
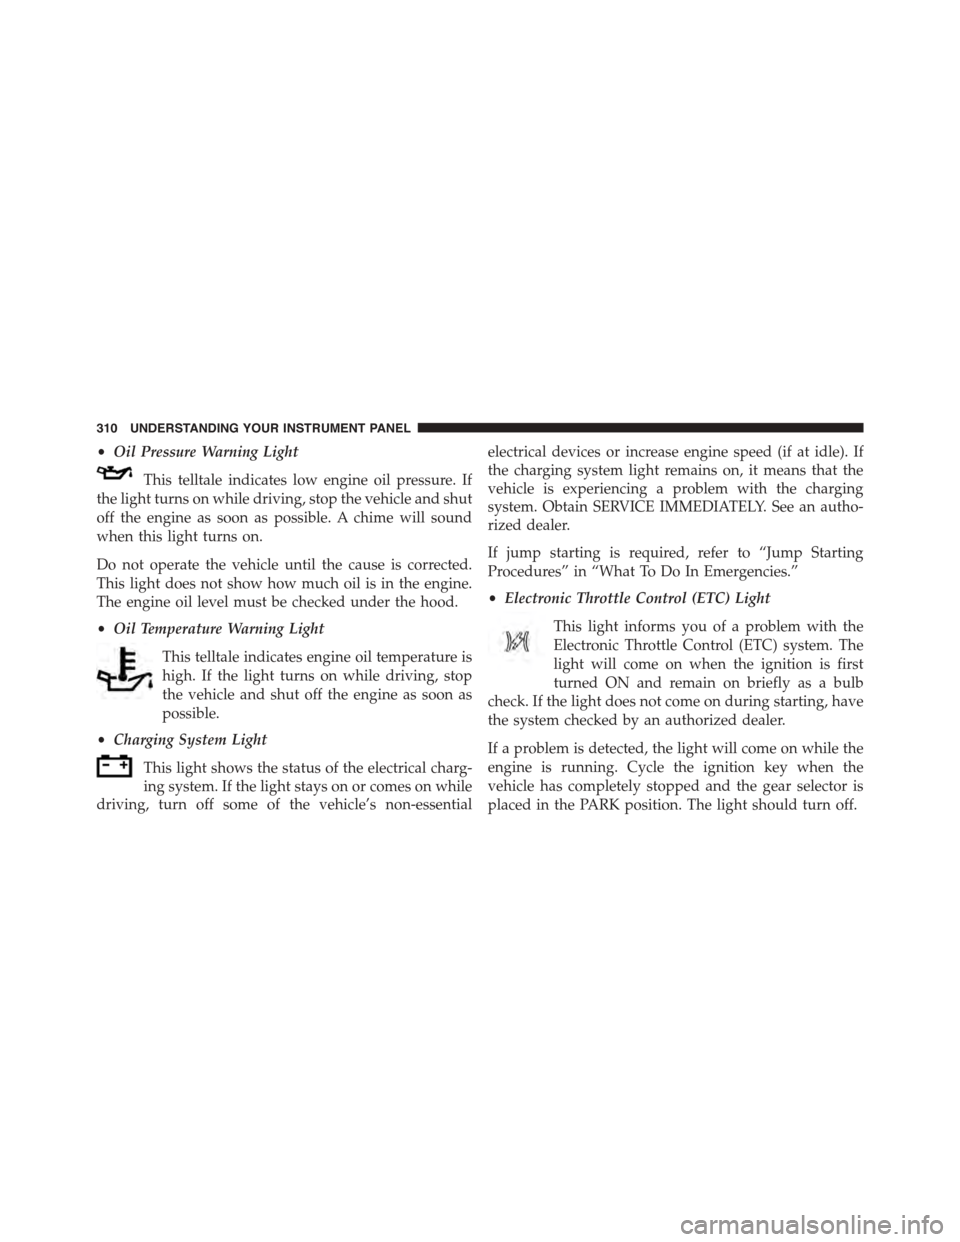
•Oil Pressure Warning Light
This telltale indicates low engine oil pressure. If
the light turns on while driving, stop the vehicle and shut
off the engine as soon as possible. A chime will sound
when this light turns on.
Do not operate the vehicle until the cause is corrected.
This light does not show how much oil is in the engine.
The engine oil level must be checked under the hood.
•Oil Temperature Warning Light
This telltale indicates engine oil temperature is
high. If the light turns on while driving, stop
the vehicle and shut off the engine as soon as
possible.
•Charging System Light
This light shows the status of the electrical charg-
ing system. If the light stays on or comes on while
driving, turn off some of the vehicle’s non-essential
electrical devices or increase engine speed (if at idle). If
the charging system light remains on, it means that the
vehicle is experiencing a problem with the charging
system. Obtain SERVICE IMMEDIATELY. See an autho-
rized dealer.
If jump starting is required, refer to “Jump Starting
Procedures” in “What To Do In Emergencies.”
•Electronic Throttle Control (ETC) Light
This light informs you of a problem with the
Electronic Throttle Control (ETC) system. The
light will come on when the ignition is first
turned ON and remain on briefly as a bulb
check. If the light does not come on during starting, have
the system checked by an authorized dealer.
If a problem is detected, the light will come on while the
engine is running. Cycle the ignition key when the
vehicle has completely stopped and the gear selector is
placed in the PARK position. The light should turn off.
310 UNDERSTANDING YOUR INSTRUMENT PANEL
Page 346 of 689
Lights
After pressing the Lights button on the touchscreen the
following settings will be available.
•Headlight Off Delay
When this feature is selected, it allows adjustment of the
amount of time the headlights remain on after the engine
is shut off. To change the Headlights Off Delay setting,
press the “+” or “–” button on the touchscreen to select
your desired time interval, and choose either 0 sec, 30 sec,
60 sec or 90 seconds. Press the back arrow button on the
touchscreen to return to the previous menu, or push the
back button on the faceplate.
•Headlight Illumination On Approach
When this feature is selected, the headlights will activate
and remain on for 0, 30, 60, or 90 seconds when the doors
are unlocked with the Remote Keyless Entry (RKE)
transmitter. To change the Illuminated Approach status,
press the “+” or “–” button on the touchscreen to select
your desired time interval. Press the back arrow button
on the touchscreen to return to the previous menu, or
push the back button on the faceplate.
•Headlights With Wipers — If Equipped
When this feature is selected, and the headlight switch is
in the AUTO position, the headlights will turn on ap-
proximately 10 seconds after the wipers are turned on.
The headlights will also turn off when the wipers are
turned off if they were turned on by this feature. To make
your selection, press the Headlights With Wipers button
on the touchscreen, until a check-mark appears next to
setting, showing that setting has been selected. Press the
back arrow button on the touchscreen to return to the
previous menu, or push the back button on the faceplate.
344 UNDERSTANDING YOUR INSTRUMENT PANEL