audio DODGE DURANGO 2015 3.G Owner's Manual
[x] Cancel search | Manufacturer: DODGE, Model Year: 2015, Model line: DURANGO, Model: DODGE DURANGO 2015 3.GPages: 236, PDF Size: 35.01 MB
Page 144 of 236
Select The Android Mobile Phone's Priority Level
When the pairing process has successfully completed, the system will prompt you to
choose whether or not this is your favorite mobile phone. Selecting “Yes” will make this
mobile phone the highest priority. This mobile phone will take precedence over other
paired mobile phones within range and will connect to the Uconnect®system automati-
cally when entering the vehicle. Only one mobile phone and/or one Bluetooth audio device
can be connected to the Uconnect®system at a time. If “No” is selected, simply select
“Uconnect” from the mobile phone/audio device Bluetooth screen, and the Uconnect®
system will reconnect to the Bluetooth device.
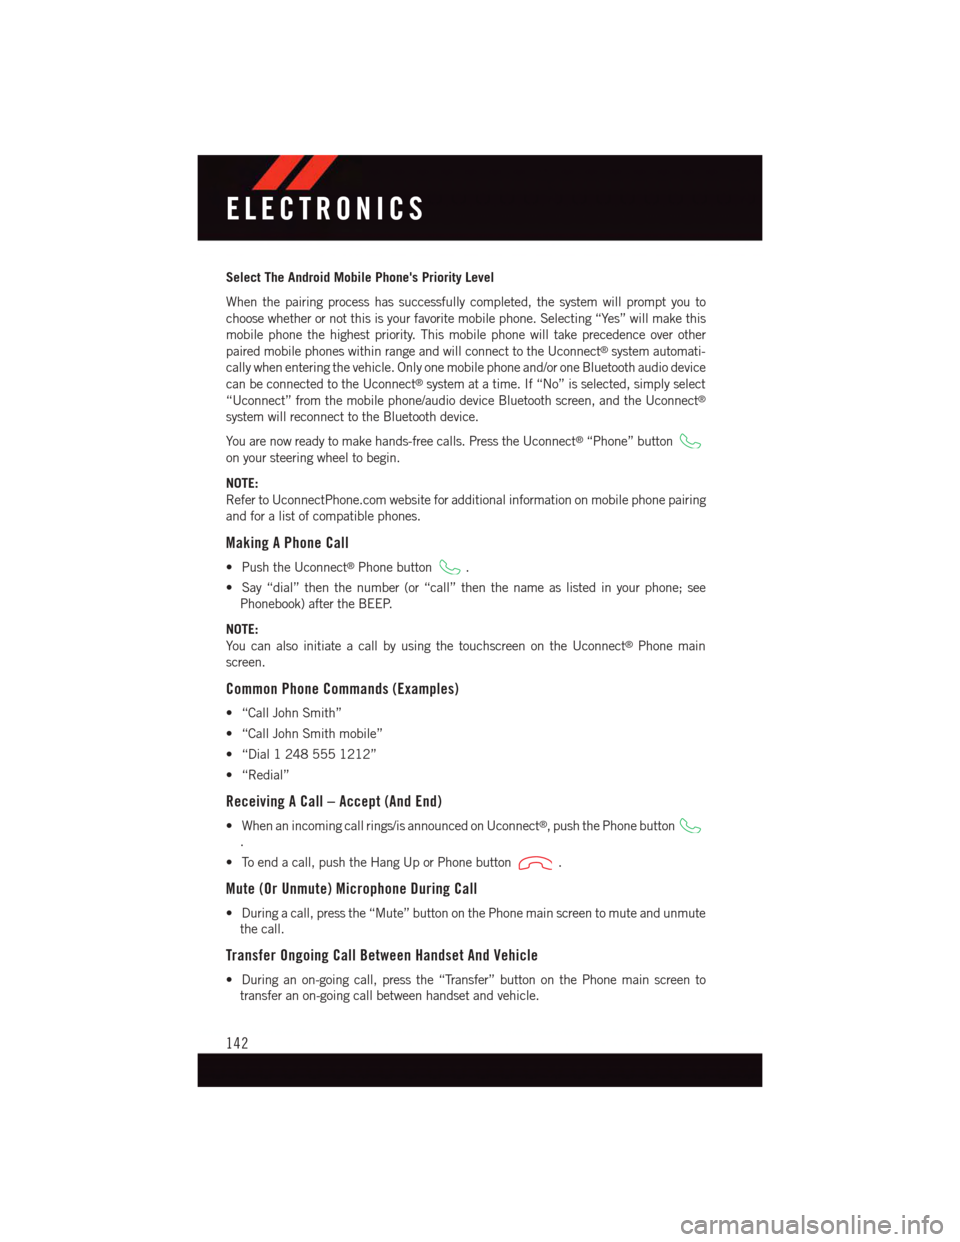
Yo u a r e n o w r e a d y t o m a k e h a n d s - f r e e c a l l s . P r e s s t h e U c o n n e c t®“Phone” button
on your steering wheel to begin.
NOTE:
Refer to UconnectPhone.com website for additional information on mobile phone pairing
and for a list of compatible phones.
Making A Phone Call
•PushtheUconnect®Phone button.
•Say“dial”thenthenumber(or“call”thenthenameaslistedinyourphone;see
Phonebook) after the BEEP.
NOTE:
Yo u c a n a l s o i n i t i a t e a c a l l b y u s i n g t h e t o u c h s c r e e n o n t h e U c o n n e c t®Phone main
screen.
Common Phone Commands (Examples)
•“CallJohnSmith”
•“CallJohnSmithmobile”
•“Dial12485551212”
•“Redial”
Receiving A Call – Accept (And End)
•Whenanincomingcallrings/isannouncedonUconnect®,pushthePhonebutton
.
•Toendacall,pushtheHangUporPhonebutton.
Mute (Or Unmute) Microphone During Call
•Duringacall,pressthe“Mute”buttononthePhonemainscreentomuteandunmute
the call.
Transfer Ongoing Call Between Handset And Vehicle
•Duringanon-goingcall,pressthe“Transfer”buttononthePhonemainscreento
transfer an on-going call between handset and vehicle.
ELECTRONICS
142
Page 145 of 236
Phonebook
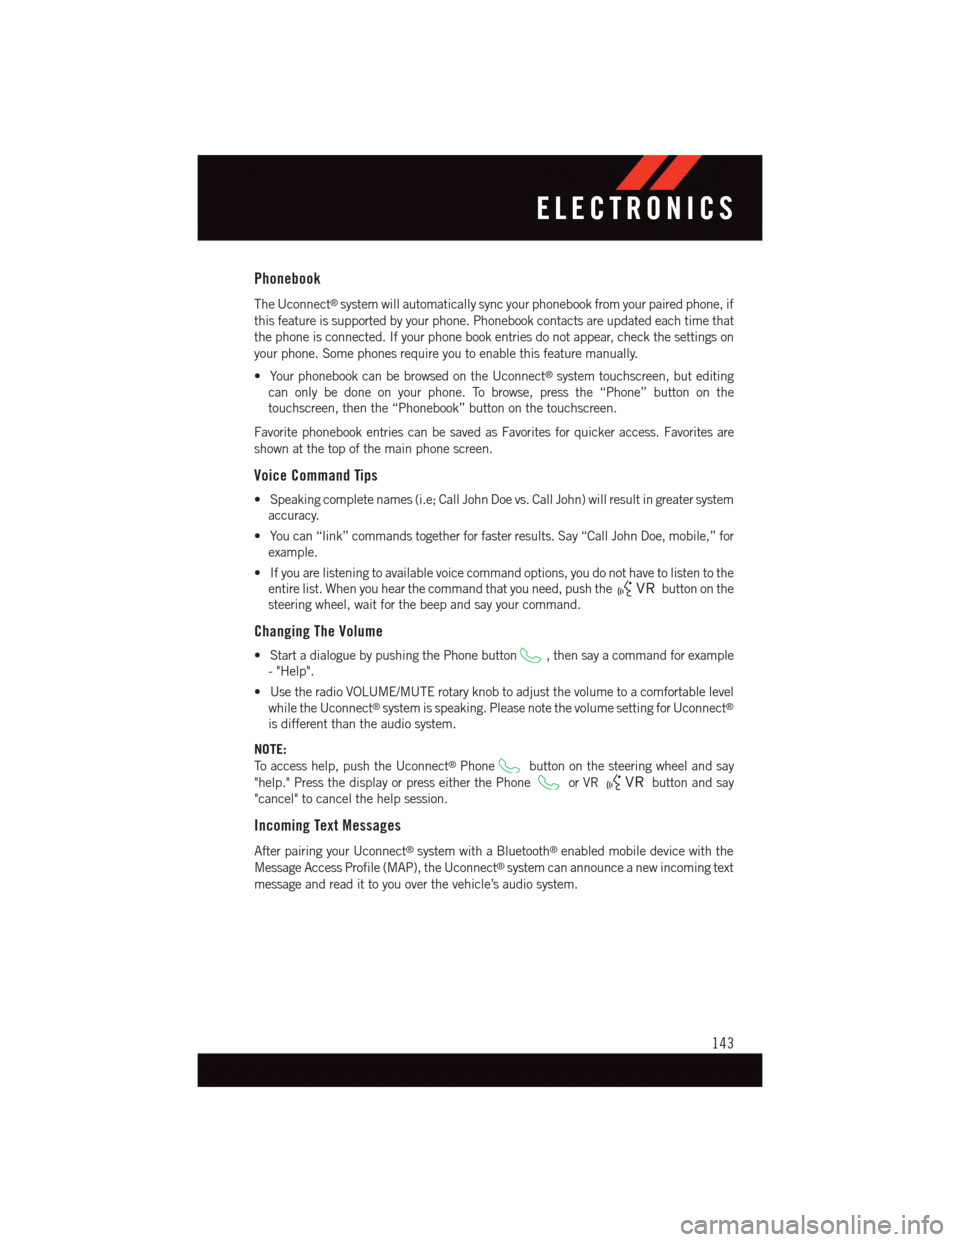
The Uconnect®system will automatically sync your phonebook from your paired phone, if
this feature is supported by your phone. Phonebook contacts are updated each time that
the phone is connected. If your phone book entries do not appear, check the settings on
your phone. Some phones require you to enable this feature manually.
•YourphonebookcanbebrowsedontheUconnect®system touchscreen, but editing
can only be done on your phone. To browse, press the “Phone” button on the
touchscreen, then the “Phonebook” button on the touchscreen.
Favorite phonebook entries can be saved as Favorites for quicker access. Favorites are
shown at the top of the main phone screen.
Voice Command Tips
•Speakingcompletenames(i.e;CallJohnDoevs.CallJohn)willresultingreatersystem
accuracy.
•Youcan“link”commandstogetherforfasterresults.Say“CallJohnDoe,mobile,”for
example.
•Ifyouarelisteningtoavailablevoicecommandoptions,youdonothavetolistentothe
entire list. When you hear the command that you need, push thebutton on the
steering wheel, wait for the beep and say your command.
Changing The Volume
•StartadialoguebypushingthePhonebutton,thensayacommandforexample
-"Help".
•UsetheradioVOLUME/MUTErotaryknobtoadjustthevolumetoacomfortablelevel
while the Uconnect®system is speaking. Please note the volume setting for Uconnect®
is different than the audio system.
NOTE:
To a c c e s s h e l p , p u s h t h e U c o n n e c t®Phonebutton on the steering wheel and say
"help." Press the display or press either the Phoneor VRbutton and say
"cancel" to cancel the help session.
Incoming Text Messages
After pairing your Uconnect®system with a Bluetooth®enabled mobile device with the
Message Access Profile (MAP), the Uconnect®system can announce a new incoming text
message and read it to you over the vehicle’s audio system.
ELECTRONICS
143
Page 147 of 236
Android Devices
1. Push the Menu button on the mobile phone.
2. Select Settings.
3. Select Connections.
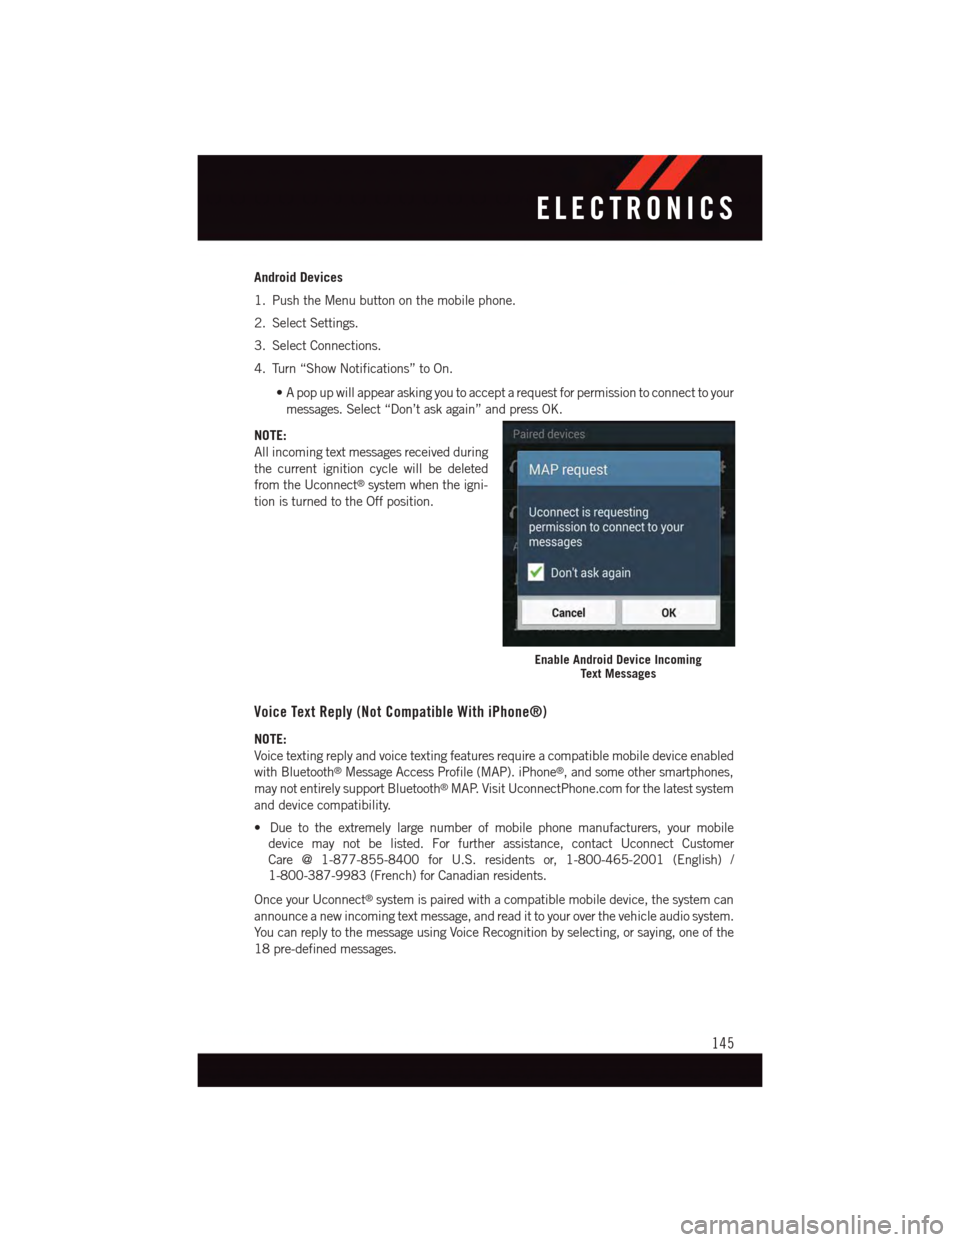
4. Turn “Show Notifications” to On.
•Apopupwillappearaskingyoutoacceptarequestforpermissiontoconnecttoyour
messages. Select “Don’t ask again” and press OK.
NOTE:
All incoming text messages received during
the current ignition cycle will be deleted
from the Uconnect®system when the igni-
tion is turned to the Off position.
Voice Text Reply (Not Compatible With iPhone®)
NOTE:
Voice texting reply and voice texting features require a compatible mobile device enabled
with Bluetooth®Message Access Profile (MAP). iPhone®,andsomeothersmartphones,
may not entirely support Bluetooth®MAP. Visit UconnectPhone.com for the latest system
and device compatibility.
•Duetotheextremelylargenumberofmobilephonemanufacturers,yourmobile
device may not be listed. For further assistance, contact Uconnect Customer
Care @ 1-877-855-8400 for U.S. residents or, 1-800-465-2001 (English) /
1-800-387-9983 (French) for Canadian residents.
Once your Uconnect®system is paired with a compatible mobile device, the system can
announce a new incoming text message, and read it to your over the vehicle audio system.
Yo u c a n r e p l y t o t h e m e s s a g e u s i n g Vo i c e R e c o g n i t i o n b y s e l e c t i n g , o r s a y i n g , o n e o f t h e
18 pre-defined messages.
Enable Android Device IncomingText Messages
ELECTRONICS
145
Page 149 of 236
•Verifyyouareselecting“Uconnect”inthediscoveredBluetooth®devices on your
mobile phone.
•Ifyourvehiclesystemgeneratesapincodethedefaultis0000.
Mobile Phonebook didn’t download:
•Check“Donotaskagain,”thenacceptthe“phonebookdownload”requestonyour
mobile phone.
•Upto5,000contactnameswithfournumberspercontactwilltransfertothe
Uconnect®8.4A/8.4AN system phonebook.
•Upto2,000contactnameswithsixnumberspercontactwilltransfertothe
Uconnect®5.0 system phonebook.
Te x t m e s s a g i n g w o n ’ t w o r k :
•Check“Donotaskagain,”thenacceptthe“connecttoyourmessages”requestonyour
mobile phone.
•VerifythatyourmobilephonehastheBluetooth®feature (Message Access Profile).
Can’t make a conference call:
•CDMA(Code-DivisionMultipleAccess)carriersdonotsupportconferencecalling.
Refer to your mobile phone user’s manual for further information.
Making calls while connected to AUX:
•Plugging in your mobile phone to AUX while connected to Bluetooth®will disable Hands-
Free Calling. Do not make calls while your mobile phone is plugged into the AUX jack.
STEERING WHEEL AUDIO CONTROLS
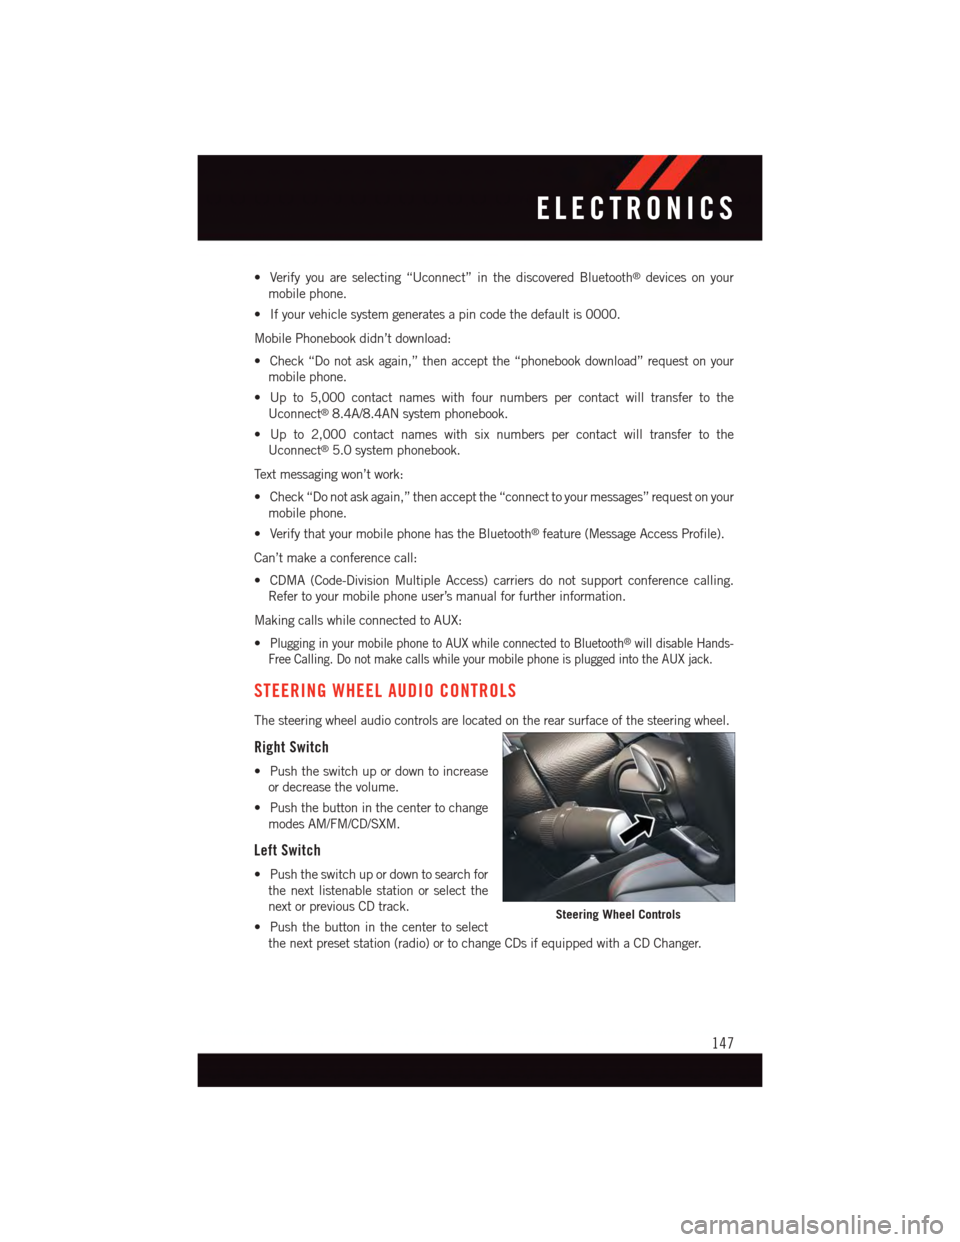
The steering wheel audio controls are located on the rear surface of the steering wheel.
Right Switch
•Pushtheswitchupordowntoincrease
or decrease the volume.
•Pushthebuttoninthecentertochange
modes AM/FM/CD/SXM.
Left Switch
•Pushtheswitchupordowntosearchfor
the next listenable station or select the
next or previous CD track.
•Pushthebuttoninthecentertoselect
the next preset station (radio) or to change CDs if equipped with a CD Changer.
Steering Wheel Controls
ELECTRONICS
147
Page 150 of 236
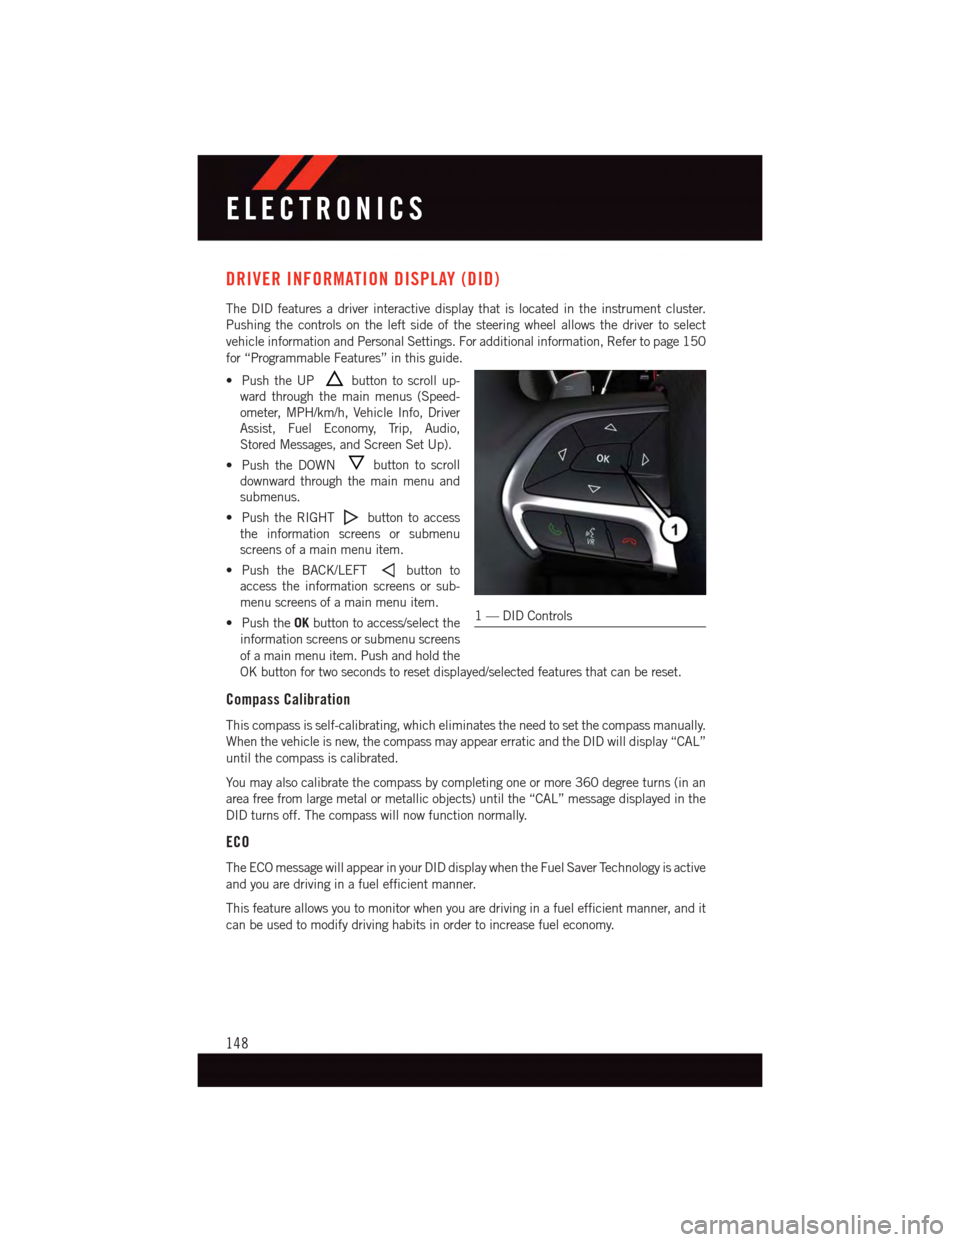
DRIVER INFORMATION DISPLAY (DID)
The DID features a driver interactive display that is located in the instrument cluster.
Pushing the controls on the left side of the steering wheel allows the driver to select
vehicle information and Personal Settings. For additional information, Refer to page 150
for “Programmable Features” in this guide.
•PushtheUPbutton to scroll up-
ward through the main menus (Speed-
ometer, MPH/km/h, Vehicle Info, Driver
Assist, Fuel Economy, Trip, Audio,
Stored Messages, and Screen Set Up).
•PushtheDOWNbutton to scroll
downward through the main menu and
submenus.
•PushtheRIGHTbutton to access
the information screens or submenu
screens of a main menu item.
•PushtheBACK/LEFTbutton to
access the information screens or sub-
menu screens of a main menu item.
•PushtheOKbutton to access/select the
information screens or submenu screens
of a main menu item. Push and hold the
OK button for two seconds to reset displayed/selected features that can be reset.
Compass Calibration
This compass is self-calibrating, which eliminates the need to set the compass manually.
When the vehicle is new, the compass may appear erratic and the DID will display “CAL”
until the compass is calibrated.
Yo u m a y a l s o c a l i b r a t e t h e c o m p a s s b y c o m p l e t i n g o n e o r m o r e 3 6 0 d e g r e e t u r n s ( i n a n
area free from large metal or metallic objects) until the “CAL” message displayed in the
DID turns off. The compass will now function normally.
ECO
The ECO message will appear in your DID display when the Fuel Saver Technology is active
and you are driving in a fuel efficient manner.
This feature allows you to monitor when you are driving in a fuel efficient manner, and it
can be used to modify driving habits in order to increase fuel economy.
1—DIDControls
ELECTRONICS
148
Page 151 of 236
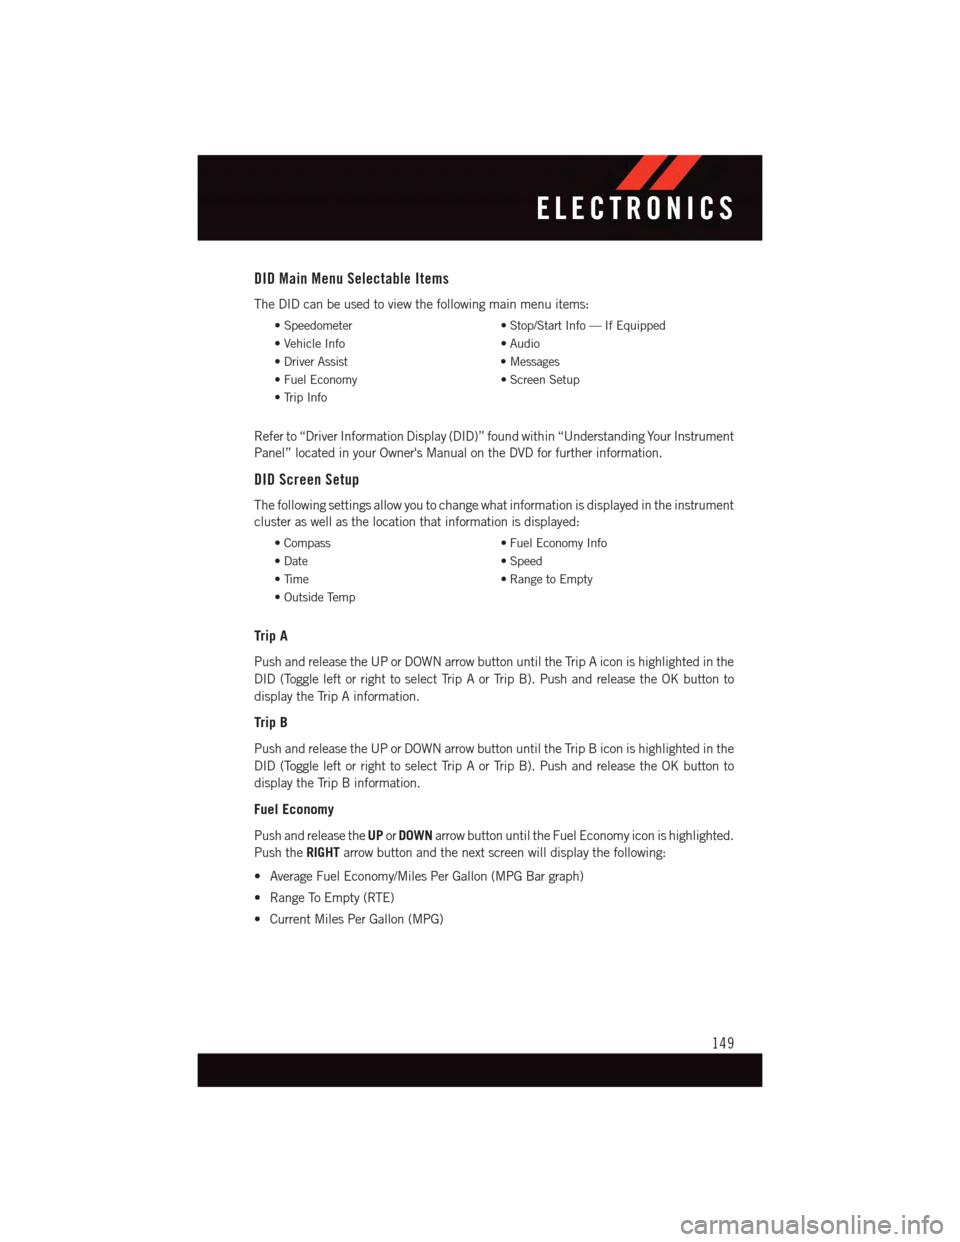
DID Main Menu Selectable Items
The DID can be used to view the following main menu items:
•Speedometer•Stop/StartInfo—IfEquipped
•VehicleInfo•Audio
•DriverAssist•Messages
•FuelEconomy•ScreenSetup
•TripInfo
Refer to “Driver Information Display (DID)” found within “Understanding Your Instrument
Panel” located in your Owner's Manual on the DVD for further information.
DID Screen Setup
The following settings allow you to change what information is displayed in the instrument
cluster as well as the location that information is displayed:
•Compass•FuelEconomyInfo
•Date•Speed
•Time•RangetoEmpty
•OutsideTemp
Trip A
Push and release the UP or DOWN arrow button until the Trip A icon is highlighted in the
DID (Toggle left or right to select Trip A or Trip B). Push and release the OK button to
display the Trip A information.
Trip B
Push and release the UP or DOWN arrow button until the Trip B icon is highlighted in the
DID (Toggle left or right to select Trip A or Trip B). Push and release the OK button to
display the Trip B information.
Fuel Economy
Push and release theUPorDOWNarrow button until the Fuel Economy icon is highlighted.
Push theRIGHTarrow button and the next screen will display the following:
•AverageFuelEconomy/MilesPerGallon(MPGBargraph)
•RangeToEmpty(RTE)
•CurrentMilesPerGallon(MPG)
ELECTRONICS
149
Page 152 of 236
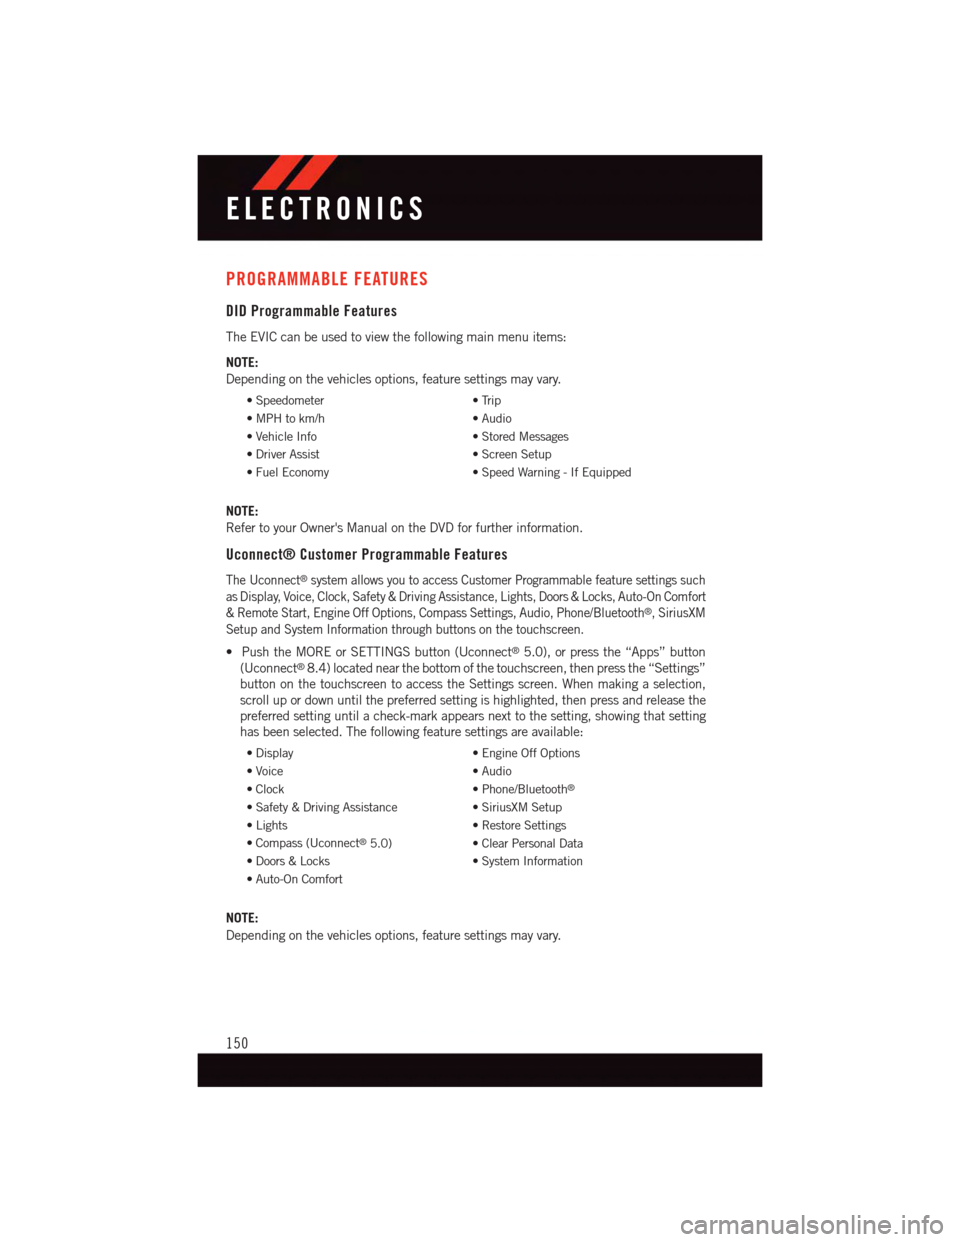
PROGRAMMABLE FEATURES
DID Programmable Features
The EVIC can be used to view the following main menu items:
NOTE:
Depending on the vehicles options, feature settings may vary.
•Speedometer•Trip
•MPHtokm/h•Audio
•VehicleInfo•StoredMessages
•DriverAssist•ScreenSetup
•FuelEconomy•SpeedWarning-IfEquipped
NOTE:
Refer to your Owner's Manual on the DVD for further information.
Uconnect® Customer Programmable Features
The Uconnect®system allows you to access Customer Programmable feature settings such
as Display, Voice, Clock, Safety & Driving Assistance, Lights, Doors & Locks, Auto-On Comfort
&RemoteStart,EngineOffOptions,CompassSettings,Audio,Phone/Bluetooth®,SiriusXM
Setup and System Information through buttons on the touchscreen.
•PushtheMOREorSETTINGSbutton(Uconnect®5.0), or press the “Apps” button
(Uconnect®8.4) located near the bottom of the touchscreen, then press the “Settings”
button on the touchscreen to access the Settings screen. When making a selection,
scroll up or down until the preferred setting is highlighted, then press and release the
preferred setting until a check-mark appears next to the setting, showing that setting
has been selected. The following feature settings are available:
•Display•EngineOffOptions
•Voice•Audio
•Clock•Phone/Bluetooth®
•Safety&DrivingAssistance•SiriusXMSetup
•Lights•RestoreSettings
•Compass(Uconnect®5.0)•ClearPersonalData
•Doors&Locks•SystemInformation
•Auto-OnComfort
NOTE:
Depending on the vehicles options, feature settings may vary.
ELECTRONICS
150
Page 210 of 236
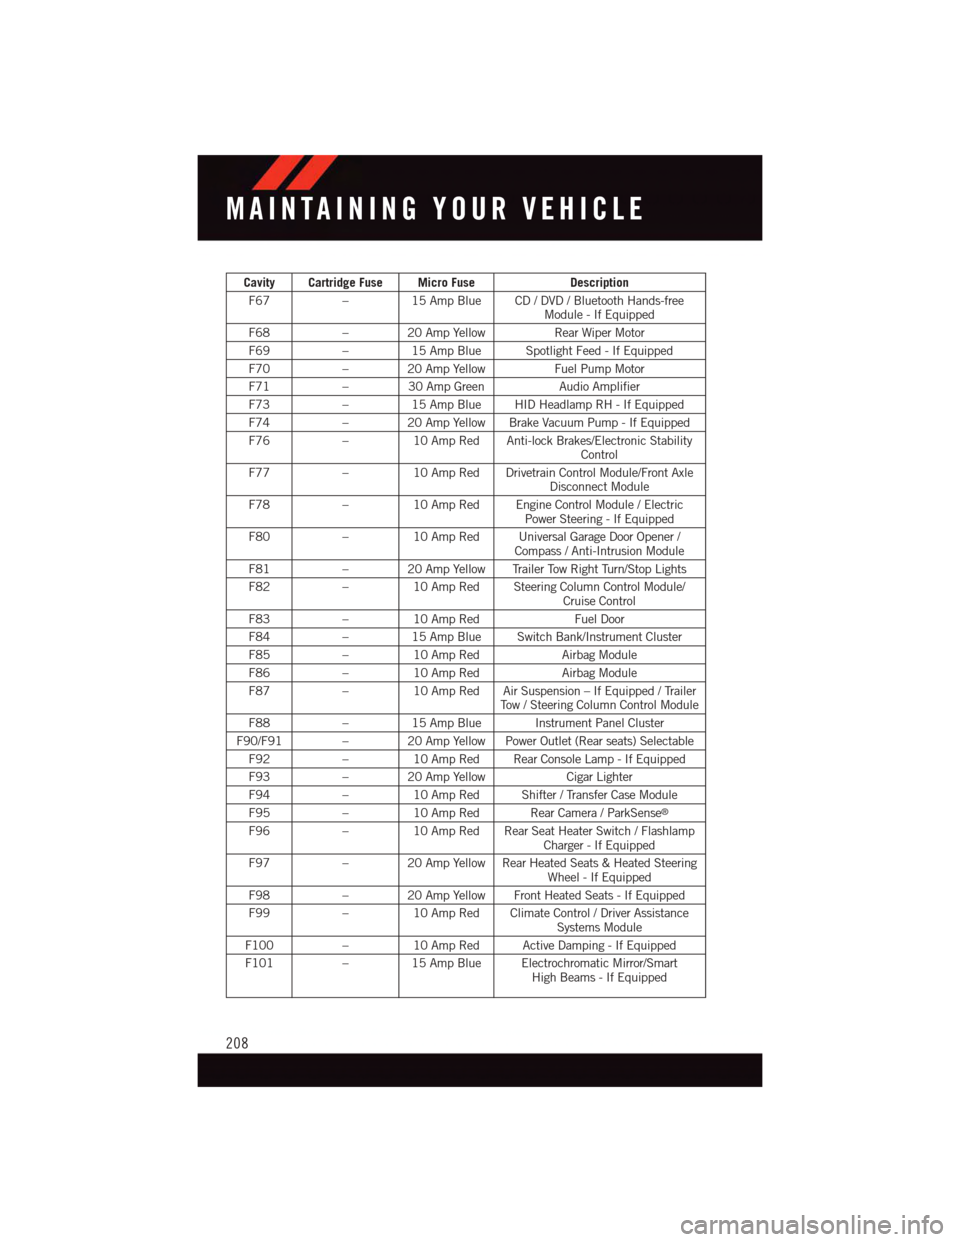
Cavity Cartridge Fuse Micro FuseDescription
F67–15 Amp Blue CD / DVD / Bluetooth Hands-freeModule - If Equipped
F68–20AmpYellowRear Wiper Motor
F69–15 Amp Blue Spotlight Feed - If Equipped
F70–20AmpYellowFuel Pump Motor
F71–30AmpGreenAudio Amplifier
F73–15 Amp Blue HID Headlamp RH - If Equipped
F74–20AmpYellowBrakeVacuumPump-IfEquipped
F76–10 Amp Red Anti-lock Brakes/Electronic StabilityControl
F77–10 Amp Red Drivetrain Control Module/Front AxleDisconnect Module
F78–10 Amp Red Engine Control Module / ElectricPower Steering - If Equipped
F80–10 Amp Red Universal Garage Door Opener /Compass / Anti-Intrusion Module
F81–20AmpYellowTrailerTowRightTurn/StopLights
F82–10 Amp Red Steering Column Control Module/Cruise Control
F83–10 Amp RedFuel Door
F84–15 Amp Blue Switch Bank/Instrument Cluster
F85–10 Amp RedAirbag Module
F86–10 Amp RedAirbag Module
F87–10 Amp Red Air Suspension – If Equipped / TrailerTo w / S t e e r i n g C o l u m n C o n t r o l M o d u l e
F88–15 Amp Blue Instrument Panel Cluster
F90/F91 – 20 Amp Yellow Power Outlet (Rear seats) Selectable
F92–10 Amp Red Rear Console Lamp - If Equipped
F93–20AmpYellowCigar Lighter
F94–10 Amp Red Shifter / Transfer Case Module
F95–10 Amp Red Rear Camera / ParkSense®
F96–10 Amp Red Rear Seat Heater Switch / FlashlampCharger - If Equipped
F97–20AmpYellowRearHeatedSeats&HeatedSteeringWheel - If Equipped
F98–20AmpYellowFrontHeatedSeats-IfEquipped
F99–10 Amp Red Climate Control / Driver AssistanceSystems Module
F100–10 Amp Red Active Damping - If Equipped
F101–15 Amp Blue Electrochromatic Mirror/SmartHigh Beams - If Equipped
MAINTAINING YOUR VEHICLE
208
Page 220 of 236
FREQUENTLY ASKED QUESTIONS
GETTING STARTED
How do I install my LATCH Equipped Child Seat? pg. 19
How do I program my Front Seat Memory? pg. 29
OPERATING YOUR VEHICLE
How does the Automatic Climate Control operate? pg. 55
ELECTRONICS
Which radio is in my vehicle?
•Uconnect®5.0 pg. 84
•Uconnect®8.4A pg. 96
•Uconnect®8.4AN pg. 124
How do I activate the Audio Jack?
•Uconnect®5.0 pg. 87
•Uconnect®8.4A/8.4AN pg. 103
How do I set the clock on my radio?
•Uconnect®5.0 pg. 84
•Uconnect®8.4A/8.4AN pg. 96
How do I use the Navigation feature?
•Uconnect®8.4A/8.4AN pg. 106
How do I pair my mobile phone via Bluetooth®with the UConnect®Hands-Free Voice
Activation System? pg. 139
How do I use my USB port to listen to audio through my touchscreen radio?
•Uconnect®5.0 pg. 87
•Uconnect®8.4A/8.4AN pg. 103
How do I configure my Universal Garage Door Opener (HomeLink)? pg. 152
How do I improve the Bluetooth®performance of my Uconnect®System? pg. 146
UTILITY
How do I know how much I can tow with my Dodge Durango? pg. 161
FREQUENTLY ASKED QUESTIONS
218
Page 224 of 236
Fog Lights . . . . . . . . . . . . .41, 173
Folding Front Passenger Seat......31
Folding Rear Seat..........31,33
Forward Collision Warning........49
Four Wheel Drive............157
Operation.............157
Systems . . . . . . . . . . . . . .157
Four Wheel Drive Operation......157
Freeing A Stuck Vehicle . . . . . . . .191
Frequently Asked Questions......218
FuelEconomy Mode...........54Ethanol..............200Filler Door Emergency Release . .211Requirements...........198Specifications...........199Ta n k C a p a c i t y...........198Fuel, Flexible..............200Fuses . . . . . . . . . . . . . . . . . .206
General Maintenance.........201Glass Cleaning . . . . . . . . . . . . .201
Hands-Free Phone (Uconnect®). . . .137HeadlightsAutomatic . . . . . . . . . . . . . .41Cleaning..............201Dimmer Switch...........42High Beam . . . . . . . . . . . . .41High Beam/Low Beam SelectSwitch . . . . . . . . . . . . . . . .41Heated Mirrors..............58Heated Seats..............34Heated Steering Wheel.........36High Beam Indicator..........173High Beam/Low Beam Select(Dimmer) Switch...........41HomeLink®(Garage Door Opener) . .152Hood Release . . . . . . . . . . . . .193
Identifying Your Radio..........66Instrument Cluster............8Indicators . . . . . . . . . . . . . . .8Instrument Cluster Indicator Lights . .173Instrument Panel Cover........201Instrument Panel Lens Cleaning . . .201Interior and Instrument Lights......7Interior Appearance Care.......201
Intermittent Wipers (Delay Wipers) . . .40
Introduction................2
In Vehicle Features
Uconnect®Access..........74
Inverter Outlet (115V).........154
Inverter, Power.............154
iPod®/USB/MP3 Control
Bluetooth®Streaming
Audio.......87,103, 131, 137
Jacking Instructions..........179Jack Location..............176Jack Operation..........176, 179Jump Starting.............186
Key Fob . . . . . . . . . . . . . . . . .10Arm The Alarm . . . . . . . . . . .15Disarm The Alarm . . . . . . . . . .15Lock The Doors...........10Unlock The Doors..........10Keyless Enter-N-Go...........10Lock/Unlock..........12,13Starting/Stopping..........14Keyless Enter-N-Go™..........12Passive Entry............12
Lane Change Assist...........40Lap/Shoulder Belts...........15LATCH (Lower Anchors and Tether forCHildren) . . . . . . . . . . . . . . .21Liftgate . . . . . . . . . . . . . . . . . .10Liftgate, Power..............10LightsFog . . . . . . . . . . . . . . . . .173Headlights..............41High Beam Indicator.......173Hill Descent Control Indicator . .173Low Fuel..............173Security Alarm...........173LocksLiftgate, Tailgate . . . . . . . . . .10Lubrication, Body...........201Luggage Rack (Roof Rack)......160
Maintenance Free Battery.......201Maintenance, General.........201Maintenance Procedures.......201Maintenance Record..........205
INDEX
222