check engine light DODGE DURANGO 2017 3.G User Guide
[x] Cancel search | Manufacturer: DODGE, Model Year: 2017, Model line: DURANGO, Model: DODGE DURANGO 2017 3.GPages: 584, PDF Size: 5.14 MB
Page 387 of 584
To Manually Turn Off The Stop/Start System
1. Push the STOP/START OFF switch (located on theswitch bank). The light on the switch will illuminate.
2. The “STOP/START OFF” message will appear in instru- ment cluster display within the Stop/Start section. Refer
to “Instrument Cluster” in “Understanding Your Instru-
ment Panel” for further information.
3. At the next vehicle stop (after turning off the STOP/ START system), the engine will not be stopped. 4. The STOP/START system will reset itself back to an ON
condition every time the ignition is turned off and back
on.
To Manually Turn On The Stop/Start System
Push the STOP/START OFF switch (located on the switch
bank). The light on the switch will turn off.
System Malfunction
If there is a malfunction in the STOP/START system, the
system will not shut down the engine. A “SERVICE STOP/
START SYSTEM” message will appear in the instrument
cluster display within the Stop/Start section. Refer to
“Instrument Cluster” in “Understanding Your Instrument
Panel” for further information.
If the “SERVICE STOP/START SYSTEM” message appears
in the instrument cluster display, have the system checked
by your authorized dealer.
ENGINE BLOCK HEATER — IF EQUIPPED
The engine block heater warms the engine, and permits
quicker starts in cold weather. Connect the cord to a
standard 110-115 Volt AC electrical outlet with a grounded,
three-wire extension cord.
STOP/START Off Switch
5
STARTING AND OPERATING 385
Page 392 of 584
NOTE:On vehicles equipped with the electronically
shifted transfer case, ensure that the transfer case is in
AWD AUTO or LOW RANGE position on the AWD
Control Switch. Ensure that the NEUTRAL position light is
NOT illuminated.
When exiting the vehicle, always:
• Apply the parking brake.
• Shift the transmission into PARK.
• Turn the ignition OFF.
• Remove the key fob from the vehicle.
WARNING!
•Never use the PARK position as a substitute for the
park brake. Always apply the park brake fully when
parked to guard against vehicle movement and pos-
sible injury or damage.
• Your vehicle could move and injure you and others if
it is not in PARK. Check by trying to move the gear
selector out of PARK with the brake pedal released.
Make sure the transmission is in PARK before leav-
ing the vehicle.
(Continued)
WARNING! (Continued)
•It is dangerous to shift out of PARK or NEUTRAL if
the engine speed is higher than idle speed. If your
foot is not firmly pressing the brake pedal, the
vehicle could accelerate quickly forward or in re-
verse. You could lose control of the vehicle and hit
someone or something. Only shift into gear when the
engine is idling normally and your foot is firmly
pressing the brake pedal.
• Unintended movement of a vehicle could injure
those in or near the vehicle. As with all vehicles, you
should never exit a vehicle while the engine is
running. Before exiting a vehicle, always apply the
park brake, shift the transmission into PARK, and
turn the ignition OFF. When the ignition is in the
OFF mode, the transmission is locked in PARK,
securing the vehicle against unwanted movement.
• When leaving the vehicle, always make sure the
ignition is in the OFF mode, remove the key fob from
the vehicle, and lock the vehicle.
• Never leave children alone in a vehicle, or with
access to an unlocked vehicle. Allowing children to
be in a vehicle unattended is dangerous for a number
(Continued)
390 STARTING AND OPERATING
Page 404 of 584
speed. If the brakes are required to control vehicle speed,
apply them lightly and avoid locking or skidding the tires.
WARNING!
If the engine stalls, you lose forward motion, or cannot
make it to the top of a steep hill or grade, never attempt
to turn around. To do so may result in tipping and
rolling the vehicle. Always back carefully straight
down a hill in REVERSE gear. Never back down a hill
in NEUTRAL using only the brake.
Remember, never drive diagonally across a hill; always
drive straight up or down.
If the wheels start to slip as you approach the crest of a hill,
ease off the accelerator and maintain forward motion by
turning the front wheels slowly. This may provide a fresh
“bite” into the surface and will usually provide traction to
complete the climb.
Traction Downhill
Shift the transmission into a low gear, and the transfer case
into LOW range. Let the vehicle go slowly down the hill
with all four wheels turning against engine compression
drag. This will permit you to control the vehicle speed and
direction. When descending mountains or hills, repeated braking can
cause brake fade with loss of braking control. Avoid
repeated heavy braking by downshifting the transmission
whenever possible.
After Driving Off-Road
Off-road operation puts more stress on your vehicle than
does most on-road driving. After going off-road, it is
always a good idea to check for damage. That way you can
get any problems taken care of right away and have your
vehicle ready when you need it.
•
Completely inspect the underbody of your vehicle.
Check tires, body structure, steering, suspension, and
exhaust system for damage.
• Inspect the radiator for mud and debris and clean as
required.
• Check threaded fasteners for looseness, particularly on
the chassis, drivetrain components, steering, and sus-
pension. Retighten them, if required, and torque to the
values specified in the Service Manual.
• Check for accumulations of plants or brush. These things
could be a fire hazard. They might hide damage to fuel
lines, brake hoses, axle pinion seals, and propeller shafts.
402 STARTING AND OPERATING
Page 473 of 584
6. Using a ballpoint pen or similar object, push and holdthe recessed transfer case NEUTRAL (N) button (located
by the selector switch) for one second.
7. When the NEUTRAL (N) indicator light turns off, release the NEUTRAL (N) button.
8. After the NEUTRAL (N) button has been released, the transfer case will shift to the position indicated by the
selector switch.
9.
Shift the transmission into PARK and turn the engine OFF.
10. Release the brake pedal. 11. Disconnect vehicle from the tow vehicle.
12. Start the engine.
13. Press and hold the brake pedal.
14. Release the parking brake.
15. Shift the transmission into DRIVE, release the brake
pedal, and check that the vehicle operates normally.
NOTE:
•
Steps 1 through 5 are requirements that must be met before
pushing the NEUTRAL (N) button, and must continue to
be met until the shift has been completed. If any of these
requirements are not met before pushing the NEUTRAL
(N) button or are no longer met during the shift, the
NEUTRAL (N) indicator light will flash continuously until
all requirements are met or until the NEUTRAL (N) button
is released.
• The ignition must be in the ON/RUN mode for a shift to
take place and for the position indicator lights to be
operable. If the ignition is not in the ON/RUN mode, the
shift will not take place and no position indicator lights
will be on or flashing.
• A flashing NEUTRAL (N) position indicator light indi-
cates that shift requirements have not been met.
NEUTRAL (N) Switch
5
STARTING AND OPERATING 471
Page 508 of 584
WARNING!
•ONLY an authorized service technician should con-
nect equipment to the OBD II connection port in
order to diagnose or service your vehicle.
• If unauthorized equipment is connected to the OBD
II connection port, such as a driver-behavior tracking
device, it may:
• Be possible that vehicle systems, including safety
related systems, could be impaired or a loss of
vehicle control could occur that may result in an
accident involving serious injury or death.
• Access, or allow others to access, information
stored in your vehicle systems, including personal
information.
For further information, refer to “Privacy Practices — If
Equipped With Uconnect 8.4 Radio” and “Uconnect Cy-
berSecurity” in “All About Uconnect Access” in your
Owner ’s Manual Radio Supplement and “Cybersecurity”
in “Understanding Your Instrument Panel”.
EMISSIONS INSPECTION AND MAINTENANCE
PROGRAMS
In some localities, it may be a legal requirement to pass an
inspection of your vehicle’s emissions control system.
Failure to pass could prevent vehicle registration. For states that require an Inspection and Mainte-
nance (I/M), this check verifies the “Malfunction
Indicator Light (MIL)” is functioning and is not on
when the engine is running, and that the OBD II system is
ready for testing.
Normally, the OBD II system will be ready. The OBD II
system may notbe ready if your vehicle was recently
serviced, recently had a dead battery or a battery replace-
ment. If the OBD II system should be determined not ready
for the I/M test, your vehicle may fail the test.
Your vehicle has a simple ignition actuated test, which you
can use prior to going to the test station. To check if your
vehicle’s OBD II system is ready, you must do the follow-
ing:
1. Cycle the ignition switch to the ON position, but do not crank or start the engine.
NOTE: If you crank or start the engine, you will have to
start this test over.
506 MAINTAINING YOUR VEHICLE
Page 509 of 584
2. As soon as you cycle the ignition switch to the ONposition, you will see the “Malfunction Indicator Light
(MIL)” symbol come on as part of a normal bulb check.
3. Approximately 15 seconds later, one of two things will happen:
• The MIL will flash for about 10 seconds and then return
to being fully illuminated until you turn OFF the igni-
tion or start the engine. This means that your vehicle’s
OBD II system is not readyand you should notproceed
to the I/M station.
• The MIL will not flash at all and will remain fully
illuminated until you place the ignition in the off posi-
tion or start the engine. This means that your vehicle’s
OBD II system is readyand you can proceed to the I/M
station.
If your OBD II system is not ready,you should see your
authorized dealer or repair facility. If your vehicle was
recently serviced or had a battery failure or replacement,
you may need to do nothing more than drive your vehicle
as you normally would in order for your OBD II system to
update. A recheck with the above test routine may then
indicate that the system is now ready. Regardless of whether your vehicle’s OBD II system is
ready or not, if the MIL is illuminated during normal
vehicle operation you should have your vehicle serviced
before going to the I/M station. The I/M station can fail
your vehicle because the MIL is on with the engine
running.
REPLACEMENT PARTS
Use of genuine MOPAR parts for normal/scheduled main-
tenance and repairs is highly recommended to ensure the
designed performance. Damage or failures caused by the
use of non-MOPAR parts for maintenance and repairs will
not be covered by the New Vehicle Limited Warranty.
DEALER SERVICE
Your authorized dealer has the qualified service personnel,
special tools, and equipment to perform all service opera-
tions in an expert manner. Service Manuals are available
which include detailed service information for your ve-
hicle. Refer to these Service Manuals before attempting any
procedure yourself.
NOTE:
Intentional tampering with emissions control sys-
tems may void your warranty and could result in civil
penalties being assessed against you.
7
MAINTAINING YOUR VEHICLE 507
Page 520 of 584
3.Grab the bottom of the wiper blade and rotate it forward to
unsnap the blade pivot pin from the wiper blade holder.
4. Install the wiper blade pivot pin into the wiper bladeholder at the end of the wiper arm, and firmly press the
wiper blade until it snaps into place.
5.
Lower the wiper blade and snap the pivot cap into place.
Adding Washer Fluid
The instrument cluster display will indicate when the washer
fluid level is low. When the sensor detects a low fluid level,
the windshield will light on the vehicle graphic outline and
the “WASHER FLUID LOW” message will be displayed.
The fluid reservoir for the windshield washers and the rear
window washer is shared. The fluid reservoir is located in
the engine compartment, be sure to check the fluid level at
regular intervals. Fill the reservoir with windshield washer
solvent only (not radiator antifreeze). When refilling the
washer fluid reservoir, take some washer fluid and apply it
to a cloth or towel and wipe clean the wiper blades, this
will help blade performance. To prevent freeze-up of your
windshield washer system in cold weather, select a solu-
tion or mixture that meets or exceeds the temperature
range of your climate. This rating information can be found
on most washer fluid containers.
WARNING!
Commercially available windshield washer solvents are
flammable. They could ignite and burn you. Care must
be exercised when filling or working around the washer
solution.
Removing The Wiper Blade
1—WiperBlade
2 — Blade Pivot Pin
3—WiperArm
4 — Wiper Blade Holder 518 MAINTAINING YOUR VEHICLE
Page 554 of 584
MAINTENANCE SCHEDULE
Your vehicle is equipped with an automatic oil change
indicator system. The oil change indicator system will
remind you that it is time to take your vehicle in for
scheduled maintenance.
Based on engine operation conditions, the oil change
indicator message will illuminate. This means that service
is required for your vehicle. Operating conditions such as
frequent short-trips, trailer tow, extremely hot or cold
ambient temperatures, and E85 fuel usage will influence
when the “Oil Change Required” message is displayed.
Severe Operating Conditions can cause the change oil
message to illuminate as early as 3,500 miles (5,600 km)
since last reset. Have your vehicle serviced as soon as
possible, within the next 500 miles (805 km).
Your authorized dealer will reset the oil change indicator
message after completing the scheduled oil change.
NOTE:Under no circumstances should oil change inter-
vals exceed 10,000 miles (16,000 km), twelve months or 350
hours of engine run time, whichever comes first. The 350
hours of engine run or idle time is generally only a concern
for fleet customers. Severe Duty All Models
Change Engine Oil at 4,000 miles (6,500 km) if the vehicle
is operated in a dusty and off road environment or is
operated predominately at idle or only very low engine
RPM’s. This type of vehicle use is considered Severe Duty.
Once A Month Or Before A Long Trip:
•
Check engine oil level
• Check windshield washer fluid level
• Check the tire inflation pressures and look for unusual
wear or damage
• Check the fluid levels of the coolant reservoir, brake
master cylinder and fill as needed.
• Check function of all interior and exterior lights
552 MAINTENANCE SCHEDULES
Page 569 of 584
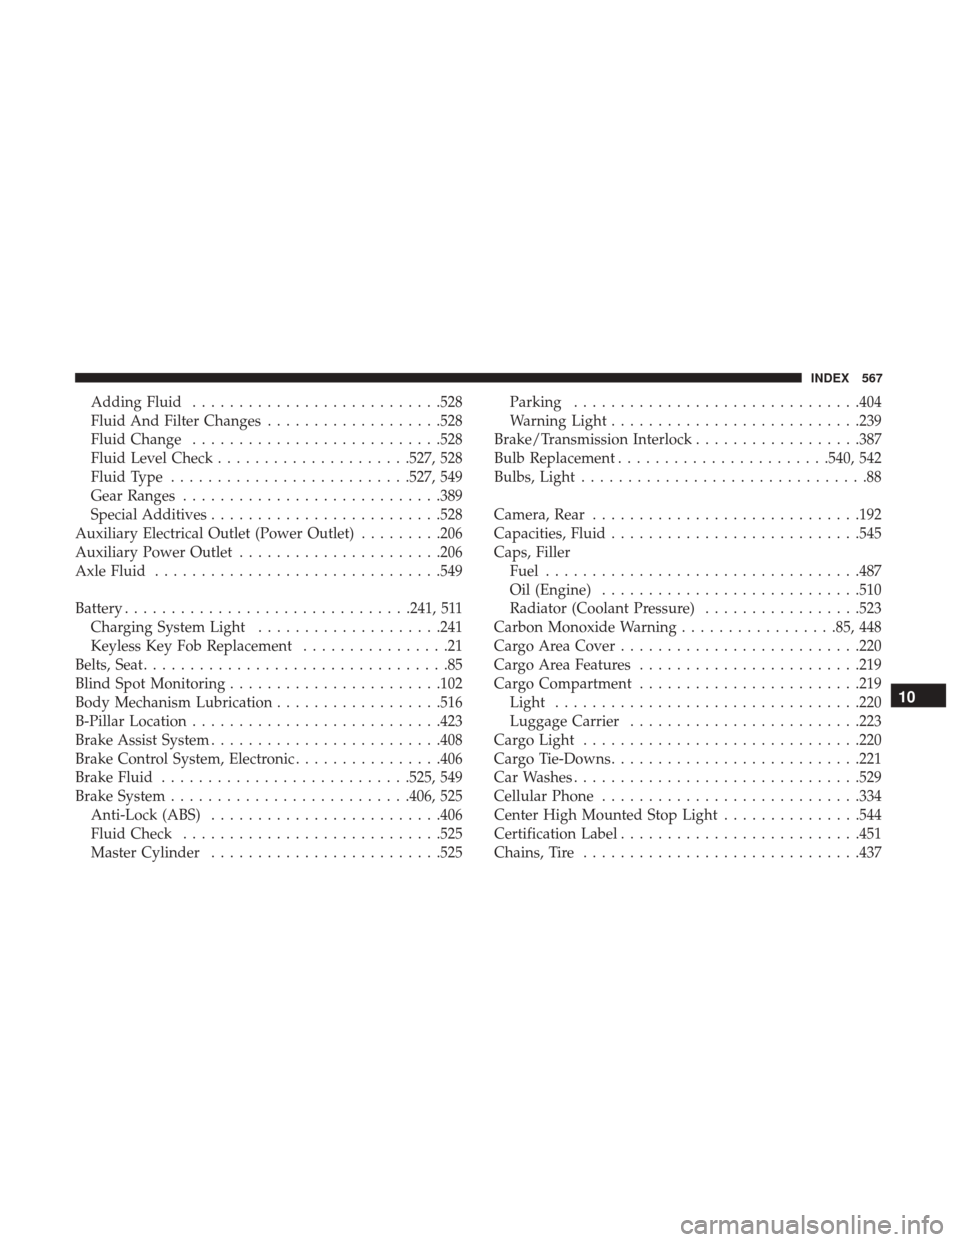
Adding Fluid.......................... .528
Fluid And Filter Changes ...................528
Fluid Change .......................... .528
Fluid Level Check .....................527, 528
Fluid Type ......................... .527, 549
Gear Ranges ........................... .389
Special Additives ........................ .528
Auxiliary Electrical Outlet (Power Outlet) .........206
Auxiliary Power Outlet ..................... .206
Axle Fluid .............................. .549
Battery .............................. .241, 511
Charging System Light ....................241
Keyless Key Fob Replacement ................21
Belts, Seat .................................85
Blind Spot Monitoring ...................... .102
Body Mechanism Lubrication ..................516
B-Pillar Location .......................... .423
Brake Assist System ........................ .408
Brake Control System, Electronic ................406
Brake Fluid .......................... .525, 549
Brake System ......................... .406, 525
Anti-Lock (ABS) ........................ .406
Fluid Check ........................... .525
Master Cylinder ........................ .525Parking
.............................. .404
Warning Light .......................... .239
Brake/Transmission Interlock ..................387
Bulb Replacement ...................... .540, 542
Bulbs, Light ...............................88
Camera, Rear ............................ .192
Capacities, Fluid .......................... .545
Caps, Filler Fuel ................................. .487
Oil (Engine) ........................... .510
Radiator (Coolant Pressure) .................523
Carbon Monoxide Warning .................85,
448
Cargo Area Cover ......................... .220
Cargo Area Features ....................... .219
Cargo Compartment ....................... .219
Light ................................ .220
Luggage Carrier ........................ .223
Cargo Light ............................. .220
Cargo Tie-Downs .......................... .221
Car Washes .............................. .529
Cellular Phone ........................... .334
Center High Mounted Stop Light ...............544
Certification Label ......................... .451
Chains, Tire ............................. .437
10
INDEX 567
Page 570 of 584
Changing A Flat Tire....................... .476
Chart, Tire Sizing .......................... .419
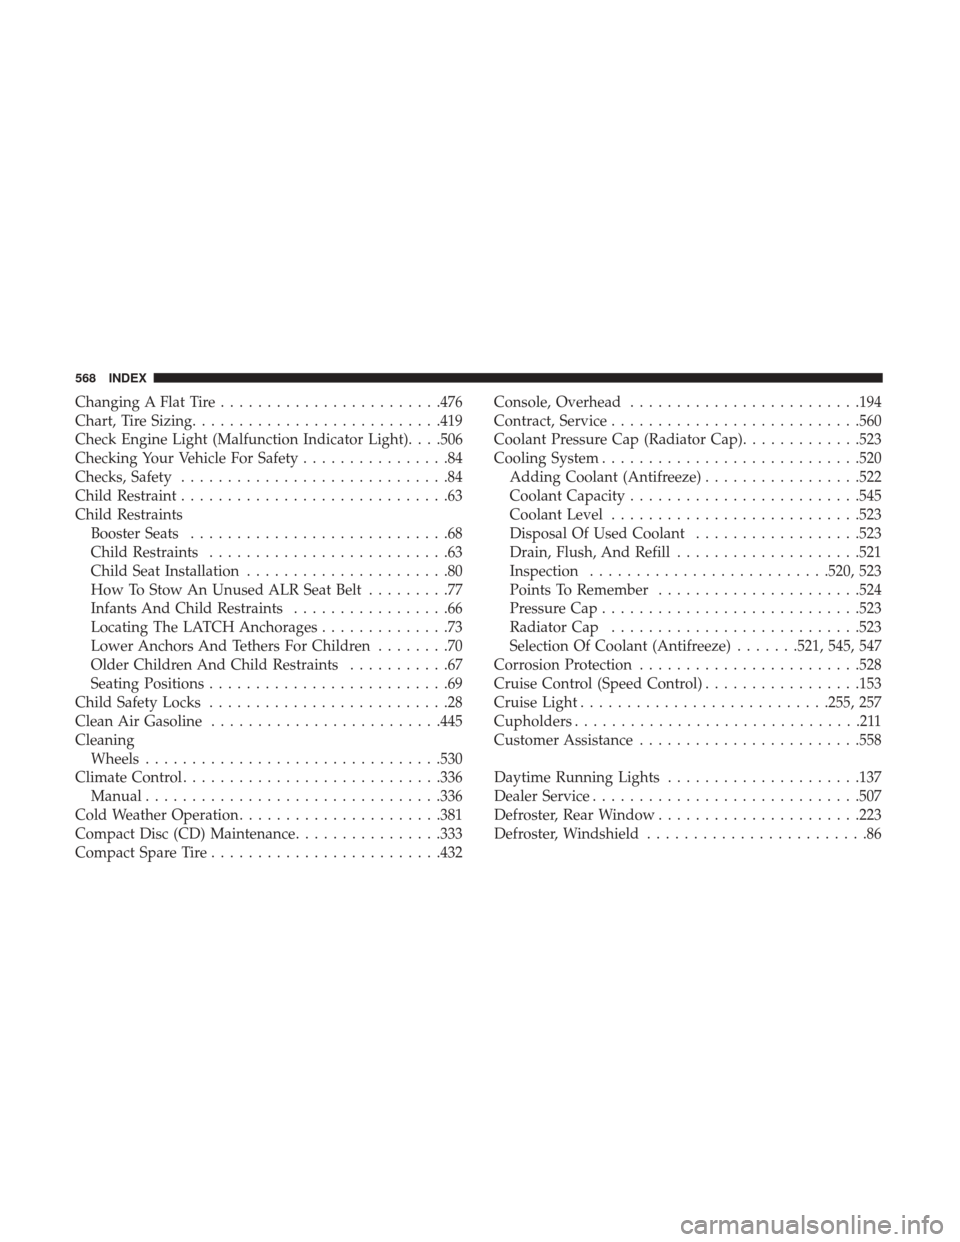
Check Engine Light (Malfunction Indicator Light). . . .506
Checking Your Vehicle For Safety ................84
Checks, Safety .............................84
Child Restraint .............................63
Child Restraints Booster Seats ............................68
Child Restraints ..........................63
Child Seat Installation ......................80
How To Stow An Unused ALR Seat Belt .........77
Infants And Child Restraints .................66
Locating The LATCH Anchorages ..............73
Lower Anchors And Tethers For Children ........70
Older Children And Child Restraints ...........67
Seating Positions ..........................69
Child Safety Locks ..........................28
Clean Air Gasoline ........................ .445
Cleaning Wheels ............................... .530
Climate Control ........................... .336
Manual ............................... .336
Cold Weather Operation ..................... .381
Compact Disc (CD) Maintenance ................333
Compact Spare Tire ........................ .432Console, Overhead
........................ .194
Contract, Service .......................... .560
Coolant Pressure Cap (Radiator Cap) .............523
Cooling System ........................... .520
Adding Coolant (Antifreeze) .................522
Coolant Capacity ........................ .545
Coolant Level .......................... .523
Disposal Of Used Coolant ..................523
Drain, Flush, And Refill ....................521
Inspection ......................... .520, 523
Points To Remember ..................... .524
Pressure Cap ........................... .523
Radiator Cap .......................... .523
Selection Of Coolant (Antifreeze) .......521, 545, 547
Corrosion Protection ....................... .528
Cr
uise Control (Speed Control) .................153
Cruise Light .......................... .255, 257
Cupholders ...............................211
Customer Assistance ....................... .558
Daytime Running Lights .....................137
Dealer Service ............................ .507
Defroster, Rear Window ..................... .223
Defroster, Windshield ........................86
568 INDEX