headlights DODGE DURANGO 2021 Owners Manual
[x] Cancel search | Manufacturer: DODGE, Model Year: 2021, Model line: DURANGO, Model: DODGE DURANGO 2021Pages: 340, PDF Size: 20.38 MB
Page 5 of 340
3
EXTERIOR LIGHTS.................................................. 48 Multifunction Lever ..........................................48
Headlight Switch ..............................................48
Daytime Running Lights (DRLs) ......................49
High/Low Beam Switch....................................49
Automatic High Beam — If Equipped ..............50
Flash-To-Pass ..................................................50
Automatic Headlights ......................................50
Parking Lights And Panel Lights ......................50
Automatic Headlights With Wipers..................50
Headlight Delay ................................................51
Lights-On Reminder..........................................51
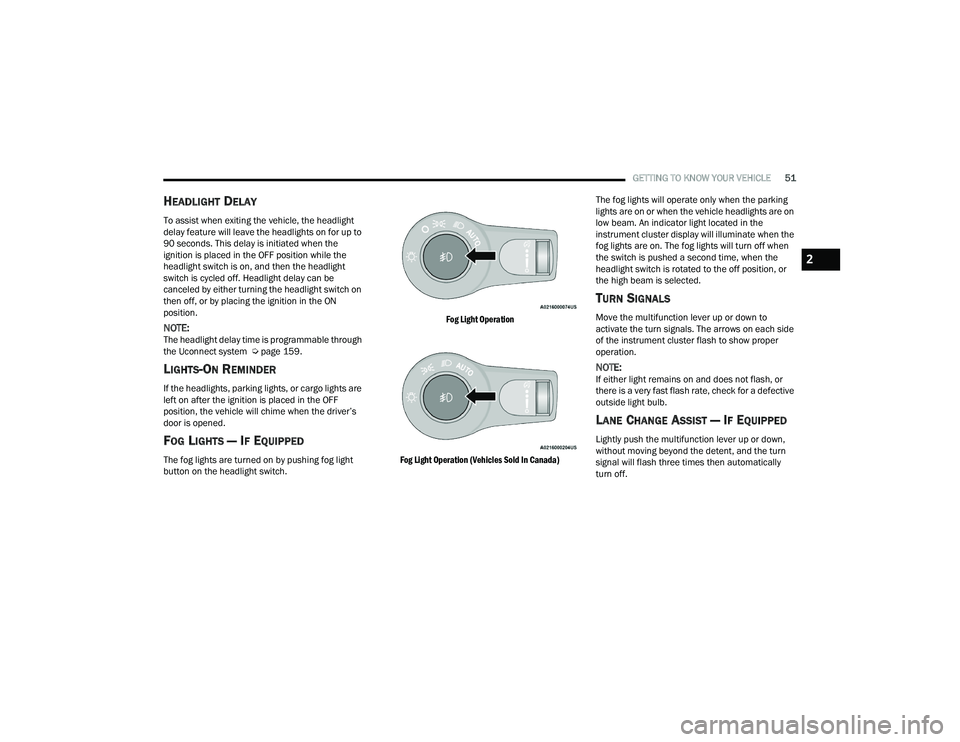
Fog Lights — If Equipped ..................................51
Turn Signals ......................................................51
Lane Change Assist — If Equipped ..................51
Automatic Headlight Leveling —
If Equipped........................................................52
Battery Saver ....................................................52
INTERIOR LIGHTS ................................................. 52
Courtesy Lights .................................................52
WINDSHIELD WIPERS AND WASHERS .............. 53
Windshield Wiper Operation ...........................53
Rain Sensing Wipers — If Equipped ...............54
Rear Window Wiper/Washer ..........................55
CLIMATE CONTROLS ............................................. 55
Automatic Climate Control Descriptions And
Functions ..........................................................55
Automatic Temperature Control (ATC) ..........62
Climate Voice Recognition ...............................62
Operating Tips .................................................62 INTERIOR STORAGE AND EQUIPMENT ............... 64
Storage..............................................................64
USB/AUX Control .............................................67
Electrical Power Outlets .................................68
Power Inverter — If Equipped ..........................70
Wireless Charging Pad —
If Equipped .......................................................71
WINDOWS ..............................................................71
Power Windows ................................................71
Wind Buffeting .................................................73
POWER SUNROOF — IF EQUIPPED ...................... 73
Opening And Closing The Sunroof...................73
Sunshade Operation ........................................73
Pinch Protect Feature ......................................74
Venting Sunroof................................................74
Sunroof Maintenance ......................................74
Ignition Off Operation.......................................74
HOOD .......................................................................74
Opening The Hood............................................74
Closing The Hood .............................................75
LIFTGATE ................................................................. 75
Power Liftgate — If Equipped ...........................75
Cargo Area Features .......................................76
ROOF LUGGAGE RACK — IF EQUIPPED ............... 77
Deploying The Crossbars .................................78
Stowing The Crossbars ....................................80
GETTING TO KNOW YOUR
INSTRUMENT PANEL
INSTRUMENT CLUSTER ........................................ 82Instrument Cluster Descriptions ..................... 83
INSTRUMENT CLUSTER DISPLAY ........................ 83
Location And Controls...................................... 83
Engine Oil Life Reset ....................................... 85
Display And Messages ..................................... 86
Instrument Cluster Display Menu Items ........ 87
Battery Saver On/Battery Saver Mode
Message — Electrical Load Reduction
Actions — If Equipped ...................................... 89
WARNING LIGHTS AND MESSAGES ................... 91
Red Warning Lights ..........................................91
Yellow Warning Lights ...................................... 94
Yellow Indicator Lights ..................................... 97
Green Indicator Lights ..................................... 97
White Indicator Lights ...................................... 98
Blue Indicator Lights ........................................ 98
ONBOARD DIAGNOSTIC SYSTEM — OBD II ........ 99
Onboard Diagnostic System
(OBD II) Cybersecurity ...................................... 99
EMISSIONS INSPECTION AND MAINTENANCE
PROGRAMS .......................................................... 100
21_WD_OM_EN_USC_t.book Page 3
Page 14 of 340
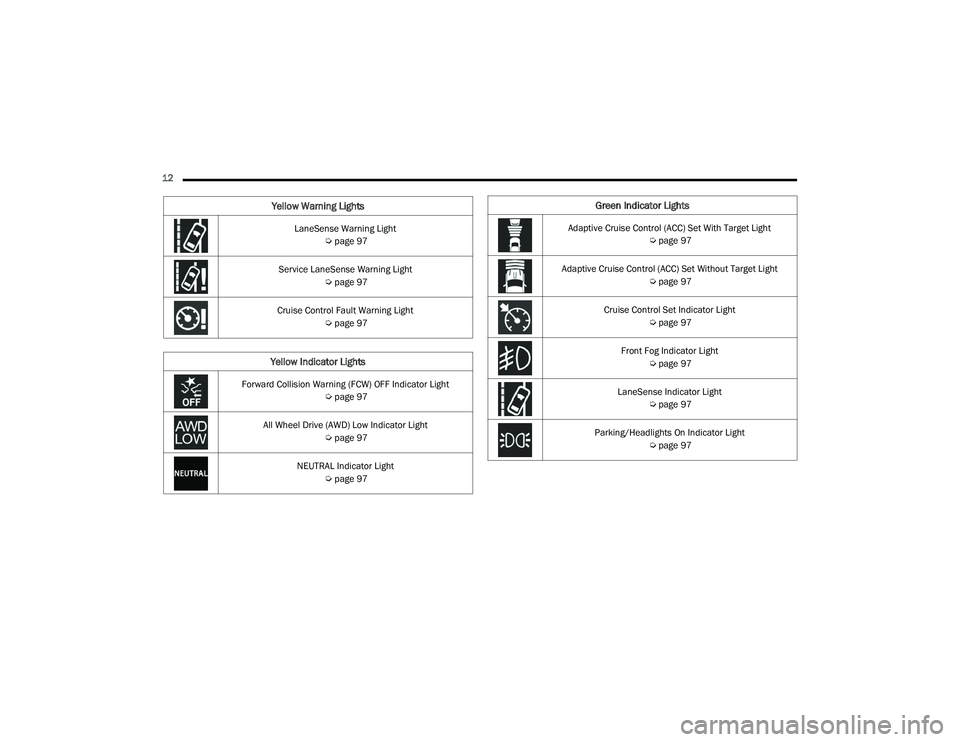
12 LaneSense Warning Light Úpage 97
Service LaneSense Warning Light Úpage 97
Cruise Control Fault Warning Light Úpage 97
Yellow Indicator Lights
Forward Collision Warning (FCW) OFF Indicator Light
Úpage 97
All Wheel Drive (AWD) Low Indicator Light Úpage 97
NEUTRAL Indicator Light Úpage 97
Yellow Warning LightsGreen Indicator Lights
Adaptive Cruise Control (ACC) Set With Target Light
Úpage 97
Adaptive Cruise Control (ACC) Set Without Target Light Úpage 97
Cruise Control Set Indicator Light Úpage 97
Front Fog Indicator Light Úpage 97
LaneSense Indicator Light Úpage 97
Parking/Headlights On Indicator Light Úpage 97
21_WD_OM_EN_USC_t.book Page 12
Page 50 of 340
48GETTING TO KNOW YOUR VEHICLE
2. Place the hand-held transmitter 1 to 3 inches (3 to 8 cm) away from the HomeLink® button
you wish to program while keeping the
HomeLink® indicator light in view.
3. Continue to push and hold the HomeLink® button while you push and release (cycle) your
hand-held transmitter every two seconds until
HomeLink® has successfully accepted the
frequency signal. The indicator light will flash
slowly and then rapidly when fully trained.
4. Watch for the HomeLink® indicator to change flash rates. When it changes, it is
programmed. It may take up to 30 seconds or
longer in rare cases. The garage door may
open and close while you are programming.
5. Push and hold the programmed HomeLink® button and observe the indicator light.
NOTE:
If the indicator light stays on constantly,
programming is complete and the garage
door/device should activate when the
HomeLink® button is pushed.
To program the two remaining HomeLink®
buttons, repeat each step for each
remaining button. DO NOT erase the chan -
nels.
If you unplugged the garage door opener/device
for programming, plug it back in at this time.
EXTERIOR LIGHTS
MULTIFUNCTION LEVER
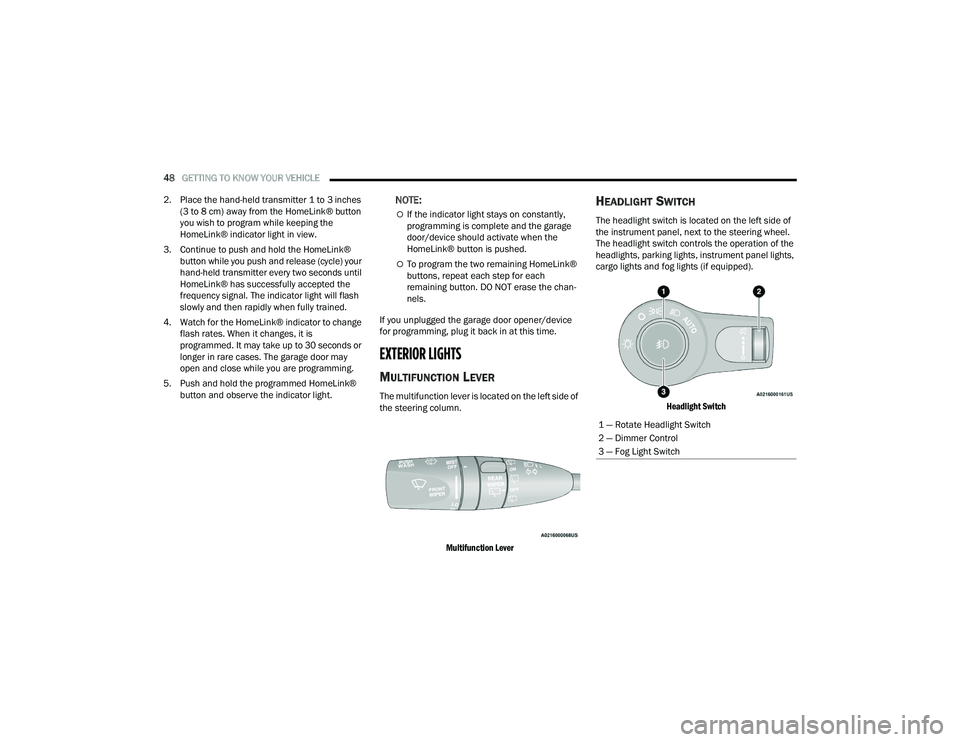
The multifunction lever is located on the left side of
the steering column.
Multifunction Lever
HEADLIGHT SWITCH
The headlight switch is located on the left side of
the instrument panel, next to the steering wheel.
The headlight switch controls the operation of the
headlights, parking lights, instrument panel lights,
cargo lights and fog lights (if equipped).
Headlight Switch
1 — Rotate Headlight Switch
2 — Dimmer Control
3 — Fog Light Switch
21_WD_OM_EN_USC_t.book Page 48
Page 51 of 340

GETTING TO KNOW YOUR VEHICLE49
Headlight Switch (Vehicles Sold In Canada)
NOTE:Vehicles sold in Canada are equipped with a head -
light switch without the OFF position. In order to
turn the exterior lights off, the headlight switch
must be rotated to AUTO position.
To turn on the headlights, rotate the headlight
switch clockwise. When the headlight switch is on,
the parking lights, taillights, license plate light and
instrument panel lights are also turned on. To turn
off the headlights, rotate the headlight switch back
to the O (off) position.
NOTE:For vehicles sold in Canada, rotate the headlight
switch clockwise from the parking lights and
instrument panel lights position to the first detent
to turn on headlights, parking lights, and
instrument panel lights. Rotate the headlight
switch to the second detent for the AUTO position.
NOTE:
Your vehicle is equipped with plastic headlight
and fog light (if equipped) lenses that are lighter
and less susceptible to stone breakage than
glass lights. Plastic is not as scratch resistant as
glass and therefore different lens cleaning
procedures must be followed.
To minimize the possibility of scratching the
lenses and reducing light output, avoid wiping
with a dry cloth. To remove road dirt, wash with
a mild soap solution followed by rinsing.
DAYTIME RUNNING LIGHTS (DRLS)
The Daytime Running Lights (DRLs) come on
whenever the engine is running. The lights will
remain on until the ignition is placed in the OFF
position, or the parking brake is engaged. The
headlight switch must be used during normal
nighttime driving.
NOTE:
For vehicles sold in Canada, the Daytime
Running Lights will automatically deactivate
when the front fog lights are turned on.
If allowed by law in the country in which the
vehicle was purchased, the Daytime Running
Lights can be turned on and off using the Ucon -
nect system Ú page 159.
On some vehicles, the Daytime Running Lights
may deactivate or reduce intensity on one side
of the vehicle (when a turn signal is activated on
that side), or on both sides of the vehicle (when
the hazard warning lights are activated).
HIGH/LOW BEAM SWITCH
Push the multifunction lever toward the instrument
panel to switch the headlights to high beams.
Pulling the multifunction back will turn the low
beams on.
1 — Rotate Headlight Switch
2 — Dimmer Control
3 — Fog Light Switch
CAUTION!
Do not use abrasive cleaning components,
solvents, steel wool or other abrasive materials
to clean the lenses.
2
21_WD_OM_EN_USC_t.book Page 49
Page 52 of 340
50GETTING TO KNOW YOUR VEHICLE
AUTOMATIC HIGH BEAM — IF EQUIPPED
The Automatic High Beam Headlamp Control
system provides increased forward lighting at night
by automatically controlling the high beams
through the use of a camera mounted on the
inside rearview mirror. This camera detects vehicle
specific light and automatically switches from high
beams to low beams until the approaching vehicle
is out of view.
NOTE:
The Automatic High Beam Headlamp Control
can be turned on or off by selecting or dese -
lecting “Auto Dim High Beams” within your
Uconnect Settings Ú page 159, as well as
turning the headlight switch to the AUTO posi -
tion.
Broken, muddy, or obstructed headlights and
taillights of vehicles in the field of view will
cause headlights to remain on longer (closer to
the vehicle). Also, dirt, film, and other obstruc -
tions on the windshield or camera lens will
cause the system to function improperly.
If the windshield or Automatic High Beam Head -
lamp Control mirror is replaced, the mirror must
be re-aimed to ensure proper performance. See
a local authorized dealer.
FLASH-TO-PASS
You can signal another vehicle with your headlights
by lightly pulling the multifunction lever toward you.
This will cause the high beam headlights to turn on,
and remain on, until the lever is released.
AUTOMATIC HEADLIGHTS
This system automatically turns the headlights on
or off according to ambient light levels. To turn the
system on, rotate the headlight switch
counterclockwise to the AUTO position. When the
system is on, the headlight time delay feature is
also on. This means the headlights will stay on for
up to 90 seconds after you place the ignition into
the OFF position. The headlight time delay can be
programmed 0/30/60/90 seconds within
Uconnect Settings Ú page 159.
To turn the automatic system off, move the
headlight switch out of the AUTO position.
NOTE:The engine must be running before the headlights
will come on in the automatic mode.
PARKING LIGHTS AND PANEL LIGHTS
To turn on the parking lights and instrument panel
lights, rotate the headlight switch clockwise. To
turn off the parking lights, rotate the headlight
switch back to the O (off) position.
AUTOMATIC HEADLIGHTS WITH WIPERS
If your vehicle is equipped with Automatic
Headlights, it also has this customer-
programmable feature. When your headlights are
in the automatic mode and the engine is running,
they will automatically turn on when the wiper
system is on. This feature is programmable
through the Uconnect system Ú page 159.
NOTE:When your headlights come on during the daytime,
the vehicle will monitor outside brightness and
decide if the instrument panel needs to be dimmed
or not.
21_WD_OM_EN_USC_t.book Page 50
Page 53 of 340
GETTING TO KNOW YOUR VEHICLE51
HEADLIGHT DELAY
To assist when exiting the vehicle, the headlight
delay feature will leave the headlights on for up to
90 seconds. This delay is initiated when the
ignition is placed in the OFF position while the
headlight switch is on, and then the headlight
switch is cycled off. Headlight delay can be
canceled by either turning the headlight switch on
then off, or by placing the ignition in the ON
position.
NOTE:The headlight delay time is programmable through
the Uconnect system Úpage 159.
LIGHTS-ON REMINDER
If the headlights, parking lights, or cargo lights are
left on after the ignition is placed in the OFF
position, the vehicle will chime when the driver’s
door is opened.
FOG LIGHTS — IF EQUIPPED
The fog lights are turned on by pushing fog light
button on the headlight switch.
Fog Light Operation
Fog Light Operation (Vehicles Sold In Canada)
The fog lights will operate only when the parking
lights are on or when the vehicle headlights are on
low beam. An indicator light located in the
instrument cluster display will illuminate when the
fog lights are on. The fog lights will turn off when
the switch is pushed a second time, when the
headlight switch is rotated to the off position, or
the high beam is selected.
TURN SIGNALS
Move the multifunction lever up or down to
activate the turn signals. The arrows on each side
of the instrument cluster flash to show proper
operation.
NOTE:If either light remains on and does not flash, or
there is a very fast flash rate, check for a defective
outside light bulb.
LANE CHANGE ASSIST — IF EQUIPPED
Lightly push the multifunction lever up or down,
without moving beyond the detent, and the turn
signal will flash three times then automatically
turn off.
2
21_WD_OM_EN_USC_t.book Page 51
Page 54 of 340
52GETTING TO KNOW YOUR VEHICLE
AUTOMATIC HEADLIGHT LEVELING —
I
F EQUIPPED
This feature prevents the headlights from
interfering with the vision of oncoming drivers.
Headlight leveling automatically adjusts the height
of the headlight beam in reaction to changes in
vehicle pitch.
BATTERY SAVER
Timers are set to both the interior and exterior
lights to protect the life of your vehicle’s battery.
After 10 minutes, if the ignition is OFF and any door
is left open or the dimmer control is rotated all the
way up to the dome light on position, the interior
lights will automatically turn off.
NOTE:Battery saver mode is canceled if the ignition is ON.
If the headlights remain on while the ignition is
placed in the OFF position, the exterior lights will
automatically turn off after eight minutes. If the
headlights are turned on and left on for eight
minutes while the ignition is OFF, the exterior lights
will automatically turn off.
INTERIOR LIGHTS
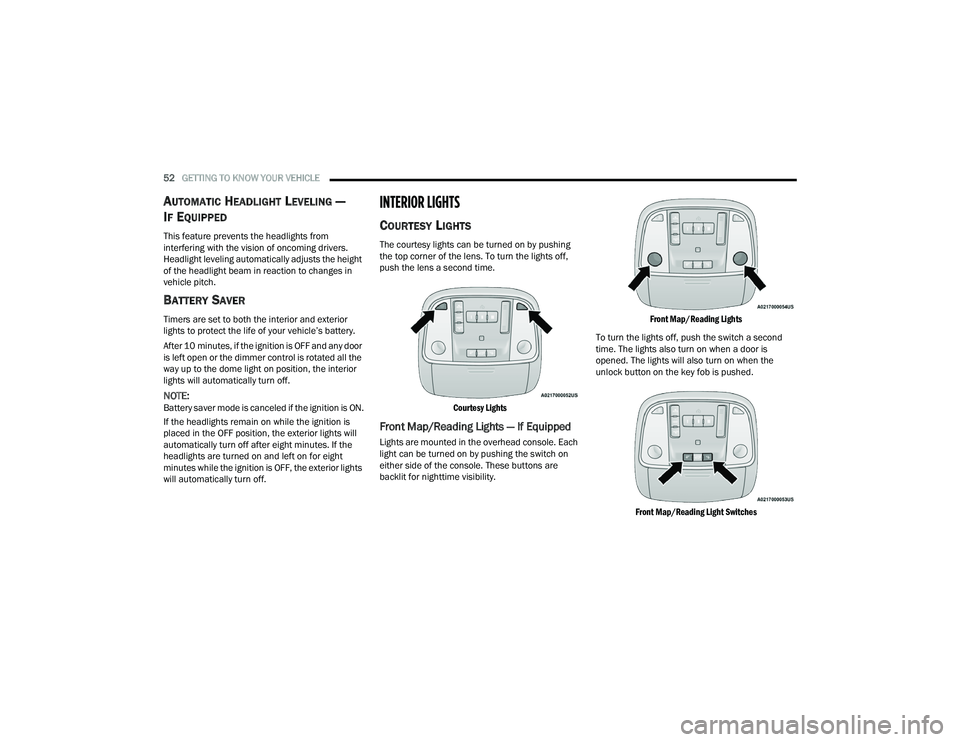
COURTESY LIGHTS
The courtesy lights can be turned on by pushing
the top corner of the lens. To turn the lights off,
push the lens a second time.
Courtesy Lights
Front Map/Reading Lights — If Equipped
Lights are mounted in the overhead console. Each
light can be turned on by pushing the switch on
either side of the console. These buttons are
backlit for nighttime visibility.
Front Map/Reading Lights
To turn the lights off, push the switch a second
time. The lights also turn on when a door is
opened. The lights will also turn on when the
unlock button on the key fob is pushed.
Front Map/Reading Light Switches
21_WD_OM_EN_USC_t.book Page 52
Page 55 of 340
GETTING TO KNOW YOUR VEHICLE53
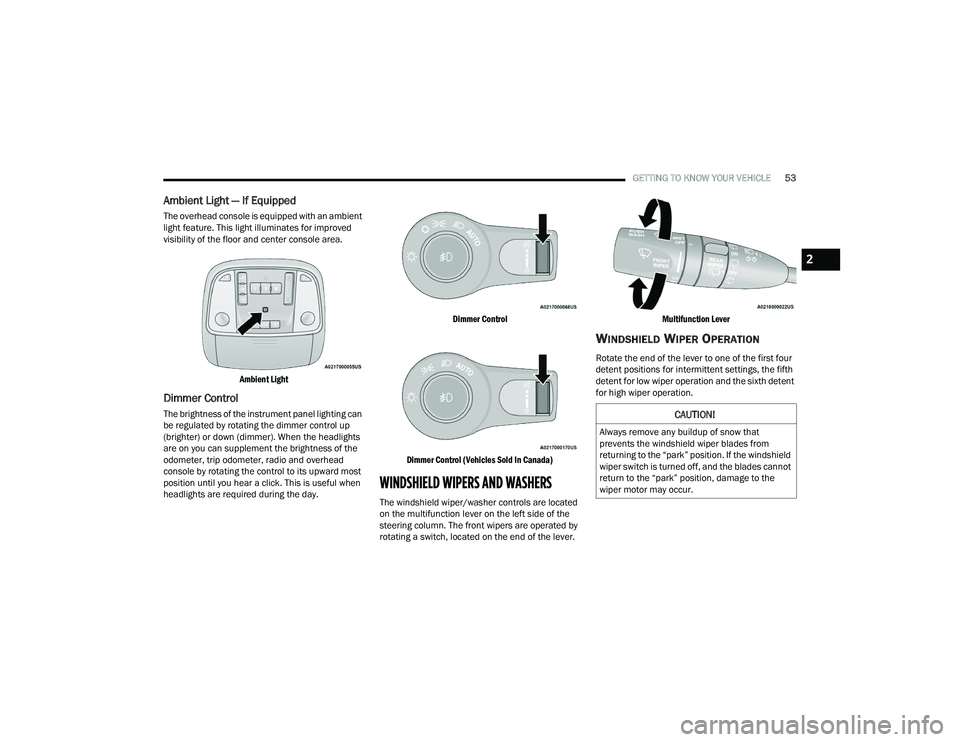
Ambient Light — If Equipped
The overhead console is equipped with an ambient
light feature. This light illuminates for improved
visibility of the floor and center console area.
Ambient Light
Dimmer Control
The brightness of the instrument panel lighting can
be regulated by rotating the dimmer control up
(brighter) or down (dimmer). When the headlights
are on you can supplement the brightness of the
odometer, trip odometer, radio and overhead
console by rotating the control to its upward most
position until you hear a click. This is useful when
headlights are required during the day.
Dimmer Control
Dimmer Control (Vehicles Sold In Canada)
WINDSHIELD WIPERS AND WASHERS
The windshield wiper/washer controls are located
on the multifunction lever on the left side of the
steering column. The front wipers are operated by
rotating a switch, located on the end of the lever.
Multifunction Lever
WINDSHIELD WIPER OPERATION
Rotate the end of the lever to one of the first four
detent positions for intermittent settings, the fifth
detent for low wiper operation and the sixth detent
for high wiper operation.
CAUTION!
Always remove any buildup of snow that
prevents the windshield wiper blades from
returning to the “park” position. If the windshield
wiper switch is turned off, and the blades cannot
return to the “park” position, damage to the
wiper motor may occur.
2
21_WD_OM_EN_USC_t.book Page 53
Page 99 of 340
GETTING TO KNOW YOUR INSTRUMENT PANEL97
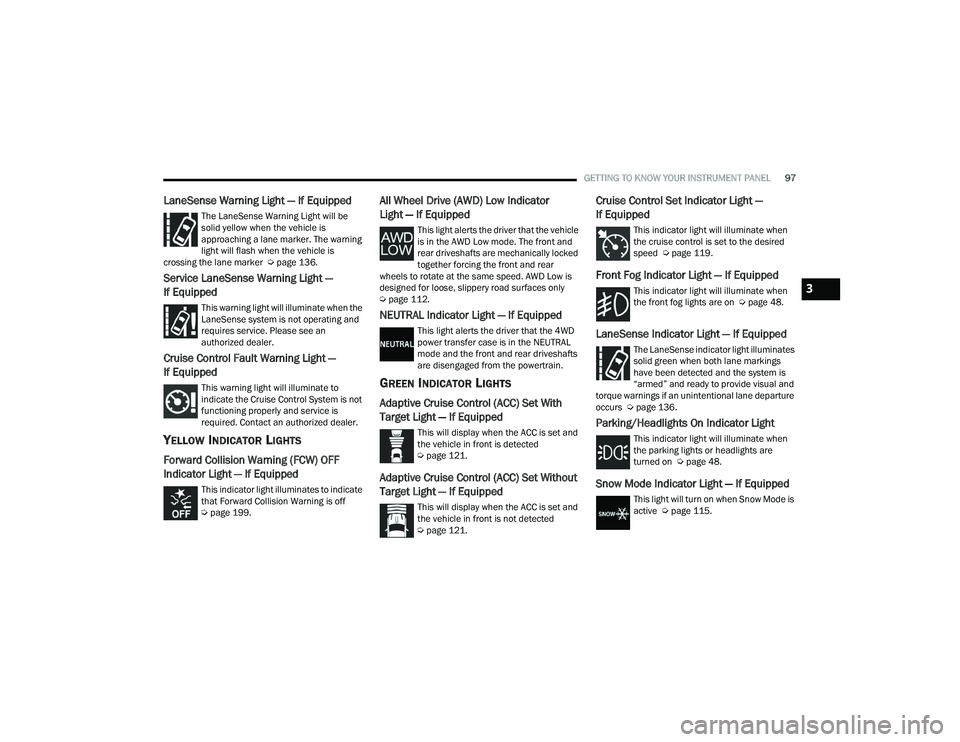
LaneSense Warning Light — If Equipped
The LaneSense Warning Light will be
solid yellow when the vehicle is
approaching a lane marker. The warning
light will flash when the vehicle is
crossing the lane marker Ú page 136.
Service LaneSense Warning Light —
If Equipped
This warning light will illuminate when the
LaneSense system is not operating and
requires service. Please see an
authorized dealer.
Cruise Control Fault Warning Light —
If Equipped
This warning light will illuminate to
indicate the Cruise Control System is not
functioning properly and service is
required. Contact an authorized dealer.
YELLOW INDICATOR LIGHTS
Forward Collision Warning (FCW) OFF
Indicator Light — If Equipped
This indicator light illuminates to indicate
that Forward Collision Warning is off
Úpage 199.
All Wheel Drive (AWD) Low Indicator
Light — If Equipped
This light alerts the driver that the vehicle
is in the AWD Low mode. The front and
rear driveshafts are mechanically locked
together forcing the front and rear
wheels to rotate at the same speed. AWD Low is
designed for loose, slippery road surfaces only
Ú page 112.
NEUTRAL Indicator Light — If Equipped
This light alerts the driver that the 4WD
power transfer case is in the NEUTRAL
mode and the front and rear driveshafts
are disengaged from the powertrain.
GREEN INDICATOR LIGHTS
Adaptive Cruise Control (ACC) Set With
Target Light — If Equipped
This will display when the ACC is set and
the vehicle in front is detected
Úpage 121.
Adaptive Cruise Control (ACC) Set Without
Target Light — If Equipped
This will display when the ACC is set and
the vehicle in front is not detected
Úpage 121.
Cruise Control Set Indicator Light —
If Equipped
This indicator light will illuminate when
the cruise control is set to the desired
speed Ú page 119.
Front Fog Indicator Light — If Equipped
This indicator light will illuminate when
the front fog lights are on Ú page 48.
LaneSense Indicator Light — If Equipped
The LaneSense indicator light illuminates
solid green when both lane markings
have been detected and the system is
“armed” and ready to provide visual and
torque warnings if an unintentional lane departure
occurs Ú page 136.
Parking/Headlights On Indicator Light
This indicator light will illuminate when
the parking lights or headlights are
turned on Ú page 48.
Snow Mode Indicator Light — If Equipped
This light will turn on when Snow Mode is
active Úpage 115.
3
21_WD_OM_EN_USC_t.book Page 97
Page 100 of 340
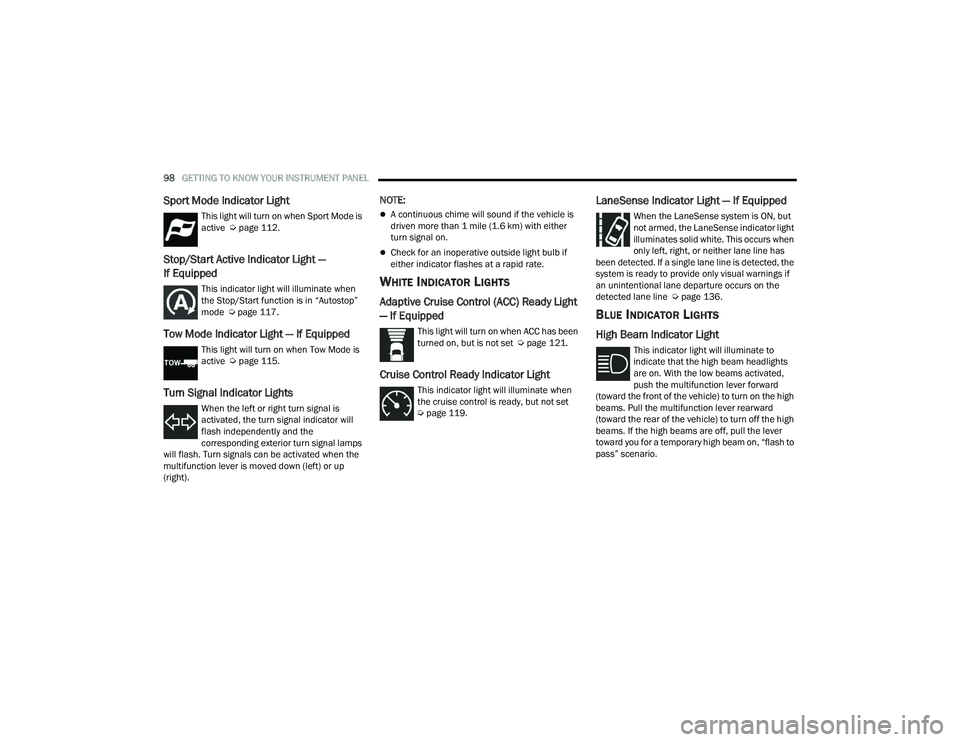
98GETTING TO KNOW YOUR INSTRUMENT PANEL
Sport Mode Indicator Light
This light will turn on when Sport Mode is
active Úpage 112.
Stop/Start Active Indicator Light —
If Equipped
This indicator light will illuminate when
the Stop/Start function is in “Autostop”
mode Úpage 117.
Tow Mode Indicator Light — If Equipped
This light will turn on when Tow Mode is
active Ú page 115.
Turn Signal Indicator Lights
When the left or right turn signal is
activated, the turn signal indicator will
flash independently and the
corresponding exterior turn signal lamps
will flash. Turn signals can be activated when the
multifunction lever is moved down (left) or up
(right).
NOTE:
A continuous chime will sound if the vehicle is
driven more than 1 mile (1.6 km) with either
turn signal on.
Check for an inoperative outside light bulb if
either indicator flashes at a rapid rate.
WHITE INDICATOR LIGHTS
Adaptive Cruise Control (ACC) Ready Light
— If Equipped
This light will turn on when ACC has been
turned on, but is not set Ú page 121.
Cruise Control Ready Indicator Light
This indicator light will illuminate when
the cruise control is ready, but not set
Úpage 119.
LaneSense Indicator Light — If Equipped
When the LaneSense system is ON, but
not armed, the LaneSense indicator light
illuminates solid white. This occurs when
only left, right, or neither lane line has
been detected. If a single lane line is detected, the
system is ready to provide only visual warnings if
an unintentional lane departure occurs on the
detected lane line Ú page 136.
BLUE INDICATOR LIGHTS
High Beam Indicator Light
This indicator light will illuminate to
indicate that the high beam headlights
are on. With the low beams activated,
push the multifunction lever forward
(toward the front of the vehicle) to turn on the high
beams. Pull the multifunction lever rearward
(toward the rear of the vehicle) to turn off the high
beams. If the high beams are off, pull the lever
toward you for a temporary high beam on, “flash to
pass” scenario.
21_WD_OM_EN_USC_t.book Page 98