rear view mirror DODGE GRAND CARAVAN 2008 5.G Owners Manual
[x] Cancel search | Manufacturer: DODGE, Model Year: 2008, Model line: GRAND CARAVAN, Model: DODGE GRAND CARAVAN 2008 5.GPages: 531, PDF Size: 7.72 MB
Page 99 of 531
UNDERSTANDING THE FEATURES OF YOUR VEHICLE
CONTENTS
mMirrors..............................100
NManual Rear View Day/Night Mirror Ð
If Equipped.........................100
NExterior Mirrors......................102
mHands-Free Communication (UConnectt)Ð
If Equipped...........................104
NOperation...........................106
NPhone Call Features...................113
NUConnecttSystem Features..............116
NAdvanced Phone Connectivity............120NThings You Should Know About Your
UConnecttSystem....................122
NGeneral Information...................131
mSeats................................131
NManual Front And Second Row Seat
Adjuster............................132
NStow 'n Go Seating Ð If Equipped.........138
NSwivel 'n Go Premium Seating Ð
If Equipped.........................148
mDriver Memory Seat Ð If Equipped.........155
3
Page 102 of 531
MIRRORS
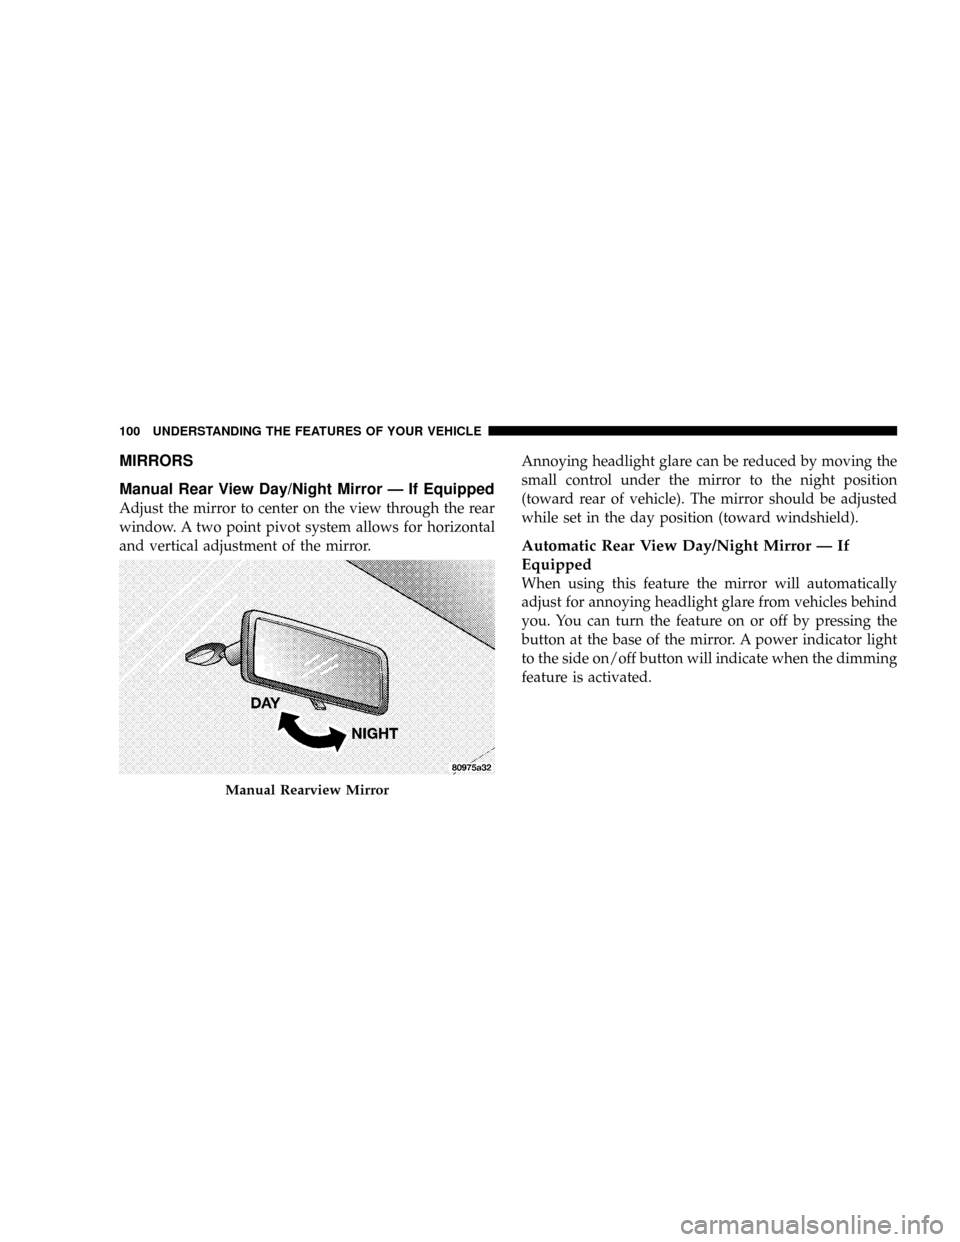
Manual Rear View Day/Night Mirror Ð If Equipped
Adjust the mirror to center on the view through the rear
window. A two point pivot system allows for horizontal
and vertical adjustment of the mirror.Annoying headlight glare can be reduced by moving the
small control under the mirror to the night position
(toward rear of vehicle). The mirror should be adjusted
while set in the day position (toward windshield).
Automatic Rear View Day/Night Mirror Ð If
Equipped
When using this feature the mirror will automatically
adjust for annoying headlight glare from vehicles behind
you. You can turn the feature on or off by pressing the
button at the base of the mirror. A power indicator light
to the side on/off button will indicate when the dimming
feature is activated.
Manual Rearview Mirror
100 UNDERSTANDING THE FEATURES OF YOUR VEHICLE
Page 104 of 531
EXTERIOR MIRRORS
Side View Mirrors
To receive maximum benefit, adjust the outside mirror(s)
to center on the adjacent lane of traffic with a slight
overlap of the view obtained on the inside mirror.
WARNING!
Vehicles and other objects seen in a outside convex
mirrors will look smaller and farther away than they
really are. Relying too much on side convex mirrors
could cause you to collide with another vehicle or
other object. Use your inside mirror when judging
the size or distance of a vehicle seen in a side convex
mirror.
Side View Manual Folding Mirrors
All exterior mirrors are hinged and may be moved either
forward or rearward to resist damage. The hinges have
three detent positions; full forward, full rearward, and
normal.
Driver's Auto-Dimming Side View Mirror Ð If
Equipped
This mirror automatically adjusts for annoying headlight
glare from vehicles behind you. You can turn this feature
on or off by pressing the button at the base of the
Rearview Mirror.
Power Remote Folding Side View Mirrors Ð If
Equipped
Press the power fold button to fold in the mirrors. Press
the button again to unfold the mirrors.
102 UNDERSTANDING THE FEATURES OF YOUR VEHICLE
Page 107 of 531
UConnecttallows you to transfer calls between the
system and your cellular phone as you enter or exit your
vehicle and enables you to mute the system's microphone
for private conversation.
The UConnecttphonebook enables you to store up to 32
names, with four numbers per name. Each language has
a separate 32-name phonebook accessible only in that
language. This system is driven through your Bluetootht
ªHands-Free profileº cellular phone. UConnecttfeatures
Bluetoothttechnology - the global standard that enables
different electronic devices to connect to each other
without wires or a docking station, so UConnecttworks
no matter where you stow your cellular phone (be it your
purse, pocket, or briefcase), as long as your phone is
turned on and has been paired to the vehicle's
UConnecttsystem. The UConnecttsystem allows up to
seven cellular phones to be linked to the system. Onlyone linked (or paired) cellular phone can be used with the
system at a time. The system is available in English,
Spanish, or French languages.
Phone Button
The rearview mirror contains the microphone
for the system (depending on the type of
mirror and radio equipped), and either the
radio or the mirror has the two control buttons
(PHONE Button and VOICE RECOGNITION button)
that will enable you to access the system.
Voice Recognition Button
Actual button location may vary with radio.
The individual buttons are described in the
ªOperationº section.
UNDERSTANDING THE FEATURES OF YOUR VEHICLE 105
3
Page 125 of 531
Repeat the words and phrases when prompted by the
UConnecttsystem. For best results, the Voice Training
session should be completed when the vehicle is parked
with the engine running, all windows closed, and the
blower fan switched OFF.
This procedure may be repeated with a new user. The
system will adapt to the last trained voice only.
To restore the Voice Recognition system to factory default
settings, enter the Voice Training session via the above
procedure and follow the prompts.
Voice Recognition (VR)
²
For best performance, adjust the rearview mirror to
provide at least1¤2in (1 cm) gap between the overhead
console (if equipped) and the mirror.
²Always wait for the beep before speaking.
²Speak normally, without pausing, just as you would
speak to a person sitting a few feet/meters away from
you.
²Make sure that no one other than you is speaking
during a voice recognition period.
²Performance is maximized under:
²low-to-medium blower setting,
²low-to-medium vehicle speed,
²low road noise,
²smooth road surface,
²fully closed windows,
²dry weather condition.
²Even though the system is designed for users speaking
in North American English, French, and Spanish ac-
cents, the system may not always work for some.
UNDERSTANDING THE FEATURES OF YOUR VEHICLE 123
3
Page 173 of 531
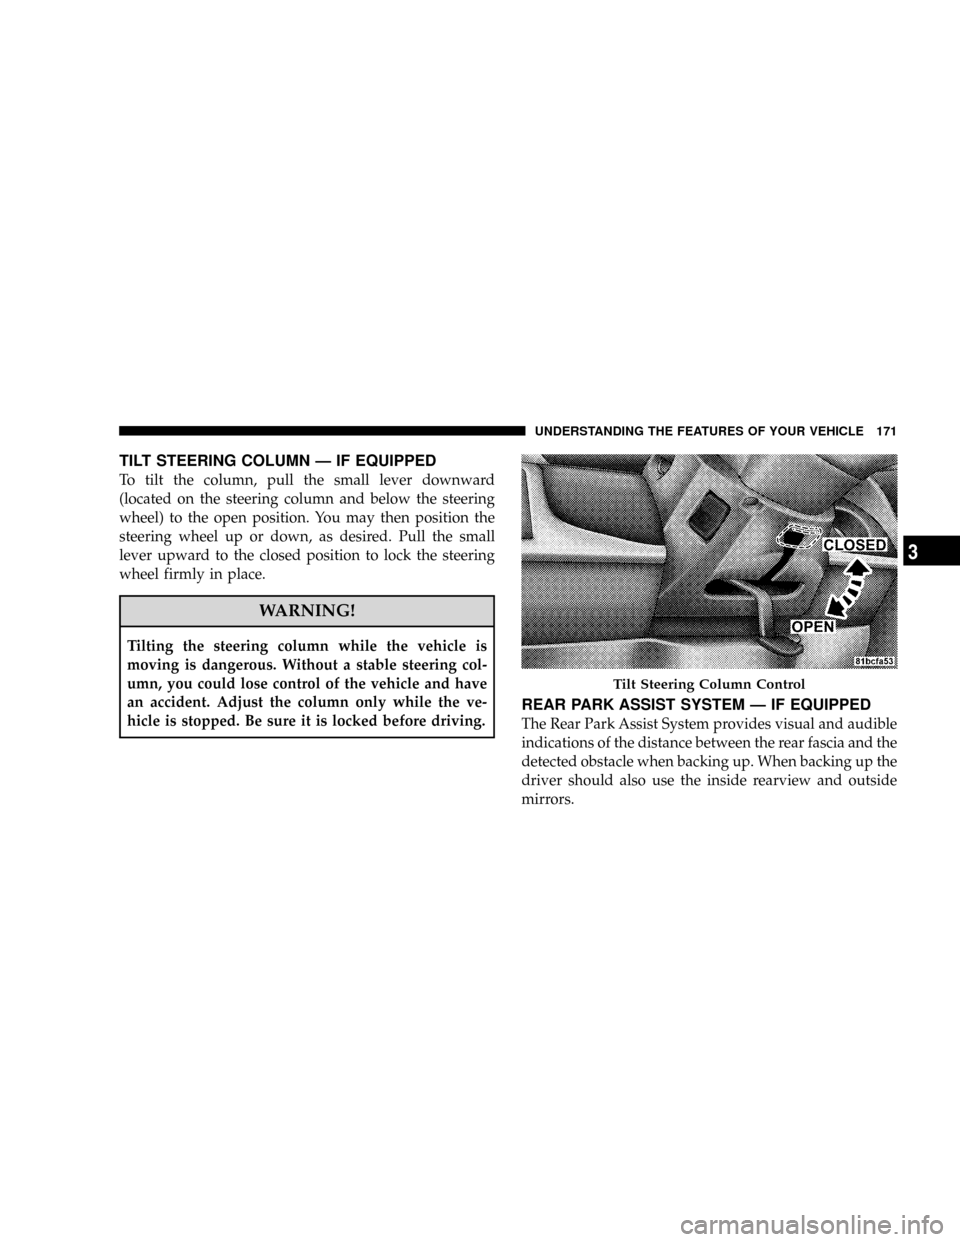
TILT STEERING COLUMN Ð IF EQUIPPED
To tilt the column, pull the small lever downward
(located on the steering column and below the steering
wheel) to the open position. You may then position the
steering wheel up or down, as desired. Pull the small
lever upward to the closed position to lock the steering
wheel firmly in place.
WARNING!
Tilting the steering column while the vehicle is
moving is dangerous. Without a stable steering col-
umn, you could lose control of the vehicle and have
an accident. Adjust the column only while the ve-
hicle is stopped. Be sure it is locked before driving.
REAR PARK ASSIST SYSTEM Ð IF EQUIPPED
The Rear Park Assist System provides visual and audible
indications of the distance between the rear fascia and the
detected obstacle when backing up. When backing up the
driver should also use the inside rearview and outside
mirrors.
Tilt Steering Column Control
UNDERSTANDING THE FEATURES OF YOUR VEHICLE 171
3
Page 175 of 531
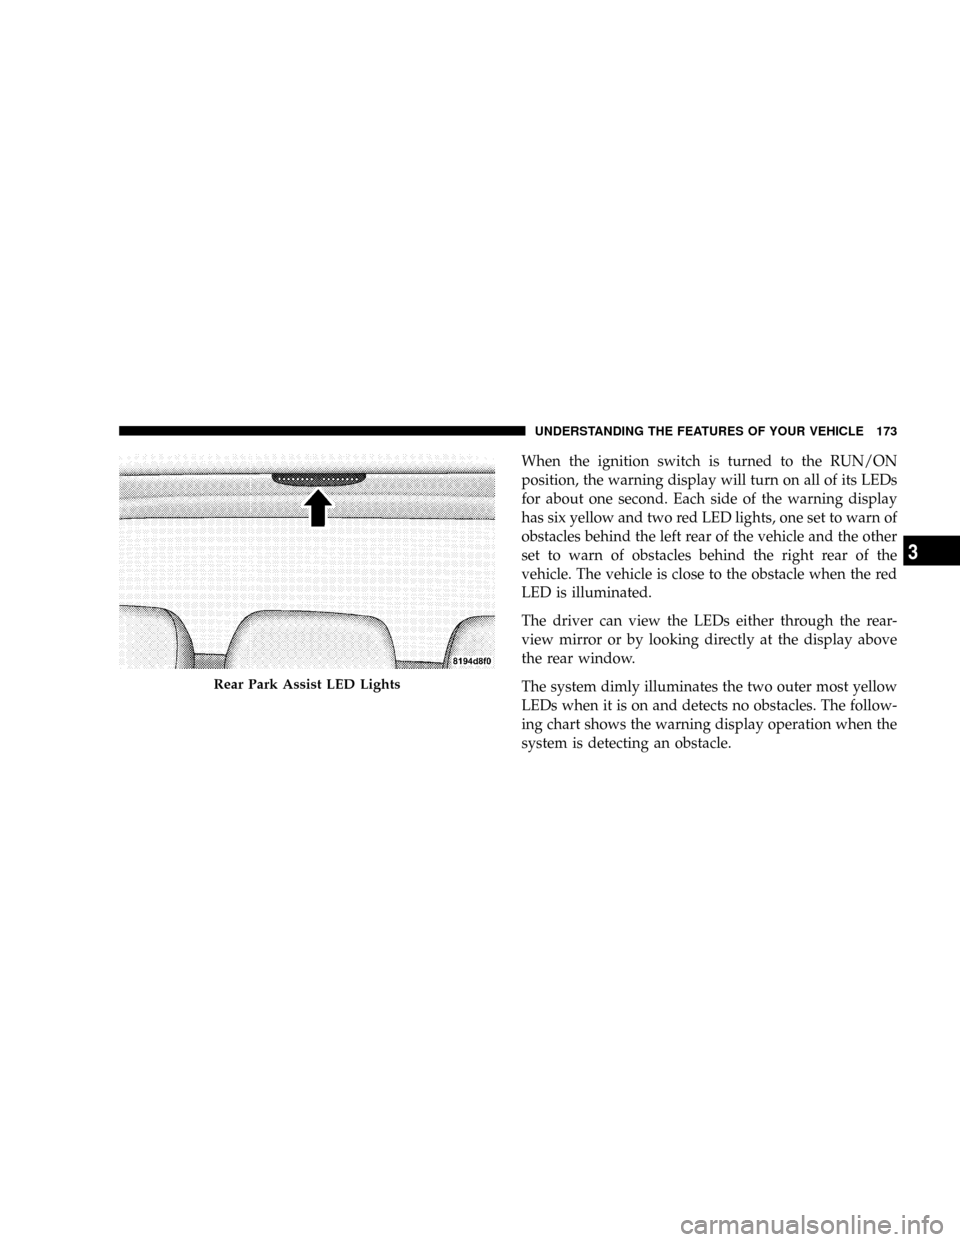
When the ignition switch is turned to the RUN/ON
position, the warning display will turn on all of its LEDs
for about one second. Each side of the warning display
has six yellow and two red LED lights, one set to warn of
obstacles behind the left rear of the vehicle and the other
set to warn of obstacles behind the right rear of the
vehicle. The vehicle is close to the obstacle when the red
LED is illuminated.
The driver can view the LEDs either through the rear-
view mirror or by looking directly at the display above
the rear window.
The system dimly illuminates the two outer most yellow
LEDs when it is on and detects no obstacles. The follow-
ing chart shows the warning display operation when the
system is detecting an obstacle.
Rear Park Assist LED Lights
UNDERSTANDING THE FEATURES OF YOUR VEHICLE 173
3
Page 474 of 531
2. To maintain the high gloss shine, apply a scratch and
swirl remover onto a damp cloth and apply to door
applique. Rub the applique with a firm pressure then buff
lightly with a clean cotton cloth until a high gloss shine is
achieved.
Cleaning Headlights
Your vehicle has plastic headlights that are lightweight
and less susceptible to stone breakage than glass head-
lights.
Plastic is not as scratch resistant as glass and therefore
different lens cleaning procedures must be followed.
To minimize the possibility of scratching the lenses and
reducing light output, avoid wiping with a dry cloth. To
remove road dirt, wash with a mild soap solution fol-
lowed by rinsing.
Do not use abrasive cleaning components, solvents, steel
wool or other aggressive material to clean the lenses.
Glass Surfaces
All glass surfaces should be cleaned on a regular basis
with MopartGlass Cleaner or any commercial
household-type glass cleaner. Never use an abrasive type
cleaner. Use caution when cleaning the inside rear win-
dow equipped with electric defrosters or the right rear
quarter window equipped with the radio antenna. Do
not use scrapers or other sharp instruments which may
scratch the elements.
When cleaning the rearview mirror, spray cleaner on the
towel or rag that you are using. Do not spray cleaner
directly on the mirror.
Cleaning Plastic Instrument Cluster Lenses
The lenses in front of the instruments in this vehicle are
molded in clear plastic. When cleaning the lenses, care
must be taken to avoid scratching the plastic.
472 MAINTAINING YOUR VEHICLE
Page 479 of 531
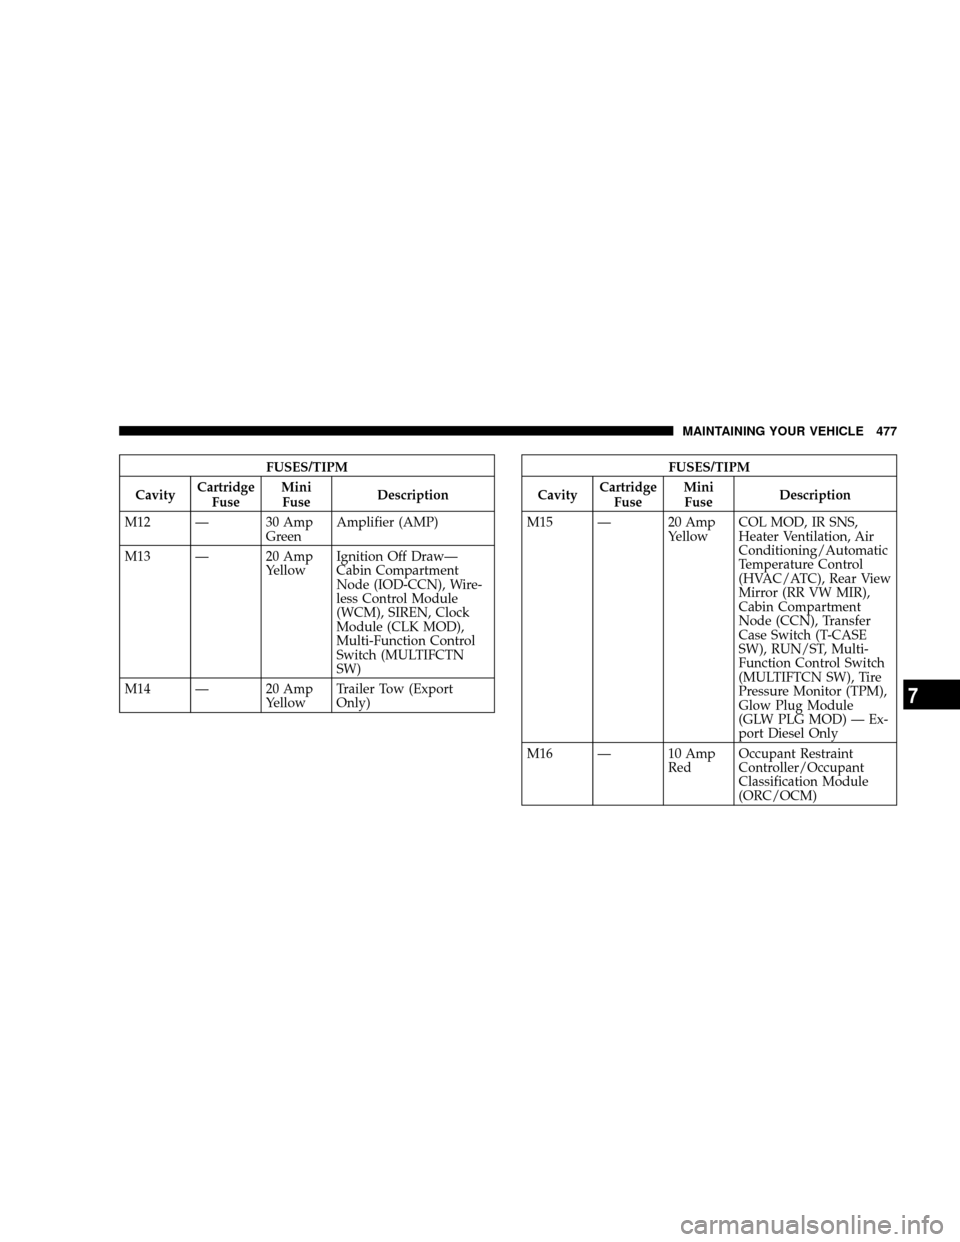
FUSES/TIPM
CavityCartridge
FuseMini
FuseDescription
M12 Ð 30 Amp
GreenAmplifier (AMP)
M13 Ð 20 Amp
YellowIgnition Off DrawÐ
Cabin Compartment
Node (IOD-CCN), Wire-
less Control Module
(WCM), SIREN, Clock
Module (CLK MOD),
Multi-Function Control
Switch (MULTIFCTN
SW)
M14 Ð 20 Amp
YellowTrailer Tow (Export
Only)FUSES/TIPM
CavityCartridge
FuseMini
FuseDescription
M15 Ð 20 Amp
YellowCOL MOD, IR SNS,
Heater Ventilation, Air
Conditioning/Automatic
Temperature Control
(HVAC/ATC), Rear View
Mirror (RR VW MIR),
Cabin Compartment
Node (CCN), Transfer
Case Switch (T-CASE
SW), RUN/ST, Multi-
Function Control Switch
(MULTIFTCN SW), Tire
Pressure Monitor (TPM),
Glow Plug Module
(GLW PLG MOD) Ð Ex-
port Diesel Only
M16 Ð 10 Amp
RedOccupant Restraint
Controller/Occupant
Classification Module
(ORC/OCM)
MAINTAINING YOUR VEHICLE 477
7
Page 518 of 531
Passing............................. 170
Replacing............................ 482
Time Delay.......................... 164
Heated Seats........................... 135
Heater............................... 301
Heater, Engine Block..................... 327
High Beam/Low Beam Select (Dimmer) Switch . . 170
Hitches
Trailer Towing........................ 397
HomeLinkt(Garage Door Opener) Transmitter . . . 185
Hood Release.......................... 158
Hook, Coat............................ 214
Hoses................................ 461
Ignition............................... 14
Key ...............................12,14
Ignition Key Removal..................... 14
Illuminated Entry........................ 20
Immobilizer (Sentry Key)................... 15Infant Restraint........................81,83
Information Center, Vehicle................. 241
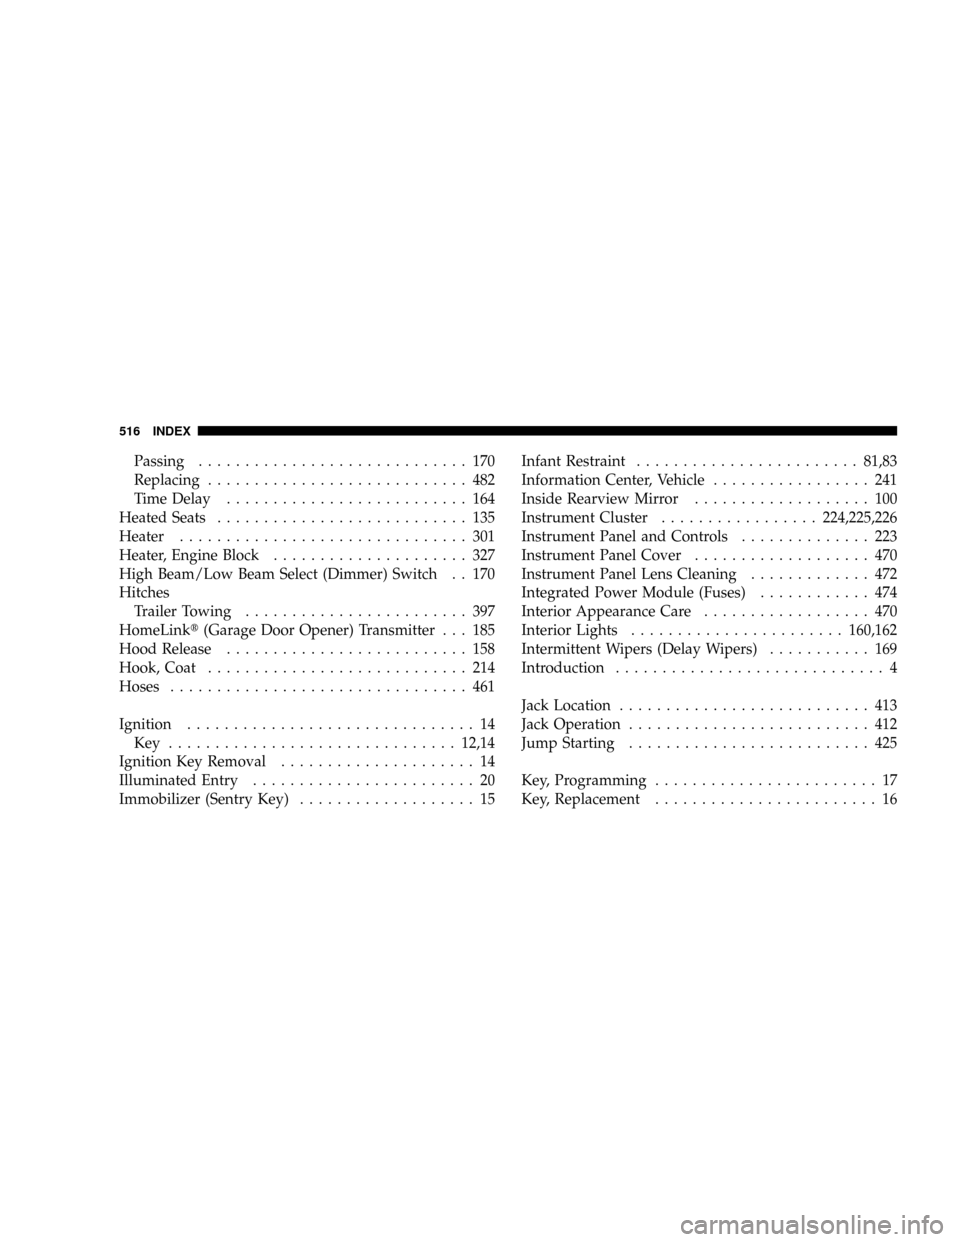
Inside Rearview Mirror................... 100
Instrument Cluster.................224,225,226
Instrument Panel and Controls.............. 223
Instrument Panel Cover................... 470
Instrument Panel Lens Cleaning............. 472
Integrated Power Module (Fuses)............ 474
Interior Appearance Care.................. 470
Interior Lights.......................160,162
Intermittent Wipers (Delay Wipers)........... 169
Introduction............................. 4
Jack Location........................... 413
Jack Operation.......................... 412
Jump Starting.......................... 425
Key, Programming........................ 17
Key, Replacement........................ 16
516 INDEX