odometer DODGE GRAND CARAVAN 2009 5.G Owners Manual
[x] Cancel search | Manufacturer: DODGE, Model Year: 2009, Model line: GRAND CARAVAN, Model: DODGE GRAND CARAVAN 2009 5.GPages: 535, PDF Size: 18.61 MB
Page 180 of 535
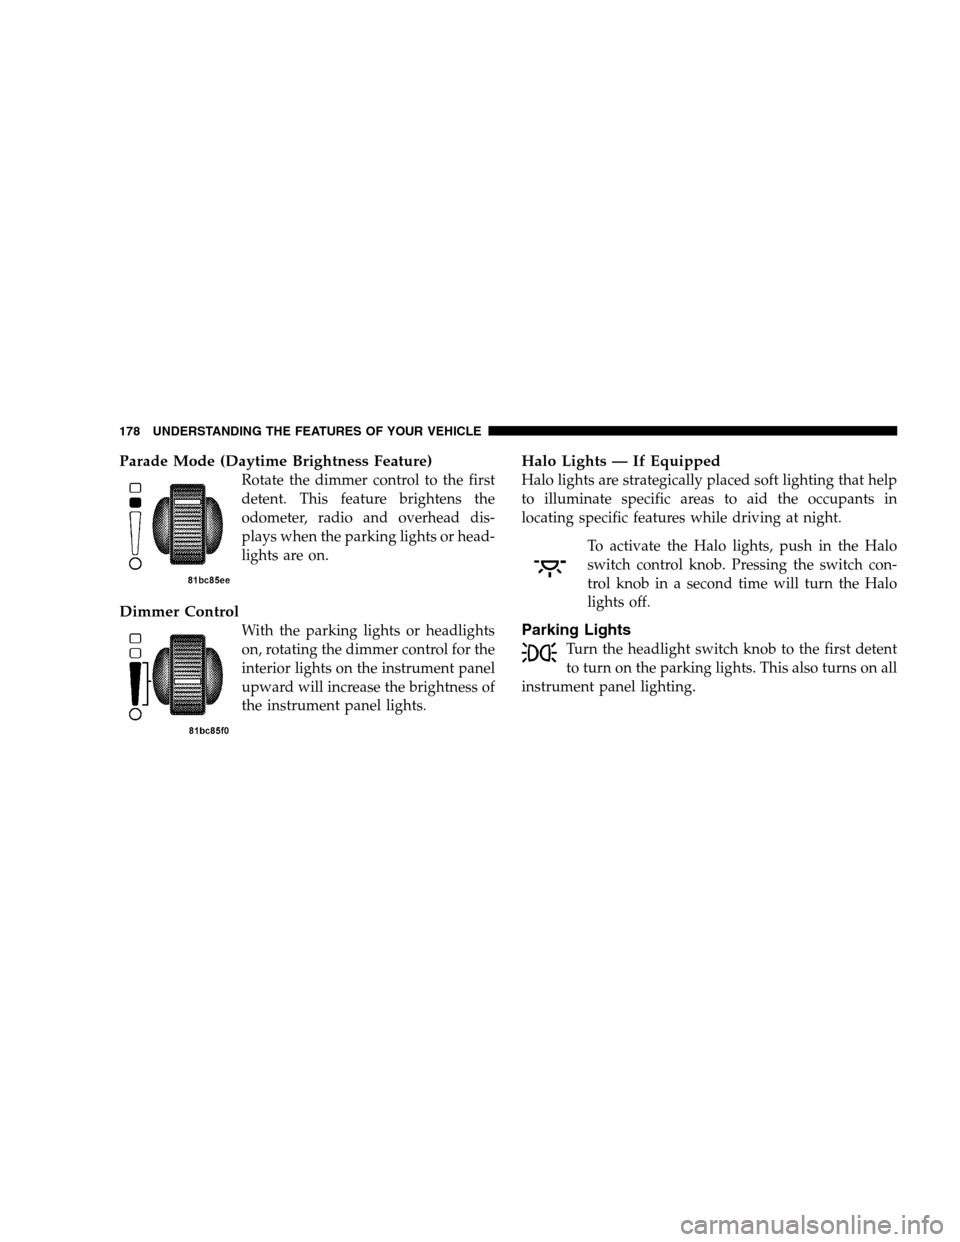
Parade Mode (Daytime Brightness Feature)Rotate the dimmer control to the first
detent. This feature brightens the
odometer, radio and overhead dis-
plays when the parking lights or head-
lights are on.
Dimmer Control
With the parking lights or headlights
on, rotating the dimmer control for the
interior lights on the instrument panel
upward will increase the brightness of
the instrument panel lights.
Halo Lights — If Equipped
Halo lights are strategically placed soft lighting that help
to illuminate specific areas to aid the occupants in
locating specific features while driving at night.
To activate the Halo lights, push in the Halo
switch control knob. Pressing the switch con-
trol knob in a second time will turn the Halo
lights off.
Parking Lights
Turn the headlight switch knob to the first detent
to turn on the parking lights. This also turns on all
instrument panel lighting. 178 UNDERSTANDING THE FEATURES OF YOUR VEHICLE
Page 190 of 535
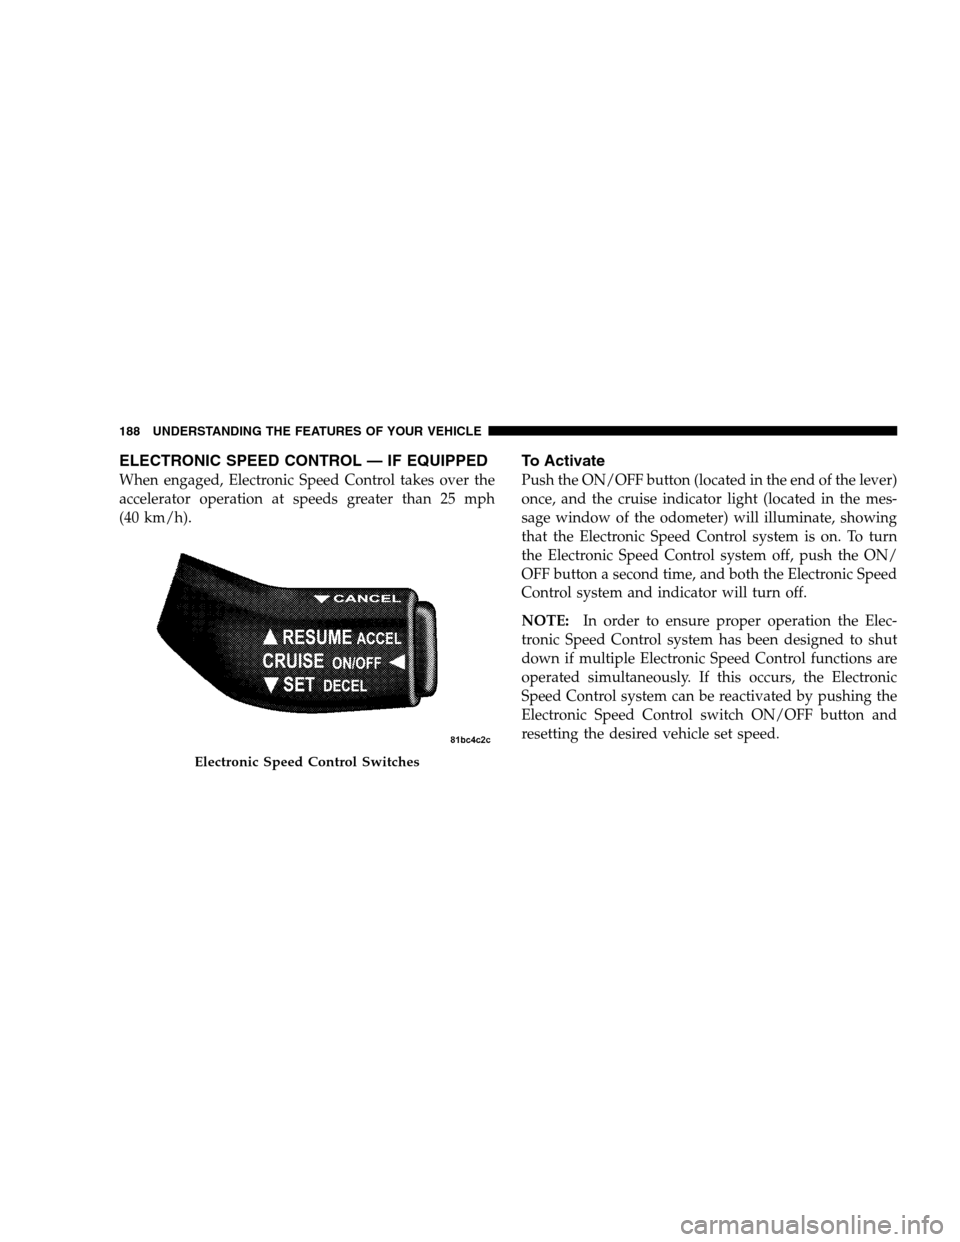
ELECTRONIC SPEED CONTROL — IF EQUIPPEDWhen engaged, Electronic Speed Control takes over the
accelerator operation at speeds greater than 25 mph
(40 km/h).
To Activate
Push the ON/OFF button (located in the end of the lever)
once, and the cruise indicator light (located in the mes-
sage window of the odometer) will illuminate, showing
that the Electronic Speed Control system is on. To turn
the Electronic Speed Control system off, push the ON/
OFF button a second time, and both the Electronic Speed
Control system and indicator will turn off.
NOTE:
In order to ensure proper operation the Elec-
tronic Speed Control system has been designed to shut
down if multiple Electronic Speed Control functions are
operated simultaneously. If this occurs, the Electronic
Speed Control system can be reactivated by pushing the
Electronic Speed Control switch ON/OFF button and
resetting the desired vehicle set speed. Electronic Speed Control Switches
188 UNDERST
ANDING THE FEATURES OF YOUR VEHICLE
Page 246 of 535
11. Odometer / Trip Odometer — If Equipped
The odometer shows the total distance the vehicle has
been driven.
U.S. federal regulations require that upon transfer of
vehicle ownership, the seller certify to the purchaser the
correct mileage that the vehicle has been driven. There-
fore, if the odometer reading is changed during repair or
replacement, be sure to keep a record of the reading
before and after the service so that the correct mileage can
be determined.
The trip odometer shows individual trip mileage. To
switch from odometer to trip odometer, press the Trip
Odometer button.
To reset a trip odometer, display the desired trip odom-
eter to be reset then push and hold the button until the
display resets (approximately two seconds).12. Message Display Area
When the appropriate conditions exist, the following
odometer messages will display:
CHAngE OIL
. . . . . . . . . . . . . . . Oil Change Required
HOTOIL . . . . . . . . . . . . . . . Transaxle Oil Temperature
Exceeds Safe Threshold
CRUISE . . . . . . . . . . . . . . . . . . . . . Cruise Control On
door . . . . . . . . . . . . . . . . . . . . . . . . . . . . . Door Ajar
gATE . . . . . . . . . . . . . . . . . . . . . . . . . . Lift Gate Ajar
gASCAP . . . . . . . . . . . . . . . . . . . . . . . Fuel Cap Fault
hood . . . . . . . . . . . . . . . . . . . . . . . . . . . . Hood Ajar
noFUSE . . . . . . . . . . . . . . . . . . . . . . . . . . Fuse Fault
LoCOOL . . . . . . . . . . . . . . . . . . . . . . . . Low Coolant
LoWASH . . . . . . . . . . . . . . . . . . . . Low Washer Fluid
LoW tirE . . . . . . . . . . . . . . . . . . . . . Low Tire Pressure
244 UNDERSTANDING YOUR INSTRUMENT PANEL
Page 247 of 535
NOTE:
If your vehicle is equipped with a hood switch, in the
case of hood ajar, a warning message will be displayed
in either the PRNDL/Odometer display as “hood” or
“Hood Ajar” in the EVIC display.
Some of the above warnings will be displayed in the
Compass Mini-Trip Computer / Electronic Vehicle
Information Center Display Area located in the instru-
ment cluster.
Refer to ”Compass Mini-Trip Computer (CMTC)
Display— If Equipped” / ”Electronic Vehicle Informa-
tion Center (EVIC) Display — If Equipped” later in
this section for more information.
LoW tirE
When the appropriate condition exists, the odometer
display will toggle between LoW and tirE for three
cycles. HOTOIL
When this message is displayed there is a transaxle
over-temperature condition. When this condition occurs,
the “HOTOIL” message will be displayed in the odom-
eter along with a chime.
If this message appears, stop the vehicle and run the
engine at idle or faster, with the transmission in NEU-
TRAL, until the light goes off.
NOTE:
When this message is displayed, bring the
vehicle to a stop and idle the engine until the message
clears.
CHAngE OIL
Your vehicle is equipped with an engine oil change
indicator system. The “Change Oil” message will flash in
the instrument cluster odometer for approximately
12 seconds after a single chime has sounded to indicate
the next scheduled oil change interval. The engine oil
change indicator system is duty cycle-based, which
UNDERSTANDING YOUR INSTRUMENT PANEL 245 4
Page 248 of 535
means the engine oil change interval may fluctuate
dependent upon your personal driving style.
Unless reset, this message will continue to display each
time you turn the ignition switch to the ON/RUN
position. To turn off the message temporarily, press and
release the Trip Odometer button on the instrument
cluster. To reset the oil change indicator system (after
performing the scheduled maintenance), refer to the
following procedure:
1. Turn the ignition switch to the ON position (Do not
start the engine).
2. Fully depress the accelerator pedal slowly three times
within 10 seconds.
3. Turn the ignition switch to the OFF/LOCK position.
NOTE:If the indicator message illuminates when you
start the vehicle, the oil change indicator system did not
reset. If necessary repeat this procedure. 13. Odometer Display Reset Button
To reset a message display (gATE, gASCAP, noFUSE,
CHAngE OIL, LoCOOL, LoWASH), push and hold the
button until the display resets (approximately two sec-
onds).
14. Electronic Stability Program (ESP) Indicator Light
/ Traction Control System (TCS) Indicator Light
If this indicator light flashes during accelera-
tion, apply as little throttle as possible. While
driving, ease up on the accelerator. Adapt your
speed and driving to the prevailing road con-
ditions, and do not switch off the Electronic Stability
Program (ESP), or Traction Control System (TCS).
15. Malfunction Indicator Light (MIL) The Malfunction Indicator Light (MIL) is part of
an onboard diagnostic system called OBD that
monitors engine and automatic transmission con-
trol systems. The light will illuminate when the key is in 246 UNDERSTANDING YOUR INSTRUMENT PANEL
Page 255 of 535
CMTC Reset Buttons
CMTC Reset
Button
Press the left reset button located on the instrument
cluster to scroll through sub menus (i.e., Trip Functions:
AVG Fuel Economy, DTE, Elapsed Time, and Units).
To reset the display shown, turn the ignition switch to the
ON position, then press and hold the reset button for
approximately two seconds.
When the appropriate conditions exist, the following
messages will display:
NE. . . . . . . Eight-point compass headings are displayed
(N, S, E, W, NE, NW, SE, SW)
14°F . . . . . . . . . . . . Temperature (Fahrenheit or Celsius)
AVG . . . . . . . . . Average Fuel Economy (U.S. or Metric)
DTE . . . . . . . . . . . . . . . . . . . . . . . Distance to Empty
ET . . . . . . . . . . . . . . . . . . . . . . . . . . . . Elapsed Time
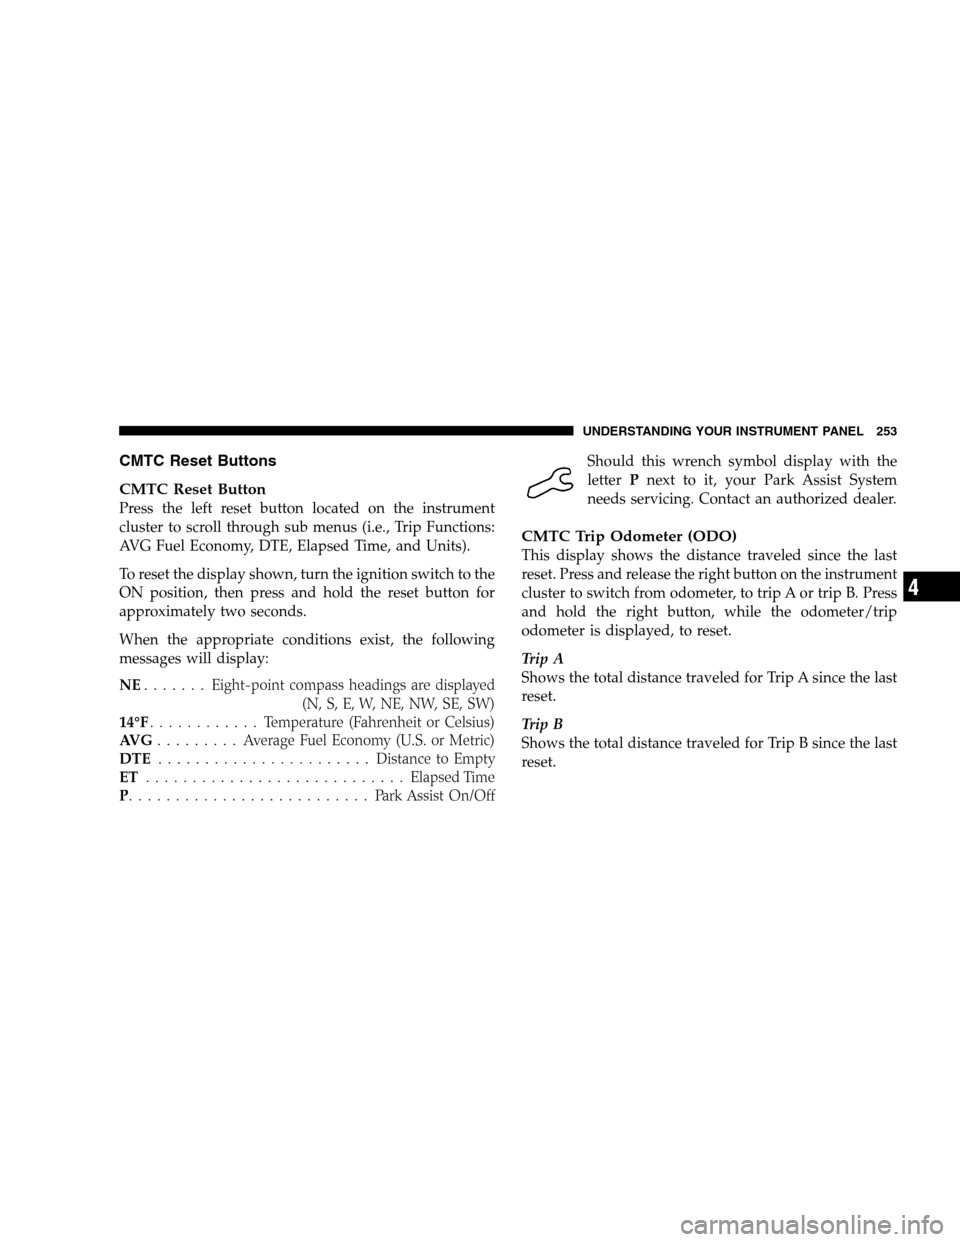
P . . . . . . . . . . . . . . . . . . . . . . . . . . Park Assist On/Off Should this wrench symbol display with the
letter
Pnext to it, your Park Assist System
needs servicing. Contact an authorized dealer.
CMTC Trip Odometer (ODO)
This display shows the distance traveled since the last
reset. Press and release the right button on the instrument
cluster to switch from odometer, to trip A or trip B. Press
and hold the right button, while the odometer/trip
odometer is displayed, to reset.
Trip A
Shows the total distance traveled for Trip A since the last
reset.
Trip B
Shows the total distance traveled for Trip B since the last
reset. UNDERSTANDING YOUR INSTRUMENT PANEL 253
4
Page 268 of 535
unlocked with the RKE transmitter. To make your selec-
tion, press and release the RESET button until “OFF,”
“30 sec.,” “60 sec.,” or “90 sec.” appears.
Blind Spot Alert
There are 3 selections when operating Blind Spot Alert.
By pressing and releasing the RESET button once, the
Blind Spot Alert feature can be activated in “Blind Spot
Alert Lights” mode. When this mode is selected the Blind
Spot Monitor (BSM) system is activated and will only
show a visual alert in the outside mirrors. By pressing
and releasing the RESET button a second time “Blind
Spot Alert Lights/CHM” mode is activated. In this mode
the Blind Spot Monitor (BSM) will show a visual alert in
the outside mirrors as well as an audible alert when the
turn signal is on. When “Blind Spot Alert Off” is selected
the Blind Spot Monitor (BSM) system is deactivated.
NOTE:If your vehicle has experienced any damage in
the area where the sensor is located, even if the fascia is not damaged, the sensor may have become misaligned.
Take your vehicle to an authorized dealer to verify sensor
alignment. Having a sensor that is misaligned will result
in the BSM not operating to specification.Park ASST. System
When enable is selected, the Rear Park Assist System is
activated. When disable is selected the system is deacti-
vated and the instrument cluster will display the
9PARK
ASSIST DISABLED9 message. To make your selection,
press and release the RESET button until ENABLE or
DISABLE appears.
Display Units of Measure In
The EVIC, odometer, and navigation system (if
equipped) can be changed between English and Metric
units of measure. To make your selection, press and
release the RESET button until ENGLISH or METRIC
appears.
266 UNDERSTANDING YOUR INSTRUMENT PANEL
Page 339 of 535
the transaxle into third gear, the transaxle will never shift
above third gear, but can shift down to second or first
gear automatically, when needed.
Switching from ERS to DRIVE can be done at any vehicle
speed. To shift from DRIVE mode to ERS mode, move the
shift lever to the left (-) once. The current gear will be
maintained as the top gear. To disable ERS, simply press
and hold the shift lever to the right (+) until “D” is
displayed in the instrument cluster odometer.WARNING!
Do not downshift for additional engine braking on a
slippery surface. The drive wheels could lose their
grip and the vehicle could skid, causing an accident
or personal injury.
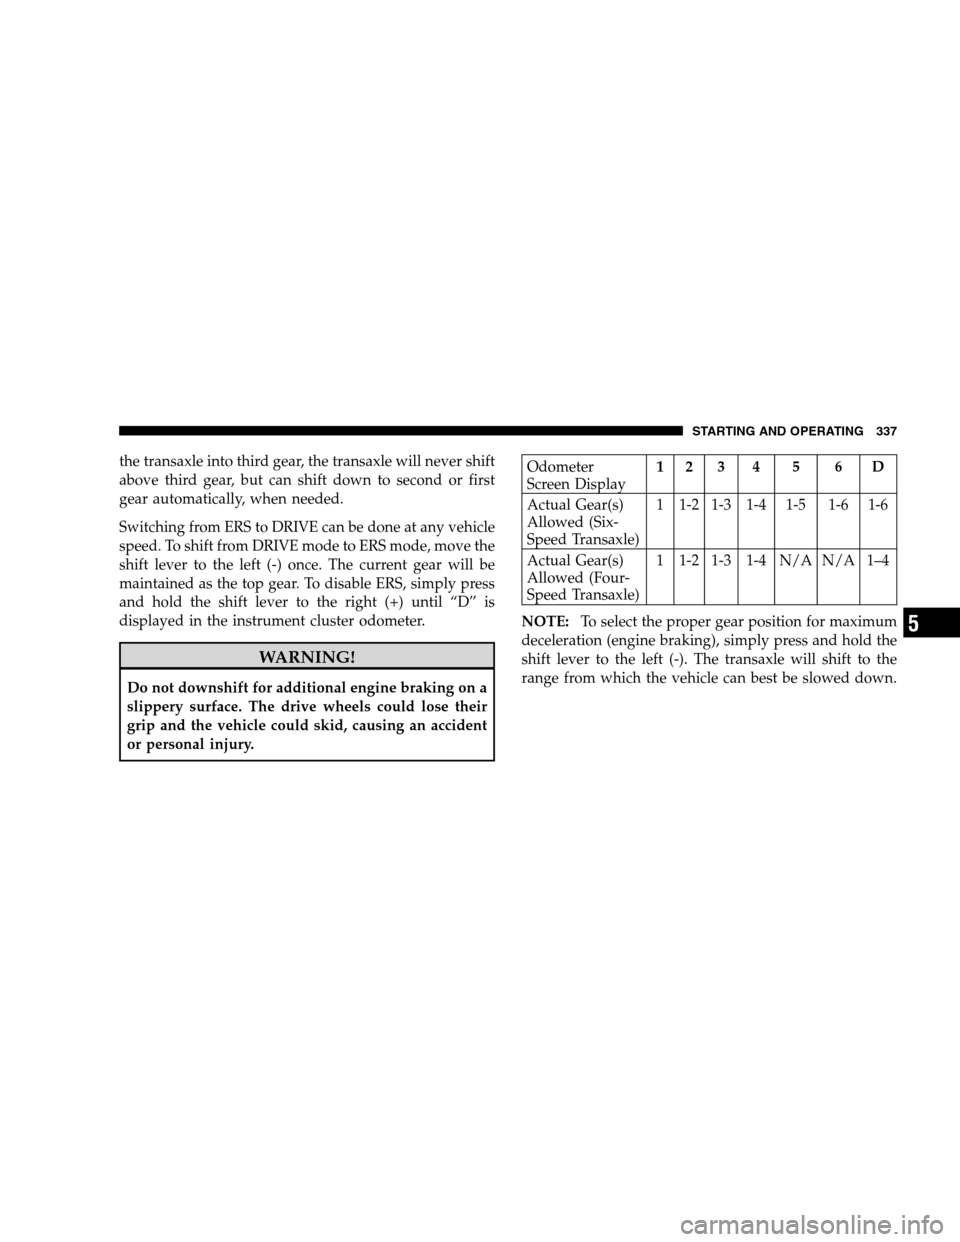
Odometer
Screen Display
1 2 3 4 5 6 D
Actual Gear(s)
Allowed (Six-
Speed Transaxle) 1 1-2 1-3 1-4 1-5 1-6 1-6
Actual Gear(s)
Allowed (Four-
Speed Transaxle) 1 1-2 1-3 1-4 N/A N/A 1–4
NOTE: To select the proper gear position for maximum
deceleration (engine braking), simply press and hold the
shift lever to the left (-). The transaxle will shift to the
range from which the vehicle can best be slowed down.
STARTING AND OPERATING 337 5
Page 369 of 535
WARNING!
Do not use a tire, wheel size or rating other than
that specified for your vehicle. Some combinations
of unapproved tires and wheels may change sus-
pension dimensions and performance characteris-
tics, resulting in changes to steering, handling, and
braking of your vehicle. This can cause unpredict-
able handling and stress to steering and suspen-
sion components. You could lose control and have
an accident resulting in serious injury or death.
Use only the tire and wheel sizes with load ratings
approved for your vehicle.
Never use a tire with a smaller load index or
capacity, than what was originally equipped on
your vehicle. Using a tire with a smaller load index
could result in tire overloading and failure. You
could lose control and have an accident.
(Continued) WARNING! (Continued)
Failure to equip your vehicle with tires having
adequate speed capability can result in sudden tire
failure and loss of vehicle control. CAUTION!
Replacing original tires with tires of a different size
may result in false speedometer and odometer read-
ings.
TIRE CHAINS
Use only compact chains, or other traction aids that meet
SAE type “Class S” specifications. Chains must be the
proper size for the vehicle, as recommended by the chain
manufacturer.
NOTE:
Do not use tire chains on a compact spare tire.
STARTING AND OPERATING 367 5
Page 390 of 535
WARNING!
Never have any smoking materials lit in or near
the vehicle when the gas cap is removed or the
tank filled.
Never add fuel when the engine is running. This is
in violation of most state and federal fire regula-
tions and will cause the “Malfunction Indicator
Light” to turn on.
NOTE:
Tighten the fuel filler cap until you hear a “clicking”
sound. This is an indication that the fuel filler cap is
properly tightened.
If the gas cap is not tightened properly, the “Malfunc-
tion Indicator Light” may come on. Be sure the gas cap
is tightened every time the vehicle is refueled. WARNING!
A fire may result if gasoline is pumped into a
portable container that is inside of a vehicle. You
could be burned. Always place gas containers on the
ground while filling.
Loose Fuel Filler Cap Message
If the
gASCAP message is displayed in the instrument
cluster, this signifies a leak or change in the evaporative
system is detected. Sometimes this is the result of a
loosely fitting (or possibly damaged) filler cap. Tighten
the fuel filler cap properly and press the odometer reset
button to turn the gASCAPmessage off.
Make sure that the fuel filler cap is tightened each time
the vehicle is refueled.
388 STARTING AND OPERATING