fuel cap DODGE GRAND CARAVAN 2009 5.G Owners Manual
[x] Cancel search | Manufacturer: DODGE, Model Year: 2009, Model line: GRAND CARAVAN, Model: DODGE GRAND CARAVAN 2009 5.GPages: 535, PDF Size: 18.61 MB
Page 246 of 535
11. Odometer / Trip Odometer — If Equipped
The odometer shows the total distance the vehicle has
been driven.
U.S. federal regulations require that upon transfer of
vehicle ownership, the seller certify to the purchaser the
correct mileage that the vehicle has been driven. There-
fore, if the odometer reading is changed during repair or
replacement, be sure to keep a record of the reading
before and after the service so that the correct mileage can
be determined.
The trip odometer shows individual trip mileage. To
switch from odometer to trip odometer, press the Trip
Odometer button.
To reset a trip odometer, display the desired trip odom-
eter to be reset then push and hold the button until the
display resets (approximately two seconds).12. Message Display Area
When the appropriate conditions exist, the following
odometer messages will display:
CHAngE OIL
. . . . . . . . . . . . . . . Oil Change Required
HOTOIL . . . . . . . . . . . . . . . Transaxle Oil Temperature
Exceeds Safe Threshold
CRUISE . . . . . . . . . . . . . . . . . . . . . Cruise Control On
door . . . . . . . . . . . . . . . . . . . . . . . . . . . . . Door Ajar
gATE . . . . . . . . . . . . . . . . . . . . . . . . . . Lift Gate Ajar
gASCAP . . . . . . . . . . . . . . . . . . . . . . . Fuel Cap Fault
hood . . . . . . . . . . . . . . . . . . . . . . . . . . . . Hood Ajar
noFUSE . . . . . . . . . . . . . . . . . . . . . . . . . . Fuse Fault
LoCOOL . . . . . . . . . . . . . . . . . . . . . . . . Low Coolant
LoWASH . . . . . . . . . . . . . . . . . . . . Low Washer Fluid
LoW tirE . . . . . . . . . . . . . . . . . . . . . Low Tire Pressure
244 UNDERSTANDING YOUR INSTRUMENT PANEL
Page 249 of 535
the ON position before engine start. If the bulb does not
come on when turning the key from OFF to ON, have the
condition checked promptly.
Certain conditions such as a loose or missing gas cap,
poor fuel quality, etc., may illuminate the MIL after
engine start. The vehicle should be serviced if the light
stays on through several of your typical driving cycles. In
most situations, the vehicle will drive normally and will
not require towing.
The MIL flashes to alert to serious conditions that could
lead to immediate loss of power or severe catalytic
converter damage. The vehicle should be serviced at an
authorized dealer as soon as possible if this occurs.
16. Engine Temperature Warning LightThis light warns of an overheated engine condi-
tion. As temperatures rise and the gauge ap-
proaches H,this indicator will illuminate and a
single chime will sound after reaching a set threshold. Further overheating will cause the temperature gauge to
pass
H,the indicator will continuously flash and a
continuous chime will occur until the engine is allowed
to cool.
If the light turns on while driving, safely pull over and
stop the vehicle. If the A/C system is on, turn it off. Also,
shift the transmission into NEUTRAL and idle the ve-
hicle. If the temperature reading does not return to
normal, turn the engine off immediately and call for
service. Refer to “If Your Engine Overheats” in Section 6
for more information.
17. Electronic Throttle Control (ETC) Light This light informs you of a problem with the
Electronic Throttle Control (ETC) system. The
light will come on when the ignition is first
turned ON and remain on briefly as a bulb
check. If the light does not come on during starting, have
the system checked by an authorized dealer. UNDERSTANDING YOUR INSTRUMENT PANEL 247
4
Page 329 of 535
mFuel Requirements . . . . . . . . . . . . . . . . . . . . 378
▫ 3.3L/3.8L Gasoline Engine . . . . . . . . . . . . . 378
▫ 4.0L Gasoline Engine . . . . . . . . . . . . . . . . 379
▫ Reformulated Gasoline . . . . . . . . . . . . . . . 379
▫ Gasoline/Oxygenate Blends . . . . . . . . . . . 380
▫ E-85 Usage In Non-Flex Fuel Vehicles . . . . . 380
▫ MMT In Gasoline . . . . . . . . . . . . . . . . . . . 381
▫ Materials Added To Fuel . . . . . . . . . . . . . . 381
▫ Fuel System Cautions . . . . . . . . . . . . . . . . 381
▫ Carbon Monoxide Warnings . . . . . . . . . . . 382
m Flexible Fuel (3.3L Engines Only) — If
Equipped . . . . . . . . . . . . . . . . . . . . . . . . . . . . 383
▫ E-85 General Information . . . . . . . . . . . . . 383 ▫
Ethanol Fuel (E-85) . . . . . . . . . . . . . . . . . . 384
▫ Fuel Requirements . . . . . . . . . . . . . . . . . . 384
▫ Selection Of Engine Oil For Flexible Fuel
Vehicles E-85 And Gasoline Vehicles . . . . . . . 385
▫ Starting . . . . . . . . . . . . . . . . . . . . . . . . . . 386
▫ Cruising Range . . . . . . . . . . . . . . . . . . . . 386
▫ Replacement Parts . . . . . . . . . . . . . . . . . . 386
▫ Maintenance . . . . . . . . . . . . . . . . . . . . . . 386
m Adding Fuel . . . . . . . . . . . . . . . . . . . . . . . . 387
▫ Fuel Filler Cap (Gas Cap) . . . . . . . . . . . . . 387
▫ Loose Fuel Filler Cap Message . . . . . . . . . . 388
m Vehicle Loading . . . . . . . . . . . . . . . . . . . . . 389
▫ Vehicle Certification Label . . . . . . . . . . . . . 389
STARTING AND OPERATING 327 5
Page 363 of 535
WARNING! (Continued)
Unequal tire pressures from one side of the ve-
hicle to the other can cause the vehicle to drift to
the right or left.
Always drive with each tire inflated to the recom-
mended cold tire inflation pressure.
Economy
Improper inflation pressures can cause uneven wear
patterns to develop across the tire tread. These abnormal
wear patterns will reduce tread life resulting in a need for
earlier tire replacement. Under-inflation, also increases
tire rolling resistance and results in higher fuel
consumption.
Ride Comfort and Vehicle Stability
Proper tire inflation contributes to a comfortable ride.
Over-inflation produces a jarring and uncomfortable
ride.
Tire Inflation Pressures
The proper cold tire inflation pressure is listed on the
driver’s side “B” Pillar.
The tire pressure should be checked and adjusted, and
the tires inspected for signs of wear or visible damage, at
least once a month. Use a good quality pocket-type gauge
to check tire pressure. Do not make a visual judgement
when determining proper inflation. Radial tires may look
properly inflated, even when they are under-inflated. CAUTION!
After inspecting or adjusting the tire pressure, al-
ways reinstall the valve stem cap. This will prevent
moisture and dirt from entering the valve stem,
which could damage the valve stem.
STARTING AND OPERATING 361 5
Page 374 of 535
CAUTION! (Continued)
After inspecting or adjusting the tire pressure
always reinstall the valve stem cap. This will
prevent moisture and dirt from entering the valve
stem, which could damage the TPMS sensor.
NOTE:
The TPMS is not intended to replace normal tire care
and maintenance, or to provide warning of a tire
failure or condition.
The TPMS should not be used as a tire pressure gauge
while adjusting your tire pressure.
Driving on a significantly under-inflated tire causes
the tire to overheat and can lead to tire failure.
Under-inflation also reduces fuel efficiency and tire
tread life, and may affect the vehicle’s handling and
stopping ability.
The TPMS is not a substitute for proper tire mainte-
nance, and it is the driver’s responsibility to maintain
correct tire pressure, using an accurate tire pressure
gage, even if under-inflation has not reached the level
to trigger illumination of the “TPMS Warning Lamp.”
Seasonal temperature changes will affect tire pressure,
and the TPMS will monitor the actual tire pressure in
the tire.
Base System
The TPMS uses wireless technology with wheel rim
mounted electronic sensors to monitor tire pressure lev-
els. Sensors, mounted to each wheel as part of the valve
stem, transmit tire pressure readings to the Receiver
Module.
NOTE: It is particularly important for you to check the
tire pressure in all of your tires regularly and to maintain
the proper pressure.
372 STARTING AND OPERATING
Page 385 of 535
WARNING! (Continued)
Guard against carbon monoxide with proper
maintenance. Have the exhaust system inspected
every time the vehicle is raised. Have any abnor-
mal conditions repaired promptly. Until repaired,
drive with all side windows fully open.
Keep the liftgate closed when driving your vehicle
to prevent carbon monoxide and other poisonous
exhaust gases from entering the vehicle.
FLEXIBLE FUEL (3.3L ENGINES ONLY) — IF
EQUIPPED
E-85 General Information
The information in this section is for Flexible Fuel Ve-
hicles (FFV) only. These vehicles can be identified by the
unique fuel filler door label that states Ethanol (E-85) or
Unleaded Gasoline Only. This section only covers those
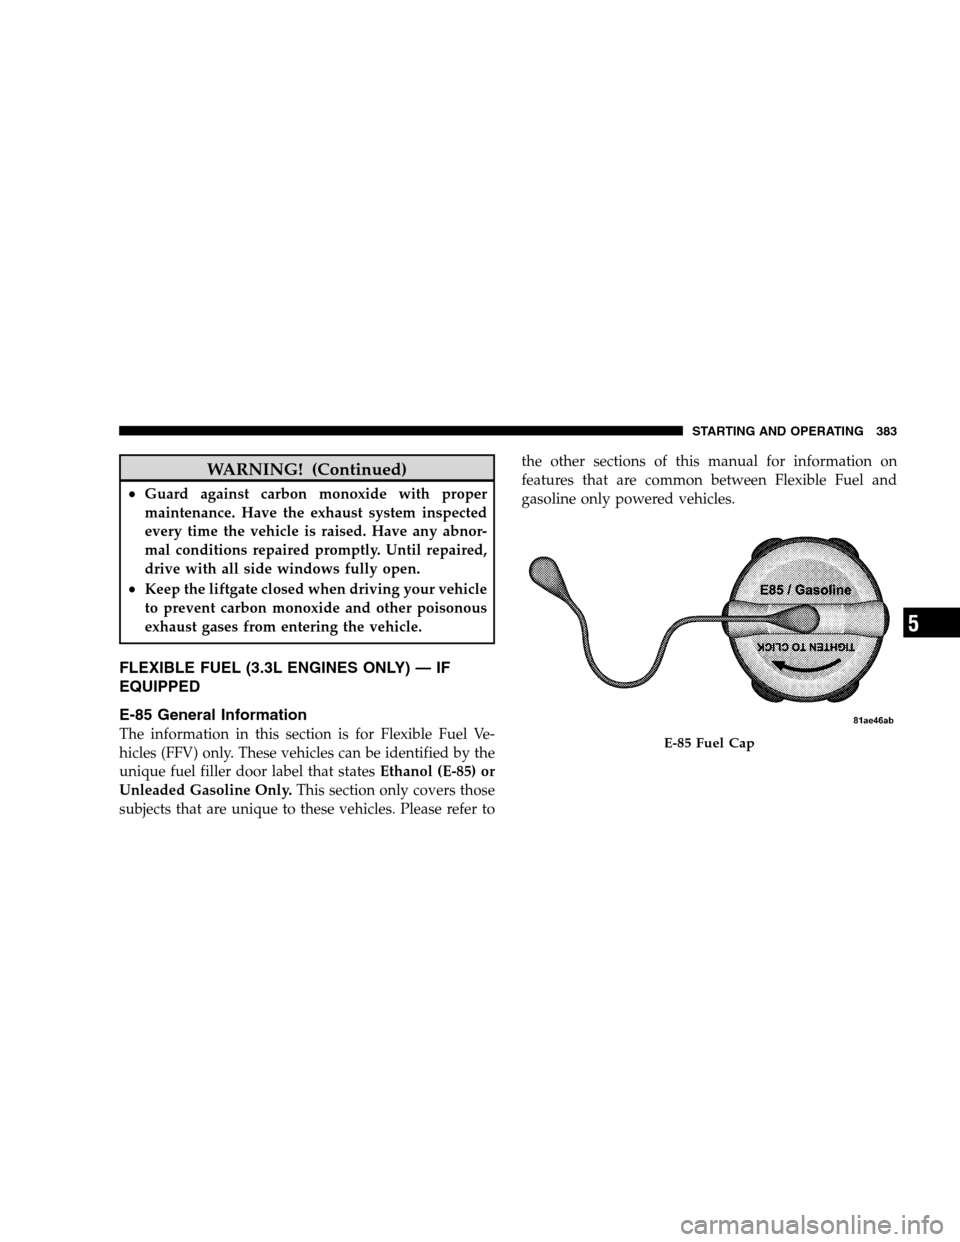
subjects that are unique to these vehicles. Please refer to the other sections of this manual for information on
features that are common between Flexible Fuel and
gasoline only powered vehicles. E-85 Fuel Cap
STARTING AND OPERATING 383 5
Page 386 of 535
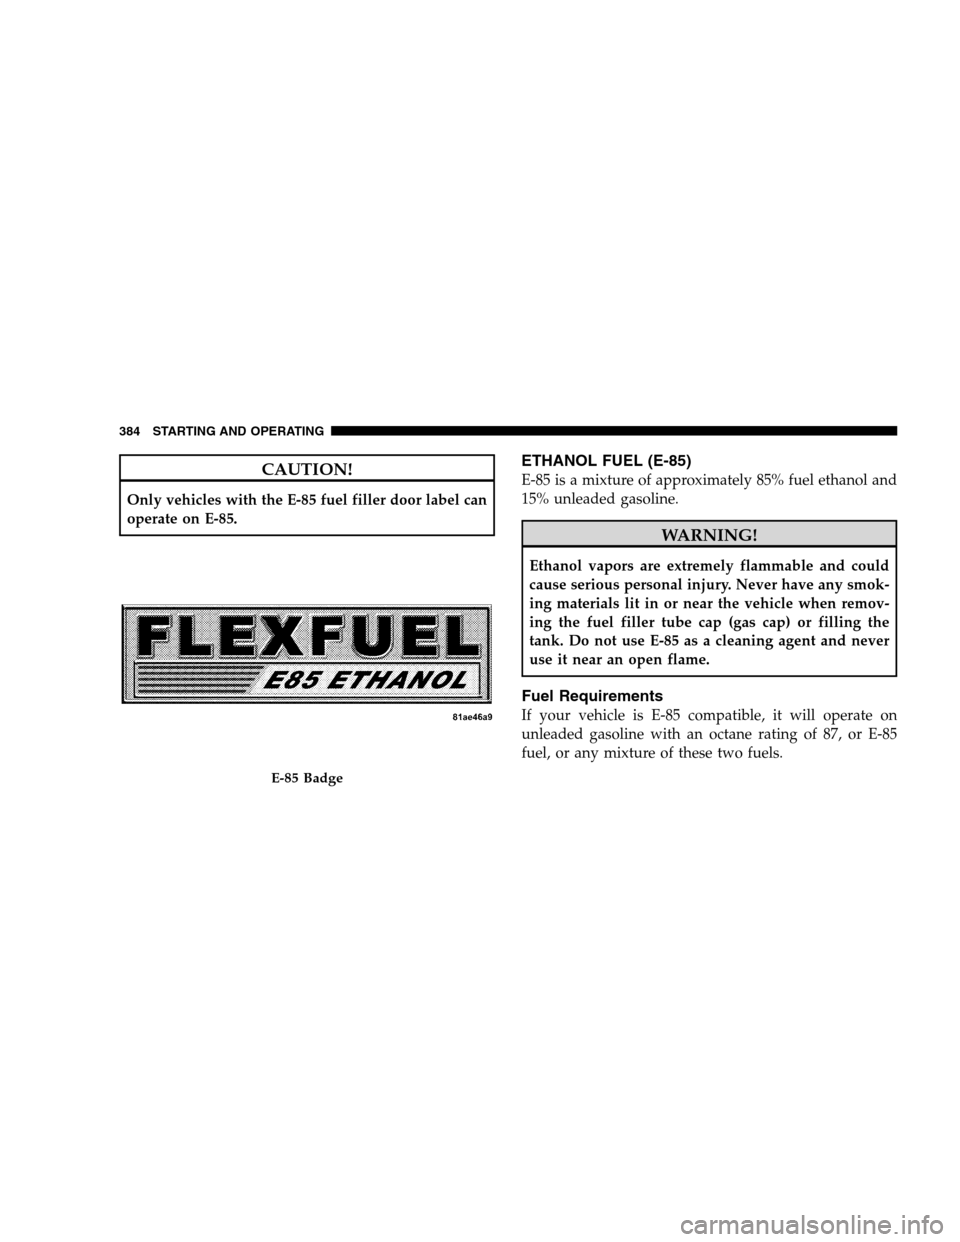
CAUTION!Only vehicles with the E-85 fuel filler door label can
operate on E-85.
ETHANOL FUEL (E-85)
E-85 is a mixture of approximately 85% fuel ethanol and
15% unleaded gasoline.
WARNING!
Ethanol vapors are extremely flammable and could
cause serious personal injury. Never have any smok-
ing materials lit in or near the vehicle when remov-
ing the fuel filler tube cap (gas cap) or filling the
tank. Do not use E-85 as a cleaning agent and never
use it near an open flame.
Fuel Requirements
If your vehicle is E-85 compatible, it will operate on
unleaded gasoline with an octane rating of 87, or E-85
fuel, or any mixture of these two fuels.
E-85 Badge
384 ST
ARTING AND OPERATING
Page 389 of 535
ADDING FUEL
Fuel Filler
Cap (Gas Cap)
As a reminder, a fuel icon with an arrow
indicating which side of the vehicle the fuel
filler door is located on, is located in the
instrument cluster, just below the fuel gauge.
The gas cap is located behind the fuel filler door on the
left side of the vehicle. If the gas cap is lost or damaged,
be sure the replacement cap is for use with this vehicle.
NOTE: The driver’s side sliding door cannot be opened
while the fuel door is open. This feature operates only
when the sliding door is fully closed prior to opening the
fuel door. CAUTION!
Damage to the fuel system or emissions control
system could result from using an improper fuel
tank filler tube cap (gas cap). A poorly fitting cap
could let impurities into the fuel system and may
cause the “Malfunction Indicator Light (MIL)” to
turn on, due to fuel vapors escaping from the
system.
To avoid fuel spillage and overfilling, do not “top
off” the fuel tank after filling.
NOTE: When the fuel nozzle “clicks” or shuts off, the
fuel tank is full. STARTING AND OPERATING 387
5
Page 390 of 535
WARNING!
Never have any smoking materials lit in or near
the vehicle when the gas cap is removed or the
tank filled.
Never add fuel when the engine is running. This is
in violation of most state and federal fire regula-
tions and will cause the “Malfunction Indicator
Light” to turn on.
NOTE:
Tighten the fuel filler cap until you hear a “clicking”
sound. This is an indication that the fuel filler cap is
properly tightened.
If the gas cap is not tightened properly, the “Malfunc-
tion Indicator Light” may come on. Be sure the gas cap
is tightened every time the vehicle is refueled. WARNING!
A fire may result if gasoline is pumped into a
portable container that is inside of a vehicle. You
could be burned. Always place gas containers on the
ground while filling.
Loose Fuel Filler Cap Message
If the
gASCAP message is displayed in the instrument
cluster, this signifies a leak or change in the evaporative
system is detected. Sometimes this is the result of a
loosely fitting (or possibly damaged) filler cap. Tighten
the fuel filler cap properly and press the odometer reset
button to turn the gASCAPmessage off.
Make sure that the fuel filler cap is tightened each time
the vehicle is refueled.
388 STARTING AND OPERATING
Page 392 of 535
Gross Axle Weight Rating (GAWR)The GAWR is the maximum capacity of the front and rear
axles. Distribute the load over the front and rear axles
evenly. Make sure that you do not exceed either front or
rear GAWR.
WARNING!
Because the front wheels drive and steer the vehicle,
it is important that you do not exceed the maximum
front or rear GAWR. A dangerous driving condition
can result if either rating is exceeded. You could lose
control of the vehicle and have an accident.
Tire Size
The tire size on the Vehicle Certification Label represents
the actual tire size on your vehicle. Replacement tires
must be equal to the load capacity of this tire size.
Rim Size
This is the rim size that is appropriate for the tire size
listed.
Inflation Pressure
This is the cold tire inflation pressure for your vehicle, for
all loading conditions up to full GAWR.
Curb Weight
The curb weight of a vehicle is defined as the total weight
of the vehicle with all fluids, including vehicle fuel, at full
capacity conditions, and with no occupants or cargo
loaded into the vehicle. The front and rear curb weight
values are determined by weighing your vehicle on a
commercial scale before any occupants or cargo are
added.
390 STARTING AND OPERATING