center console DODGE GRAND CARAVAN 2010 5.G User Guide
[x] Cancel search | Manufacturer: DODGE, Model Year: 2010, Model line: GRAND CARAVAN, Model: DODGE GRAND CARAVAN 2010 5.GPages: 88, PDF Size: 13.56 MB
Page 42 of 88
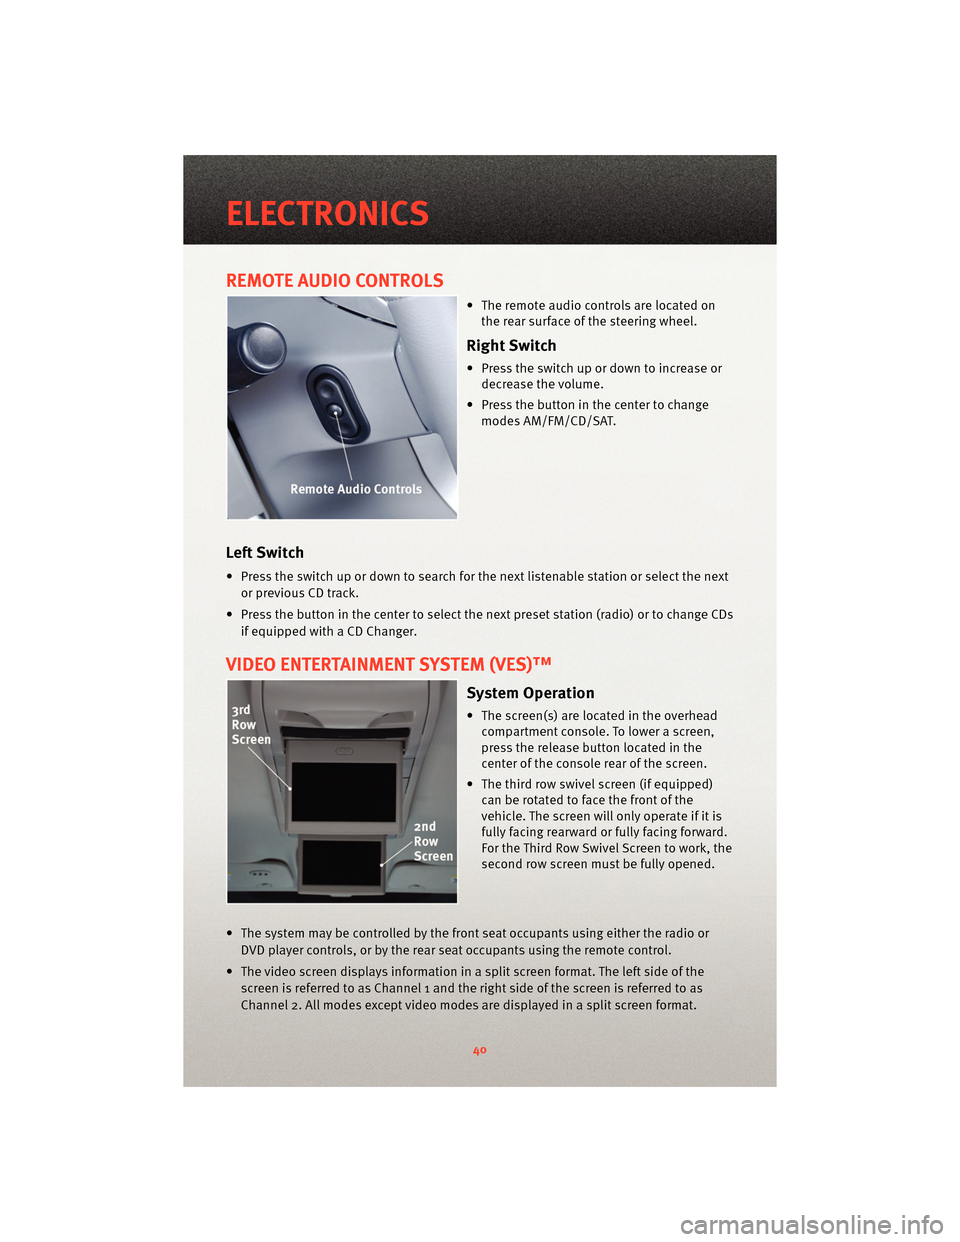
REMOTE AUDIO CONTROLS
• The remote audio controls are located onthe rear surface of the steering wheel.
Right Switch
• Press the switch up or down to increase ordecrease the volume.
• Press the button in the center to change modes AM/FM/CD/SAT.
Left Switch
• Press the switch up or down to search for the next listenable station or select the next
or previous CD track.
• Press the button in the center to select the next preset station (radio) or to change CDs if equipped with a CD Changer.
VIDEO ENTERTAINMENT SYSTEM (VES)™
System Operation
• The screen(s) are located in the overheadcompartment console. To lower a screen,
press the release button located in the
center of the console rear of the screen.
• The third row swivel screen (if equipped) can be rotated to face the front of the
vehicle. The screen will only operate if it is
fully facing rearward or fully facing forward.
For the Third Row Swivel Screen to work, the
second row screen must be fully opened.
• The system may be controlled by the front seat occupants using either the radio or DVD player controls, or by the rear seat occupants using the remote control.
• The video screen displays information in a split screen format. The left side of the screen is referred to as Channel 1 and the right side of the screen is referred to as
Channel 2. All modes except video modes are displayed in a split screen format.
ELECTRONICS
40
Page 44 of 88
Auxiliary Audio/Video Input Jacks
• The AUX jacks are located on the drivers side rear trim panel behind the sliding door.
• Connect the video game or other external media devises to the AUX jacks following thecolor coding for the VES™ jacks.
• Using either the touch-screen radio or remote control, select AUX from the REAR VES™ CONTROL or the MODE SELECTION screen.
• Refer to the Uconnect™ Multimedia – Video Entertainment System (VES)™ section in the Uconnect™ User's Manual on the DVD for further details.
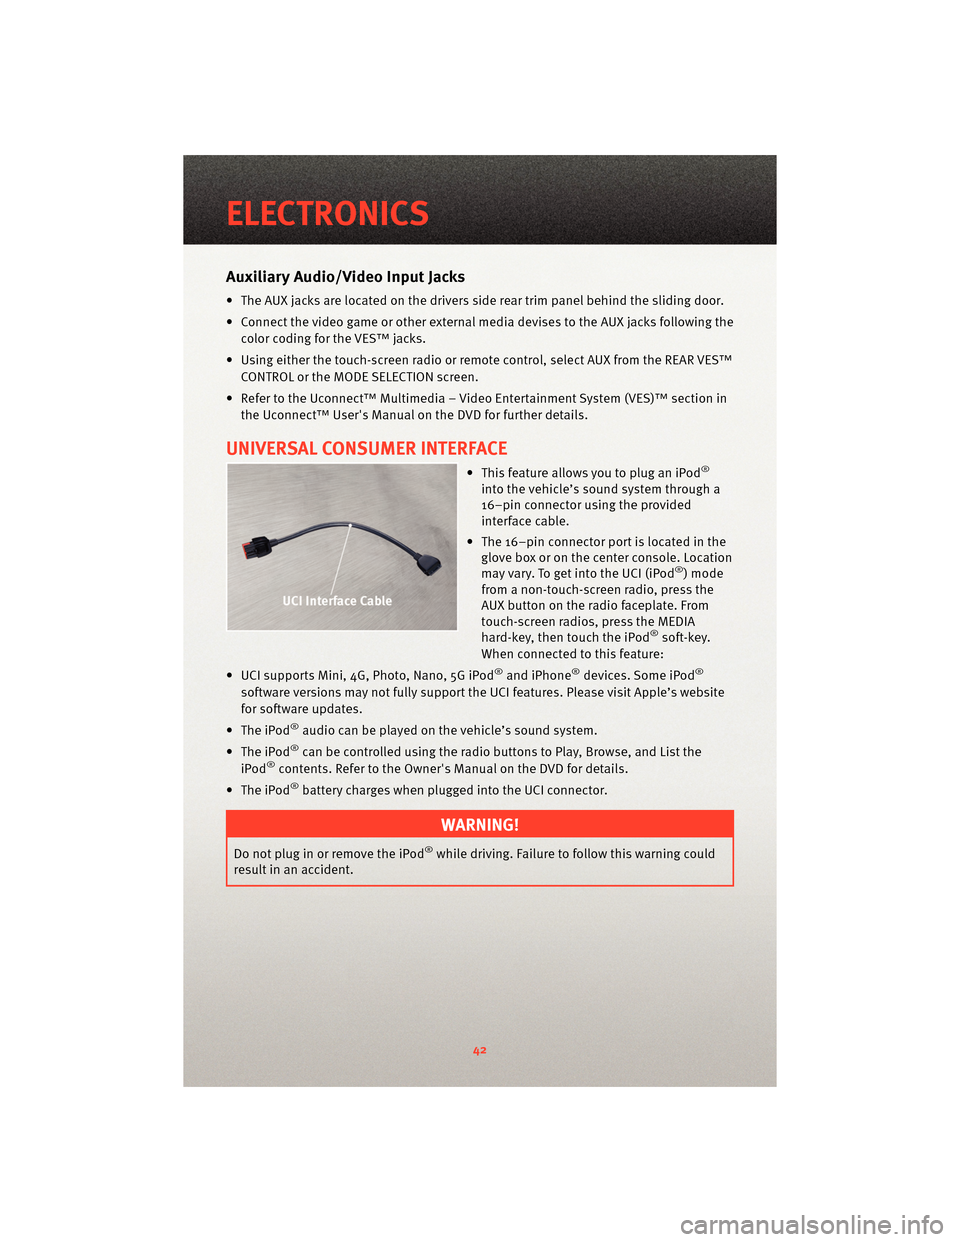
UNIVERSAL CONSUMER INTERFACE
• This feature allows you to plug an iPod®
into the vehicle’s sound system through a
16–pin connector using the provided
interface cable.
• The 16–pin connector port is located in the glove box or on the center console. Location
may vary. To get into the UCI (iPod
®) mode
from a non-touch-screen radio, press the
AUX button on the radio faceplate. From
touch-screen radios, press the MEDIA
hard-key, then touch the iPod
®soft-key.
When connected to this feature:
• UCI supports Mini, 4G, Photo, Nano, 5G iPod
®and iPhone®devices. Some iPod®
software versions may not fully support the UCI features. Please visit Apple’s website
for software updates.
• The iPod
®audio can be played on the vehicle’s sound system.
• The iPod
®can be controlled using the radio buttons to Play, Browse, and List the
iPod®contents. Refer to the Owner's Manual on the DVD for details.
• The iPod
®battery charges when plug ged into the UCI connector.
WARNING!
Do not plug in or remove the iPod®while driving. Failure to follow this warning could
result in an accident.
ELECTRONICS
42
Page 45 of 88
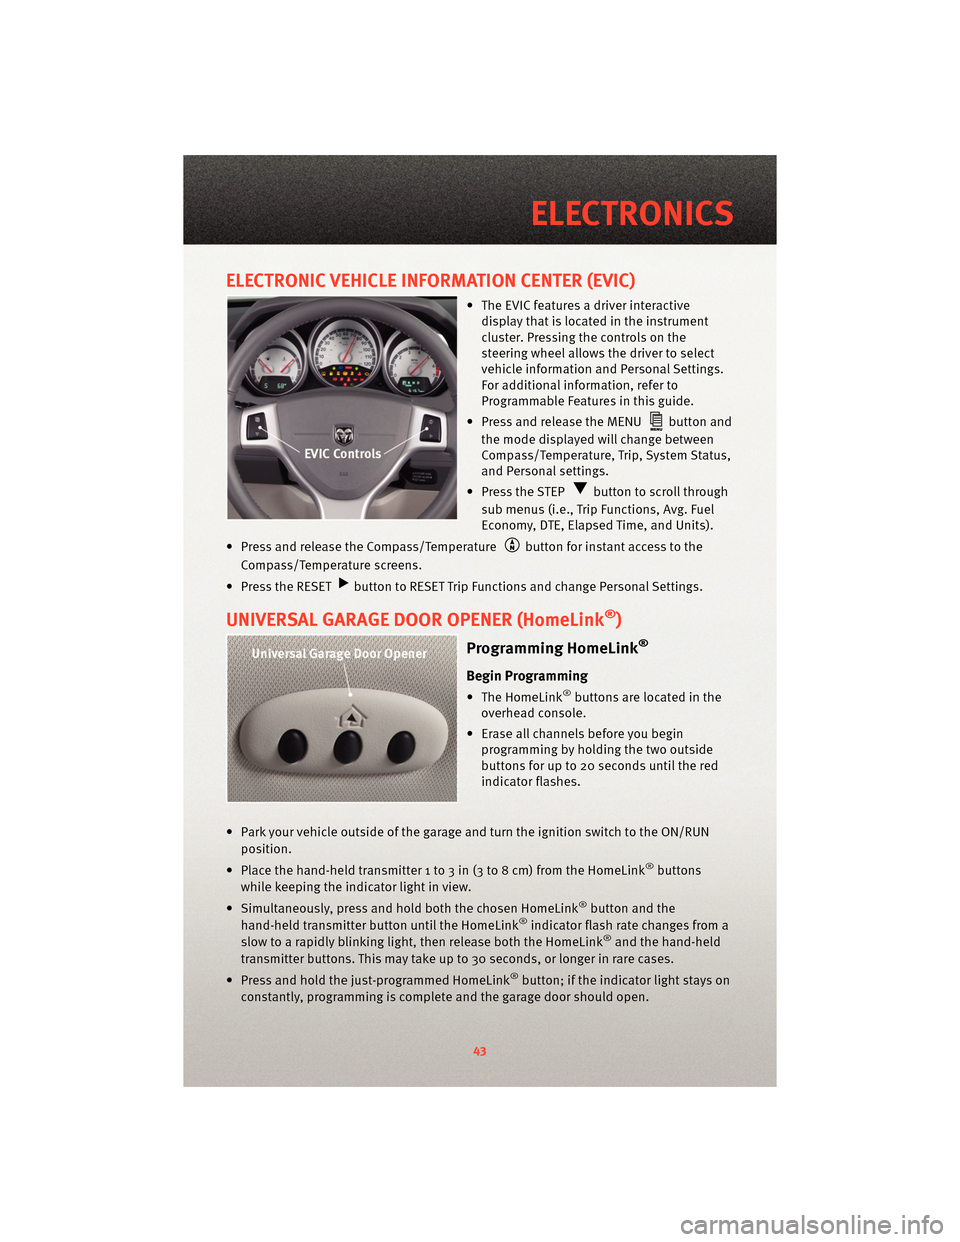
ELECTRONIC VEHICLE INFORMATION CENTER (EVIC)
• The EVIC features a driver interactivedisplay that is located in the instrument
cluster. Pressing the controls on the
steering wheel allows the driver to select
vehicle information and Personal Settings.
For additional information, refer to
Programmable Features in this guide.
• Press and release the MENU
button and
the mode displayed will change between
Compass/Temperature, Trip, System Status,
and Personal settings.
• Press the STEP
button to scroll through
sub menus (i.e., Trip Functions, Avg. Fuel
Economy, DTE, Elapsed Time, and Units).
• Press and release the Compass/Temperature
button for instant access to the
Compass/Temperature screens.
• Press the RESET
button to RESET Trip Functions and change Personal Settings.
UNIVERSAL GARAGE DOOR OPENER (HomeLink®)
Programming HomeLink®
Begin Programming
• The HomeLink®buttons are located in the
overhead console.
• Erase all channels before you begin programming by holding the two outside
buttons for up to 20 seconds until the red
indicator flashes.
• Park your vehicle outside of the garage and turn the ignition switch to the ON/RUN position.
• Place the hand-held transmitter 1 to 3 in (3 to 8 cm) from the HomeLink
®buttons
while keeping the indicator light in view.
• Simultaneously, press and hold both the chosen HomeLink
®button and the
hand-held transmitter button until the HomeLink®indicator flash rate changes from a
slow to a rapidly blinking light, then release both the HomeLink®and the hand-held
transmitter buttons. This may take up to 30 seconds, or longer in rare cases.
• Press and hold the just-programmed HomeLink
®button; if the indicator light stays on
constantly, programming is complete and the garage door should open.
43
ELECTRONICS
Page 47 of 88
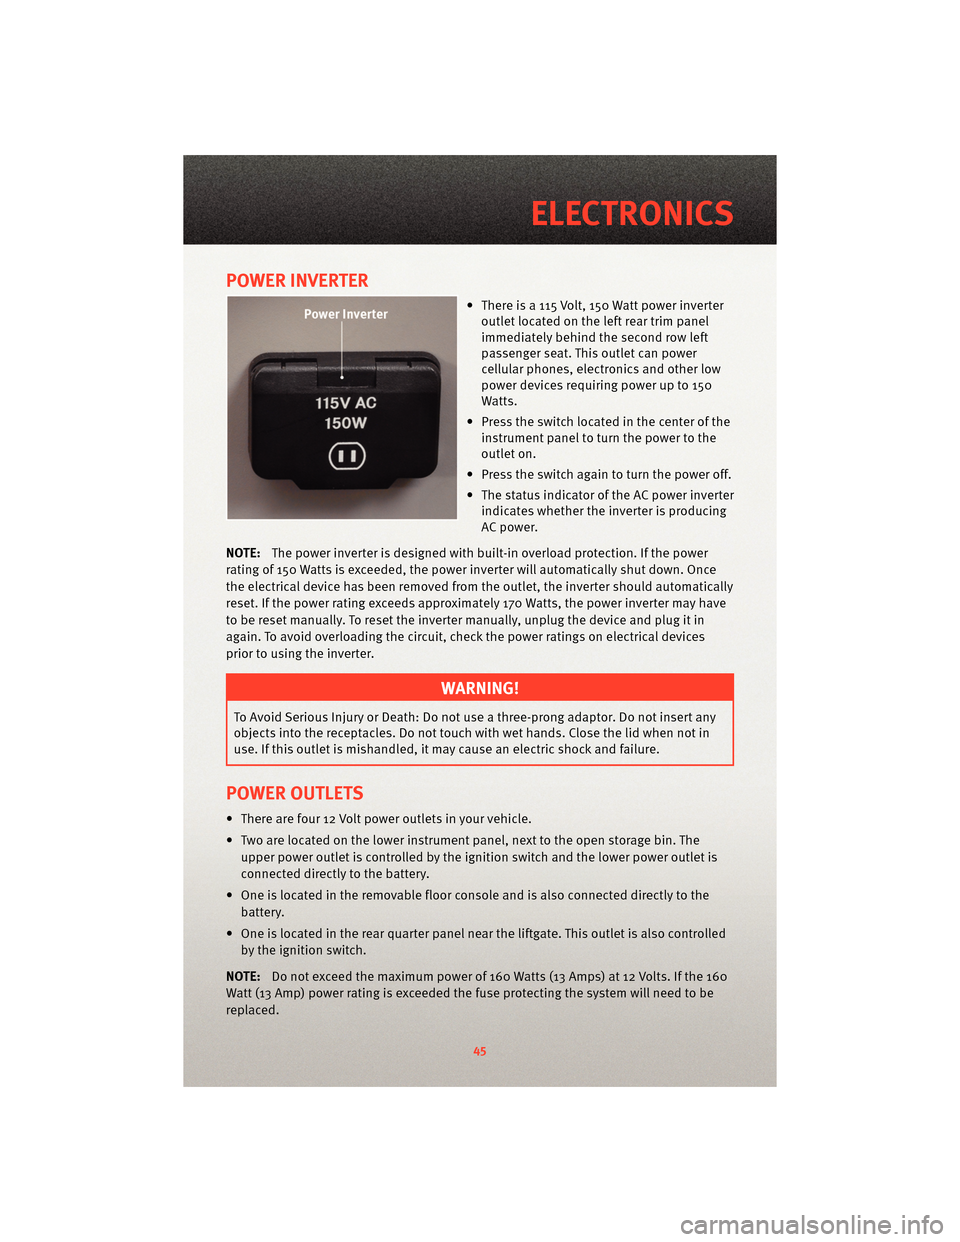
POWER INVERTER
• There is a 115 Volt, 150 Watt power inverteroutlet located on the left rear trim panel
immediately behind the second row left
passenger seat. This outlet can power
cellular phones, electronics and other low
power devices requiring power up to 150
Watts.
• Press the switch located in the center of the instrument panel to turn the power to the
outlet on.
• Press the switch again to turn the power off.
• The status indicator of the AC power inverter indicates whether the inverter is producing
AC power.
NOTE: The power inverter is designed with built-in overload protection. If the power
rating of 150 Watts is exceeded, the power inverter will automatically shut down. Once
the electrical device has been removed from the outlet, the inverter should automatically
reset. If the power rating exceeds approximately 170 Watts, the power inverter may have
to be reset manually. To reset the inverter manually, unplug the device and plug it in
again. To avoid overloading the circuit, check the power ratings on electrical devices
prior to using the inverter.
WARNING!
To Avoid Serious Injury or Death: Do not use a three-prong adaptor. Do not insert any
objects into the receptacles. Do not touch with wet hands. Close the lid when not in
use. If this outlet is mishandled, it ma y cause an electric shock and failure.
POWER OUTLETS
• There are four 12 Volt power outlets in your vehicle.
• Two are located on the lower instrument panel, next to the open storage bin. The
upper power outlet is controlled by the ignition switch and the lower power outlet is
connected directly to the battery.
• One is located in the removable floor console and is also connected directly to the battery.
• One is located in the rear quarter panel near the liftgate. This outlet is also controlled by the ignition switch.
NOTE: Do not exceed the maximum power of 160 Watts (13 Amps) at 12 Volts. If the 160
Watt (13 Amp) power rating is exceeded the fuse protecting the system will need to be
replaced.
45
ELECTRONICS
Page 59 of 88
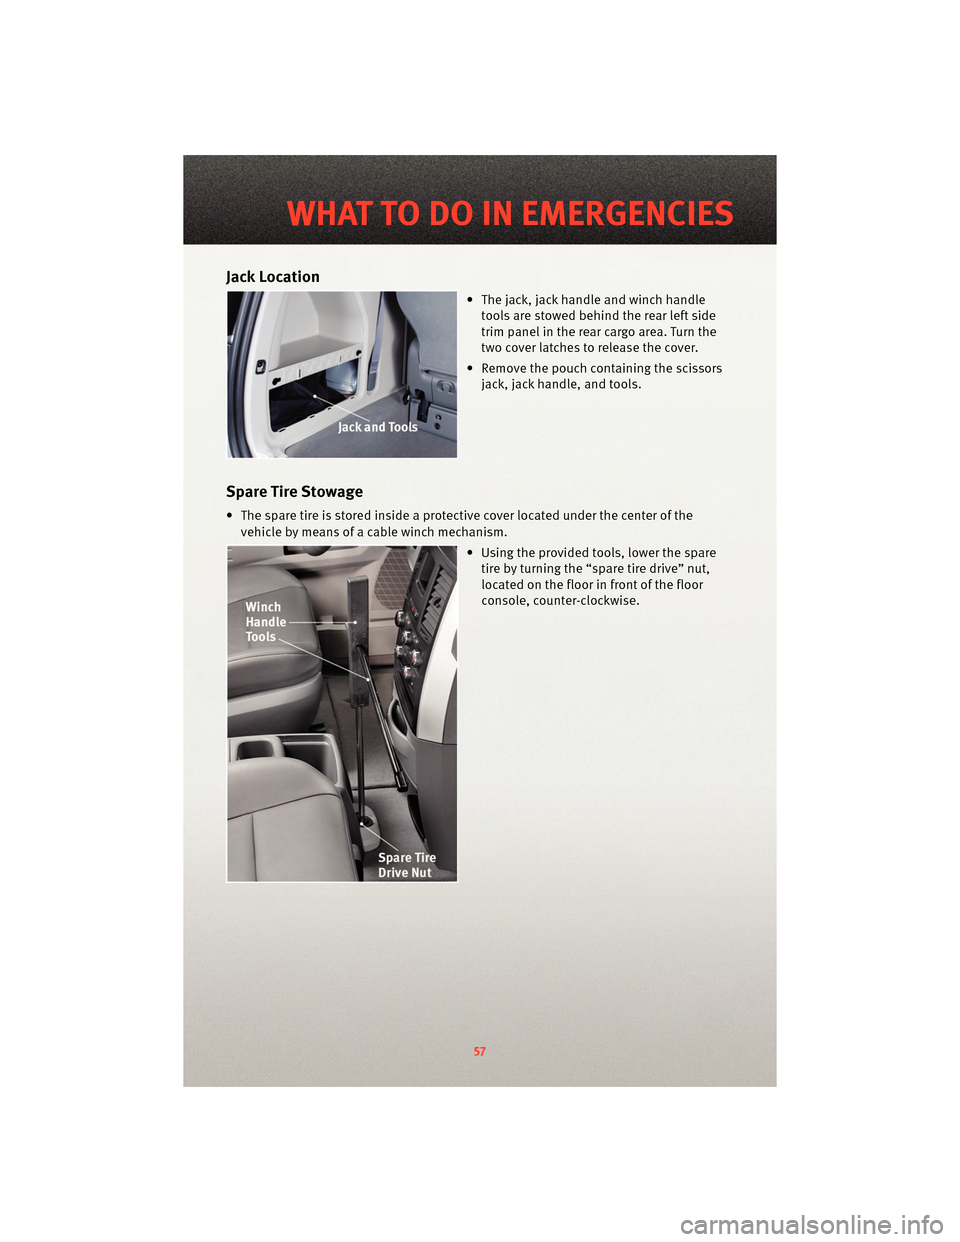
Jack Location
• The jack, jack handle and winch handletools are stowed behind the rear left side
trim panel in the rear cargo area. Turn the
two cover latches to release the cover.
• Remove the pouch cont aining the scissors
jack, jack handle, and tools.
Spare Tire Stowage
• The spare tire is stored inside a protective cover located under the center of the
vehicle by means of a cable winch mechanism.
• Using the provided tools, lower the sparetire by turning the “spare tire drive” nut,
located on the floor in front of the floor
console, counter-clockwise.
57
WHAT TO DO IN EMERGENCIES