ECO mode DODGE GRAND CARAVAN 2014 5.G Owner's Manual
[x] Cancel search | Manufacturer: DODGE, Model Year: 2014, Model line: GRAND CARAVAN, Model: DODGE GRAND CARAVAN 2014 5.GPages: 698, PDF Size: 5.56 MB
Page 273 of 698
Opening Sunroof — Express
Press the switch rearward and release it within one-half
second. The sunroof and sunshade will open automati-
cally from any position. The sunroof and sunshade will
open fully and stop automatically. This is called “Express
Open”. During Express Open operation, any movement
of the sunroof switch will stop the sunroof.
Opening Sunroof — Manual Mode
To open the sunroof, press and hold the switch rearward
to full open. Any release of the switch will stop the
movement. The sunroof and sunshade will remain in a
partially opened condition until the switch is pushed and
held rearward again.
Closing Sunroof — Express
Press the switch forward and release it within one-half
second and the sunroof will close automatically from anyposition. The sunroof will close fully and stop automati-
cally. This is called “Express Close”. During Express
Close operation, any movement of the switch will stop
the sunroof.
Closing Sunroof — Manual Mode
To close the sunroof, press and hold the switch in the
forward position. Any release of the switch will stop the
movement and the sunroof will remain in a partially
closed condition until the switch is pushed and held
forward again.
Pinch Protect Feature
This feature will detect an obstruction in the opening of
the sunroof during Express Close operation. If an ob-
struction in the path of the sunroof is detected, the
sunroof will automatically retract. Remove the obstruc-
tion if this occurs. Next, press the switch forward and
release to Express Close.
3
UNDERSTANDING THE FEATURES OF YOUR VEHICLE 271
Page 286 of 698
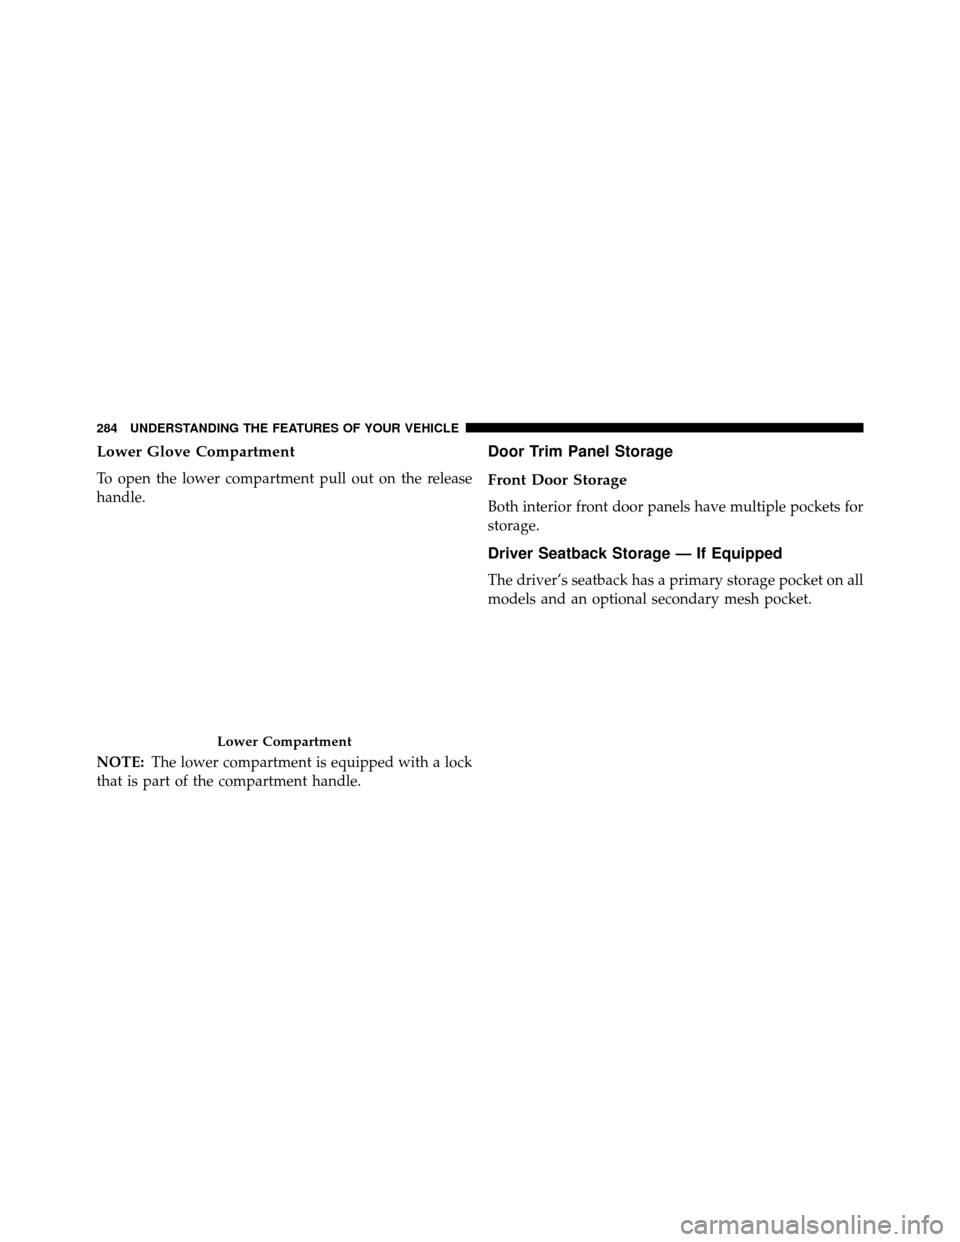
Lower Glove Compartment
To open the lower compartment pull out on the release
handle.
NOTE:The lower compartment is equipped with a lock
that is part of the compartment handle.
Door Trim Panel Storage
Front Door Storage
Both interior front door panels have multiple pockets for
storage.
Driver Seatback Storage — If Equipped
The driver’s seatback has a primary storage pocket on all
models and an optional secondary mesh pocket.
Lower Compartment
284 UNDERSTANDING THE FEATURES OF YOUR VEHICLE
Page 300 of 698
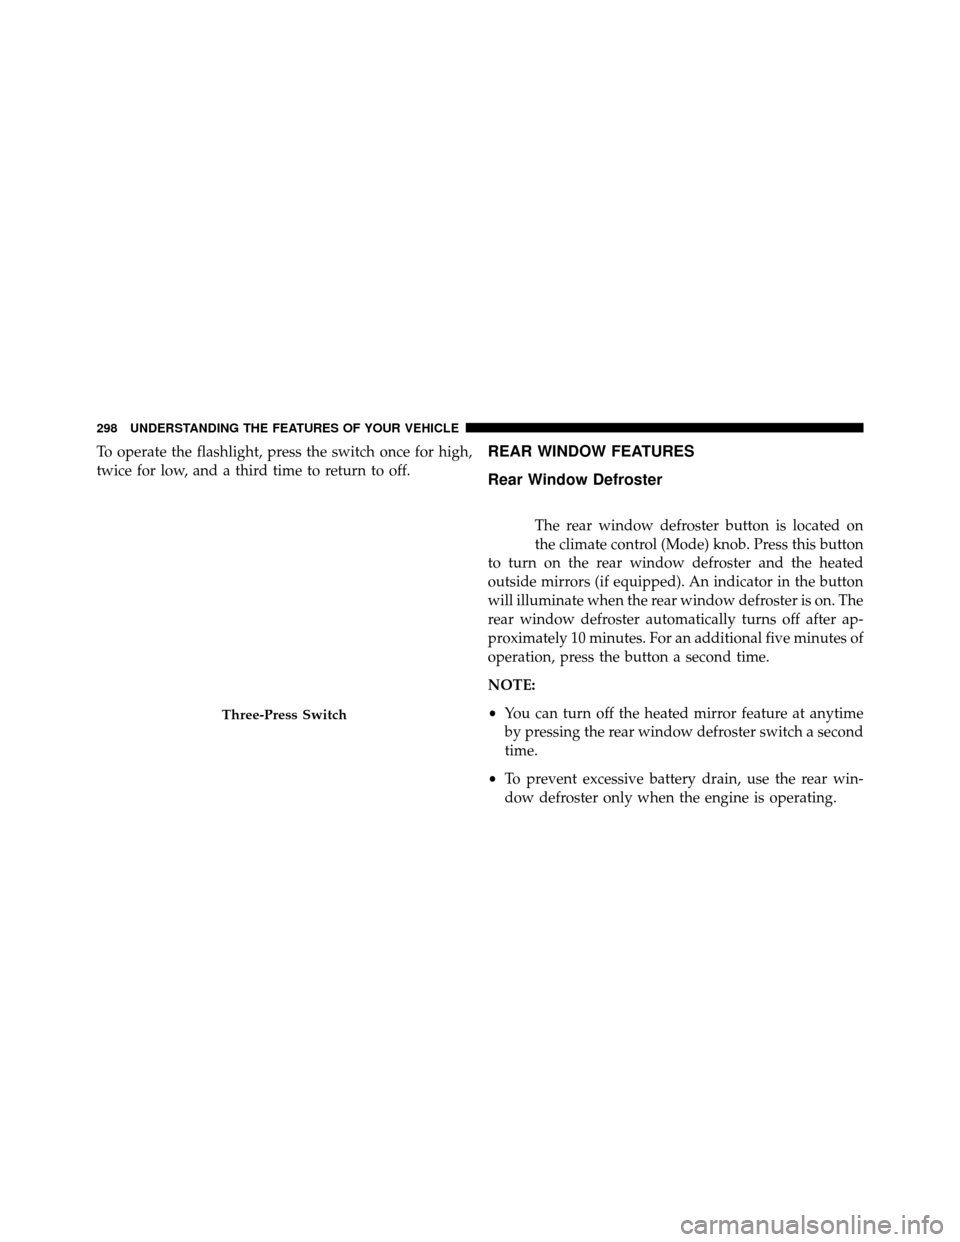
To operate the flashlight, press the switch once for high,
twice for low, and a third time to return to off.REAR WINDOW FEATURES
Rear Window Defroster
The rear window defroster button is located on
the climate control (Mode) knob. Press this button
to turn on the rear window defroster and the heated
outside mirrors (if equipped). An indicator in the button
will illuminate when the rear window defroster is on. The
rear window defroster automatically turns off after ap-
proximately 10 minutes. For an additional five minutes of
operation, press the button a second time.
NOTE:
• You can turn off the heated mirror feature at anytime
by pressing the rear window defroster switch a second
time.
• To prevent excessive battery drain, use the rear win-
dow defroster only when the engine is operating.
Three-Press Switch
298 UNDERSTANDING THE FEATURES OF YOUR VEHICLE
Page 352 of 698
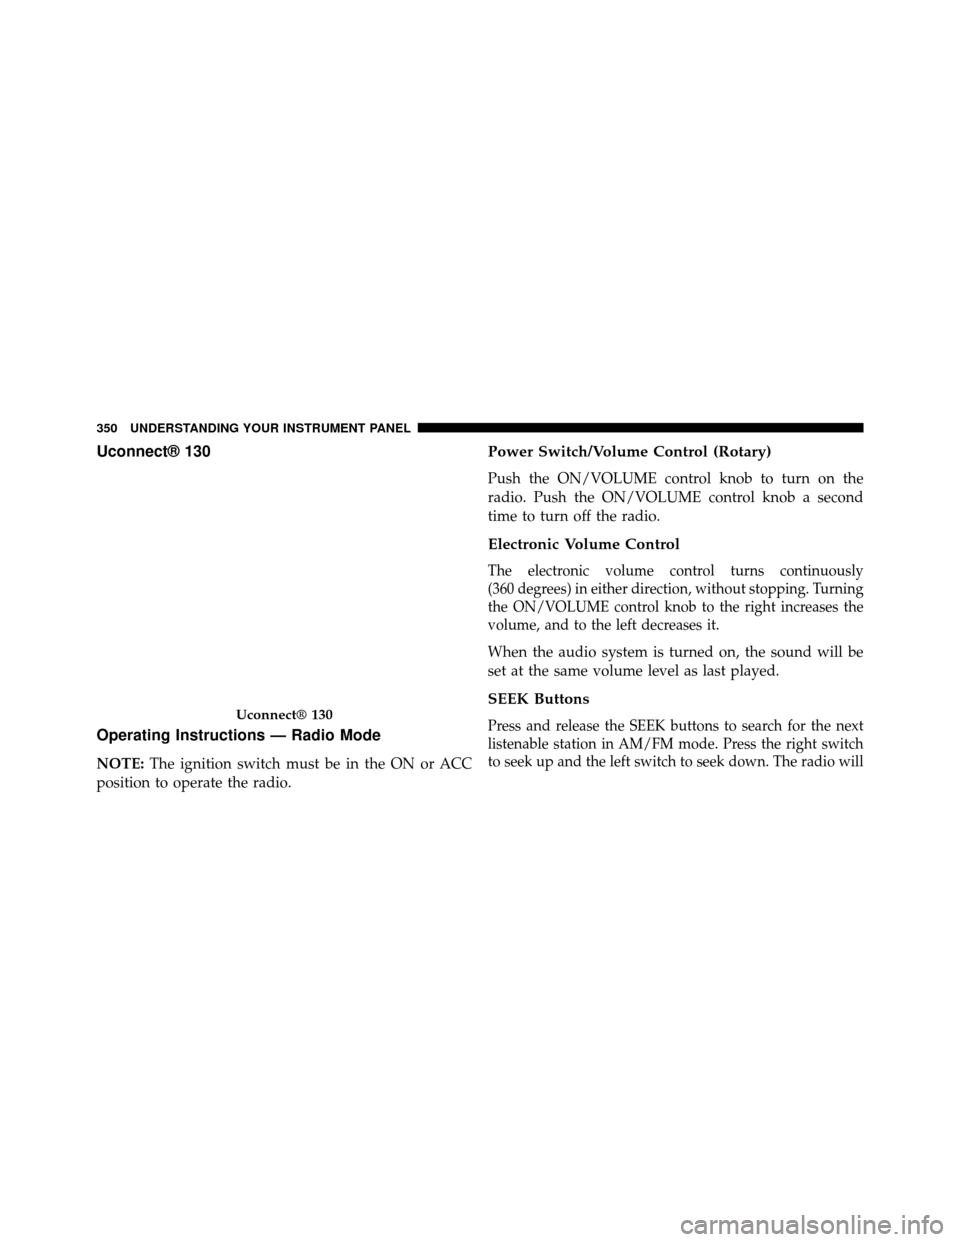
Uconnect® 130
Operating Instructions — Radio Mode
NOTE:The ignition switch must be in the ON or ACC
position to operate the radio.
Power Switch/Volume Control (Rotary)
Push the ON/VOLUME control knob to turn on the
radio. Push the ON/VOLUME control knob a second
time to turn off the radio.
Electronic Volume Control
The electronic volume control turns continuously
(360 degrees) in either direction, without stopping. Turning
the ON/VOLUME control knob to the right increases the
volume, and to the left decreases it.
When the audio system is turned on, the sound will be
set at the same volume level as last played.
SEEK Buttons
Press and release the SEEK buttons to search for the next
listenable station in AM/FM mode. Press the right switch
to seek up and the left switch to seek down. The radio willUconnect® 130
350 UNDERSTANDING YOUR INSTRUMENT PANEL
Page 354 of 698
Push the rotary TUNE/SCROLL control knob a second
time and MID will display. Turn the TUNE/SCROLL
control knob to the right or left to increase or decrease the
mid-range tones.
Push the rotary TUNE/SCROLL control knob a third
time and TREBLE will display. Turn the TUNE/SCROLL
control knob to the right or left to increase or decrease the
treble tones.
Push the rotary TUNE/SCROLL control knob a fourth
time and BALANCE will display. Turn the TUNE/
SCROLL control knob to the right or left to adjust the
sound level from the right or left side speakers.
Push the rotary TUNE/SCROLL control knob a fifth time
and FADE will display. Turn the TUNE/SCROLL control
knob to the left or right to adjust the sound level between
the front and rear speakers.Push the rotary TUNE/SCROLL control knob again to
exit setting tone, balance, and fade.
AM/FM Button
Press the buttons to select either AM or FM mode.
SET/RND Button — To Set The Pushbutton
Memory
When you are receiving a station that you wish to
commit to pushbutton memory, press the SET/RND
button. The symbol SET 1 will now show in the display
window. Select the button (1 to 6) you wish to lock onto
this station and press and release that button. If a button
is not selected within five seconds after pressing the
SET/RND button, the station will continue to play but
will not be stored into pushbutton memory.
352 UNDERSTANDING YOUR INSTRUMENT PANEL
Page 355 of 698
You may add a second station to each pushbutton by
repeating the above procedure with this exception: Press
the SET/RND button twice and SET 2 will show in the
display window. Each button can be set for SET 1 and
SET 2 in both AM and FM. This allows a total of 12 AM
and 12 FM stations to be stored into pushbutton memory.
The stations stored in SET 2 memory can be selected by
pressing the pushbutton twice.
Every time a preset button is used, a corresponding
button number will display.
Buttons 1 - 6
These buttons tune the radio to the stations that you
commit to pushbutton memory (12 AM and 12 FM
stations).
DISC Button
Pressing the DISC button will allow you to switch from
AM/FM modes to Disc modes.
Operation Instructions — CD MODE For CD And
MP3 Audio Play
NOTE:
•The ignition switch must be in the ON or ACC position
to operate the radio.
• This radio is capable of playing compact discs (CD),
recordable compact discs (CD-R), rewritable compact
discs (CD-RW), compact discs with MP3 tracks and
multisession compact discs with CD and MP3 tracks.
Inserting Compact Disc(s)
Gently insert one CD into the CD player with the CD
label facing up. The CD will automatically be pulled into
the CD player and the CD icon will illuminate on the
radio display. If a CD does not go into the slot more than
1.0 in (2.5 cm), a disc may already be loaded and must be
ejected before a new disc can be loaded.
4
UNDERSTANDING YOUR INSTRUMENT PANEL 353
Page 356 of 698
If you insert a disc with the ignition ON and the radio
ON, the unit will switch from radio to CD mode and
begin to play when you insert the disc. The display will
show the track number, and index time in minutes and
seconds. Play will begin at the start of track 1.
CAUTION!
•This CD player will accept 4–3/4 in (12 cm) discs
only. The use of other sized discs may damage the
CD player mechanism.
• Do not use adhesive labels. These labels can peel
away and jam the player mechanism.
• The Uconnect® 130 is a single CD player. Do not
attempt to insert a second CD if one is already
loaded.
(Continued)
CAUTION! (Continued)
•Dual-media disc types (one side is a DVD, the
other side is a CD) should not be used, and they can
cause damage to the player.
EJECT Button — Ejecting A CD
Press the EJECT button to eject the CD.
If you have ejected a disc and have not removed it within
10 seconds, it will be reloaded. If the CD is not removed,
the radio will reinsert the CD but will not play it.
A disc can be ejected with the radio and ignition OFF.
NOTE: Ejecting with the ignition OFF is not allowed on
convertible or soft-top models (if equipped).
354 UNDERSTANDING YOUR INSTRUMENT PANEL
Page 357 of 698
SEEK Button
Press the right SEEK button for the next selection on the
CD. Press the left SEEK button to return to the beginning
of the current selection, or return to the beginning of the
previous selection if the CD is within the first second of
the current selection. Pressing and holding the SEEK
button will allow faster scrolling through the tracks in
CD and MP3 modes.
TIME Button
Press this button to change the display from a large CD
playing time display to a small CD playing time display.
RW/FF
Press and hold the FF (Fast Forward) button and the CD
player will begin to fast forward until FF is released, or
RW or another CD button is pressed. The RW (Reverse)
button operates in a similar manner.
AM/FM Button
Press the button to select either AM or FM mode.
SET/RND Button (Random Play Button)
Press this button while the CD is playing to activate
Random Play. This feature plays the selections on the
compact disc in random order to provide an interesting
change of pace.
Press the right SEEK button to move to the next ran-
domly selected track.
Press the RND button a second time to stop Random
Play.
Notes On Playing MP3 Files
The radio can play MP3 files; however, acceptable MP3
file recording media and formats are limited. When
writing MP3 files, pay attention to the following restric-
tions.
4
UNDERSTANDING YOUR INSTRUMENT PANEL 355
Page 360 of 698
Playback Of MP3 Files
When a medium containing MP3 data is loaded, the
radio checks all files on the medium. If the medium
contains a lot of folders or files, the radio will take more
time to start playing the MP3 files.
Loading times for playback of MP3 files may be affected
by the following:
•Media - CD-RW media may take longer to load than
CD-R media
• Medium formats - Multisession discs may take longer
to load than non-multisession discs
• Number of files and folders - Loading times will
increase with more files and folders To increase the speed of disc loading, it is recommended
to use CD-R media and single-session discs. To create a
single-session disc, enable the “Disc at Once” option
before writing to the disc.
Operation Instructions — Auxiliary Mode
The auxiliary (AUX) jack is an audio input jack, which
allows the user to plug in a portable device, such as an
MP3 player, or iPod®, and utilize the vehicle’s audio
system to amplify the source and play through the
vehicle speakers.
358 UNDERSTANDING YOUR INSTRUMENT PANEL
Page 361 of 698
Pressing the DISC/AUX button will change the mode to
auxiliary device if the AUX jack is connected.
NOTE:The AUX device must be turned on and the
device’s volume set to proper level. If the AUX audio is
not loud enough, turn the device’s volume up. If the AUX
audio sounds distorted, turn the device’s volume down.
TIME Button (Auxiliary Mode)
Press this button to change the display to time of day. The
time of day will display for five seconds (when ignition is
OFF).
Uconnect® 130 WITH SATELLITE RADIO
Uconnect® 130
4
UNDERSTANDING YOUR INSTRUMENT PANEL 359