check oil DODGE GRAND CARAVAN 2014 5.G User Guide
[x] Cancel search | Manufacturer: DODGE, Model Year: 2014, Model line: GRAND CARAVAN, Model: DODGE GRAND CARAVAN 2014 5.GPages: 156, PDF Size: 3.83 MB
Page 9 of 156
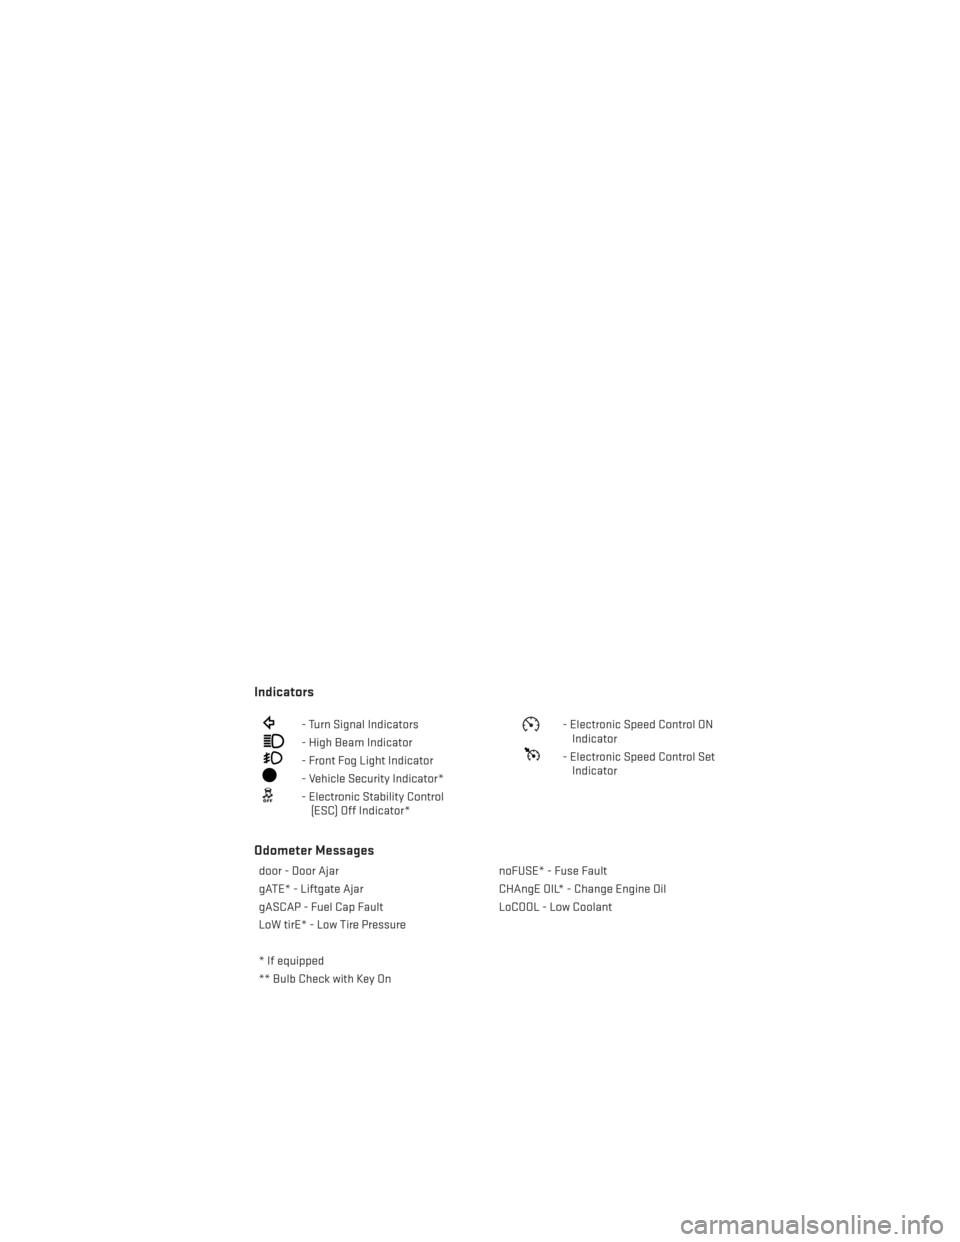
Indicators
- Turn Signal Indicators
- High Beam Indicator
- Front Fog Light Indicator
- Vehicle Security Indicator*
- Electronic Stability Control(ESC) Off Indicator*
- Electronic Speed Control ONIndicator
- Electronic Speed Control SetIndicator
Odometer Messages
door - Door Ajar noFUSE* - Fuse Fault
gATE* - Liftgate Ajar CHAngE OIL* - Change Engine Oil
gASCAP - Fuel Cap Fault LoCOOL - Low Coolant
LoW tirE* - Low Tire Pressure
* If equipped
** Bulb Check with Key On
CONTROLS AT A GLANCE
7
Page 99 of 156
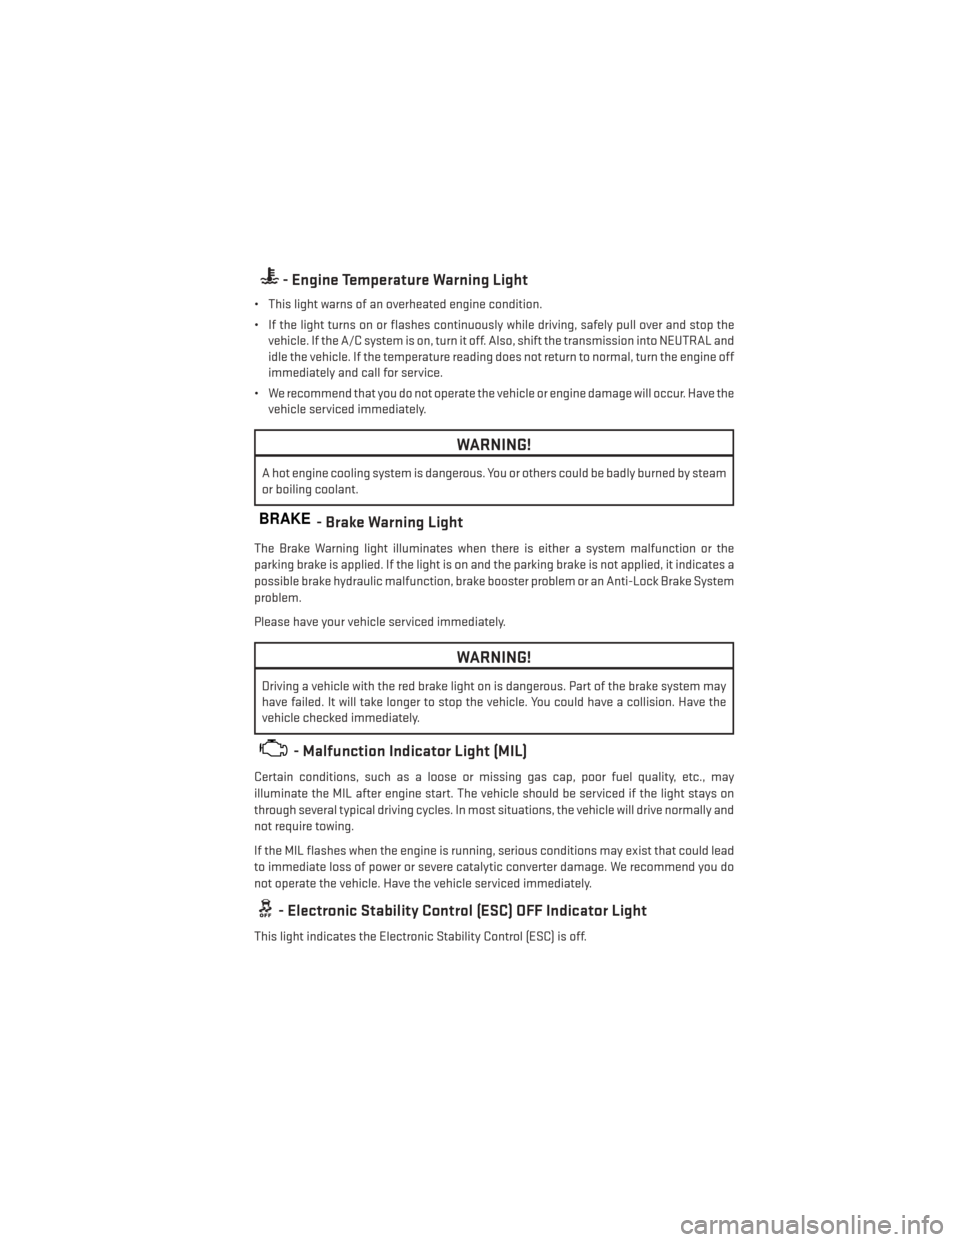
- Engine Temperature Warning Light
• This light warns of an overheated engine condition.
• If the light turns on or flashes continuously while driving, safely pull over and stop thevehicle. If the A/C system is on, turn it off. Also, shift the transmission into NEUTRAL and
idle the vehicle. If the temperature reading does not return to normal, turn the engine off
immediately and call for service.
• We recommend that you do not operate the vehicle or engine damage will occur. Have the vehicle serviced immediately.
WARNING!
A hot engine cooling system is dangerous. You or others could be badly burned by steam
or boiling coolant.
BRAKE- Brake Warning Light
The Brake Warning light illuminates when there is either a system malfunction or the
parking brake is applied. If the light is on and the parking brake is not applied, it indicates a
possible brake hydraulic malfunction, brake booster problem or an Anti-Lock Brake System
problem.
Please have your vehicle serviced immediately.
WARNING!
Driving a vehicle with the red brake light on is dangerous. Part of the brake system may
have failed. It will take longer to stop the vehicle. You could have a collision. Have the
vehicle checked immediately.
- Malfunction Indicator Light (MIL)
Certain conditions, such as a loose or missing gas cap, poor fuel quality, etc., may
illuminate the MIL after engine start. The vehicle should be serviced if the light stays on
through several typical driving cycles. In most situations, the vehicle will drive normally and
not require towing.
If the MIL flashes when the engine is running, serious conditions may exist that could lead
to immediate loss of power or severe catalytic converter damage. We recommend you do
not operate the vehicle. Have the vehicle serviced immediately.
- Electronic Stability Control (ESC) OFF Indicator Light
This light indicates the Electronic Stability Control (ESC) is off.
WHAT TO DO IN EMERGENCIES
97
Page 106 of 156
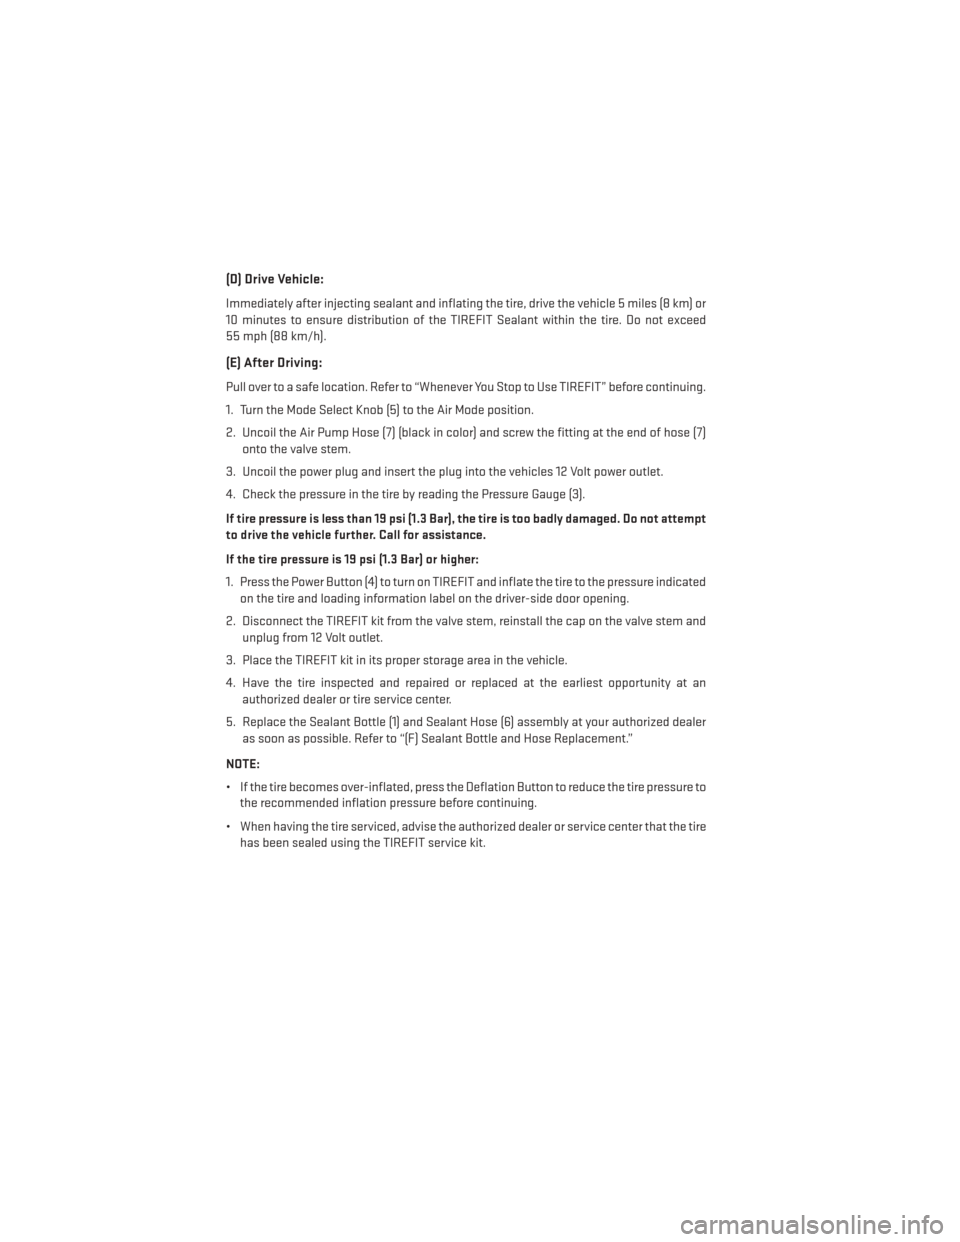
(D) Drive Vehicle:
Immediately after injecting sealant and inflating the tire, drive the vehicle 5 miles (8 km) or
10 minutes to ensure distribution of the TIREFIT Sealant within the tire. Do not exceed
55 mph (88 km/h).
(E) After Driving:
Pull over to a safe location. Refer to “Whenever You Stop to Use TIREFIT” before continuing.
1. Turn the Mode Select Knob (5) to the Air Mode position.
2. Uncoil the Air Pump Hose (7) (black in color) and screw the fitting at the end of hose (7)onto the valve stem.
3. Uncoil the power plug and insert the plug into the vehicles 12 Volt power outlet.
4. Check the pressure in the tire by reading the Pressure Gauge (3).
If tire pressure is less than 19 psi (1.3 Bar), the tire is too badly damaged. Do not attempt
to drive the vehicle further. Call for assistance.
If the tire pressure is 19 psi (1.3 Bar) or higher:
1. Press the Power Button (4) to turn on TIREFIT and inflate the tire to the pressure indicated on the tire and loading information label on the driver-side door opening.
2. Disconnect the TIREFIT kit from the valve stem, reinstall the cap on the valve stem and unplug from 12 Volt outlet.
3. Place the TIREFIT kit in its proper storage area in the vehicle.
4. Have the tire inspected and repaired or replaced at the earliest opportunity at an authorized dealer or tire service center.
5. Replace the Sealant Bottle (1) and Sealant Hose (6) assembly at your authorized dealer as soon as possible. Refer to “(F) Sealant Bottle and Hose Replacement.”
NOTE:
• If the tire becomes over-inflated, press the Deflation Button to reduce the tire pressure to the recommended inflation pressure before continuing.
• When having the tire serviced, advise the authorized dealer or service center that the tire has been sealed using the TIREFIT service kit.
WHAT TO DO IN EMERGENCIES
104
Page 131 of 156
Your authorized dealer will reset the oil change indicator message after completing the
scheduled oil change. If a scheduled oil change is performed by someone other than your
authorized dealer, the message can be reset by referring to the steps described under
“Instrument Cluster Warning Lights” in “What To Do In Emergencies” in this guide or
“Electronic Vehicle Information Center (EVIC)” in “Understanding Your Instrument Panel” in
your Owners Manual on the DVD for further information.
NOTE:
Under no circumstances should oil change intervals exceed 10,000 miles (16,000 km) or
twelve months, whichever comes first.
Severe Duty All Models
Change Engine Oil at 4000 miles (6,500 km) if the vehicle is operated in a dusty and off road
environment. This type of vehicle use is considered Severe Duty.
Once A Month Or Before A Long Trip:
• Check engine oil level.
• Check windshield washer fluid level.
• Check tire pressure and look for unusual wear or damage. Rotate tires at the first sign ofirregular wear, even if it occurs before the oil indicator system turns on.
• Check the fluid levels of the coolant reservoir, brake master cylinder, and power steering and fill as needed.
• Check function of all interior and exterior lights .
Required Maintenance Intervals.
Refer to the maintenance schedules on the following page for the required maintenance
intervals.
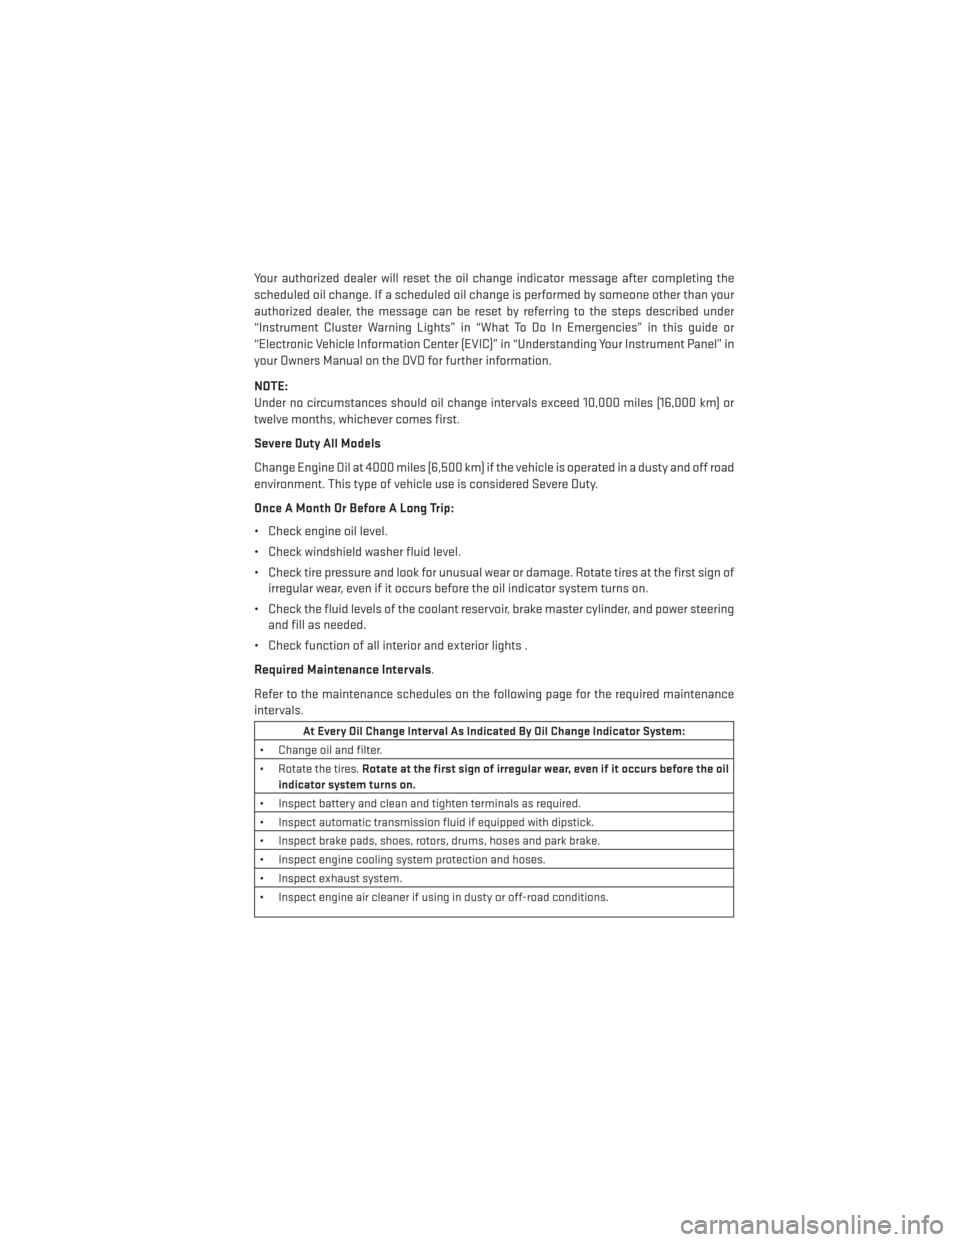
At Every Oil Change Interval As Indicated By Oil Change Indicator System:
• Change oil and filter.
• Rotate the tires. Rotate at the first sign of irregular wear, even if it occurs before the oil
indicator system turns on.
• Inspect battery and clean and tighten terminals as required.
• Inspect automatic transmission fluid if equipped with dipstick.
• Inspect brake pads, shoes, rotors, drums, hoses and park brake.
• Inspect engine cooling system protection and hoses.
• Inspect exhaust system.
• Inspect engine air cleaner if using in dusty or off-road conditions.
MAINTAINING YOUR VEHICLE
129
Page 146 of 156
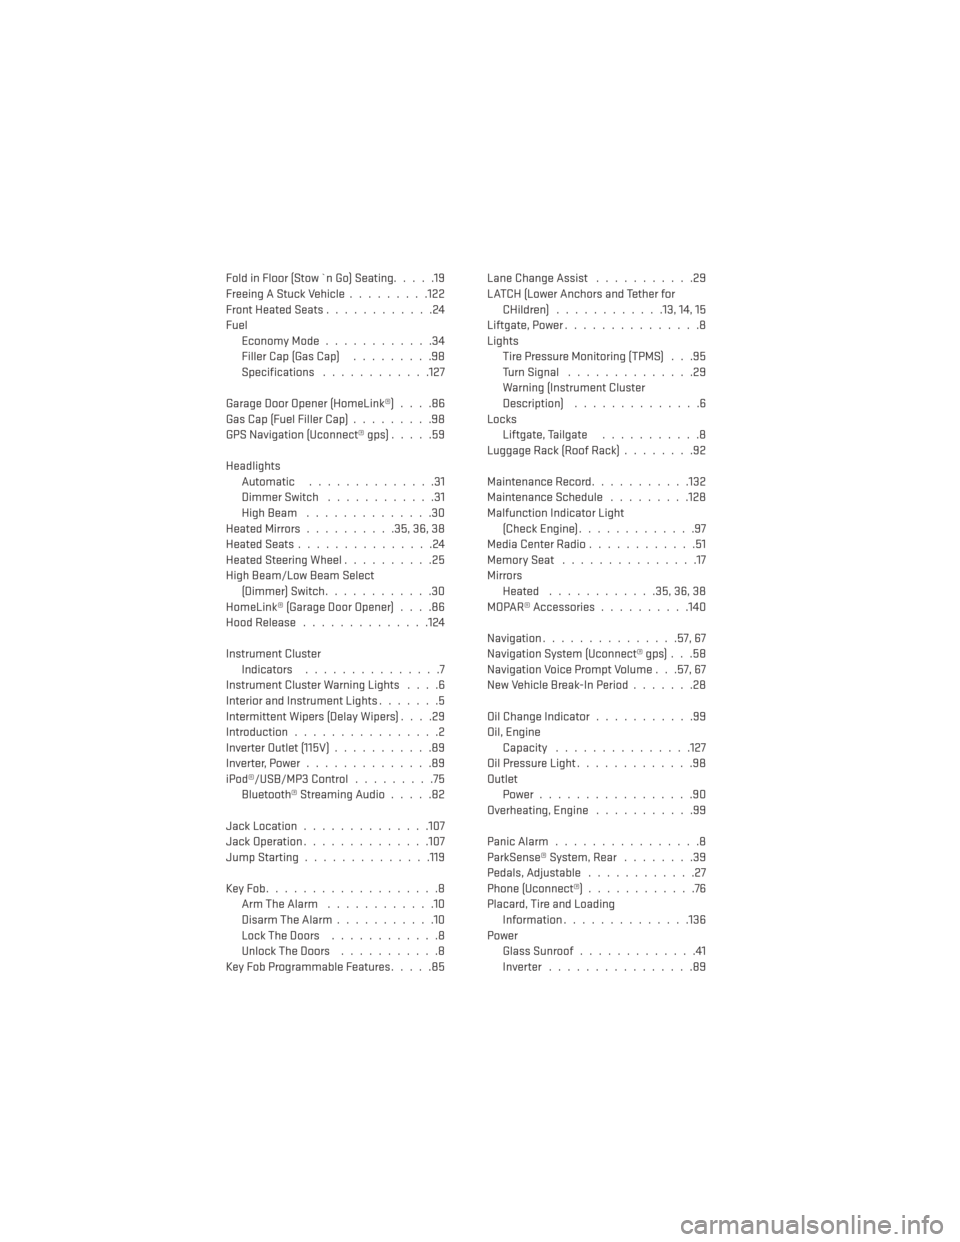
Fold in Floor (Stow `n Go) Seating.....19
Freeing A Stuck Vehicle .........122
Front Heated Seats ............24
Fuel Economy Mode ............34
Filler Cap (Gas Cap) .........98
Specifications ............127
GarageDoorOpener(HomeLink®)....86
Gas Cap (Fuel Filler Cap) .........98
GPS Navigation (Uconnect® gps) .....59
Headlights Automatic ..............31
Dimmer Switch ............31
HighBeam ..............30
HeatedMirrors..........35,36,38
HeatedSeats...............24
Heated Steering Wheel ..........25
High Beam/Low Beam Select (Dimmer) Switch ............30
HomeLink® (Garage Door Opener) ....86
Hood Release ..............124
Instrument Cluster Indicators ...............7
Instrument Cluster Warning Lights ....6
Interior and Instrument Lights .......5
Intermittent Wipers (Delay Wipers) ....29
Introduction ................2
Inverter Outlet (115V) ...........89
Inverter,Power..............89
iPod®/USB/MP3 Control .........75
Bluetooth®StreamingAudio.....82
Jack Location ..............107
Jack Operation ..............107
Jump Starting ..............119
KeyFob...................8 Arm The Alarm ............10
Disarm The Alarm ...........10
LockTheDoors ............8
Unlock The Doors ...........8
Key Fob Programmable Features .....85Lane Change Assist
...........29
LATCH (Lower Anchors and Tether for CHildren) ............13, 14, 15
Liftgate, Power ...............8
Lights Tire Pressure Monitoring (TPMS) . . .95
TurnSignal ..............29
Warning (Instrument Cluster
Description) ..............6
Locks Liftgate, Tailgate ...........8
LuggageRack(RoofRack)........92
Maintenance Record ...........132
Maintenance Schedule .........128
Malfunction Indicator Light (Check Engine) .............97
Media Center Radio ............51
MemorySeat ...............17
Mirrors Heated ............35,36,38
MOPAR® Accessories ..........140
Navigation ...............57,67
Navigation System (Uconnect® gps) . . .58
Navigation Voice Prompt Volume . . .57, 67
New Vehicle Break-In Period .......28
Oil Change Indicator ...........99
Oil, Engine Capacity ...............127
Oil Pressure Light .............98
Outlet P
ower.................90
Overheating, Engine ...........99
Panic Alarm ................8
ParkSense® System, Rear ........39
Pedals,Adjustable ............27
Phone (Uconnect®) ............76
Placard, Tire and Loading Information ..............136
Power Glass Sunroof .............41
Inverter ................89
INDEX
144