ESP DODGE GRAND CARAVAN 2015 5.G Owner's Manual
[x] Cancel search | Manufacturer: DODGE, Model Year: 2015, Model line: GRAND CARAVAN, Model: DODGE GRAND CARAVAN 2015 5.GPages: 164, PDF Size: 22.27 MB
Page 111 of 164

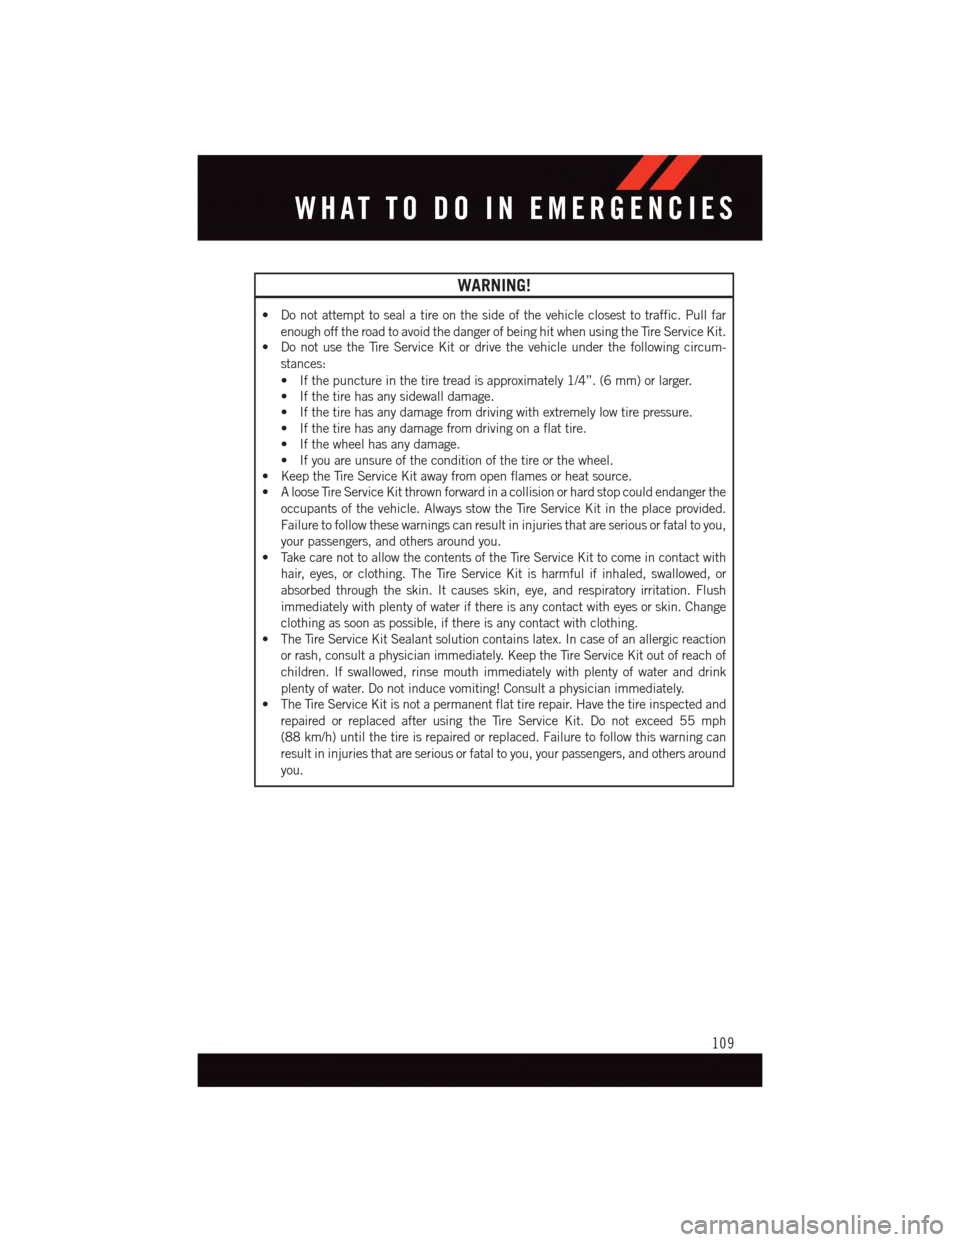
WARNING!
•Donotattempttosealatireonthesideofthevehicleclosesttotraffic.Pullfar
enough off the road to avoid the danger of being hit when using the Tire Service Kit.•DonotusetheTireServiceKitordrivethevehicleunderthefollowingcircum-
stances:
•Ifthepunctureinthetiretreadisapproximately1/4”.(6mm)orlarger.
•Ifthetirehasanysidewalldamage.
•Ifthetirehasanydamagefromdrivingwithextremelylowtirepressure.
•Ifthetirehasanydamagefromdrivingonaflattire.
•Ifthewheelhasanydamage.
•Ifyouareunsureoftheconditionofthetireorthewheel.
•KeeptheTireServiceKitawayfromopenflamesorheatsource.
•AlooseTireServiceKitthrownforwardinacollisionorhardstopcouldendangerthe
occupants of the vehicle. Always stow the Tire Service Kit in the place provided.
Failure to follow these warnings can result in injuries that are serious or fatal to you,
your passengers, and others around you.
•TakecarenottoallowthecontentsoftheTireServiceKittocomeincontactwith
hair, eyes, or clothing. The Tire Service Kit is harmful if inhaled, swallowed, or
absorbed through the skin. It causes skin, eye, and respiratory irritation. Flush
immediately with plenty of water if there is any contact with eyes or skin. Change
clothing as soon as possible, if there is any contact with clothing.
•TheTireServiceKitSealantsolutioncontainslatex.Incaseofanallergicreaction
or rash, consult a physician immediately. Keep the Tire Service Kit out of reach of
children. If swallowed, rinse mouth immediately with plenty of water and drink
plenty of water. Do not induce vomiting! Consult a physician immediately.
•TheTireServiceKitisnotapermanentflattirerepair.Havethetireinspectedand
repaired or replaced after using the Tire Service Kit. Do not exceed 55 mph
(88 km/h) until the tire is repaired or replaced. Failure to follow this warning can
result in injuries that are serious or fatal to you, your passengers, and others around
you.
WHAT TO DO IN EMERGENCIES
109
Page 122 of 164

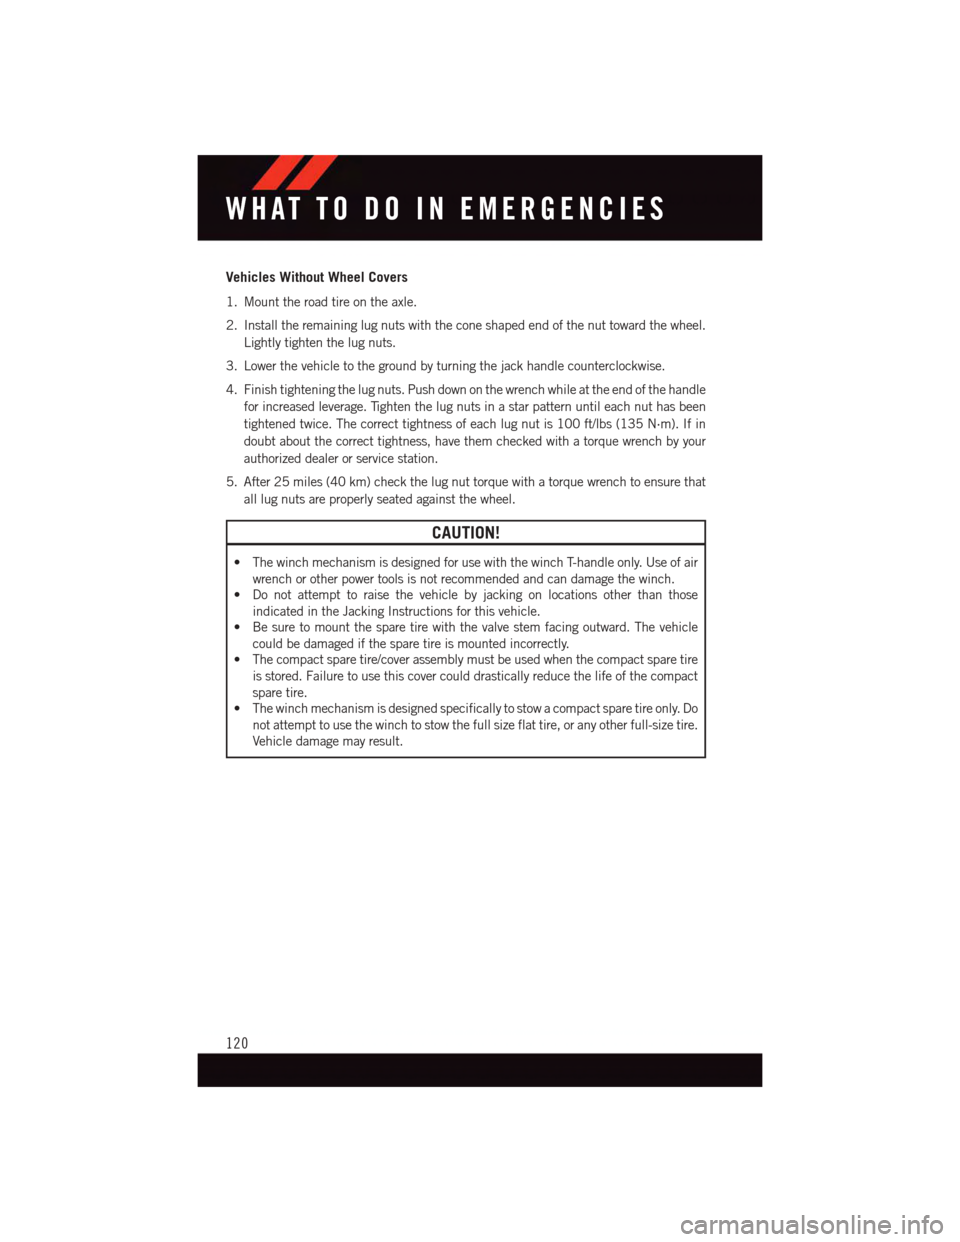
Vehicles Without Wheel Covers
1. Mount the road tire on the axle.
2. Install the remaining lug nuts with the cone shaped end of the nut toward the wheel.
Lightly tighten the lug nuts.
3. Lower the vehicle to the ground by turning the jack handle counterclockwise.
4. Finish tightening the lug nuts. Push down on the wrench while at the end of the handle
for increased leverage. Tighten the lug nuts in a star pattern until each nut has been
tightened twice. The correct tightness of each lug nut is 100 ft/lbs (135 N·m). If in
doubt about the correct tightness, have them checked with a torque wrench by your
authorized dealer or service station.
5. After 25 miles (40 km) check the lug nut torque with a torque wrench to ensure that
all lug nuts are properly seated against the wheel.
CAUTION!
•ThewinchmechanismisdesignedforusewiththewinchT-handleonly.Useofair
wrench or other power tools is not recommended and can damage the winch.
•Donotattempttoraisethevehiclebyjackingonlocationsotherthanthose
indicated in the Jacking Instructions for this vehicle.
•Besuretomountthesparetirewiththevalvestemfacingoutward.Thevehicle
could be damaged if the spare tire is mounted incorrectly.
•Thecompactsparetire/coverassemblymustbeusedwhenthecompactsparetire
is stored. Failure to use this cover could drastically reduce the life of the compact
spare tire.
•Thewinchmechanismisdesignedspecificallytostowacompactsparetireonly.Do
not attempt to use the winch to stow the full size flat tire, or any other full-size tire.
Vehicle damage may result.
WHAT TO DO IN EMERGENCIES
120
Page 140 of 164

Totally Integrated Power Module (Fuses)
The Totally Integrated Power Module is located in the engine compartment near the
battery. Refer to the applicable “Engine Compartment” illustration in this section. This
center contains cartridge fuses and mini-fuses. A label that identifies each component
may be printed or embossed on the inside of the cover.
CAUTION!
•WheninstallingtheTotallyIntegratedPowerModulecover,itisimportanttoensure
the cover is properly positioned and fully latched. Failure to do so may allow water
to get into the Integrated Power Module, and possibly result in a electrical system
failure.
•Whenreplacingablownfuse,itisimportanttouseonlyafusehavingthecorrect
amperage rating. The use of a fuse with a rating other than indicated may result in
adangerouselectricalsystemoverload.Ifaproperlyratedfusecontinuestoblow,
it indicates a problem in the circuit that must be corrected.
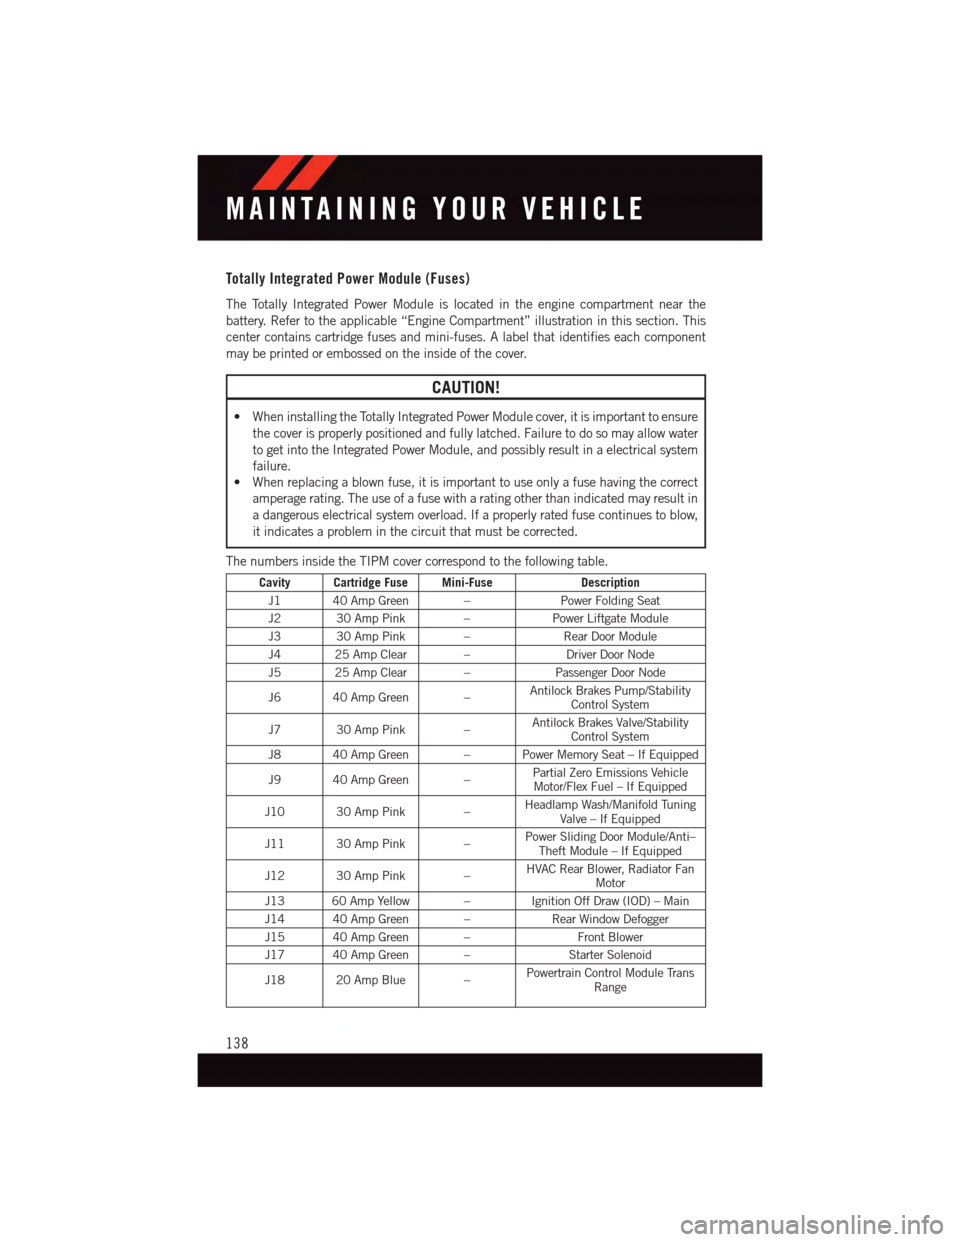
The numbers inside the TIPM cover correspond to the following table.
Cavity Cartridge Fuse Mini-FuseDescription
J1 40 Amp Green –Power Folding Seat
J2 30 Amp Pink –Power Liftgate Module
J3 30 Amp Pink –Rear Door Module
J4 25 Amp Clear –Driver Door Node
J5 25 Amp Clear –Passenger Door Node
J6 40 Amp Green –Antilock Brakes Pump/StabilityControl System
J7 30 Amp Pink –Antilock Brakes Valve/StabilityControl System
J8 40 Amp Green – Power Memory Seat – If Equipped
J9 40 Amp Green –Partial Zero Emissions VehicleMotor/Flex Fuel – If Equipped
J10 30 Amp Pink –Headlamp Wash/Manifold TuningValve – If Equipped
J11 30 Amp Pink –Power Sliding Door Module/Anti–Theft Module – If Equipped
J12 30 Amp Pink –HVAC Rear Blower, Radiator FanMotor
J13 60 Amp Yellow – Ignition Off Draw (IOD) – Main
J14 40 Amp Green –Rear Window Defogger
J15 40 Amp Green –Front Blower
J17 40 Amp Green –Starter Solenoid
J18 20 Amp Blue –Powertrain Control Module TransRange
MAINTAINING YOUR VEHICLE
138
Page 147 of 164

E-85 FLEXIBLE FUEL — (3.6L ENGINE ONLY)
Refer to your Owner's Manual on the DVD for further details.
CAUTION!
Only vehicles with the E-85 fuel filler door label or a yellow gas cap can operate on
E-85.
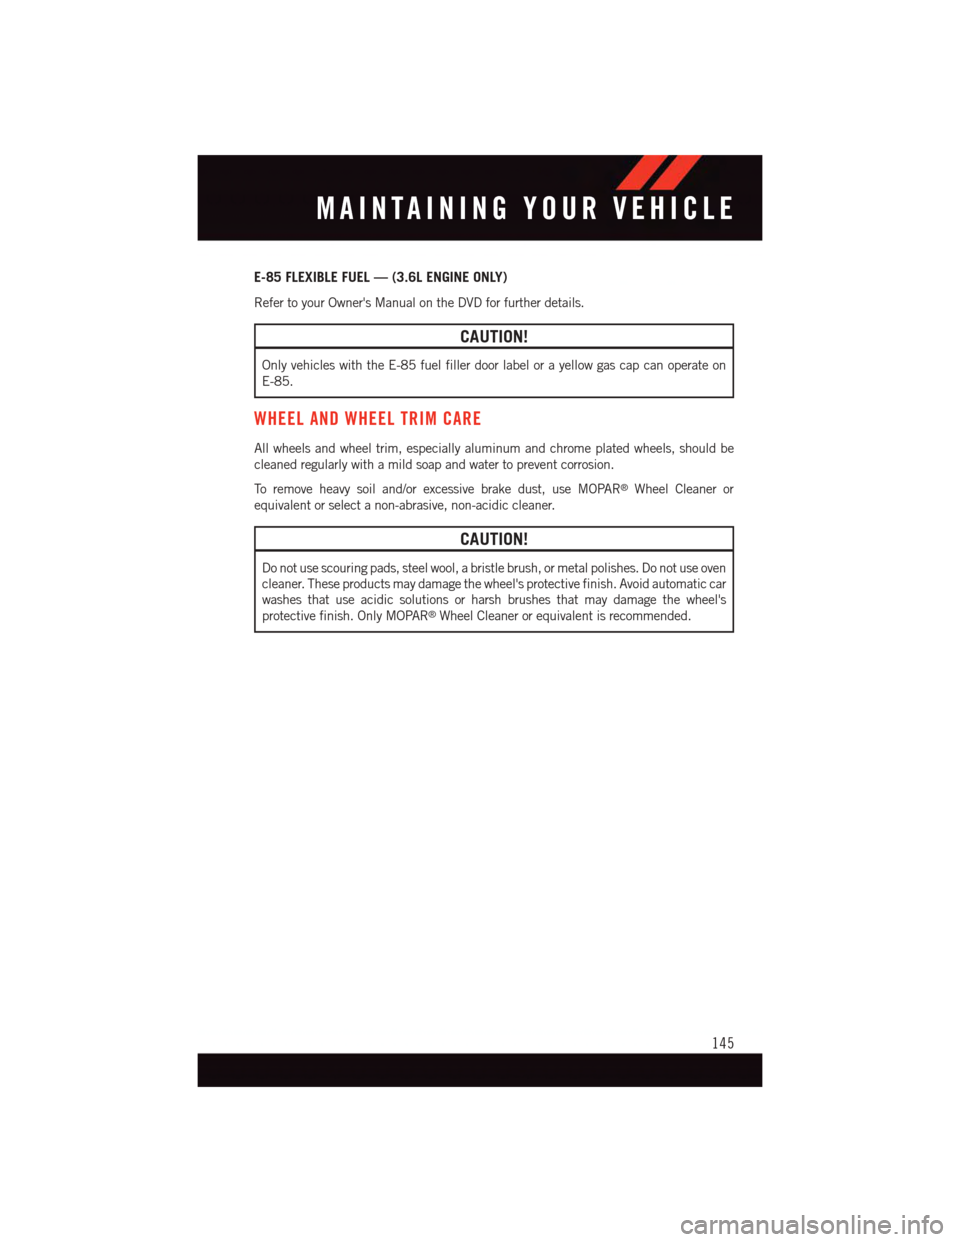
WHEEL AND WHEEL TRIM CARE
All wheels and wheel trim, especially aluminum and chrome plated wheels, should be
cleaned regularly with a mild soap and water to prevent corrosion.
To r e m o v e h e a v y s o i l a n d / o r e x c e s s i v e b r a k e d u s t , u s e M O PA R®Wheel Cleaner or
equivalent or select a non-abrasive, non-acidic cleaner.
CAUTION!
Do not use scouring pads, steel wool, a bristle brush, or metal polishes. Do not use oven
cleaner. These products may damage the wheel's protective finish. Avoid automatic car
washes that use acidic solutions or harsh brushes that may damage the wheel's
protective finish. Only MOPAR®Wheel Cleaner or equivalent is recommended.
MAINTAINING YOUR VEHICLE
145