tow DODGE GRAND CARAVAN 2016 5.G Owner's Manual
[x] Cancel search | Manufacturer: DODGE, Model Year: 2016, Model line: GRAND CARAVAN, Model: DODGE GRAND CARAVAN 2016 5.GPages: 707, PDF Size: 5.24 MB
Page 204 of 707
WARNING!
•In a collision, you or others in your vehicle could
be injured if seats are not properly latched to their
floor attachments. Always be sure the seats are
fully latched.
• Sitting in a seat with the head restraint in its
lowered position could result in serious injury or
death in a collision. Always make sure the head
restraints are in their upright positions when the
seat is to be occupied.
Stow ’n Go Seat — Folded And Latched Position
To tumble or stow the seat from the folded and latched
position: return the seatback and head restraint to the
upright position. Then pull up on the seatback recliner
lever on the outboard side of the seat to fold head rest
and seatback and tumble seat forward. 1. Return the seatback to the upright position.Raising The Seatback
202 UNDERSTANDING THE FEATURES OF YOUR VEHICLE
Page 205 of 707
2. Return the head restraint to the upright position.
3. Pull up on the seatback recliner lever on the outboardside of the seat to fold head rest and seatback and
tumble seat forward.Easy Entry Second Row
The second row Stow ’n Go seats allow easy entry to the
third row seat or rear cargo area.
Pull up on the seatback recliner lever on the outboard
side of the seat.
Raising The Head Restraint
Seatback Recliner Lever, Seat Tumble, And Head
Restraint Fold Lever
3
UNDERSTANDING THE FEATURES OF YOUR VEHICLE 203
Page 210 of 707
Second Row Bench Seat — If Equipped
While the bench seat does not stow in the floor, it is
removable for added cargo space.Release levers are located on the rear leg assemblies, near
the floor. To remove the seat, squeeze each release handle
and rotate downwards to deploy the wheels. A lock
indicator button pops up when the seat is unlocked. The
seat assembly can now be removed from the vehicle and
moved on its Easy Out Rollers.
Second Row Bench Seat
Release Handles
208 UNDERSTANDING THE FEATURES OF YOUR VEHICLE
Page 213 of 707
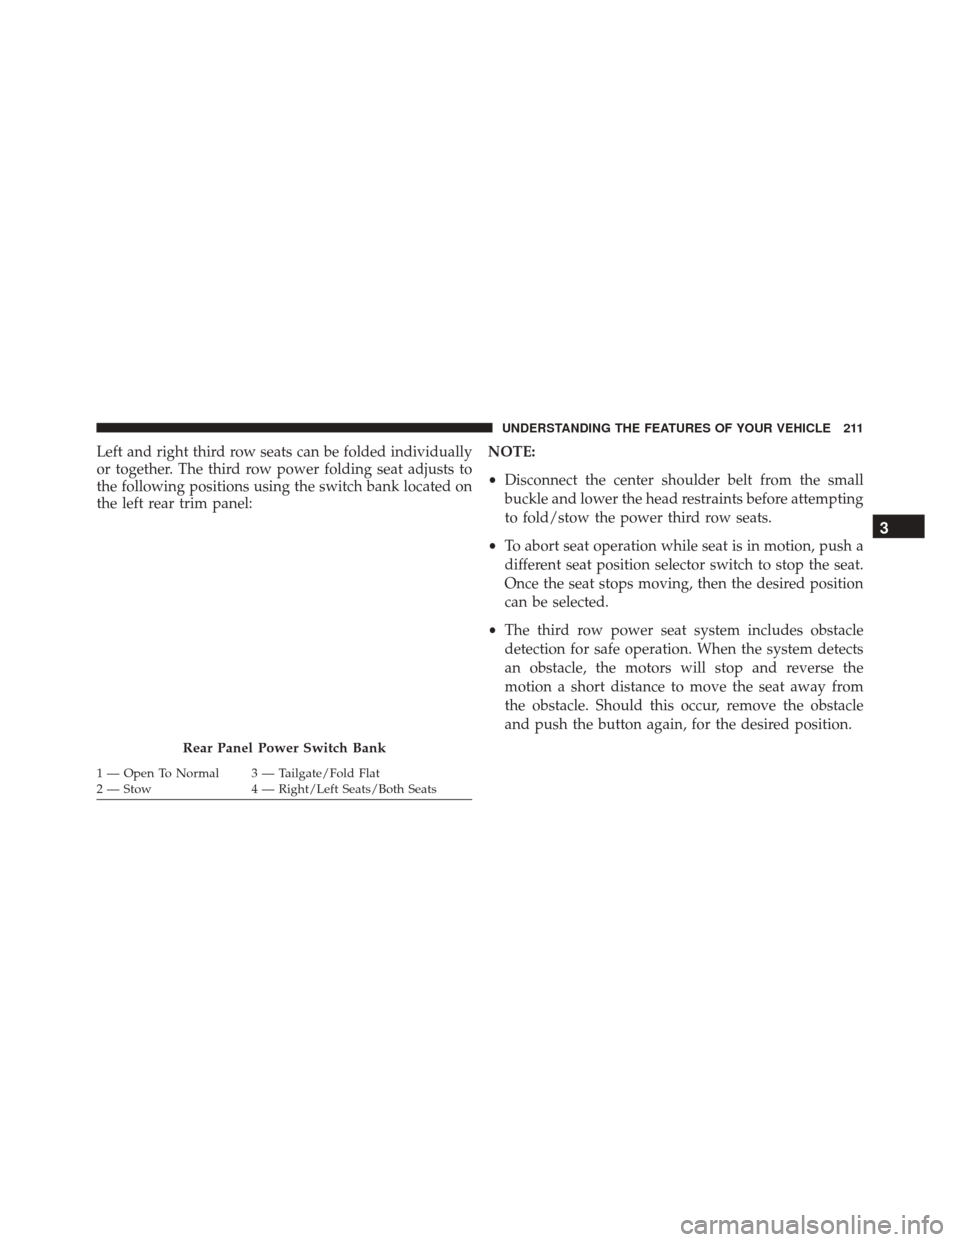
Left and right third row seats can be folded individually
or together. The third row power folding seat adjusts to
the following positions using the switch bank located on
the left rear trim panel:NOTE:
•
Disconnect the center shoulder belt from the small
buckle and lower the head restraints before attempting
to fold/stow the power third row seats.
• To abort seat operation while seat is in motion, push a
different seat position selector switch to stop the seat.
Once the seat stops moving, then the desired position
can be selected.
• The third row power seat system includes obstacle
detection for safe operation. When the system detects
an obstacle, the motors will stop and reverse the
motion a short distance to move the seat away from
the obstacle. Should this occur, remove the obstacle
and push the button again, for the desired position.
Rear Panel Power Switch Bank
1 — Open To Normal 3 — Tailgate/Fold Flat
2 — Stow 4 — Right/Left Seats/Both Seats
3
UNDERSTANDING THE FEATURES OF YOUR VEHICLE 211
Page 216 of 707
5. Pull release strap marked “4” and tumble the seatrearward into the storage bin.
To Unfold Third Row Seats
1. Pull up on the assist strap to lift the seat out of thestorage bin and push the seat forward until the
anchors latch.
2. Pull release strap marked “2” to unlock the recliner.Release Strap “4”
Stowed Third Row Seat
214 UNDERSTANDING THE FEATURES OF YOUR VEHICLE
Page 230 of 707
The multifunction lever controls the:
•Turn Signals
• Headlight Beams Low/High
• Flash-To-Pass
• Front and Rear Wipers — Washer Functions
Turn Signals
Move the multifunction lever up or down and the arrows
on each side of the instrument cluster flash to show
proper operation of the front and rear turn signal lights.
NOTE: If either light remains on and does not flash, or
there is a very fast flash rate, check for a defective outside
light bulb. If an indicator fails to light when the lever is
moved, it would suggest that the indicator bulb is
defective.
Turn Signal Warning
If the vehicle electronics sense that the vehicle has
traveled at over 18 mph (29 km/h) for about 1 mile
(1.6 km) with the turn signals on, a chime will sound to
alert the driver.
Lane Change Assist
Tap the lever up or down once, without moving beyond
the detent, and the turn signal (right or left) will flash
three times then automatically turn off.
High/Low Beam Switch
When the headlights are turned on, pushing the multi-
function lever toward the instrument panel will switch
from low beams to high beams. Pulling back to the
neutral position returns the headlights to the low beam
operation.
228 UNDERSTANDING THE FEATURES OF YOUR VEHICLE
Page 231 of 707
Flash-To-Pass
You can signal another vehicle with your headlights by
lightly pulling the multifunction lever toward you. This
will cause the headlights to turn on at high beam and
remain on until the lever is released.
Battery Protection
This feature provides battery protection to avoid wearing
down the battery if the headlights, parking lights, or
front fog lights are left on for extended periods of time
when the ignition switch is in the LOCK position. After
eight minutes of the ignition switch being in the LOCK
position and the headlight switch in any position other
than OFF or AUTO, the lights will turn off automatically
until the next cycle of the ignition switch or headlight
switch.
The battery protection feature will be disabled if the
ignition switch is turned to any other position other than
LOCK during the eight minute delay.
WINDSHIELD WIPER AND WASHERS
The wipers and washers are operated by a switch within
the multifunction lever. Rotate the end of the multifunc-
tion lever to select the desired wiper speed.
Washer And Wiper Controls
3
UNDERSTANDING THE FEATURES OF YOUR VEHICLE 229
Page 233 of 707
Windshield Washers
To use the Washer, push on the end of the lever to the
second detent and hold while spray is desired. If the lever
is pushed while on the intermittent setting, the wipers
will turn on and operate for several wipe cycles after the
lever is released, and then resume the intermittent inter-
val previously selected. If the lever is pushed while the
wipers are in the off position, the wipers will operate
several wipe cycles, then turn off.
Mist Feature
Push the end of the multifunction lever inward (toward
the steering column) to the first detent and release for a
single wiping cycle.
NOTE:The mist feature does not activate the washer
pump; therefore, no washer fluid will be sprayed on the
windshield. The wash function must be used in order to
spray the windshield with washer fluid.
Rear Wiper And Washer
Rotating the rotary ring to the first detent activates the
rear intermittent wipers. To activate the washers, rotate
the rotary ring fully forward and the washers will spray
until the ring is released, and then resume the intermit-
tent interval.
NOTE: Rear window wipers function in the intermittent
wiper speed only.
Rain Sensing Wipers — If Equipped
This feature senses moisture on the windshield and
automatically activates the wipers for the driver. This
feature is especially useful for road splash or overspray
from the windshield washers of the vehicle ahead. Rotate
the end of the multifunction lever to one of the five
intermittent wiper sensitivity settings to activate this
feature.
3
UNDERSTANDING THE FEATURES OF YOUR VEHICLE 231
Page 236 of 707
To unlock the steering column, push the lever downward
(toward the floor). To tilt the steering column, move the
steering wheel upward or downward as desired. To
lengthen or shorten the steering column, pull the steering
wheel outward or push it inward as desired. To lock the
steering column in position, push the lever upward until
fully engaged.
WARNING!
Do not adjust the steering column while driving.
Adjusting the steering column while driving or driv-
ing with the steering column unlocked, could cause
the driver to lose control of the vehicle. Failure to
follow this warning may result in serious injury or
death.
HEATED STEERING WHEEL — IF EQUIPPED
The steering wheel contains a heating element that helps
warm your hands in cold weather. The heated steering
wheel has only one temperature setting. Once the heated
steering wheel has been turned on it can operate for up to
approximately 95 minutes before automatically shutting
off. The heated steering wheel can shut off early or may
not turn on when the steering wheel is already warm.
The heated steering wheel control button is located on
the center of the instrument panel below the climate
controls.
•Push the heated steering wheel button
once to turn
the heating element ON.
• Push the heated steering wheel buttona second
time to turn the heating element OFF.
NOTE: The engine must be running for the heated
steering wheel to operate.
234 UNDERSTANDING THE FEATURES OF YOUR VEHICLE
Page 249 of 707
CAUTION!
•ParkSense is only a parking aid and it is unable to
recognize every obstacle, including small obstacles.
Parking curbs might be temporarily detected or not
detected at all. Obstacles located above or below
the sensors will not be detected when they are in
close proximity.
• The vehicle must be driven slowly when using
ParkSense in order to be able to stop in time when
an obstacle is detected. It is recommended that the
driver looks over his/her shoulder when using
ParkSense.
WARNING!
• Drivers must be careful when backing up even
when using ParkSense. Always check carefully
(Continued)
WARNING! (Continued)
behind your vehicle, look behind you, and be sure
to check for pedestrians, animals, other vehicles,
obstructions, and blind spots before backing up.
You are responsible for safety and must continue to
pay attention to your surroundings. Failure to do so
can result in serious injury or death.
• Before using ParkSense, it is strongly recom-
mended that the ball mount and hitch ball assem-
bly is disconnected from the vehicle when the
vehicle is not used for towing. Failure to do so can
result in injury or damage to vehicles or obstacles
because the hitch ball will be much closer to the
obstacle than the rear fascia when the loudspeaker
sounds the continuous tone. Also, the sensors
could detect the ball mount and hitch ball assem-
bly, depending on its size and shape, giving a false
indication that an obstacle is behind the vehicle.
3
UNDERSTANDING THE FEATURES OF YOUR VEHICLE 247