DODGE INTREPID 2004 2.G User Guide
Manufacturer: DODGE, Model Year: 2004, Model line: INTREPID, Model: DODGE INTREPID 2004 2.GPages: 249, PDF Size: 4.87 MB
Page 11 of 249
At the time of purchase, the original owner is provided
with a four digit PIN number. This number is required
for dealer replacement of keys. Duplication of keys may
be performed at an authorized dealer or by using the
Customer Key Programming procedure. This procedure
consists of programming a blank key to the vehicle
electronics. A blank key is one which has never been
programmed.
NOTE:When having the Sentry Key System serviced,
bring all vehicle keys to the dealer.
Customer Key Programming
You can program new keys to the system if you have two
valid keys by doing the following:
1. Insert the first valid key into the ignition and turn the
ignition On for at least 3 seconds but no longer than 15
seconds.
Turn the ignition Off and remove the first key.
2. Insert the second valid key and switch the ignition On
within 15 seconds. After ten seconds a chime will sound
and the Theft Alarm Light will begin to flash.Turn the ignition Off and remove the second key.
3. Insert a blank Sentry Key into the ignition and switch
the ignition On within 60 seconds. After 10 seconds a
single chime will sound. The Theft Alarm Light will stop
flashing, and turn On for 3 seconds; then turn Off.
The new Sentry Key has been programmed. Repeat this
process to program up to a total of 8 keys.
CAUTION!
An unlocked car is an invitation to thieves. Always
remove the key from the ignition, lock the doors,
close the windows, and raise the top when leaving
the vehicle unattended.
General Information
The Sentry Key system complies with FCC rules part 15
and with RS-210 of Industry Canada. Operation is subject
to the following two conditions:
1. this device may not cause harmful interference
THINGS TO KNOW BEFORE STARTING YOUR VEHICLE 11
2
Page 12 of 249
2. this device must accept any interference that may be
received, including interference that may cause undes-
ired operation
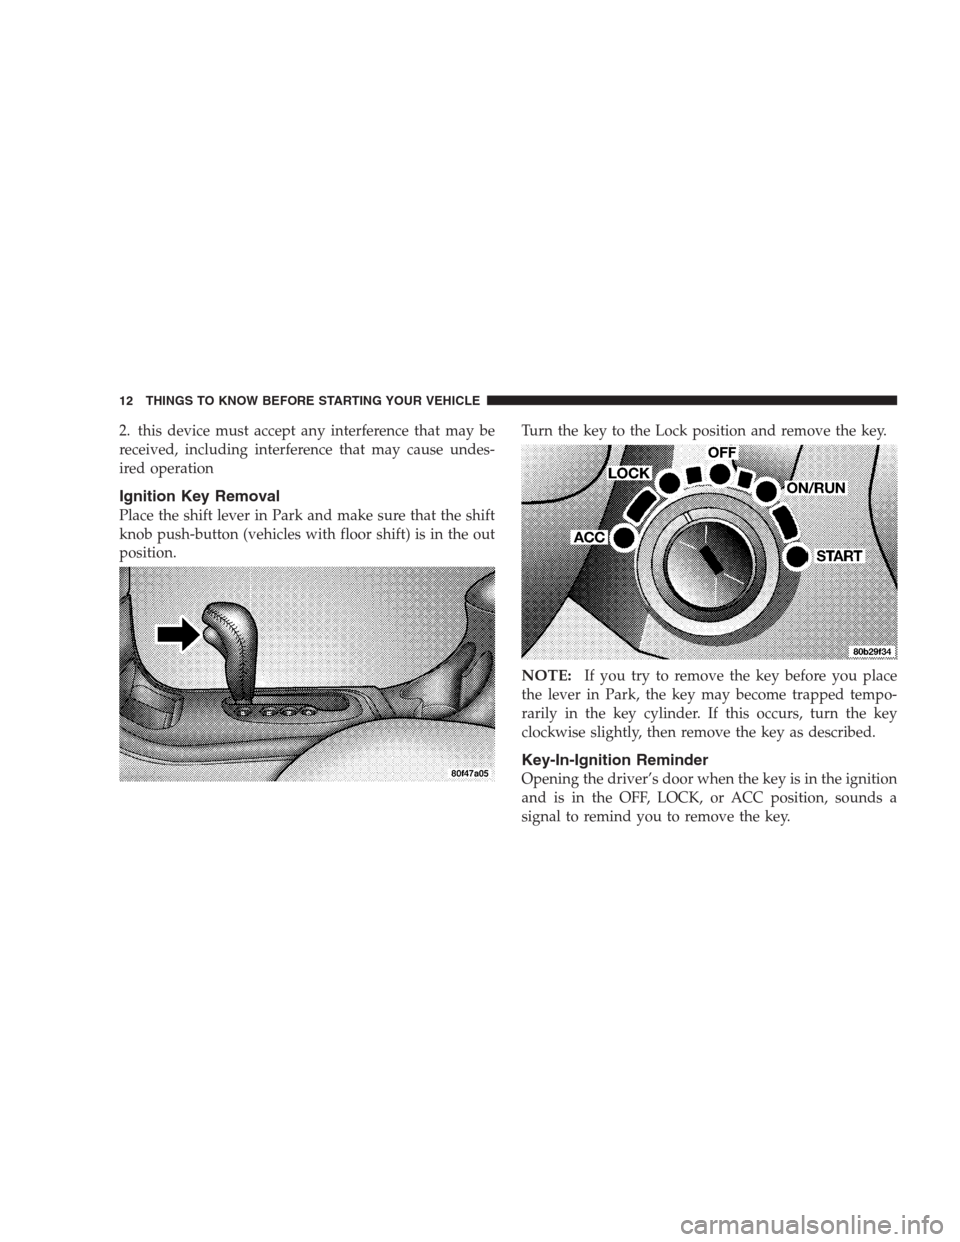
Ignition Key Removal
Place the shift lever in Park and make sure that the shift
knob push-button (vehicles with floor shift) is in the out
position.Turn the key to the Lock position and remove the key.
NOTE:If you try to remove the key before you place
the lever in Park, the key may become trapped tempo-
rarily in the key cylinder. If this occurs, turn the key
clockwise slightly, then remove the key as described.
Key-In-Ignition Reminder
Opening the driver’s door when the key is in the ignition
and is in the OFF, LOCK, or ACC position, sounds a
signal to remind you to remove the key.
12 THINGS TO KNOW BEFORE STARTING YOUR VEHICLE
Page 13 of 249
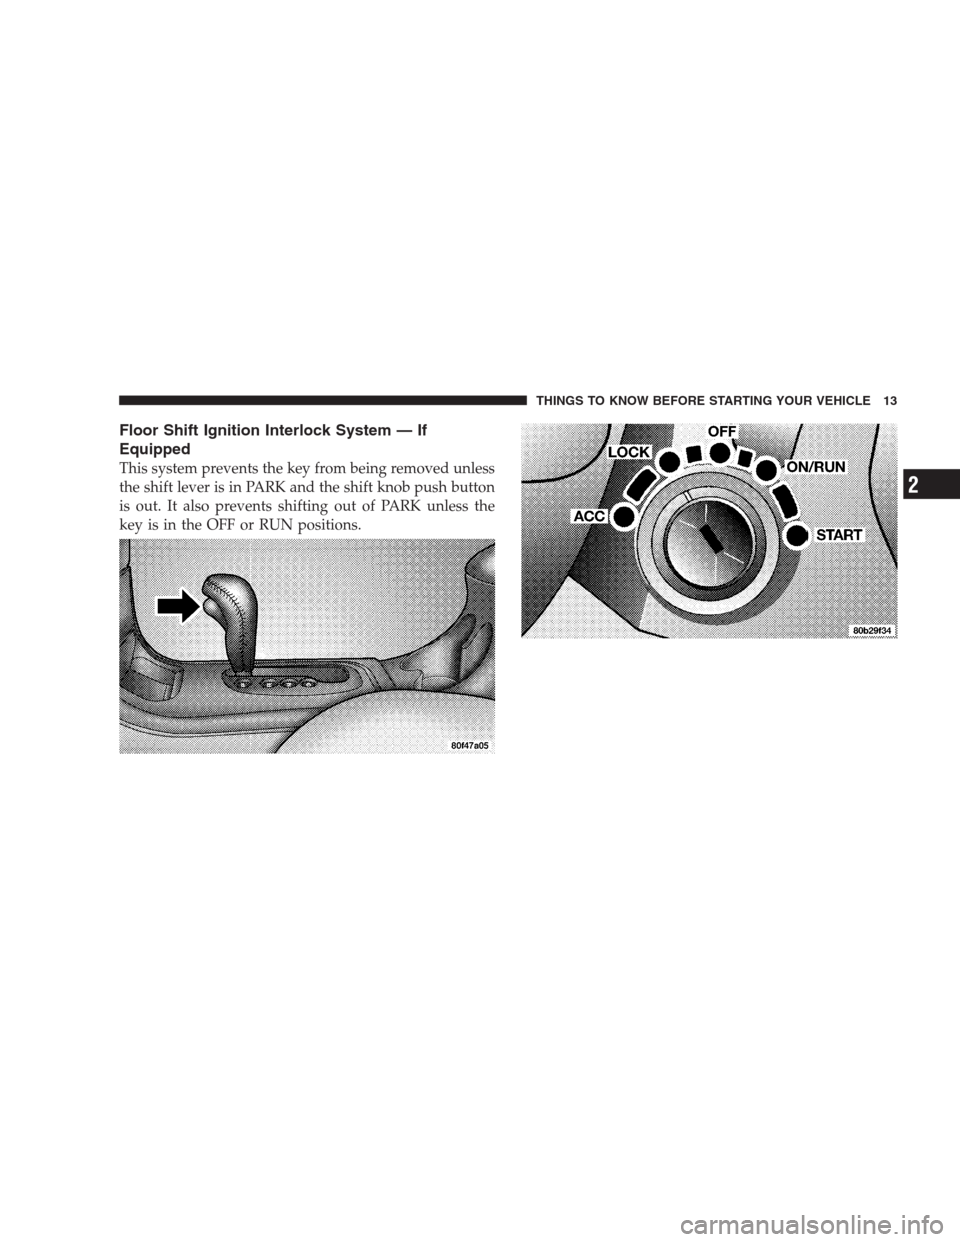
Floor Shift Ignition Interlock System — If
Equipped
This system prevents the key from being removed unless
the shift lever is in PARK and the shift knob push button
is out. It also prevents shifting out of PARK unless the
key is in the OFF or RUN positions.
THINGS TO KNOW BEFORE STARTING YOUR VEHICLE 13
2
Page 14 of 249
GLOVE COMPARTMENT LOCK
The glove box lock has been designed so that the key can
be inserted only about half way. Do not force the key past
this point.
ILLUMINATED ENTRY SYSTEM — IF EQUIPPED
The interior lights will come on when you unlock the
vehicle with the remote keyless entry (if so equipped) or
central unlock (if so equipped). They will remain on for
about 30 seconds after all doors are closed then fade to
off.
The lights also will fade to off if you turn on the ignition
after you close all the doors.
DOOR LOCKS
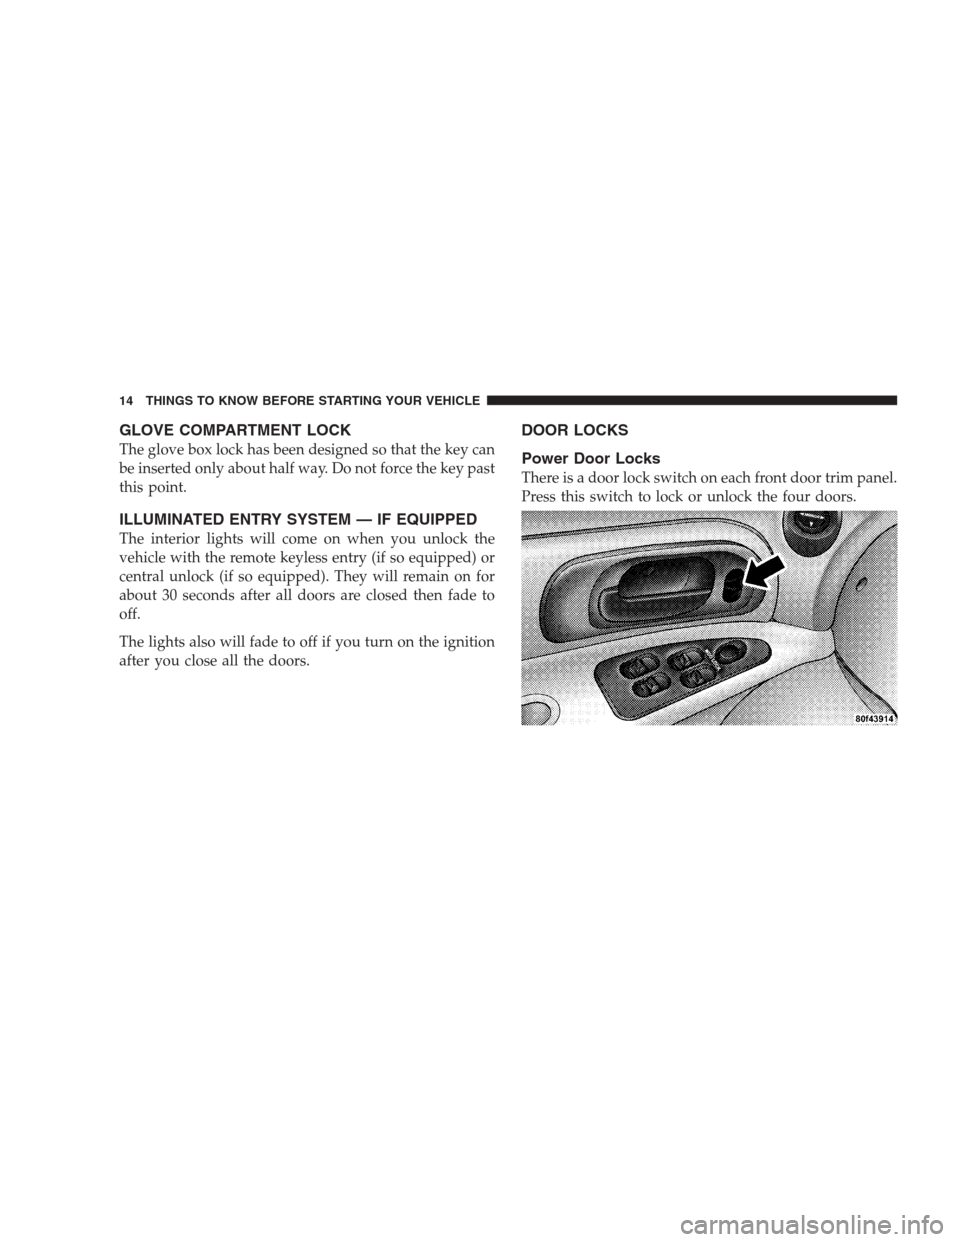
Power Door Locks
There is a door lock switch on each front door trim panel.
Press this switch to lock or unlock the four doors.
14 THINGS TO KNOW BEFORE STARTING YOUR VEHICLE
Page 15 of 249

If you press the door lock switch while the keys are in the
ignition switch, with the ignition switch in the ACC,
LOCK, or OFF position, and the driver’s door is open, the
doors will not lock. A chime will sound as a reminder to
remove the keys.WARNING!
For personal security and safety in the event of an
accident, lock the vehicle doors as you drive and
when you park and leave the vehicle.
The rear doors cannot be opened from inside the vehicle
until you pull up the lock plungers.
Central Locking Feature — If Equipped
Turning the key in the driver’s door to the unlock
position once will unlock only the driver’s door. Turning
the driver’s door lock to the unlock position twice within
five seconds, will unlock all doors.
Locking either front door with the key will lock all doors
THINGS TO KNOW BEFORE STARTING YOUR VEHICLE 15
2
Page 16 of 249
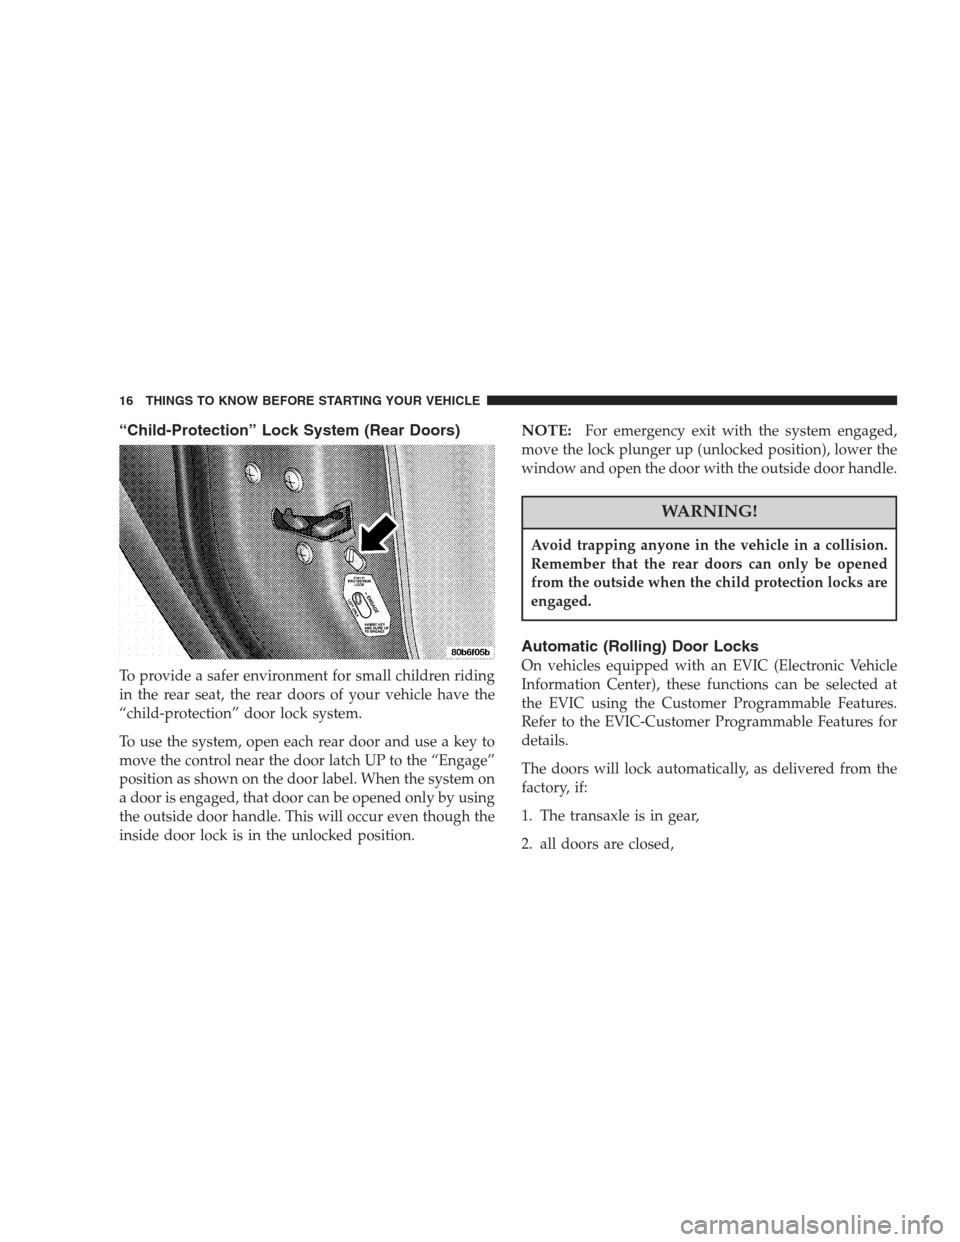
“Child-Protection” Lock System (Rear Doors)
To provide a safer environment for small children riding
in the rear seat, the rear doors of your vehicle have the
“child-protection” door lock system.
To use the system, open each rear door and use a key to
move the control near the door latch UP to the “Engage”
position as shown on the door label. When the system on
a door is engaged, that door can be opened only by using
the outside door handle. This will occur even though the
inside door lock is in the unlocked position.
NOTE:For emergency exit with the system engaged,
move the lock plunger up (unlocked position), lower the
window and open the door with the outside door handle.
WARNING!
Avoid trapping anyone in the vehicle in a collision.
Remember that the rear doors can only be opened
from the outside when the child protection locks are
engaged.
Automatic (Rolling) Door Locks
On vehicles equipped with an EVIC (Electronic Vehicle
Information Center), these functions can be selected at
the EVIC using the Customer Programmable Features.
Refer to the EVIC-Customer Programmable Features for
details.
The doors will lock automatically, as delivered from the
factory, if:
1. The transaxle is in gear,
2. all doors are closed,
16 THINGS TO KNOW BEFORE STARTING YOUR VEHICLE
Page 17 of 249
3. vehicle speed is above 15 m.p.h. (24 km/h),
4. the accelerator pedal is depressed.
The Automatic Door Locks can be disabled or re-enabled
by performing the same following procedure:
1. Close all doors and place the key in the ignition.
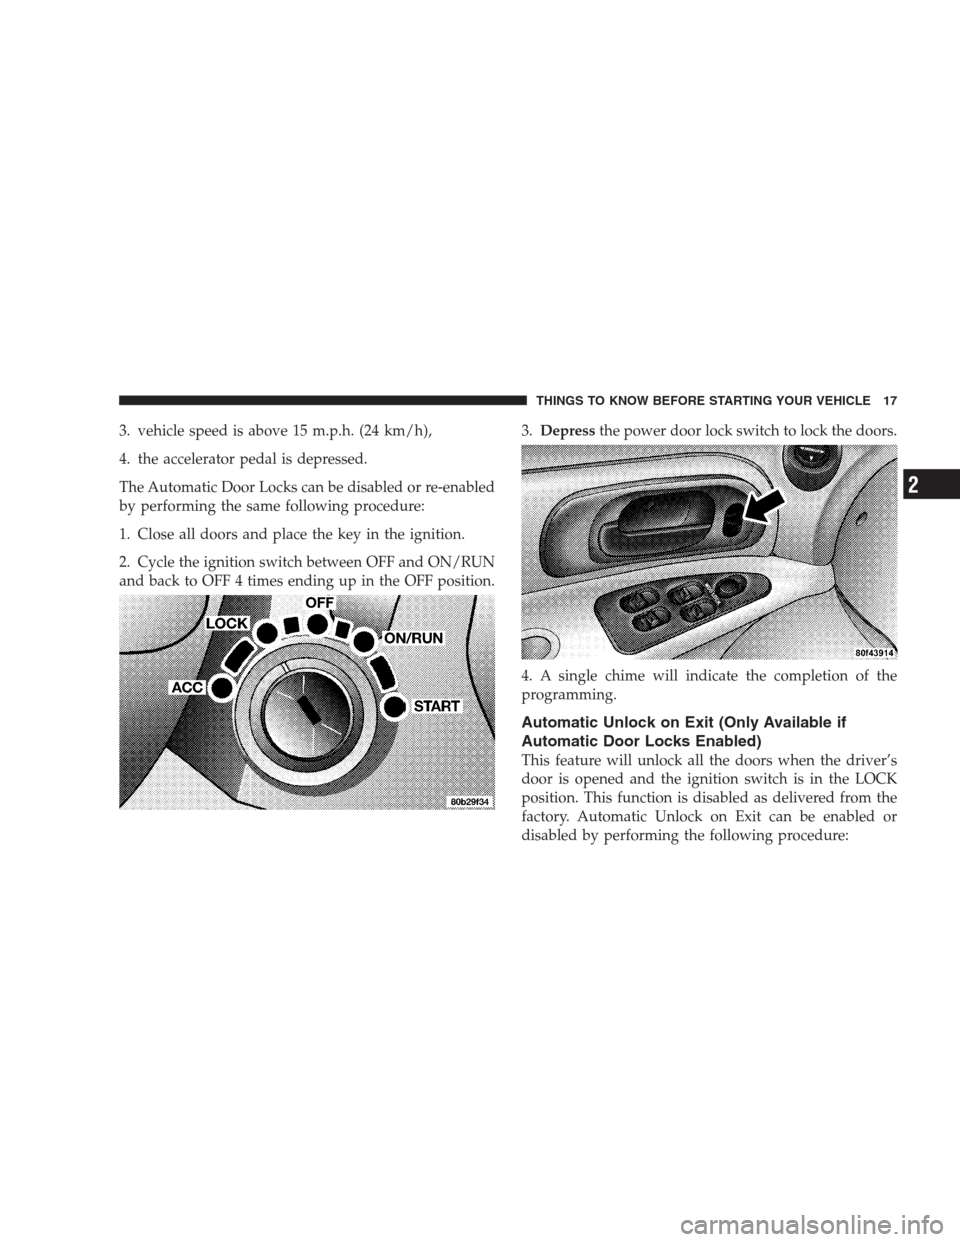
2. Cycle the ignition switch between OFF and ON/RUN
and back to OFF 4 times ending up in the OFF position.3.Depressthe power door lock switch to lock the doors.
4. A single chime will indicate the completion of the
programming.
Automatic Unlock on Exit (Only Available if
Automatic Door Locks Enabled)
This feature will unlock all the doors when the driver’s
door is opened and the ignition switch is in the LOCK
position. This function is disabled as delivered from the
factory. Automatic Unlock on Exit can be enabled or
disabled by performing the following procedure:
THINGS TO KNOW BEFORE STARTING YOUR VEHICLE 17
2
Page 18 of 249
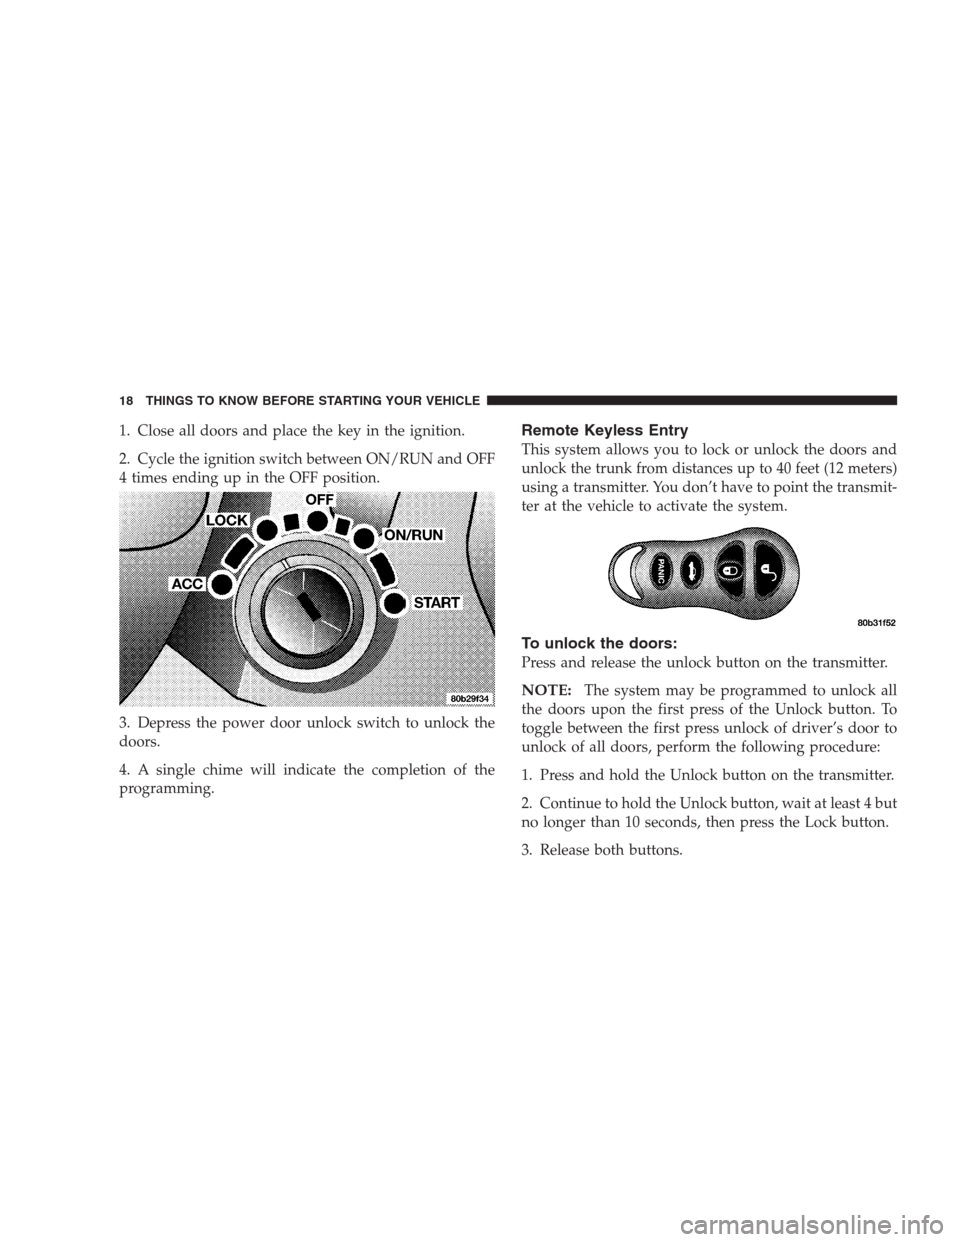
1. Close all doors and place the key in the ignition.
2. Cycle the ignition switch between ON/RUN and OFF
4 times ending up in the OFF position.
3. Depress the power door unlock switch to unlock the
doors.
4. A single chime will indicate the completion of the
programming.Remote Keyless Entry
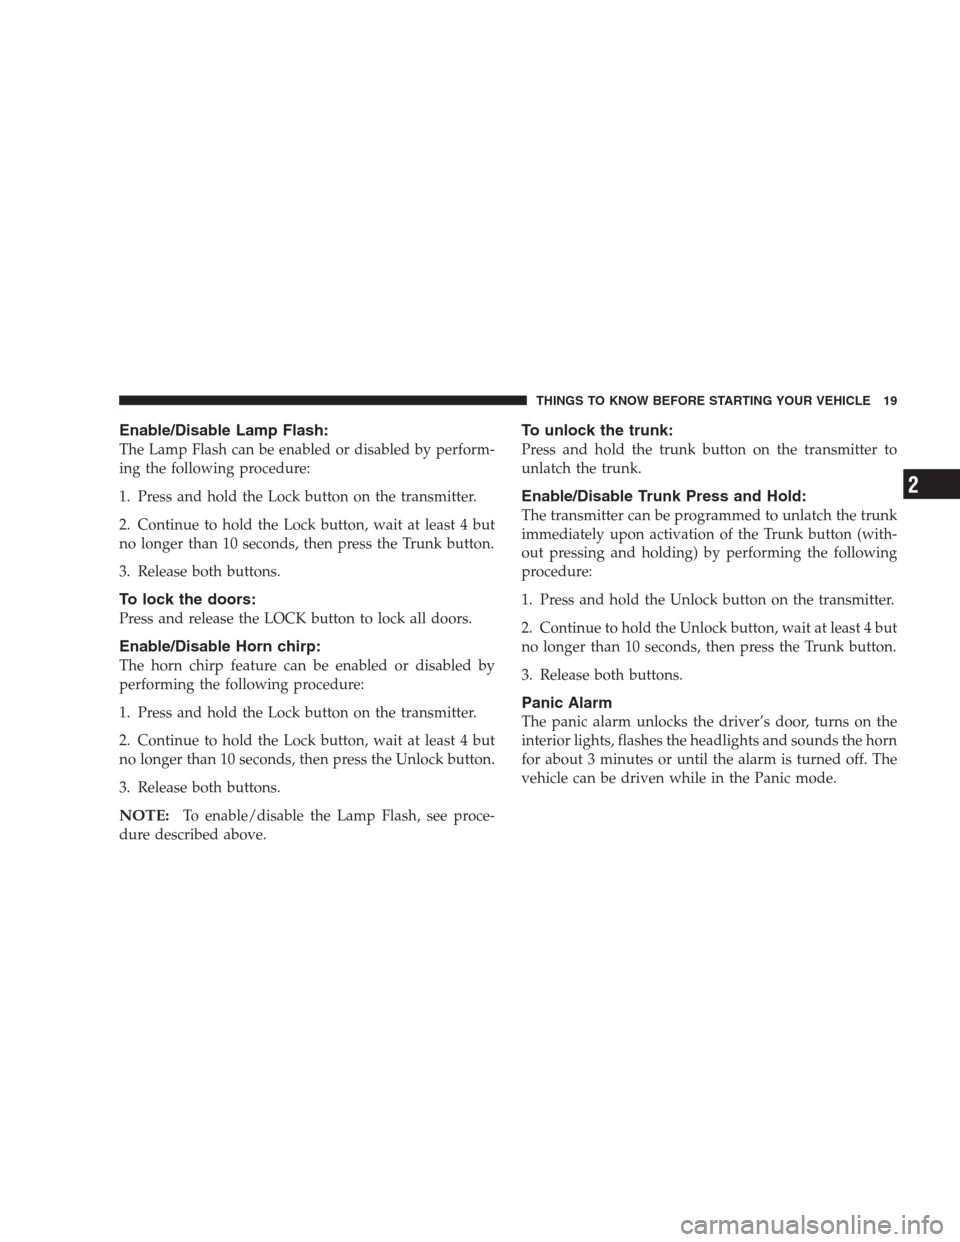
This system allows you to lock or unlock the doors and
unlock the trunk from distances up to 40 feet (12 meters)
using a transmitter. You don’t have to point the transmit-
ter at the vehicle to activate the system.
To unlock the doors:
Press and release the unlock button on the transmitter.
NOTE:The system may be programmed to unlock all
the doors upon the first press of the Unlock button. To
toggle between the first press unlock of driver’s door to
unlock of all doors, perform the following procedure:
1. Press and hold the Unlock button on the transmitter.
2. Continue to hold the Unlock button, wait at least 4 but
no longer than 10 seconds, then press the Lock button.
3. Release both buttons.
18 THINGS TO KNOW BEFORE STARTING YOUR VEHICLE
Page 19 of 249
Enable/Disable Lamp Flash:
The Lamp Flash can be enabled or disabled by perform-
ing the following procedure:
1. Press and hold the Lock button on the transmitter.
2. Continue to hold the Lock button, wait at least 4 but
no longer than 10 seconds, then press the Trunk button.
3. Release both buttons.
To lock the doors:
Press and release the LOCK button to lock all doors.
Enable/Disable Horn chirp:
The horn chirp feature can be enabled or disabled by
performing the following procedure:
1. Press and hold the Lock button on the transmitter.
2. Continue to hold the Lock button, wait at least 4 but
no longer than 10 seconds, then press the Unlock button.
3. Release both buttons.
NOTE:To enable/disable the Lamp Flash, see proce-
dure described above.
To unlock the trunk:
Press and hold the trunk button on the transmitter to
unlatch the trunk.
Enable/Disable Trunk Press and Hold:
The transmitter can be programmed to unlatch the trunk
immediately upon activation of the Trunk button (with-
out pressing and holding) by performing the following
procedure:
1. Press and hold the Unlock button on the transmitter.
2. Continue to hold the Unlock button, wait at least 4 but
no longer than 10 seconds, then press the Trunk button.
3. Release both buttons.
Panic Alarm
The panic alarm unlocks the driver’s door, turns on the
interior lights, flashes the headlights and sounds the horn
for about 3 minutes or until the alarm is turned off. The
vehicle can be driven while in the Panic mode.
THINGS TO KNOW BEFORE STARTING YOUR VEHICLE 19
2
Page 20 of 249
To Use The Panic Alarm:
Press and hold the Panic button to activate the alarm.
Press and hold the Panic button or unlock the door with
the key to deactivate the alarm. The alarm will also shut
itself off after 3 minutes or when vehicle speed reaches 15
m.p.h. (24 km/h).
To Program Additional Transmitters:
Up to 4 transmitters can be programmed to your vehicle.
To program a transmitter, perform the following proce-
dure.
On vehicles equipped with an EVIC (Electronic Vehicle
Information Center), these functions can be selected at
the EVIC using the Customer Programmable Features.
Refer to EVIC— Customer Programmable Features for
details.
NOTE:When entering program mode, all previously
programmed transmitters are erased from memory,
therefore you must reprogram ALL the transmitters
when you enter program mode.
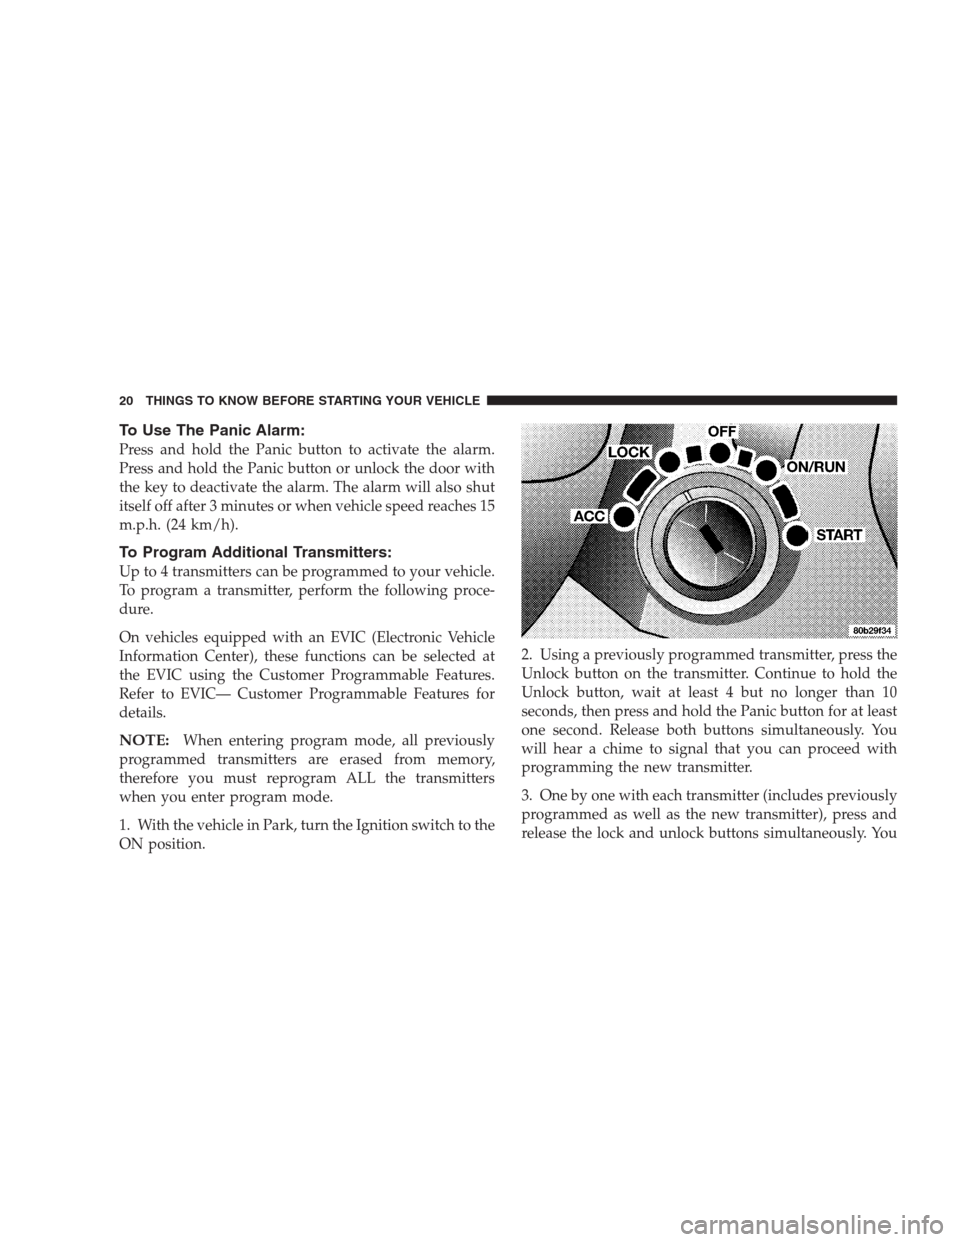
1. With the vehicle in Park, turn the Ignition switch to the
ON position.2. Using a previously programmed transmitter, press the
Unlock button on the transmitter. Continue to hold the
Unlock button, wait at least 4 but no longer than 10
seconds, then press and hold the Panic button for at least
one second. Release both buttons simultaneously. You
will hear a chime to signal that you can proceed with
programming the new transmitter.
3. One by one with each transmitter (includes previously
programmed as well as the new transmitter), press and
release the lock and unlock buttons simultaneously. You
20 THINGS TO KNOW BEFORE STARTING YOUR VEHICLE