manual radio set DODGE JOURNEY 2010 1.G User Guide
[x] Cancel search | Manufacturer: DODGE, Model Year: 2010, Model line: JOURNEY, Model: DODGE JOURNEY 2010 1.GPages: 88, PDF Size: 12.49 MB
Page 44 of 88

•SIRIUS Backseat TV™
• To view SIRIUS Backseat TV™ set the remote control channel selector switch to channel 1. Press the MODE button, then using the arrow buttons select TV and press
enter.
Auxiliary Audio/Video Input Jacks
• The Aux jacks are located on the rear of the center console.
• Connect the video game or other external media devices to the AUX jacks following the color coding for VES™ jacks.
• Using either the touch-screen radio or remote control, select AUX from the Rear VES™ Control or Mode Selection screen.
• Refer to “Uconnect™ Multimedia – Video Entertainment System (VES)™” in the Uconnect™ User's Manual on the DVD for further details.
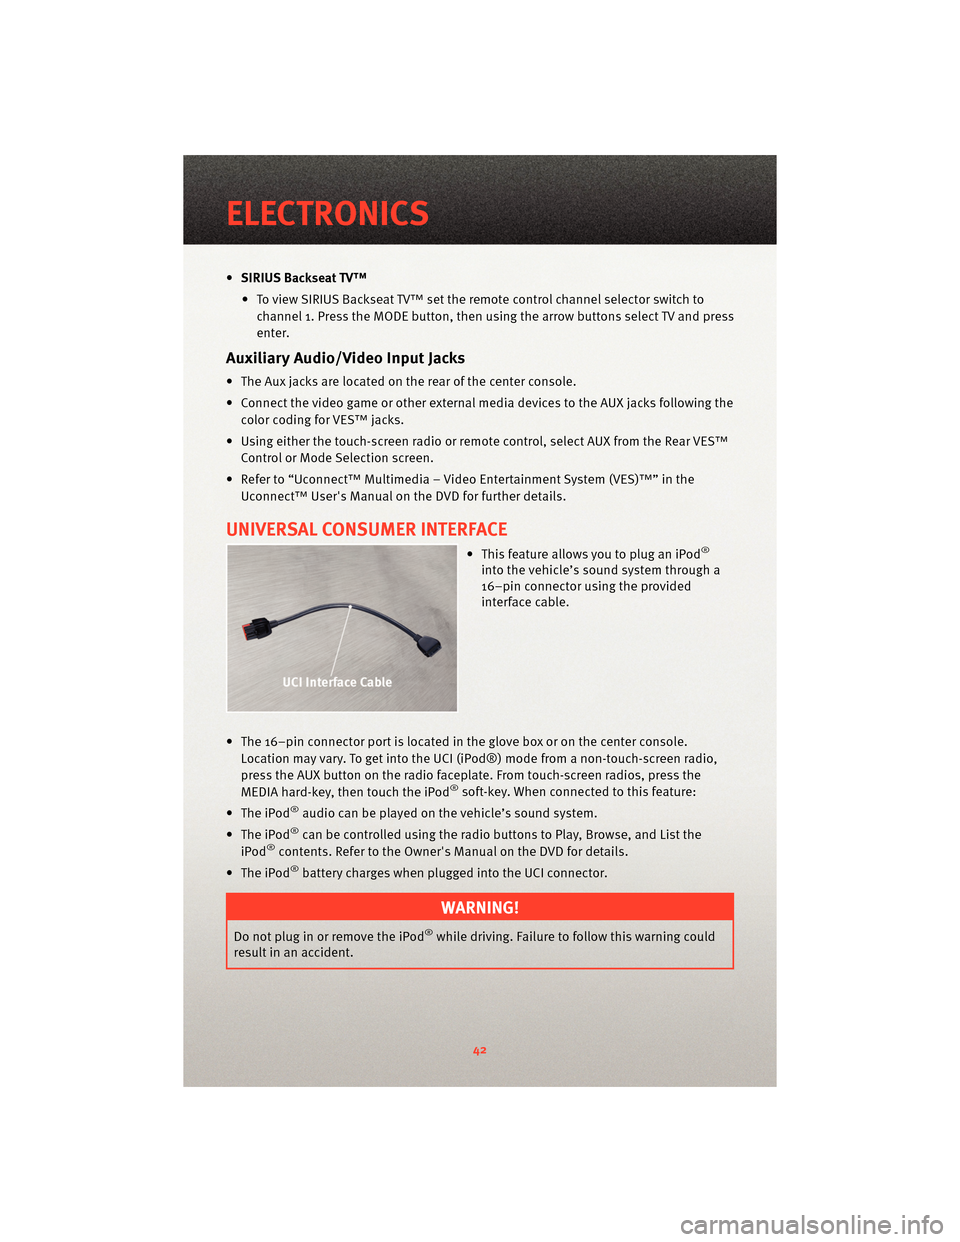
UNIVERSAL CONSUMER INTERFACE
• This feature allows you to plug an iPod®
into the vehicle’s sound system through a
16–pin connector using the provided
interface cable.
• The 16–pin connector port is located in the glove box or on the center console. Location may vary. To get into the UCI (iPod®) mode from a non-touch-screen radio,
press the AUX button on the radio faceplat e. From touch-screenradios, press the
MEDIA hard-key, then touch the iPod
®soft-key. When connected to this feature:
• The iPod
®audio can be played on the vehicle’s sound system.
• The iPod
®can be controlled using the radio buttons to Play, Browse, and List the
iPod®contents. Refer to the Owner's Manual on the DVD for details.
• The iPod
®battery charges when plug ged into the UCI connector.
WARNING!
Do not plug in or remove the iPod®while driving. Failure to follow this warning could
result in an accident.
ELECTRONICS
42
Page 47 of 88

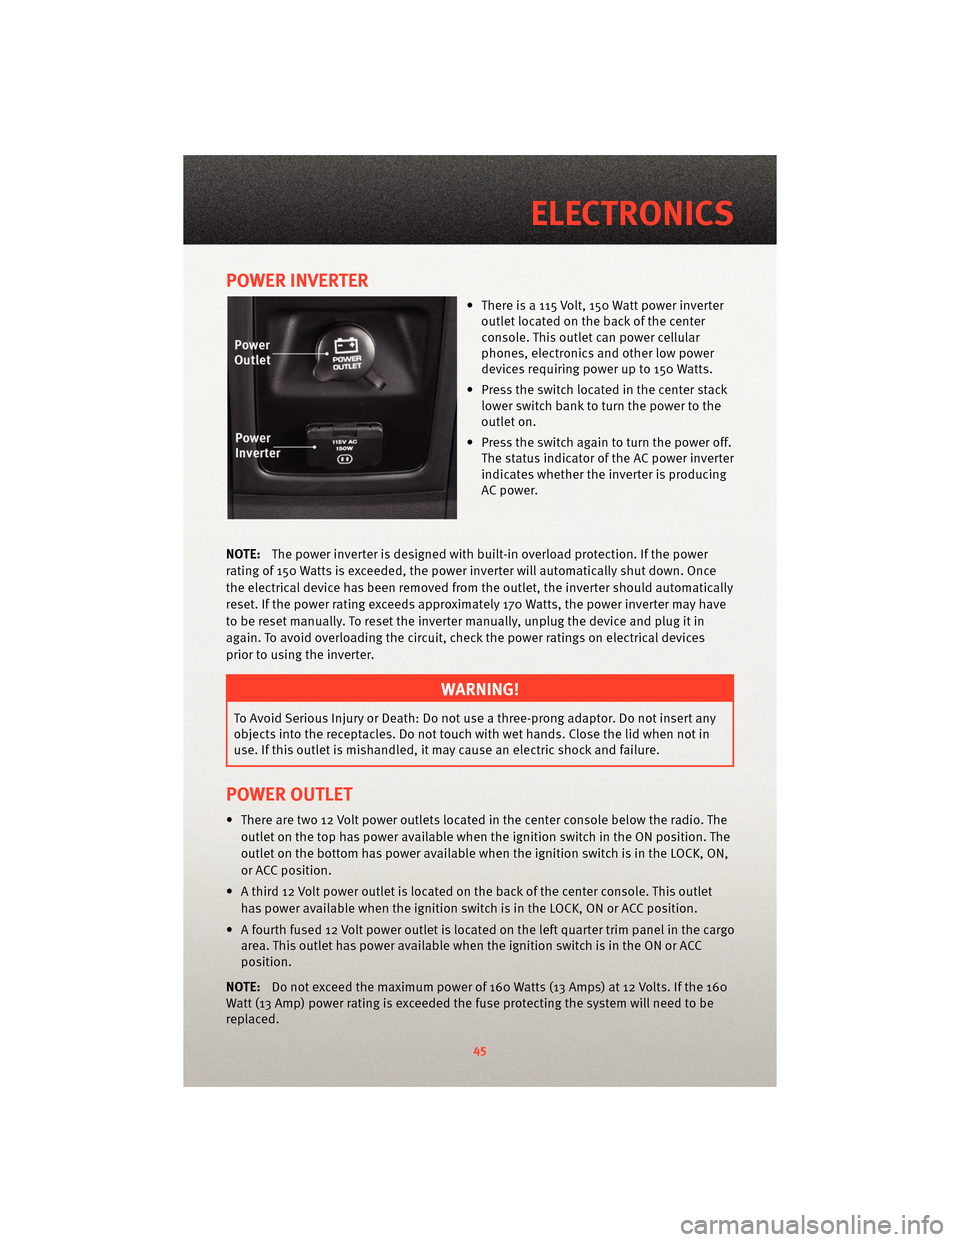
POWER INVERTER
• There is a 115 Volt, 150 Watt power inverteroutlet located on the back of the center
console. This outlet can power cellular
phones, electronics and other low power
devices requiring power up to 150 Watts.
• Press the switch located in the center stack lower switch bank to turn the power to the
outlet on.
• Press the switch again to turn the power off. The status indicator of the AC power inverter
indicates whether the inverter is producing
AC power.
NOTE: The power inverter is designed with built-in overload protection. If the power
rating of 150 Watts is exceeded, the power inverter will automatically shut down. Once
the electrical device has been removed from the outlet, the inverter should automatically
reset. If the power rating exceeds approximately 170 Watts, the power inverter may have
to be reset manually. To reset the inverter manually, unplug the device and plug it in
again. To avoid overloading the circuit, check the power ratings on electrical devices
prior to using the inverter.
WARNING!
To Avoid Serious Injury or Death: Do not use a three-prong adaptor. Do not insert any
objects into the receptacles. Do not touch with wet hands. Close the lid when not in
use. If this outlet is mishandled, it ma y cause an electric shock and failure.
POWER OUTLET
• There are two 12 Volt power outlets located in the center console below the radio. The
outlet on the top has power available when the ignition switch in the ON position. The
outlet on the bottom has power available when the ignition switch is in the LOCK, ON,
or ACC position.
• A third 12 Volt power outlet is located on the back of the center console. This outlet has power available when the ignition switch is in the LOCK, ON or ACC position.
• A fourth fused 12 Volt power outlet is located on the left quarter trim panel in the cargo area. This outlet has power available when the ignition switch is in the ON or ACC
position.
NOTE: Do not exceed the maximum power of 160 Watts (13 Amps) at 12 Volts. If the 160
Watt (13 Amp) power rating is exceeded the fuse protecting the system will need to be
replaced.
45
ELECTRONICS
Page 50 of 88

• For vehicles equipped with Video Entertainment System (VES)™, refer to the VoiceCommand section of the Uconnect™ User's Manual on the DVD for further details.
• For vehicles not equipped with VES™, refer to your vehicle Owner's Manual on the DVD for Voice Command information.
Changing The Volume
• Start a dialogue by pressing the Voice Command button, then say a command
(e.g., “tutorial”).
• Use the radio ON/OFF VOLUME rotary knob to adjust the volume to a comfortable level while the Voice Command system is speaking. Please note the volume setting for
Voice Command is different than the audio system.
WARNING!
Any voice commanded system should be used only in safe driving conditions and all
attention should be kept on the roadway ahead. Failure to do so may result in an
accident causing serious injury or death.
NOTE: To access the tutorial, press the Voice Command button
. After the BEEP,
say “tutorial”. Press any hard-key or touch the display to cancel the tutorial.
ELECTRONICS
48