seat adjustment DODGE JOURNEY 2012 1.G User Guide
[x] Cancel search | Manufacturer: DODGE, Model Year: 2012, Model line: JOURNEY, Model: DODGE JOURNEY 2012 1.GPages: 108, PDF Size: 3 MB
Page 19 of 108

NOTE:Ensure that the tether strap does not slip into the opening between the
seatbacks as you remove slack in the strap.
WARNING!
• In a collision, an unrestrained child, even a tiny baby, can become a projectile inside the vehicle. The force required to hold even an infant on
your lap could become so great that you could not hold the child, no matter
how strong you are. The child and others could be severely injured or killed.
Any child riding in your vehicle should be in a proper restraint for the child's
size.
• Rearward-facing child seats must never be used in the front seat of a vehicle with a front passenger air bag. An air bag deployment could cause severe
injury or death to infants in this position.
• Improper installation of a child restraint to the LATCH anchorages can lead to failure of an infant or child restraint. The child could be severely injured or
killed. Follow the manufacturer’s directions exactly when installing an infant
or child restraint.
• An incorrectly anchored tether strap could lead to increased head motion and possible injury to the child. Use only the anchor positions directly behind the
child seat to secure a child restraint top tether strap.
FRONT SEATS
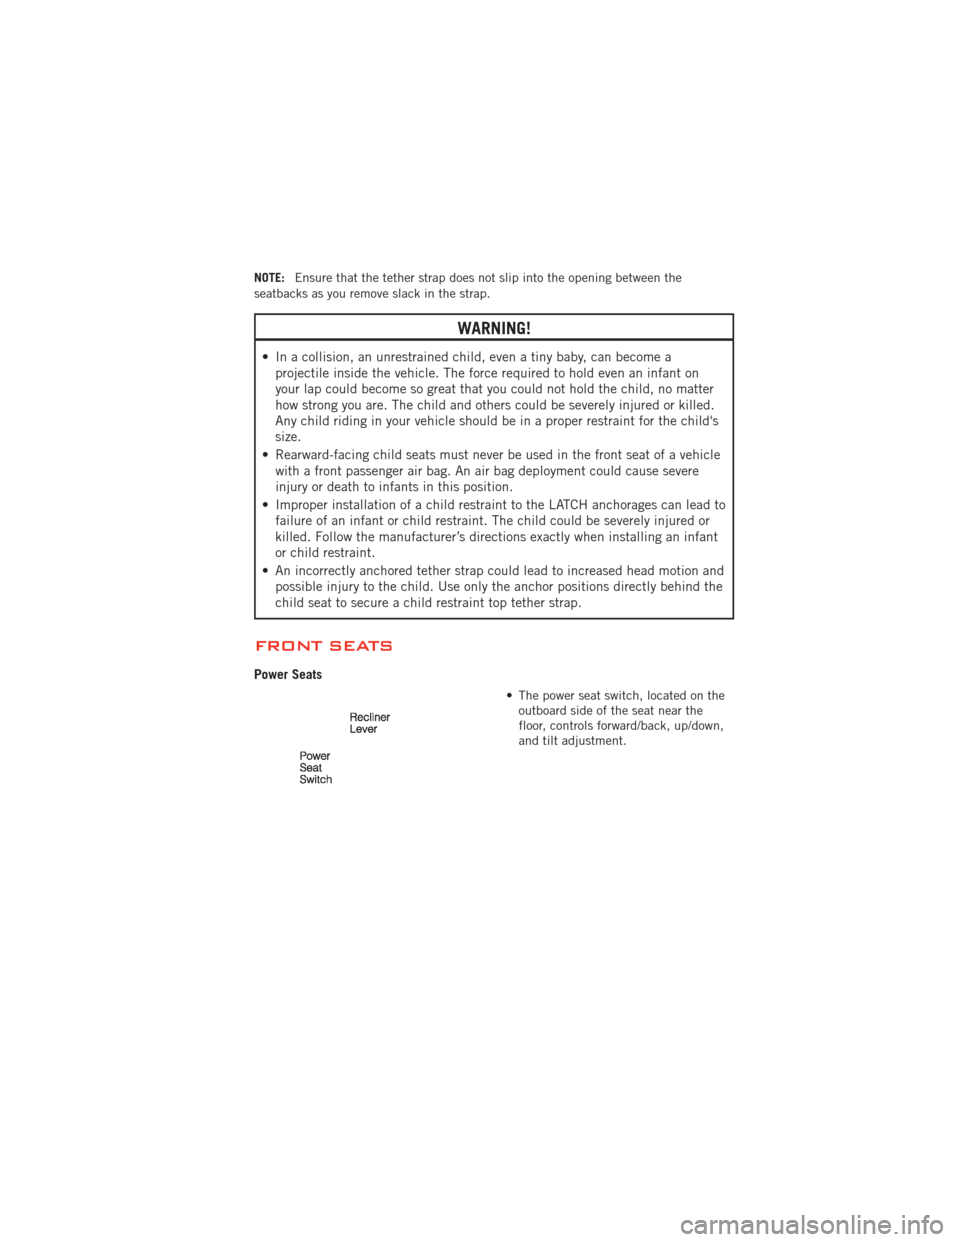
Power Seats
• The power seat switch, located on theoutboard side of the seat near the
floor, controls forward/back, up/down,
and tilt adjustment.
GETTING STARTED
17
Page 20 of 108

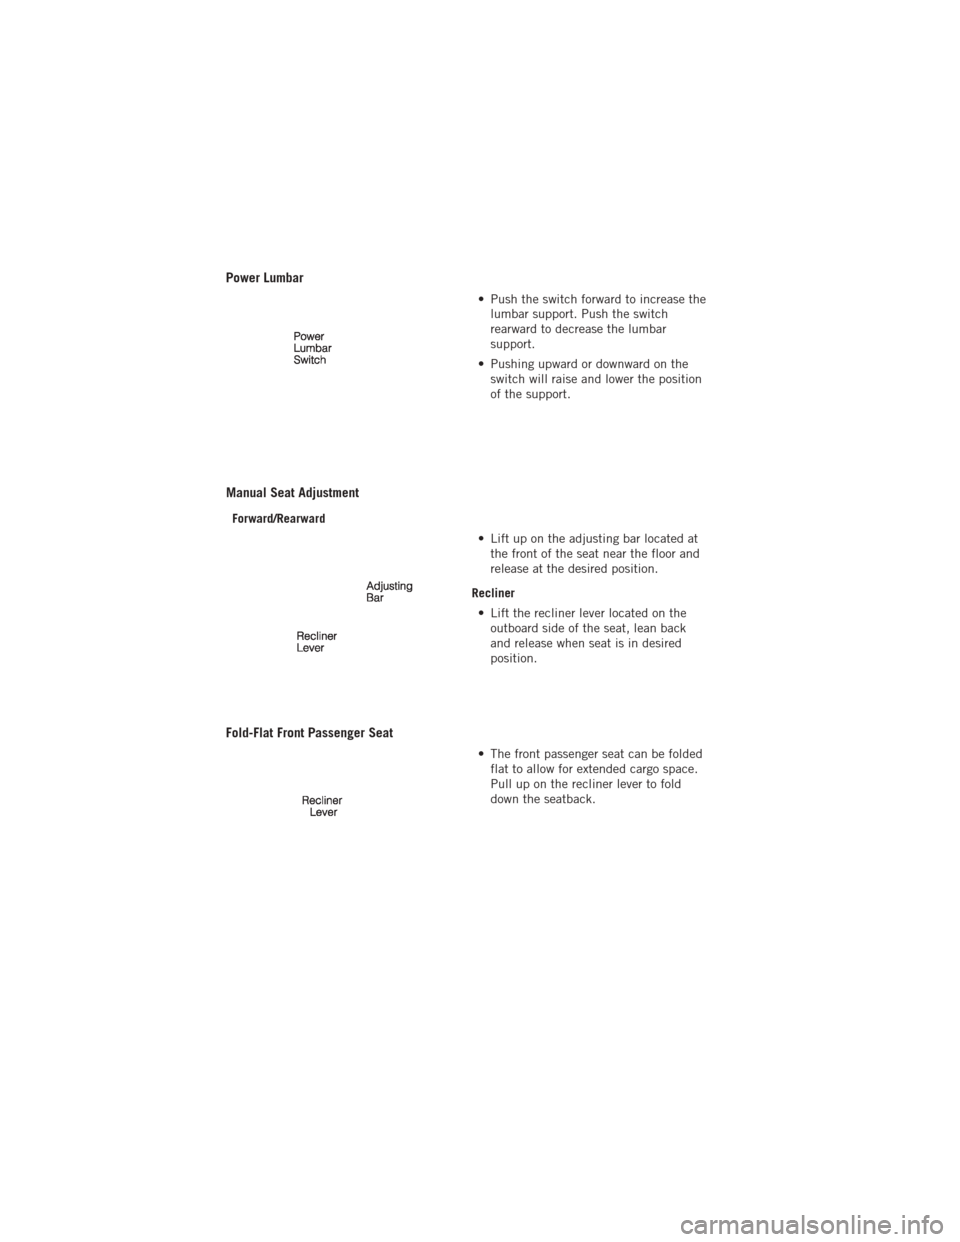
Power Lumbar
• Push the switch forward to increase thelumbar support. Push the switch
rearward to decrease the lumbar
support.
• Pushing upward or downward on the switch will raise and lower the position
of the support.
Manual Seat Adjustment
Forward/Rearward
• Lift up on the adjusting bar located atthe front of the seat near the floor and
release at the desired position.
Recliner • Lift the recliner lever located on the outboard side of the seat, lean back
and release when seat is in desired
position.
Fold-Flat Front Passenger Seat
• The front passenger seat can be foldedflat to allow for extended cargo space.
Pull up on the recliner lever to fold
down the seatback.
GETTING STARTED
18
Page 22 of 108

REAR SEATS
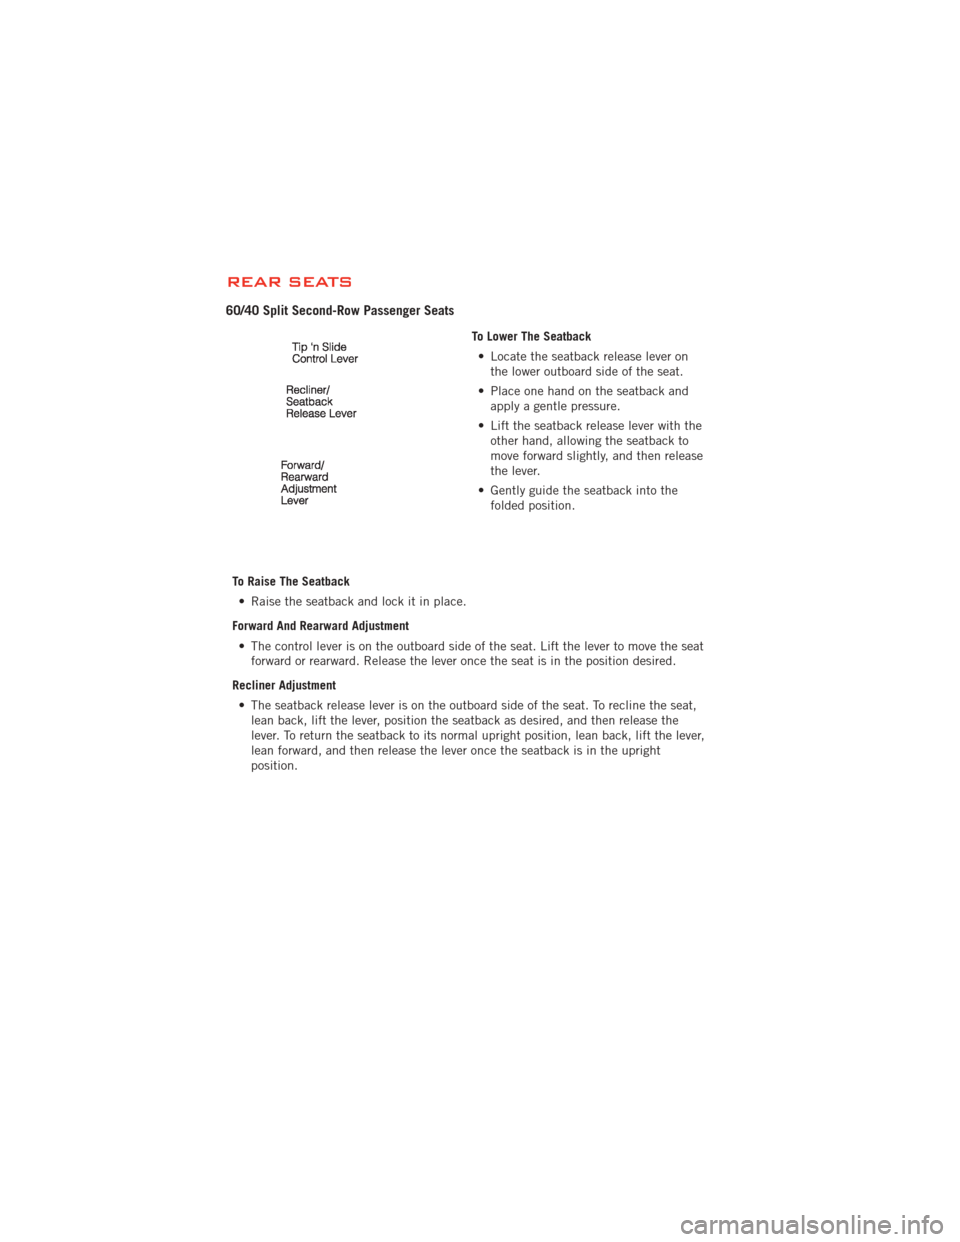
60/40 Split Second-Row Passenger Seats
To Lower The Seatback• Locate the seatback release lever on the lower outboard side of the seat.
• Place one hand on the seatback and apply a gentle pressure.
• Lift the seatback release lever with the other hand, allowing the seatback to
move forward slightly, and then release
the lever.
• Gently guide the seatback into the folded position.
To Raise The Seatback • Raise the seatback and lock it in place.
Forward And Rearward Adjustment • The control lever is on the outboard side of the seat. Lift the lever to move the seat forward or rearward. Release the lever once the seat is in the position desired.
Recliner Adjustment • The seatback release lever is on the outboard side of the seat. To recline the seat, lean back, lift the lever, position the seatback as desired, and then release the
lever. To return the seatback to its normal upright position, lean back, lift the lever,
lean forward, and then release the lever once the seatback is in the upright
position.
GETTING STARTED
20
Page 104 of 108

Intermittent Wipers (Delay Wipers) . . 26
Introduction............... 2
Inverter Outlet (115V) ......... 64
Inverter, Power ............. 64
iPod
®/USB/MP3 Control ........ 50
Bluetooth Streaming Audio ..... 51
Jack Location .............. 73
Jack Operation ........... 73,76
Jacking Instructions .......... 76
Jump Starting .............. 80
KeyFob .................. 8
Keyless Enter-N-Go ........... 9
Lock/Unlock ............ 9,10
Starting/Stopping .......... 10
Lane Change Assist .......... 25
LATCH (Lower Anchors and Tether
forCHildren) .............. 15
Lights Fuses ................. 93
Warning (Instrument Cluster
Description) .............. 6
Maintenance Record .......... 92
MaintenanceSchedule ........ 91
Mirrors Heated ................ 30
MOPAR
®Accessories ........ 100
Navigation ................ 46
Navigation Voice Commands ..... 58
New Vehicle Break-In Period ..... 25
Oil Change Indicator .......... 71
Oil, Engine Capacity ............... 89
Outlet Power ................. 65
Overheating, Engine .......... 72
Panic Alarm ............... 8
Phone (Uconnect) ........... 51 Placard, Tire and Loading
Information
............... 95
Power Distribution Center (Fuses) ..... 94
Glass Sunroof ............ 31
Inverter ................ 64
Outlet (Auxiliary Electrical
Outlet) ................ 65
Seats ................. 17
Steering ................ 89
Preparation for Jacking ........ 73
Programmable Electronic Features . . 61
Radio Operation ............ 40
Rain Sensitive Wiper System ..... 26
RearCamera .............. 31
Rear Park Sense System ........ 31
Rear Seat, Folding ........... 20
Recreational Towing .......... 67
Remote Starting System ........ 8
Replacement Bulbs .......... 97
Reporting Safety Defects ....... 99
Restraints, Child ............ 14
Rocking Vehicle When Stuck ..... 84
Seat Belts ................ 12
Seats ................... 17
Adjustment .............. 18
Folding Front Passenger ...... 18
Heated ................ 22
Lumbar Support ........... 18
Power ................. 17
RearFolding ............. 20
Setting the Clock .......... 37,39
Shift Lever Override .......... 82
Short Message Service (SMS) ..... 56
Signals, Turn .............. 25
SIRIUS Travel Link ........... 49
SpareTire ................ 73
Spark Plugs ............... 89
Speed Control Accel/Decel .............. 27
Cancel ................ 28
Resume ................ 27
Speed Control (Cruise Control) .... 27
INDEX
102