change wheel DODGE JOURNEY 2013 1.G User Guide
[x] Cancel search | Manufacturer: DODGE, Model Year: 2013, Model line: JOURNEY, Model: DODGE JOURNEY 2013 1.GPages: 116, PDF Size: 3.43 MB
Page 52 of 116
PLAYING iPod®/USB/MP3 DEVICES
• There are many ways to play music from iPod®/MP3 players or USB devices through yourvehicles sound system.
Audio Jack (AUX)
• The Audio Jack, located in the center console, allows a portable device, such as an MP3 player or an iPod, to be plugged into the radio and utilize the vehicles sound system,
using a 3.5 mm audio cable, to amplify the source and play through the vehicle speakers.
• Touching the Player soft-key then choose AUX source will change the mode to auxiliary device if the Audio Jack is connected, allowing the music from your portable device to be
heard through the vehicles speakers.
• The functions of the portable device are controlled using the device buttons. The volume may be controlled using the radio or portable device.
• To route the audio cable out of the center console, use the access cut out in the front of the console.
USB Port
• Connect your iPod® or compatible device using a USB cable into the USB Port. The USB Port is contained within the center console. USB Memory sticks with audio files can also
be used. Then, audio from the device can be played on the vehicles sound system while
providing metadata (artist, track title, album, etc.) information on the radio display.
• When connected, the iPod®/compatible USB device can be controlled using the radio or Steering Wheel Audio Controls to play, skip to the next or previous track, browse, and list
the contents.
• The iPod® battery charges when plugged into the USB port (if supported by the specific device).
• To route the USB/iPod® cable out of the center console, use the access cut out in the front of the console.
NOTE:
• When connecting your iPod® device for the first time, the system may take several minutes to read your music, depending on the number of files. For example, the system
will take approximately five minutes for every 1000 songs loaded on the device. Also
during the reading process, the Shuffle and Browse functions will be disabled. This
process is needed to ensure the full use of your iPod® features and only happens the first
time it is connected. After the first time, the reading process of your iPod® will take
considerably less time unless changes are made or new songs are added to the playlist.
• The USB port supports certain Mini, Classic, Nano, Touch, and iPhone® devices. The USB port also supports playing music from compatible external USB Mass Storage Class
memory devices. Some iPod® software versions may not fully support the USB port
features. Please visit Apple’s website for iPod® software updates.
ELECTRONICS
50
Page 59 of 116
Uconnect® VOICE COMMAND
• If the Uconnect® Voice Commandbutton exists on your steering wheel, then you
have the Voice Command feature.
• The Voice Command feature lets you keep your hands on the steering wheel, and your eyes on the road.
• When you press the Voice Command button
located on the radio faceplate or
steering wheel, you will hear a beep. The beep is your signal to give a command. If you do
not know what commands to say, you can say "help" and the system will provide options
to you. If you ever wish to interrupt the system while it lists options, press the Voice
Command button
, listen for the BEEP, and say your command.
• You can “chain” commands together for faster results. Say “Call John Doe, mobile”, for example.
Changing The Volume
• Start a dialogue by pressing the Voice Command button
, then say a command
(for example, “help”).
• Use the radio ON/OFF VOLUME rotary knob to adjust the volume to a comfortable level while the Voice Command system is speaking. The volume setting for Voice Command is
different than the audio system.
• Refer to the Understand The Features Of Your Vehicle section of your vehicle's Owner's Manual on the DVD for further details.
Common Voice Commands (Examples)
Switch Modes “FM”
“Satellite” “AM”
“Change Source to iPod”
“Change Source to SD Card”
Radio (FM, AM) “95.5”
“95.5 FM”
“Go to preset 5”
Player “Play Album 'Greatest Hits”
“Play Artist 'Scott Joplin” “Play Genre 'Rock” “Play Song 'Maple Leaf Rag”
SiriusXM Satellite
Radio“39”
“Foxxhole”
SiriusXM Travel Link “Show fuel prices”
“Show movie listings”
“Show current weather”
“Show extended weather”
“Show Travel Link favorites”
“Show NFL headlines”
“Show NBA rankings”
“Show NFL schedules”
“Show NBA scores”
SiriusXM Navigation “Navigate to (Address)”
“Navigate to (Point of Interest)”
ELECTRONICS
57
Page 62 of 116
ELECTRONIC VEHICLE INFORMATION CENTER (EVIC)
• The EVIC features a driver interactive dis-play that is located in the instrument
cluster. Pressing the controls on the left
side of the steering wheel allows the
driver to select vehicle information and
Personal Settings. For additional infor-
mation, refer to “Programmable Fea-
tures” located in this guide.
• Press and release the UP
button to
scroll upward through the main menus
(Fuel Economy, Vehicle Info, Tire PSI,
Cruise, Messages, Units, System Setup)
and sub menus.
• Press and release the DOWN
button to scroll downward through the main menus and
sub menus.
• Press and release the SELECT
button for access to main menus, sub menus or to
select a personal setting in the setup menu.
• Press the BACK button to scroll back to a previous menu or sub menu.
Compass Calibration
• This compass is self-calibrating, which eliminates the need to set the compass manu- ally. When the vehicle is new, the compass may appear erratic and the EVIC will display
“CAL” until the compass is calibrated.
• You may also calibrate the compass by completing one or more 360 degree turns (in an area free from large metal or metallic objects) until the “CAL” message displayed in the
EVIC turns off. The compass will now function normally.
PROGRAMMABLE FEATURES
Electronic Vehicle Information Center (EVIC) – If Equipped
• The EVIC can be used to view or change the following settings. Press the UP
or
DOWN
button until System Setup displays, then press the SELECTbutton. Scroll
through the settings using the UP or DOWN buttons. Press the SELECT
button to
change the setting. Press the BACK button to scroll back to a previous menu or sub menu.
• Fuel Economy • Average Fuel Economy
• Distance To Empty (DTE)
• Miles Per Gallon (MPG) • Trip Info
• Trip A
• Trip B
• Elapsed Time
• Vehicle Speed • Units
• To Reset The Display • Vehicle Info (Customer Information Features)
ELECTRONICS
60
Page 71 of 116
•Your vehicle has also been equipped with a TPMS malfunction indicator to indicate when
the system is not operating properly. The TPMS malfunction indicator is combined with the
low tire pressure telltale. When the system detects a malfunction, the telltale will flash for
approximately one minute and then remain continuously illuminated. This sequence will
continue each time the vehicle is restarted as long as the malfunction exists.
•When the malfunction indicator is illuminated, the system may not be able to detect or
signal low tire pressure as intended. TPMS malfunctions may occur for a variety of reasons,
including the installation of replacement or alternate tires or wheels on the vehicle that
prevent the TPMS from functioning properly. Always check the TPMS malfunction telltale
after replacing one or more tires or wheels on your vehicle, to ensure that the replacement
or alternate tires and wheels allow the TPMS to continue to function properly.
NOTE:
Tire pressures change by approximately 1 psi (7 kPa) per 12° F (7° C) of air temperature
change. Keep this in mind when checking tire pressure inside a garage, especially in the
Winter. Example: If garage temperature is 68°F (20°C) and the outside temperature is 32°F
(0°C), then the cold tire inflation pressure should be increased by 3 psi (21 kPa), which equals
1 psi (7 kPa) for every 12°F (7°C) for this outside temperature condition.
CAUTION!
The TPMS has been optimized for the original equipment tires and wheels. TPMS
pressures and warning have been established for the tire size equipped on your vehicle.
Undesirable system operation or sensor damage may result when using replacement
equipment that is not of the same size, type, and/or style. Aftermarket wheels can cause
sensor damage. Do not use tire sealant from a can, or balance beads if your vehicle is
equipped with a TPMS, as damage to the sensors may result.
- Engine Temperature Warning Light
• This light warns of an overheated engine condition.
• If the light turns on and a warning chime sounds while driving, safely pull over and stop the vehicle. If the A/C system is on, turn it off. Also, shift the transmission into NEUTRAL
and idle the vehicle. If the temperature reading does not return to normal, turn the engine
off immediately.
• We recommend that you do not operate the vehicle or engine damage will occur. Have the vehicle serviced immediately.
WARNING!
A hot engine cooling system is dangerous. You or others could be badly burned by steam
or boiling coolant. You may want to call an authorized dealer for service if your vehicle
overheats.
WHAT TO DO IN EMERGENCIES
69
Page 82 of 116
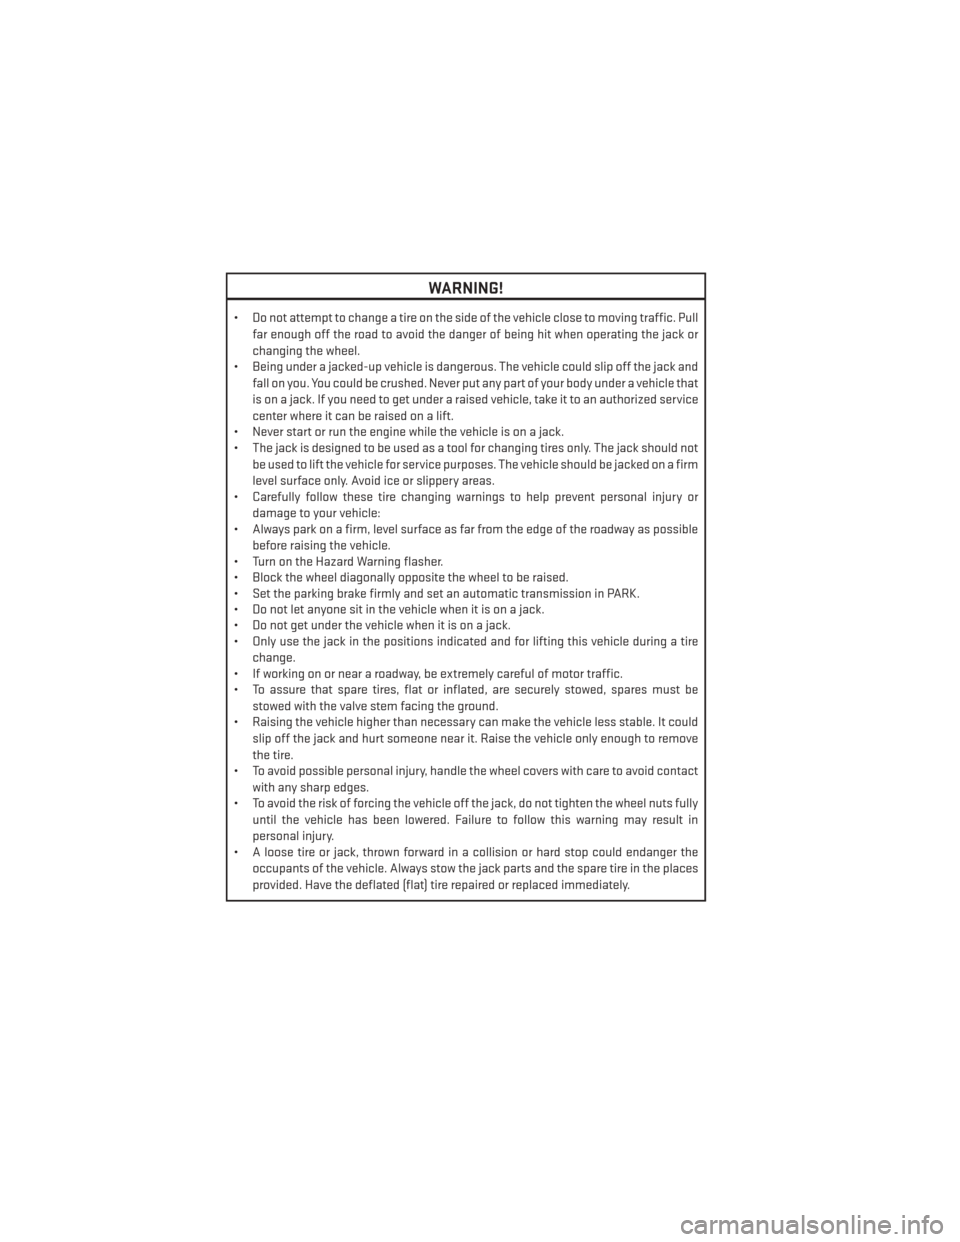
WARNING!
• Do not attempt to change a tire on the side of the vehicle close to moving traffic. Pullfar enough off the road to avoid the danger of being hit when operating the jack or
changing the wheel.
• Being under a jacked-up vehicle is dangerous. The vehicle could slip off the jack and
fall on you. You could be crushed. Never put any part of your body under a vehicle that
is on a jack. If you need to get under a raised vehicle, take it to an authorized service
center where it can be raised on a lift.
• Never start or run the engine while the vehicle is on a jack.
• The jack is designed to be used as a tool for changing tires only. The jack should not
be used to lift the vehicle for service purposes. The vehicle should be jacked on a firm
level surface only. Avoid ice or slippery areas.
• Carefully follow these tire changing warnings to help prevent personal injury or
damage to your vehicle:
• Always park on a firm, level surface as far from the edge of the roadway as possible
before raising the vehicle.
• Turn on the Hazard Warning flasher.
• Block the wheel diagonally opposite the wheel to be raised.
• Set the parking brake firmly and set an automatic transmission in PARK.
• Do not let anyone sit in the vehicle when it is on a jack.
• Do not get under the vehicle when it is on a jack.
• Only use the jack in the positions indicated and for lifting this vehicle during a tire
change.
• If working on or near a roadway, be extremely careful of motor traffic.
• To assure that spare tires, flat or inflated, are securely stowed, spares must be
stowed with the valve stem facing the ground.
• Raising the vehicle higher than necessary can make the vehicle less stable. It could
slip off the jack and hurt someone near it. Raise the vehicle only enough to remove
the tire.
• To avoid possible personal injury, handle the wheel covers with care to avoid contact
with any sharp edges.
• To avoid the risk of forcing the vehicle off the jack, do not tighten the wheel nuts fully
until the vehicle has been lowered. Failure to follow this warning may result in
personal injury.
• A loose tire or jack, thrown forward in a collision or hard stop could endanger the
occupants of the vehicle. Always stow the jack parts and the spare tire in the places
provided. Have the deflated (flat) tire repaired or replaced immediately.
WHAT TO DO IN EMERGENCIES
80
Page 107 of 116
Airbag...................14
Air Conditioning.............30
Anti-Lock Brake System (ABS) ......71
Arming Theft System (Security Alarm) ............12
Automatic Headlights ..........27
Automatic Temperature Control (ATC)...30
Automatic Transmission Fluid Type ..............90
AxleFluid.................90
Back-UpCamera.............32
Battery Charging System Light ........70
Belts, Seat .................13
Booster Seat ...............15
BrakeFluid................90
Brake System WarningLight.............70
Break-In Recommendations, New Vehicle ..............25
BulbReplacement............101
Calibration, Compass ...........60
Change Oil Indicator ............71
Changing A Flat Tire ...........73
Charging System Light ..........70
Check Engine Light (Malfunction Indicator Light) .....70
Child Booster Seat ............15
Child Restraint ..............15
Child Restraint Tether Anchors ......16
ClimateControl..............30
Compass Calibration ...........60
Cooling System Coolant Capacity ...........90
Cruise Control (Speed Control) ......28
Cruise Light ................28
Customer Assistance ..........102
Customer Programmable Features ....61
Defects, Reporting ............103
Disarming, Theft System .........12 Electronic Speed Control
(Cruise Control) ............28
Electronic Throttle Control Warning Light .............71
Electronic Vehicle Information Center (EVIC) .............60
Emergency, In Case of Freeing Vehicle When Stuck .....85
Jacking ................73
Overheating ..............72
Engine Break-In Recommendations .....25
Compartment ............88
Malfunction Indicator
(Check Engine) ............70
Oil Selection .............90
Overheating ..............72
EventDataRecorder...........86
Exterior Lights ..............101
Fluid Capacities .............90
Fluids ...................90
FogLights.................27
Folding Front Passenger Seat .......19
Folding Rear Seat .............20
Freeing A Stuck Vehicle .........85
Front Heated Seats ............22
Fuel Specifications ............90
Fuse....................97
Fuses...................97
Garage Door Opener (HomeLink®) ....62
Headlights Automatic ..............27
HeatedMirrors ..............31
Heated
Seats...............22
Heated Steering Wheel ..........23
HomeLink® (Garage Door Opener) ....62
Hood Release ...............87
INDEX
105
Page 108 of 116
Instrument ClusterIndicators ...............7
Instrument Cluster Warning Lights ....6
Interior Fuses ...............97
Intermittent Wipers (Delay Wipers) ....26
Introduction ................2
Inverter Outlet (115V) ...........65
Inverter,Power..............65
iPod®/USB/MP3 Control .........50
BluetoothStreamingAudio .....51
Jacking Instructions ...........76
Jack Location ...............73
Jack Operation ............73,76
Jump Starting ...............81
KeyFob...................8
Keyless Enter-N-Go ............9
Lock/Unlock ............9,11
Lane Change Assist ...........26
LATCH (Lower Anchors and Tether for CHildren) ............15,16
Lights Warning (Instrument Cluster
Description) ..............6
Locks Liftgate, Tailgate ...........8
Maintenance Record ...........96
Malfunction Indicator Light (CheckEngine).............70
Mirrors Heated ................31
MOPAR® Accessories ..........104
New Vehicle Break-In Period .......25
Oil Change Indicator ............71
Oil Change Indicator, Reset ........71
Oil, Engine Capacity ...............90
Outlet Power.................66
Overheating, Engine ...........72 Placard, Tire and Loading
Information ..............100
Power Distribution Center (Fuses) .....98
Inverter ................65
Outlet (Auxiliary Electrical Outlet)...66
Seats .................18
Steering ...............90
Preparation for Jacking ..........74
Programmable Electronic Features . . .60
Rain Sensitive Wiper System .......26
RearCamera...............32
Rear Park Sense System .........32
Rear Seat, Folding ............20
Recreational Towing ...........67
Replacement Bulbs ...........101
Reporting Safety Defects ........103
Rocking Vehicle When Stuck .......85
Seat Belts .................13
Seats .................18,19
Adjustment ..............19
Folding Front Passenger .......19
Heated ................22
Power .................18
Rear Folding .............20
Shift Lever Override ............83
Signals, Turn ...............26
SIRIUSTravelLink ............49
SpareTire.................73
SparkPlugs................90
Speed Control Accel/Decel .............28
Distance Setting (ACC Only) .....28
Steering Tilt Column ..............24
Wheel, Heated ............23
Stuck, Freeing ..............85
Supplemental Restraint System - Airbag .................14
Temperature Control, Automatic (ATC)..30
Theft System Arming ...........12
Theft System Disarming .........12
INDEX
106