warning light DODGE JOURNEY 2014 1.G User Guide
[x] Cancel search | Manufacturer: DODGE, Model Year: 2014, Model line: JOURNEY, Model: DODGE JOURNEY 2014 1.GPages: 651
Page 170 of 651
NOTE:
•The Emergency call may also be initiated by using the
touchscreen.
•
The emergency number dialed is based on the country
where the vehicle is purchased (911 for the U.S. and
Canada and 060 for Mexico). The number dialed may not
be applicable with the available mobile service and area.
• The Uconnect® Phone does slightly lower your
chances of successfully making a phone call as to that
for the mobile phone directly.
WARNING!
Your phone must be turned on and connected to the
Uconnect® Phone to allow use of this vehicle feature in
emergency situations, when the mobile phone has net-
work coverage and stays connected to the Uconnect®
Phone.
Roadside Assistance / Towing Assistance
If you need roadside/towing assistance:
1. Press the
button on the steering wheel to begin.
2. After the “Listening” prompt and the following beep, say “Roadside Assistance” or say “Towing Assis-
tance.”
NOTE: The roadside/towing assistance number dialed is
based on the country where the vehicle is purchased
(1-800-528-2069 for the U.S., 1-800-363-4869 for Canada,
55-14-3454 for Mexico City and 1-800-712-3040 for out-
side Mexico City in Mexico). Please refer to the Chrysler
Group LLC 24-Hour “Roadside Assistance” coverage
details in the Warranty Information Booklet and on the
24-Hour Roadside Assistance Card.
Voice Mail Calling
To learn how to access your voice mail, refer to “Working
with Automated Systems”.
168 UNDERSTANDING THE FEATURES OF YOUR VEHICLE
Page 208 of 651
WARNING!
•Adjusting a seat while driving may be dangerous.
Moving a seat while driving could result in loss of
control which could cause a collision and serious
injury or death.
• Seats should be adjusted before fastening the seat
belts and while the vehicle is parked. Serious
injury or death could result from a poorly adjusted
seat belt.
Recliner Adjustment
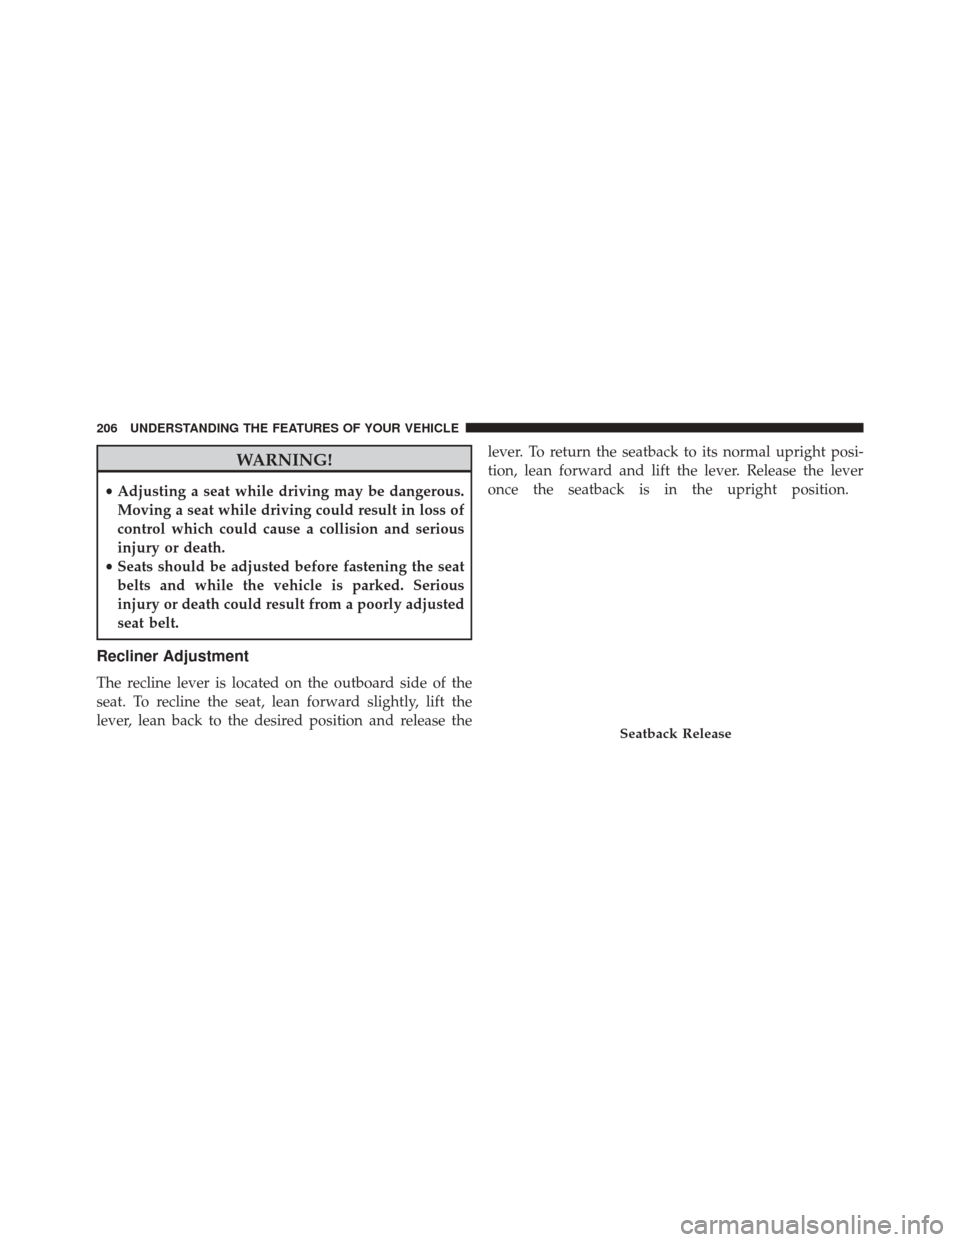
The recline lever is located on the outboard side of the
seat. To recline the seat, lean forward slightly, lift the
lever, lean back to the desired position and release the lever. To return the seatback to its normal upright posi-
tion, lean forward and lift the lever. Release the lever
once the seatback is in the upright position.
Seatback Release
206 UNDERSTANDING THE FEATURES OF YOUR VEHICLE
Page 217 of 651
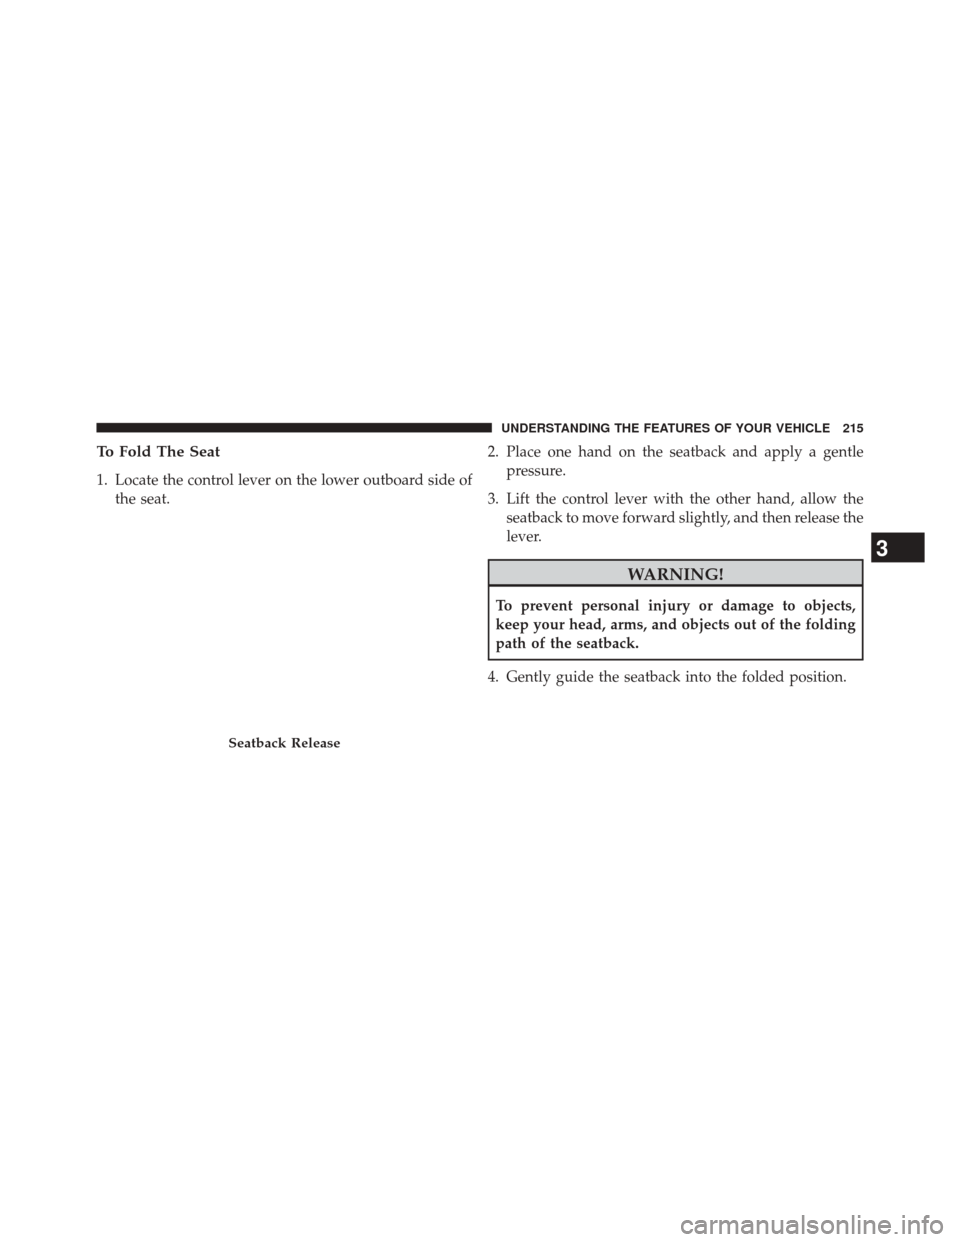
To Fold The Seat
1. Locate the control lever on the lower outboard side ofthe seat. 2. Place one hand on the seatback and apply a gentle
pressure.
3. Lift the control lever with the other hand, allow the seatback to move forward slightly, and then release the
lever.
WARNING!
To prevent personal injury or damage to objects,
keep your head, arms, and objects out of the folding
path of the seatback.
4. Gently guide the seatback into the folded position.
Seatback Release
3
UNDERSTANDING THE FEATURES OF YOUR VEHICLE 215
Page 223 of 651
WARNING!
Be certain that the seatback and seat are locked
securely into position. Otherwise, the seat will not
provide the proper stability for child seats and/or
passengers. An improperly latched seat could cause
serious injury.
50/50 Split Third-Row Passenger Seats With
Fold-Flat Feature — Seven Passenger Models
To provide additional storage area, each third-row pas-
senger seatback can be folded flat. This allows for ex-
tended cargo space and still maintains some rear seating
room if needed.
NOTE:Prior to folding the third-row passenger seat-
back, make sure the second-row passenger seatback is
not in a reclined position. This will allow the seatback to
fold easily.
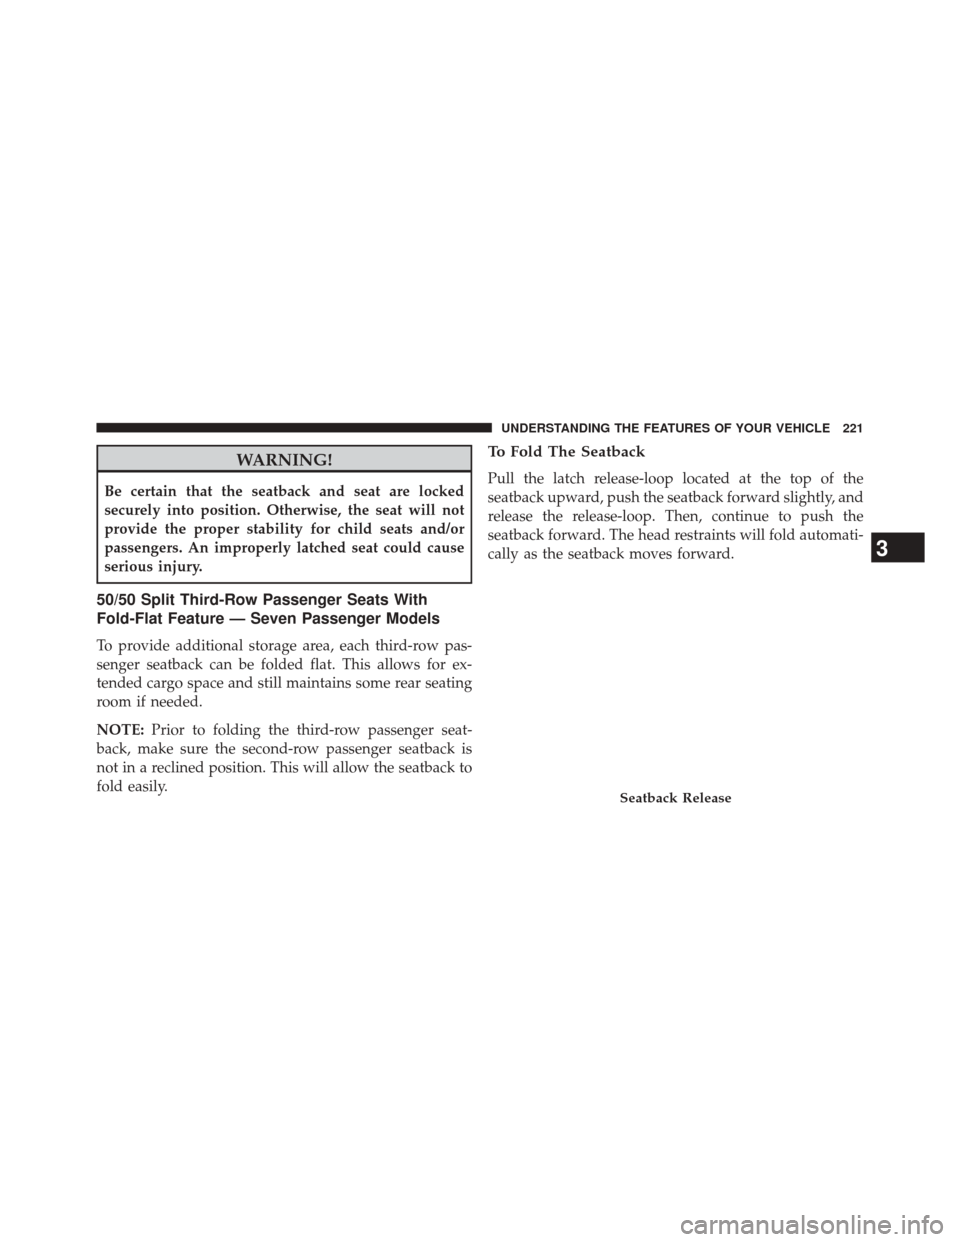
To Fold The Seatback
Pull the latch release-loop located at the top of the
seatback upward, push the seatback forward slightly, and
release the release-loop. Then, continue to push the
seatback forward. The head restraints will fold automati-
cally as the seatback moves forward.
Seatback Release
3
UNDERSTANDING THE FEATURES OF YOUR VEHICLE 221
Page 227 of 651
CAUTION!
To prevent possible damage:
•Before closing hood, make sure the hood prop rod
is fully seated into its storage retaining clips.
• Do not slam the hood to close it. Use a firm
downward push at the center front edge of the
hood to ensure that both latches engage. Never
drive your vehicle unless the hood is fully closed,
with both latches engaged.
WARNING!
Be sure the hood is fully latched before driving your
vehicle. If the hood is not fully latched, it could open
when the vehicle is in motion and block your vision.
Failure to follow this warning could result in serious
injury or death.
LIGHTS
Headlight Switch
The headlight switch is located on the left side of the
instrument panel. This switch controls the operation of the
headlights, parking lights, instrument panel lights, instru-
ment panel light dimming, interior lights and fog lights.
Headlight Switch
3
UNDERSTANDING THE FEATURES OF YOUR VEHICLE 225
Page 242 of 651
NOTE:In order to ensure proper operation, the Elec-
tronic Speed Control System has been designed to shut
down if multiple Speed Control functions are operated at
the same time. If this occurs, the Electronic Speed Control
System can be reactivated by pushing the Electronic
Speed Control ON/OFF button and resetting the desired
vehicle set speed.
To Activate
Push the ON/OFF button. The Cruise Indicator Light in
the instrument cluster will illuminate. To turn the system
off, push the ON/OFF button a second time. The Cruise
Indicator Light will turn off. The system should be
turned off when not in use.
WARNING!
Leaving the Electronic Speed Control system on
when not in use is dangerous. You could accidentally
set the system or cause it to go faster than you want.
You could lose control and have an accident. Always
leave the system OFF when you are not using it.
To Set A Desired Speed
Turn the Electronic Speed Control ON. When the vehicle
has reached the desired speed, press the SET (-) button
and release. Release the accelerator and the vehicle will
operate at the selected speed.
NOTE: The vehicle should be traveling at a steady speed
and on level ground before pressing the SET (-) button.
240 UNDERSTANDING THE FEATURES OF YOUR VEHICLE
Page 274 of 651
WARNING!
To avoid serious injury or death:
•Only devices designed for use in this type of outlet
should be inserted into any 12 Volt outlet.
• Do not touch with wet hands.
• Close the lid when not in use and while driving the
vehicle.
• If this outlet is mishandled, it may cause an electric
shock and failure.
Power Outlet Fuses
1 — F103 20 A Yellow Power Outlet Console Bin & Power Outlet
Console Rear
2 — F102 20 A Yellow Cigar Lighter Instrument Panel & Power
Outlet Left Rear Cargo Area 272 UNDERSTANDING THE FEATURES OF YOUR VEHICLE
Page 304 of 651
INSTRUMENT CLUSTER DESCRIPTIONS
1. Tachometer
This gauge measures engine revolutions per minute
(RPM x 1000). Before the pointer reaches the red area,
ease up on the accelerator to prevent engine damage.
2. Air Bag Warning LightThis light will turn on for four to eight seconds
as a bulb check when the ignition switch is first
turned to ON/RUN. If the light is either not on
during starting, stays on, or turns on while
driving, have the system inspected at an authorized
dealer as soon as possible. Refer to “Occupant Restraints”
in “Things To Know Before Starting Your Vehicle” for
further information. 3. Malfunction Indicator Light (MIL)
The Malfunction Indicator Light (MIL) is part of
an onboard diagnostic system, called OBD II, that
monitors engine and automatic transmission con-
trol systems. The light will illuminate when the key is in
the ON/RUN position, before engine start. If the bulb
does not come on when turning the key from OFF to
ON/RUN, have the condition checked promptly.
Certain conditions, such as a loose or missing gas cap,
poor fuel quality, etc., may illuminate the MIL after
engine start. The vehicle should be serviced if the light
stays on through several of your typical driving cycles. In
most situations, the vehicle will drive normally and will
not require towing.
302 UNDERSTANDING YOUR INSTRUMENT PANEL
Page 305 of 651
CAUTION!
Prolonged driving with the Malfunction Indicator
Light (MIL) on could cause damage to the engine
control system. It also could affect fuel economy and
driveability. If the MIL is flashing, severe catalytic
converter damage and power loss will soon occur.
Immediate service is required.
WARNING!
A malfunctioning catalytic converter, as referenced
above, can reach higher temperatures than in normal
operating conditions. This can cause a fire if you
drive slowly or park over flammable substances such
as dry plants, wood, cardboard, etc. This could result
in death or serious injury to the driver, occupants or
others.4. Electronic Stability Control (ESC) Activation/
Malfunction Indicator Light — If Equipped
If the “ESC Activation/Malfunction Indicator
Light” comes on continuously with the engine
running, a malfunction has been detected in
the ESC system. If this light remains on after
several ignition cycles, and the vehicle has been driven
several miles (kilometers) at speeds greater than 30 mph
(48 km/h), see your authorized dealer as soon as possible
to have the problem diagnosed and corrected.
NOTE:
•Each time the ignition is turned to ON/RUN, the
ESC system will be ON, even if it was turned off
previously.
• The ESC system will make buzzing or clicking
sounds when it is active. This is normal; the sounds
will stop when ESC becomes inactive following the
maneuver that caused the ESC activation.
4
UNDERSTANDING YOUR INSTRUMENT PANEL 303
Page 309 of 651
CAUTION!
The TPMS has been optimized for the original
equipment tires and wheels. TPMS pressures and
warning have been established for the tire size
equipped on your vehicle. Undesirable system opera-
tion or sensor damage may result when using re-
placement equipment that is not of the same size,
type, and/or style. Aftermarket wheels can cause
sensor damage. Do not use tire sealant from a can or
balance beads if your vehicle is equipped with a
TPMS, as damage to the sensors may result.
11. Seat Belt Reminder Light When the ignition switch is first turned to ON/
RUN, this light will turn on for four to eight
seconds as a bulb check. During the bulb check, if
the driver or front passenger’s seat belt is unbuckled, a
chime will sound. After the bulb check or when driving, if the driver’s seat belt remains unbuckled, the Seat Belt
Reminder Light will illuminate and the chime will sound.
Refer to “Occupant Restraints” in “Things To Know
Before Starting Your Vehicle” for further information.
12. Brake Warning Light
This light monitors various brake functions,
including brake fluid level and parking brake
application. If the brake light turns on it may
indicate that the parking brake is applied, that
the brake fluid level is low, or that there is a problem with
the anti-lock brake system reservoir.
If the light remains on when the parking brake has been
disengaged, and the fluid level is at the full mark on the
master cylinder reservoir, it indicates a possible brake
hydraulic system malfunction or that a problem with the
Brake Booster has been detected by the Anti-Lock Brake
System (ABS) / Electronic Stability Control (ESC) system.
4
UNDERSTANDING YOUR INSTRUMENT PANEL 307