radio controls DODGE JOURNEY 2014 1.G User Guide
[x] Cancel search | Manufacturer: DODGE, Model Year: 2014, Model line: JOURNEY, Model: DODGE JOURNEY 2014 1.GPages: 124, PDF Size: 3.37 MB
Page 3 of 124
INTRODUCTION/WELCOME
WELCOME FROM CHRYSLER GROUP LLC . . . 2
CONTROLS AT A GLANCE
DRIVER COCKPIT................4
INSTRUMENT CLUSTER ............6
GETTING STARTED
KEYFOB .....................8
REMOTE START.................9
KEYLESS ENTER-N-GO™ ............9
VEHICLE SECURITY ALARM ..........13
SEATBELT ...................13
SUPPLEMENTAL RESTRAINT
SYSTEM (SRS) — AIR BAGS ...........14
CHILD RESTRAINTS ..............15
FRONT SEATS .................21
REARSEATS ..................23
HEATEDSEATS ................25
HEATED STEERING WHEEL ..........26
TILT/TELESCOPING STEERING COLUMN . . . 27
OPERATING YOUR VEHICLE
ENGINE BREAK-IN RECOMMENDATIONS . . . 28
TURN SIGNAL/WIPER/WASHER/HIGH BEAM
LEVER ......................28
HEADLIGHT SWITCH ..............29
SPEED CONTROL ................30
CLIMATE CONTROL ..............33
PARKVIEW® REAR BACK-UP CAMERA ....35
POWER SUNROOF ...............36
WIND BUFFETING ................37
ELECTRONICS
YOUR VEHICLE'S SOUND SYSTEM ......38
IDENTIFYING YOUR RADIO ...........40
Uconnect® 4.3 & 4.3S AT A GLANCE .....41
Uconnect® 8.4 & 8.4N AT A GLANCE .....42
RADIO ......................44
SiriusXM SATELLITE RADIO ..........45
iPod®/CD/AUX CONTROLS ..........48
GARMIN® NAVIGATION .............50
SiriusXM TRAVEL LINK .............53
PLAYING iPod®/USB/MP3 DEVICES .....54
Uconnect® PHONE ...............55
Uconnect® VOICE COMMAND
(8.4&8.4NONLY) ...............60
VIDEO ENTERTAINMENT SYSTEM (VES™) . . 63
STEERING WHEEL AUDIO CONTROLS ....64
ELECTRONIC VEHICLE INFORMATION
CENTER (EVIC) .................64 PROGRAMMABLE FEATURES
.........65
UNIVERSAL GARAGE DOOR OPENER
(HomeLink®) ..................66
POWER INVERTER ...............69
POWER OUTLETS ...............70
UTILITY
TRAILER TOWING WEIGHTS (MAXIMUM
TRAILERWEIGHTRATINGS) ..........71
RECREATIONAL TOWING (BEHIND
MOTORHOME, ETC.) ..............72
WHAT TO DO IN EMERGENCIES
ROADSIDE ASSISTANCE ............73
INSTRUMENT CLUSTER WARNING LIGHTS . . 73
IF YOUR ENGINE OVERHEATS .........79
JACKING AND TIRE CHANGING ........80
JUMP-STARTING ................87
SHIFT LEVER OVERRIDE ...........89
TOWING A DISABLED VEHICLE ........90
FREEING A STUCK VEHICLE ..........91
EVENT DATA RECORDER (EDR) ........92
MAINTAINING YOUR VEHICLE
OPENING THE HOOD..............93
ENGINE COMPARTMENT ...........94
FLUIDS AND CAPACITIES ...........96
MAINTENANCE SCHEDULE ..........98
MAINTENANCE RECORD ...........102
FUSES .....................103
TIRE PRESSURES ...............105
WHEEL AND WHEEL TRIM CARE ......106
EXTERIOR BULBS ...............107
CONSUMER ASSISTANCE
CHRYSLER GROUP LLC
CUSTOMER CENTER .............108
CHRYSLER CANADA INC.
CUSTOMER CENTER .............108
ASSISTANCE FOR THE HEARING
IMPAIRED ...................108
PUBLICATIONS ORDERING ..........108
REPORTING SAFETY DEFECTS IN THE
UNITEDSTATES ................109
MOPAR® ACCESSORIES
AUTHENTIC ACCESSORIES BY MOPAR® . . . 110
FREQUENTLY ASKED QUESTIONS
FREQUENTLY ASKED QUESTIONS .......111
INDEX....................112
TABLE OF CONTENTS
Page 37 of 124
Automatic Operation
• Press the AUTO button or AUTO soft-key.
• Select the desired temperature by pressing the Temperature Controls for the driver orpassenger.
• The system will maintain the set temperature automatically.
SYNC Temperature Soft-Key
•Press the SYNC soft-key once to control driver and passenger temperatures simultaneously.
• Press the SYNC soft-key a second time to control the temperatures individually.
Air Recirculation
• Use recirculation for maximum A/C operation.
• For window defogging, turn the recirculation button off.
• If the hard-key Recirculation button is pushed while in the AUTO mode, the indicator light may flash three times to indicate the cabin air is being controlled automatically.
The soft-key recirculation button will be greyed out in these conditions.
Heated Mirrors
The mirrors are heated to melt frost or ice. This feature is activated whenever you turn on
the rear window defroster.
PARKVIEW® REAR BACK-UP CAMERA
You can see an on-screen image of the rear of your vehicle whenever the shift lever is put
into REVERSE. The ParkView® Rear Back-Up Camera image will be displayed on the radio
display screen, located on the center stack of the instrument panel.
If the radio display screen appears foggy, clean the camera lens located on the liftgate.
Refer to your Owner's Manual on the DVD for further details.
WARNING!
Drivers must be careful when backing up; even when using the ParkView® Rear Back-Up
Camera. Always check carefully behind your vehicle, and be sure to check for pedestri-
ans, animals, other vehicles, obstructions, or blind spots before backing up. You must
continue to pay attention while backing up. Failure to do so can result in serious injury or
death.
OPERATING YOUR VEHICLE
35
Page 48 of 124
Selecting SiriusXM Satellite Channels
Seek Up/Seek Down
• Touch the “Seek arrow” soft-keys for less than two seconds to seek through channels inSAT mode.
• Touch and hold either “arrow” soft-key for more than two seconds to bypass channels without stopping. The radio will stop at the next listenable channel once the arrow
soft-key is released.
Direct Tune
• Tune directly to a SAT channel by pressing the “Tune” button on the screen, and entering the desired station number.
Info (4.3S Only)
• Provides detailed information about the current SiriusXM Satellite Radio channel.
More... (4.3S Only)
• Access more menus: Audio, Favorites, Game Zone, and Replay.
Jump (8.4 & 8.4N Only)
• Automatically tells you when Traffic & Weather for a favorite city is available, and gives you the option to switch to that channel. Select Traffic then touch “Jump” to activate the
feature. After listening to Traffic and Weather, touch “Jump” again to return to the
previous channel.
Fav (8.4 & 8.4N Only)
• Activates the favorites menu. You can add up to 50 favorite artists or songs. Just touch “Add Fav Artist” or “Add Fav Song” while the song is playing. You will then be alerted any
time one of these songs, or works by these artists, is playing on other SiriusXM Satellite
Radio channels.
SiriusXM Parental Controls
• You can skip or hide certain channels from view if you do not want access to them. Press the SETTINGS hard-key (4.3S) or touch the “More” soft-key, then the “Settings” soft-key
(8.4 & 8.4N), next touch the “SiriusXM Satellite Radio Setup” soft-key, then select
“Channel Skip.” Touch the channel(s) to be skipped (4.3S) or touch the box, check-mark,
next to the channel you want skipped (8.4 & 8.4N). They will not show up in normal usage.
• SiriusXM Satellite Radio also offers the option to permanently block selected channels. Call 1-888-539-7474 and request the Family Package.
ELECTRONICS
46
Page 56 of 124
PLAYING iPod®/USB/MP3 DEVICES
• There are many ways to play music from iPod®/MP3 players or USB devices through yourvehicles sound system.
Audio Jack (AUX)
• The Audio Jack, located in the center console, allows a portable device, such as an MP3player or an iPod®, to be plugged into the radio and utilize the vehicles sound system,
using a 3.5 mm audio cable, to amplify the source and play through the vehicle speakers.
• Touching the “Player” soft-key then choose AUX source will change the mode to auxiliary device if the Audio Jack is connected, allowing the music from your portable device to be
heard through the vehicles speakers.
• The functions of the portable device are controlled using the device buttons. The volume may be controlled using the radio or portable device.
• To route the audio cable out of the center console, use the access cut out in the front of the console.
USB Port
• Connect your iPod® or compatible device using a USB cable into the USB Port. The USBPort is contained within the center console. USB Memory sticks with audio files can also
be used. Then, audio from the device can be played on the vehicles sound system while
providing metadata (artist, track title, album, etc.) information on the radio display.
• When connected, the iPod®/compatible USB device can be controlled using the radio or Steering Wheel Audio Controls to play, skip to the next or previous track, browse, and list
the contents.
• The iPod® battery charges when plugged into the USB port (if supported by the specific device).
• To route the USB/iPod® cable out of the center console, use the access cut out in the front of the console.
NOTE:
• When connecting your iPod® device for the first time, the system may take several minutes to read your music, depending on the number of files. For example, the system
will take approximately five minutes for every 1000 songs loaded on the device. Also
during the reading process, the Shuffle and Browse functions will be disabled. This
process is needed to ensure the full use of your iPod® features and only happens the first
time it is connected. After the first time, the reading process of your iPod® will take
considerably less time unless changes are made or new songs are added to the playlist.
• The USB port supports certain Mini, Classic, Nano, Touch, and iPhone® devices. The USB port also supports playing music from compatible external USB Mass Storage Class
memory devices. Some iPod® software versions may not fully support the USB port
features. Please visit Apple’s website for iPod® software updates.
ELECTRONICS
54
Page 57 of 124
SD Card (8.4 and 8.4N Only)
• Play songs stored on an SD card inserted into the SD card slot, located on the radiofaceplate.
• Song playback can be controlled using the radio or Steering Wheel Audio Controls to play, skip to the next or previous track, browse, and list the contents.
Bluetooth® Streaming Audio
• If equipped with Uconnect® Voice Command, your Bluetooth® - equipped iPod® devices,cell phones or other media players, may also be able to stream music to your vehicles
sound system. Your connected device must be Bluetooth® - compatible, and paired with
your Uconnect® system (see Uconnect® Phone for pairing instructions). You can access
the music from your connected Bluetooth® device by touching the “Source” soft-key
while in Player mode.
Uconnect® PHONE
Uconnect® Phone (Bluetooth® Hands Free Calling)
• If the Uconnect® Phone Buttonexists on your steering wheel, then you have the
Uconnect® Phone features.
• The Uconnect® Phone is a voice-activated, hands-free, in-vehicle communications system with Voice Command Capability (see Voice Command section).
• The Uconnect® Phone allows you to dial a phone number with your mobile phone using simple voice commands or using screen soft-keys.
• Refer to the “Understand The Features Of Your Vehicle” section of your vehicle's Owner's Manual on the DVD for further details.
NOTE:
The Uconnect® Phone requires a mobile phone equipped with the Bluetooth® Hands-Free
Profile, Version 1.0 or higher. For Uconnect® customer support: U.S. residents - visit
www.UconnectPhone.com or call 1–877–855–8400. Canadian Residents - call 1-800-465–2001
(English) or 1-800-387-9983 (French).
Pairing A Phone
• To use the Uconnect® Phone feature, you must first pair your Bluetooth® phone with the Uconnect® system.
ELECTRONICS
55
Page 66 of 124
STEERING WHEEL AUDIO CONTROLS
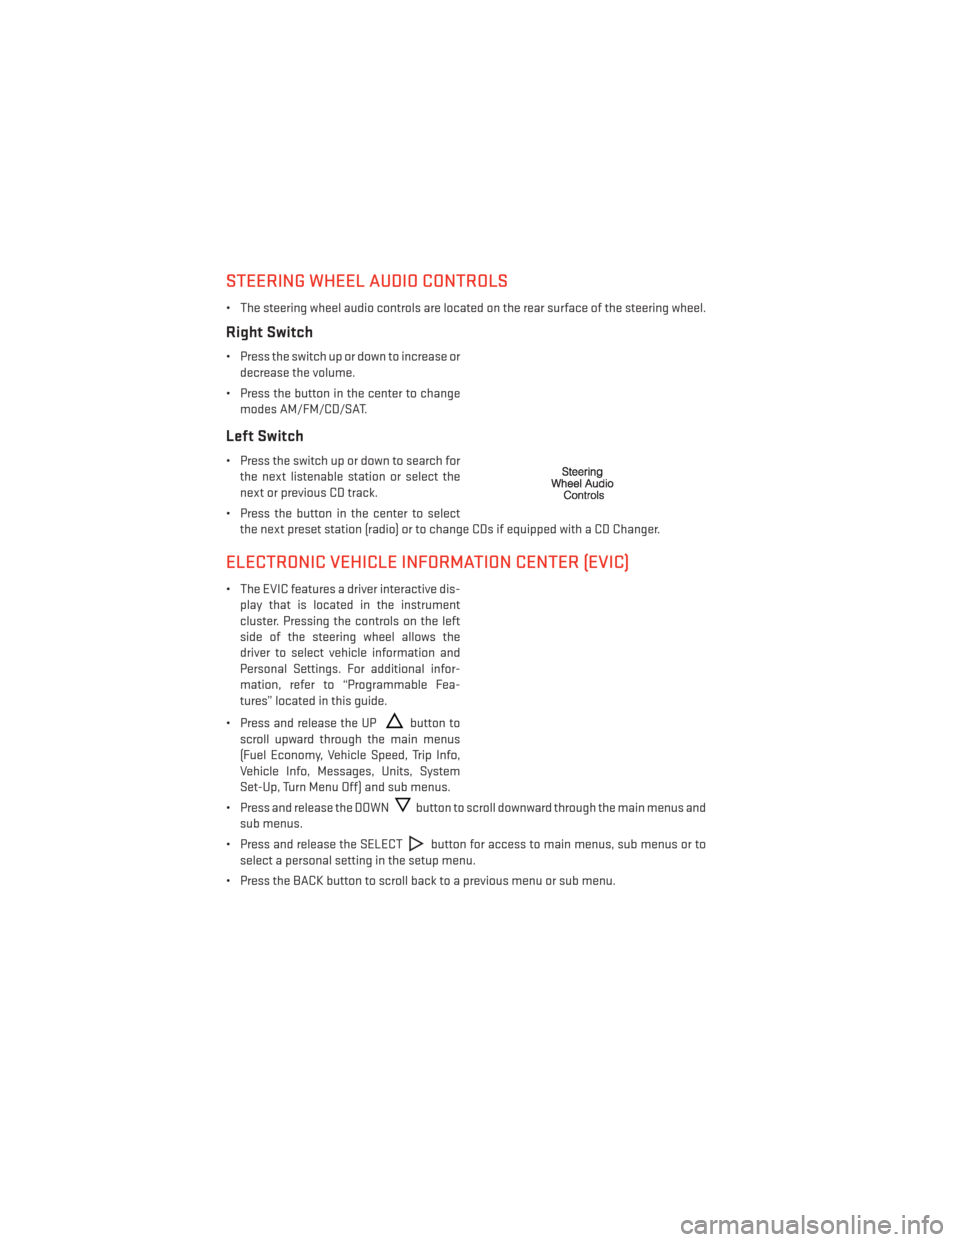
• The steering wheel audio controls are located on the rear surface of the steering wheel.
Right Switch
• Press the switch up or down to increase ordecrease the volume.
• Press the button in the center to change modes AM/FM/CD/SAT.
Left Switch
• Press the switch up or down to search forthe next listenable station or select the
next or previous CD track.
• Press the button in the center to select the next preset station (radio) or to change CDs if equipped with a CD Changer.
ELECTRONIC VEHICLE INFORMATION CENTER (EVIC)
• The EVIC features a driver interactive dis-play that is located in the instrument
cluster. Pressing the controls on the left
side of the steering wheel allows the
driver to select vehicle information and
Personal Settings. For additional infor-
mation, refer to “Programmable Fea-
tures” located in this guide.
• Press and release the UP
button to
scroll upward through the main menus
(Fuel Economy, Vehicle Speed, Trip Info,
Vehicle Info, Messages, Units, System
Set-Up, Turn Menu Off) and sub menus.
• Press and release the DOWN
button to scroll downward through the main menus and
sub menus.
• Press and release the SELECT
button for access to main menus, sub menus or to
select a personal setting in the setup menu.
• Press the BACK button to scroll back to a previous menu or sub menu.
ELECTRONICS
64
Page 116 of 124
OutletPower .................70
Overheating, Engine ...........79
PanicAlarm................8
Phone (Uconnect®) ............55
Placard, Tire and Loading Information ..............105
Power Distribution Center (Fuses) .....104
Inverter ................69
Outlet (Auxiliary Electrical Outlet) . .70
Seats .................21
Steering ...............96
Preparation for Jacking .........80
Programmable Electronic Features . . .65
Radio Operation .............44
Radio (Sound Systems) ........41,42
Rain Sensitive Wiper System .......29
Rear Camera ...............35
Rear ParkSense System .........35
Rear Seat, Folding ............23
Recreational Towing ...........72
Remote Keyless Entry (RKE) LockTheDoors ............8
Remote Keyless Entry (RKE) ......8
Unlock The Doors ...........8
ReplacementBulbs...........107
Reporting Safety Defects ........109
Resetting Oil Change Indicator ......78
Rocking Vehicle When Stuck .......91
Satellite Radio (Uconnect® studios) . . .45
Seat Belt Automatic Locking Retractor (ALR) . .13
Child Restraints ..........13,15
Energy Management Feature .....13
Lap/Shoulder Belts ..........13
Seat Belt Pretensioner ........13
SeatBeltReminder ..........13
Seat Belts Reminder ...............76
Seats ...................21
Adjustment ..............21
Folding Front Passenger .......22Heated ................25
Manual
................21
Power .................21
Rear Folding .............23
SecurityAlarm ..............78 Security Alarm ............13
Shift Lever Override ............89
Signals, Turn .............28,77
SIRIUSTravelLink ............53
SpareTire.................80
SparkPlugs................96
Speed Control Accel/Decel .............31
Cancel ................32
Resume ...............32
Set ..................30
Steering Tilt Column ..............27
Wheel, Heated ............26
Steering Wheel Audio Controls ......64
Stuck, Freeing ...............91
Supplemental Restraint System - Airbag .................14
Temperature Control, Automatic (ATC)..33
Tether Anchor, Child Restraint ......16
Tilt Steering Column ...........27
Tires Air Pressure .............105
Changing...............80
Jacking ................80
Pressure Warning Light ........74
SpareTire ..............80
Towing...................71 Disabled Vehicle ...........90
Recreational .............72
Towing Vehicle Behind a Motorhome . . .72
Traction Control ..............77
Trailer Towing Trailer and Tongue Weight ......71
Trailer Weight ...............71
Transmission Fluid .................96
Turn Signals ..............28,77
INDEX
114