check engine DODGE JOURNEY 2015 1.G Owner's Manual
[x] Cancel search | Manufacturer: DODGE, Model Year: 2015, Model line: JOURNEY, Model: DODGE JOURNEY 2015 1.GPages: 648
Page 560 of 648
4. Install the wiper blade pivot pin into the wiper blade
holder at the end of the wiper arm, and firmly press
the wiper blade until it snaps into place.
5. Lower the wiper blade and snap the pivot cap into
place.
Adding Washer Fluid
The windshield washer and the rear window washer
share the same fluid reservoir. The fluid reservoir is
located in the engine compartment. Be sure to check the
fluid level in the reservoir at regular intervals. Fill the
reservoir with windshield washer solvent (not radiator
antifreeze) and operate the system for a few seconds to
flush out the residual water.
When refilling the washer fluid reservoir, apply some
washer fluid to a cloth or towel and wipe the wiper
blades clean. This will help blade performance.
To prevent freeze-up of your windshield washer system
in cold weather, select a solution or mixture that meets or
exceeds the temperature range of your climate. This
rating information can be found on most washer fluid
containers.
The fluid reservoir will hold nearly 1 gal (4 l) of washer
fluid when the message “LoWASH” appears in the
instrument cluster.
WARNING!
Commercially available windshield washer solvents
are flammable. They could ignite and burn you. Care
must be exercised when filling or working around
the washer solution.
558 MAINTAINING YOUR VEHICLE
Page 563 of 648
To minimize the possibility of catalytic converter dam-
age:
•Do not shut off the engine or interrupt the ignition,
when the transmission is in gear and the vehicle is in
motion.
•Do not try to start the engine by pushing or towing the
vehicle.
•Do not idle the engine with any spark plug wires
disconnected or removed, such as when diagnostic
testing, or for prolonged periods during very rough
idle or malfunctioning operating conditions.
Cooling System
WARNING!
•When working near the radiator cooling fan,
disconnect the fan motor lead or turn the ignition
switch to the LOCK position. The fan is tempera-
ture controlled and can start at any time the igni-
tion switch is in the ON position.
•You or others can be badly burned by hot engine
coolant (antifreeze) or steam from your radiator. If
you see or hear steam coming from under the hood,
do not open the hood until the radiator has had
time to cool. Never try to open a cooling system
pressure cap when the radiator is hot.
Coolant Checks
Check the engine coolant (antifreeze) protection every 12
months (before the onset of freezing weather, where
7
MAINTAINING YOUR VEHICLE 561
Page 564 of 648
applicable). If the engine coolant (antifreeze) is dirty or
rusty in appearance, the system should be drained,
flushed, and refilled with fresh engine coolant (anti-
freeze). Check the front of the A/C condenser for any
accumulation of bugs, leaves, etc. If dirty, clean by gently
spraying water from a garden hose vertically down the
face of the condenser.
Check the coolant recovery bottle tubing for brittle rub-
ber, cracking, tears, cuts, and tightness of the connection
at the bottle and radiator. Inspect the entire system for
leaks.
Cooling System — Drain, Flush And Refill
NOTE:Some vehicles require special tools to add coolant
properly. Failure to fill these systems properly could lead
to severe internal engine damage. If any coolant is
needed to be added to the system please contact your
local authorized dealer.
If the engine coolant (antifreeze) is dirty or contains visible
sediment, have an authorized dealer clean and flush with
OAT coolant (antifreeze) (conforming to MS-12106).
Refer to the “Maintenance Schedule” for the proper
maintenance intervals.
Selection Of Coolant
Refer to “Fluids, Lubricants, and Genuine Parts” in
“Maintaining Your Vehicle” for further information.
562 MAINTAINING YOUR VEHICLE
Page 567 of 648
have a authorized dealer drain, flush, and refill with
OAT coolant (conforming to MS-12106) as soon as
possible.
Cooling System Pressure Cap
The cap must be fully tightened to prevent loss of engine
coolant (antifreeze), and to ensure that engine coolant
(antifreeze) will return to the radiator from the coolant
recovery bottle.
The cap should be inspected and cleaned if there is any
accumulation of foreign material on the sealing surfaces.
WARNING!
•The warning words “DO NOT OPEN HOT” on the
cooling system pressure cap are a safety precaution.
Never add engine coolant (antifreeze) when the
engine is overheated. Do not loosen or remove the
cap to cool an overheated engine. Heat causes
pressure to build up in the cooling system. To
prevent scalding or injury, do not remove the
pressure cap while the system is hot or under
pressure.
•Do not use a pressure cap other than the one
specified for your vehicle. Personal injury or en-
gine damage may result.
Disposal Of Used Engine Coolant
Used ethylene glycol-based engine coolant (antifreeze) is
a regulated substance requiring proper disposal. Check
with your local authorities to determine the disposal
7
MAINTAINING YOUR VEHICLE 565
Page 568 of 648
rules for your community. To prevent ingestion by ani-
mals or children, do not store ethylene glycol-based
engine coolant in open containers or allow it to remain in
puddles on the ground. If ingested by a child or pet, seek
emergency assistance immediately. Clean up any ground
spills immediately.
Coolant Level
2.4L Engine —The coolant bottle provides a quick visual
method for determining that the coolant level is ad-
equate. With the engine idling and warm to normal
operating temperature, the level of the coolant in the
bottle should be between the “ADD” and “FULL” lines,
shown on the bottle.
3.6L Engine —The level of the coolant in the pressurized
coolant bottle should be between the “COLD” and
“FULL” range on the bottle when the engine is cold.
The radiator normally remains completely full, so there is
no need to remove the radiator cap unless checking for
coolant freeze point or replacing engine coolant (anti-
freeze). Advise your service attendant of this. As long as
the engine operating temperature is satisfactory, the
coolant bottle need only be checked once a month. When
additional engine coolant (antifreeze) is needed to main-
tain the proper level, it should be added to the coolant
bottle. Do not overfill.
Points To Remember
NOTE:When the vehicle is stopped after a few miles/
kilometers of operation, you may observe vapor coming
from the front of the engine compartment. This is nor-
mally a result of moisture from rain, snow, or high
humidity accumulating on the radiator and being vapor-
ized when the thermostat opens, allowing hot engine
coolant (antifreeze) to enter the radiator.
566 MAINTAINING YOUR VEHICLE
Page 569 of 648
If an examination of your engine compartment shows no
evidence of radiator or hose leaks, the vehicle may be
safely driven. The vapor will soon dissipate.
•Do not overfill the coolant expansion bottle.
•Check the coolant freeze point in the radiator and in
the coolant expansion bottle. If engine coolant (anti-
freeze) needs to be added, the contents of the coolant
expansion bottle must also be protected against freez-
ing.
•If frequent engine coolant (antifreeze) additions are
required, the cooling system should be pressure tested
for leaks.
•Maintain engine coolant (antifreeze) concentration at a
minimum of 50% OAT coolant (conforming to
MS-12106) and distilled water for proper corrosion
protection of your engine which contains aluminum
components.
•Make sure that the coolant expansion bottle overflow
hoses are not kinked or obstructed.
•Keep the front of the radiator clean. If your vehicle is
equipped with air conditioning, keep the front of the
condenser clean.
•Do not change the thermostat for Summer or Winter
operation. If replacement is ever necessary, install
ONLY the correct type thermostat. Other designs may
result in unsatisfactory engine coolant (antifreeze)
performance, poor gas mileage, and increased emis-
sions.
Brake System
In order to assure brake system performance, all brake
system components should be inspected periodically.
Refer to the “Maintenance Schedule” for the proper
maintenance intervals.
7
MAINTAINING YOUR VEHICLE 567
Page 573 of 648
CAUTION!
Do not use chemical flushes in your transmission as
the chemicals can damage your transmission compo-
nents. Such damage is not covered by the New
Vehicle Limited Warranty.
Fluid Level Check — Four-Speed Automatic
Transmission
Use the following procedure to check the transmission
fluid level properly:
1. Park the vehicle on level ground.
2. Run the engine at normal idle speed for at least 60
seconds, and leave the engine running for the rest of
this procedure.
3. Fully apply the parking brake, and press the brake
pedal.
4. Place the shift lever momentarily into each gear posi-
tion (allowing time for the transmission to fully en-
gage in each position), ending with the transmission in
PARK.
5. Wipe the area around the dipstick clean to prevent dirt
from entering the transmission.
6. Remove the dipstick and determine if the fluid is hot
or cold. You can also read the transmission fluid
temperature using the Vehicle Information display in
the Electronic Vehicle Information Center (EVIC) in
the instrument cluster. Refer to#Electronic Vehicle
Information Center (EVIC)#in#Understanding Your
Instrument Panel#for further information. Hot fluid is
approximately 180°F (82°C), which is the normal op-
erating temperature after the vehicle is driven at least
15 miles (24 km). Hot fluid cannot be held comfortably
between the fingertips. Cold fluid is at a temperature
of approximately 80°F (27°C).
7
MAINTAINING YOUR VEHICLE 571
Page 607 of 648
Severe Duty All Models
Change Engine Oil at 4000 miles (6,500 km) if the vehicle
is operated in a dusty and off road environment. This
type of vehicle use is considered Severe Duty.
Once A Month Or Before A Long Trip:
•Check engine oil level.
•Check windshield washer fluid level.
•Check tire pressure and look for unusual wear or
damage. Rotate tires at the first sign of irregular wear,
even if it occurs before the oil indicator system turns
on.
•Check the fluid levels of the coolant reservoir, brake
master cylinder, power steering and transmission
(4-speed only) and fill as needed.
•Check function of all interior and exterior lights.
Required Maintenance Intervals.
Refer to the Maintenance Schedules on the following
page for the required maintenance intervals.
At Every Oil Change Interval As Indicated By Oil
Change Indicator System:
•Change oil and filter.
•Rotate the tires.Rotate at the first sign of irregu-
lar wear, even if it occurs before the oil indicator
system turns on.
•Inspect battery and clean and tighten terminals as
required.
•Inspect automatic transmission fluid if equipped
with dipstick.
•Inspect brake pads, shoes, rotors, drums, hoses
and park brake.
8
MAINTENANCE
SCHEDULES
MAINTENANCE SCHEDULES 605
Page 626 of 648
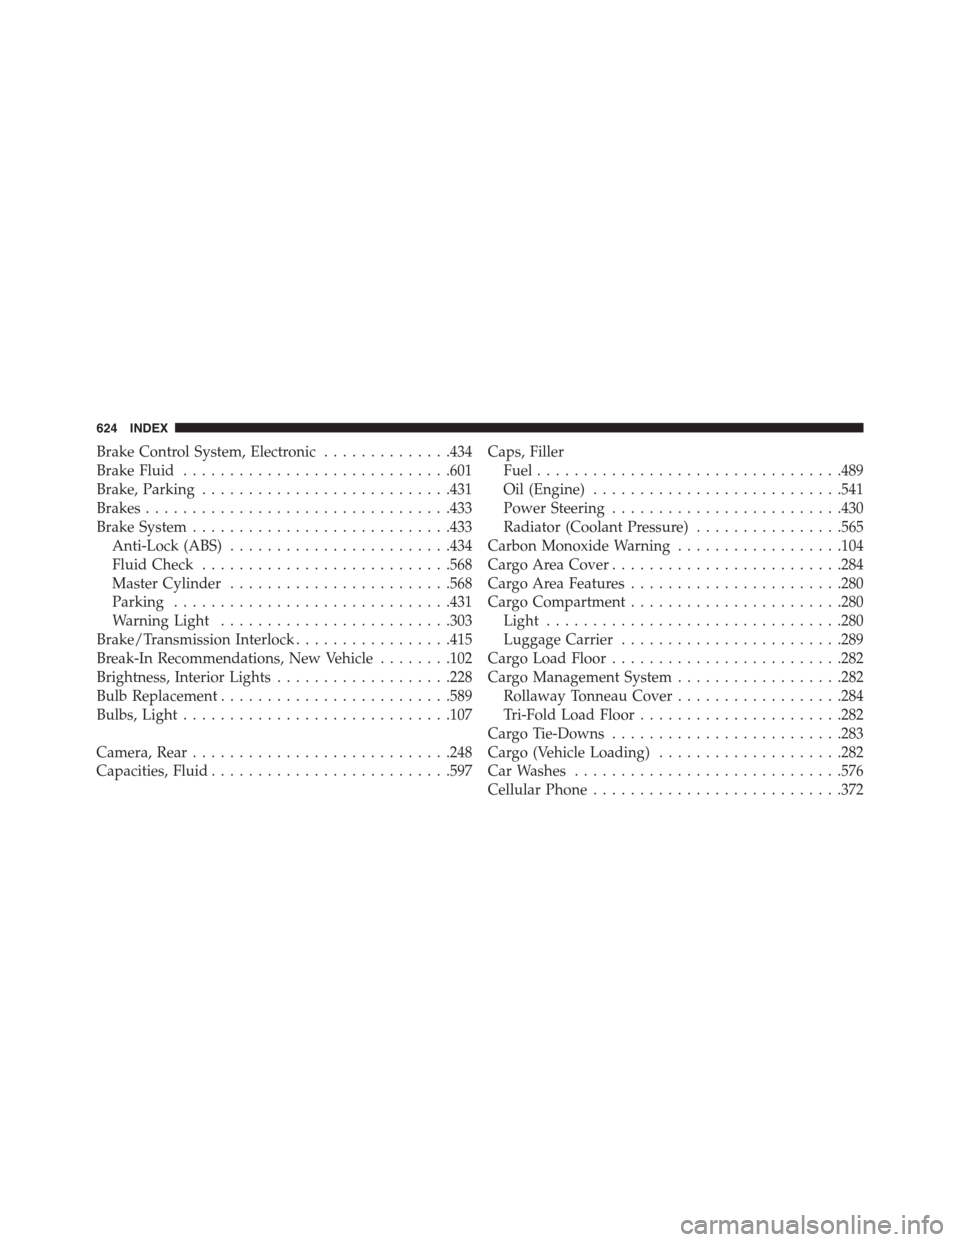
Brake Control System, Electronic..............434
Brake Fluid.............................601
Brake, Parking...........................431
Brakes.................................433
Brake System............................433
Anti-Lock (ABS)........................434
Fluid Check...........................568
Master Cylinder........................568
Parking..............................431
Warning Light.........................303
Brake/Transmission Interlock.................415
Break-In Recommendations, New Vehicle........102
Brightness, Interior Lights...................228
Bulb Replacement.........................589
Bulbs, Light.............................107
Camera, Rear............................248
Capacities, Fluid..........................597
Caps, Filler
Fuel.................................489
Oil (Engine)...........................541
Power Steering.........................430
Radiator (Coolant Pressure)................565
Carbon Monoxide Warning..................104
Cargo Area Cover.........................284
Cargo Area Features.......................280
Cargo Compartment.......................280
Light................................280
Luggage Carrier........................289
Cargo Load Floor.........................282
Cargo Management System..................282
Rollaway Tonneau Cover..................284
Tri-Fold Load Floor......................282
Cargo Tie-Downs.........................283
Cargo (Vehicle Loading)....................282
Car Washes.............................576
CellularPhone...........................372
624 INDEX
Page 627 of 648
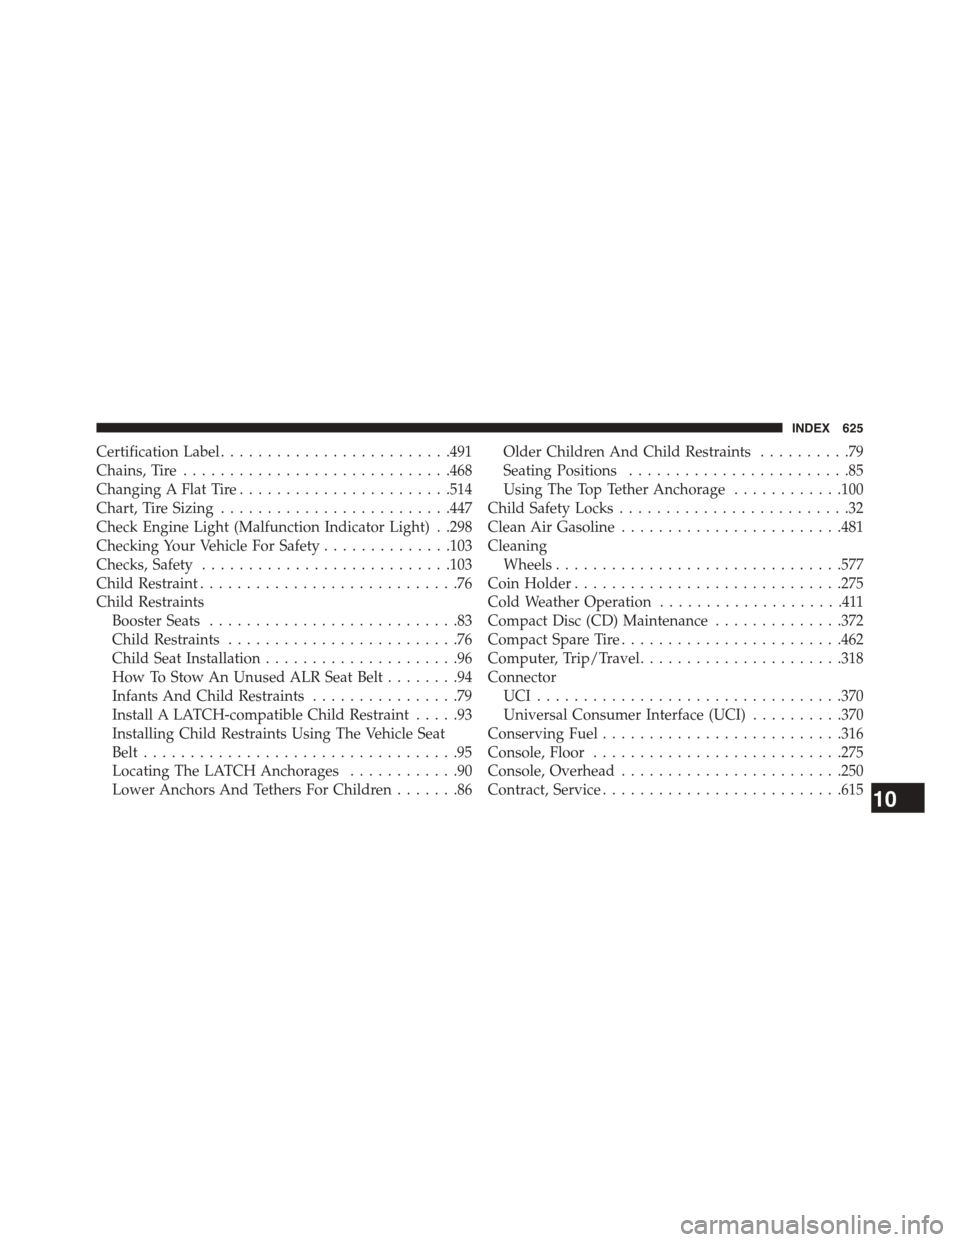
Certification Label.........................491
Chains, Tire.............................468
Changing A Flat Tire.......................514
Chart, Tire Sizing.........................447
Check Engine Light (Malfunction Indicator Light) . .298
Checking Your Vehicle For Safety..............103
Checks, Safety...........................103
Child Restraint............................76
Child Restraints
Booster Seats...........................83
Child Restraints.........................76
Child Seat Installation.....................96
How To Stow An Unused ALR Seat Belt........94
Infants And Child Restraints................79
Install A LATCH-compatible Child Restraint.....93
Installing Child Restraints Using The Vehicle Seat
Belt..................................95
Locating The LATCH Anchorages............90
Lower Anchors And Tethers For Children.......86
Older Children And Child Restraints..........79
Seating Positions........................85
Using The Top Tether Anchorage............100
Child Safety Locks.........................32
Clean Air Gasoline........................481
Cleaning
Wheels...............................577
Coin Holder.............................275
Cold Weather Operation....................411
Compact Disc (CD) Maintenance..............372
Compact Spare Tire........................462
Computer, Trip/Travel......................318
Connector
UCI . . . . . . . . . . . . . . . . . . . . . . . . . . . . . . . ..370
Universal Consumer Interface (UCI)..........370
Conserving Fuel..........................316
Console, Floor...........................275
Console, Overhead........................250
Contract, Service..........................61510
INDEX 625