child restraint DODGE MAGNUM 2005 1.G User Guide
[x] Cancel search | Manufacturer: DODGE, Model Year: 2005, Model line: MAGNUM, Model: DODGE MAGNUM 2005 1.GPages: 368
Page 53 of 368

The rear seat lower anchorages are round bars, located at
the rear of the seat cushion where it meets the seat back,
and are just visible when you lean into the rear seat to
install the child restraint. You will easily feel them if you
run your finger along the intersection of the seatback and
seat cushion surfaces.
The rear seat lower anchorage bars are identi-
fied by this symbol.
In addition, there are tether strap anchorages located
behind each rear seat back.
Many, but not all restraint systems will be equipped with
separate straps on each side, with each having a hook or
connector for attachment to the lower anchorage and a
means of adjusting the tension in the strap. Forward-
facing toddler restraints and some rear-facing infant
restraints will also be equipped with a tether strap, a
hook for attachment to the tether strap anchorage and a
means of adjusting the tension of the strap.You will first loosen the adjusters on the lower straps and
on the tether strap so that you can more easily attach the
hooks or connectors to the vehicle anchorages. Next
attach the lower hooks or connectors over the top of the
seat cover material. Then rotate the tether anchorage
cover directly behind the seat where you are placing the
child restraint and attach the tether strap to the anchor-
age, being careful to route the tether strap to provide the
most direct path between the anchor and the child
restraint. If your vehicle is equipped with adjustable rear
head restraints, raise the head restraint and, where pos-
sible, route the tether strap under the head restraint and
between the two posts. If not possible, lower the head
restraint and route the tether strap around the outboard
side of the head restraint. Finally, tighten all three straps
as you push the child restraint rearward and downward
into the seat, removing slack in the straps according to
the child restraint manufacturer’s instructions.
THINGS TO KNOW BEFORE STARTING YOUR VEHICLE 53
2
Page 54 of 368

WARNING!
Improper installation of a child restraint to the
LATCH anchorages can lead to failure of an infant or
child restraint. The child could be badly injured or
killed. Follow the manufacturer’s directions exactly
when installing an infant or child restraint.
Installing Child Restraints Using the Vehicle Seat
belt
The passenger seat belts are equipped with either cinch-
ing latch plates or automatic locking retractors (center
rear seat only) which are designed to keep the lap portion
tight around the child restraint so that it is not necessary
to use a locking clip. Pulling up on the shoulder portion
of the lap/shoulder belt will tighten the belt. The cinch-
ing latch plate will keep the belt tight, however, any seat
belt system will loosen with time, so check the belt
occasionally and pull it tight if necessary.The center rear seating position has an automatic locking
retractor and has a distinctive label on the seat belt
webbing. The seat belt must be in the automatic locking
mode in order to enable a child restraint to be tightly
installed. Refer to the Automatic Locking Mode section
for details. A locking clip should not be necessary once
the automatic locking feature is enabled. Position the
shoulder and lap belt on the child restraint. The auto-
matic locking retractor is activated by first attaching the
child seat, then pulling all of the webbing out of the
retractor, then allowing back in. Tighten webbing. To
release, simply unbuckle the seat belt by depressing the
button, allowing the webbing to retract into the retractor.
In the rear seat, you may have trouble tightening the
lap/shoulder belt on the child restraint because the
buckle or latch plate is too close to the belt path opening
on the restraint. Disconnect the latch plate from the
buckle and twist the short buckle-end belt several times
to shorten it. Insert the latch plate into the buckle with the
release button facing out.
54 THINGS TO KNOW BEFORE STARTING YOUR VEHICLE
Page 55 of 368

If the belt still can’t be tightened, or if by pulling and
pushing on the restraint loosens the belt, you may need
to do something more. Disconnect the latch plate from
the buckle, turn the buckle around, and insert the latch
plate into the buckle again. If you still can’t make the
child restraint secure, try a different seating position.
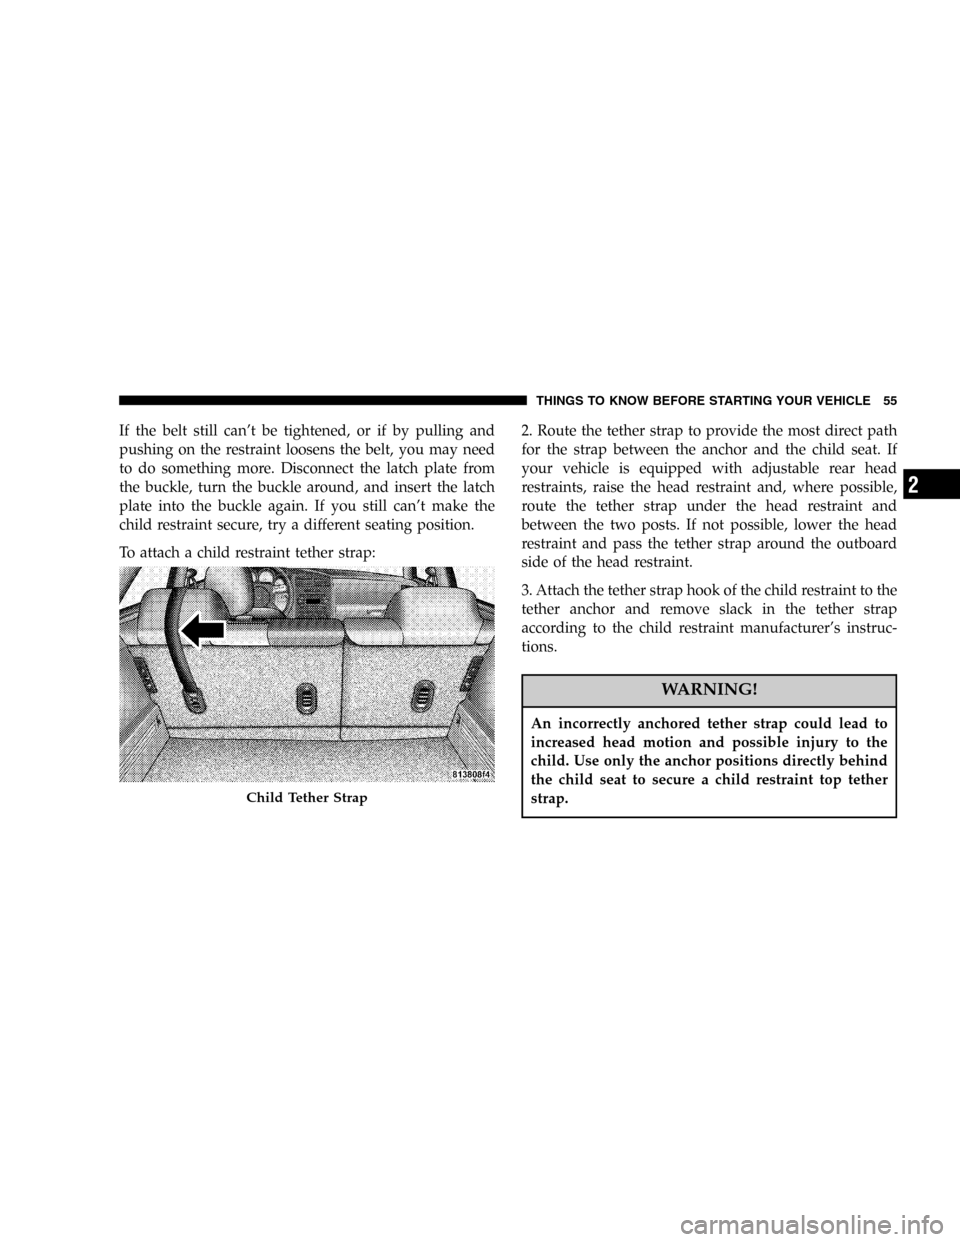
To attach a child restraint tether strap:2. Route the tether strap to provide the most direct path
for the strap between the anchor and the child seat. If
your vehicle is equipped with adjustable rear head
restraints, raise the head restraint and, where possible,
route the tether strap under the head restraint and
between the two posts. If not possible, lower the head
restraint and pass the tether strap around the outboard
side of the head restraint.
3. Attach the tether strap hook of the child restraint to the
tether anchor and remove slack in the tether strap
according to the child restraint manufacturer’s instruc-
tions.
WARNING!
An incorrectly anchored tether strap could lead to
increased head motion and possible injury to the
child. Use only the anchor positions directly behind
the child seat to secure a child restraint top tether
strap.
Child Tether Strap
THINGS TO KNOW BEFORE STARTING YOUR VEHICLE 55
2
Page 88 of 368

When the seat back is folded to the upright position make
sure it is latched by strongly pulling on the top of the seat
back above the seat strap.
WARNING!
The cargo area in the rear of the vehicle (with the
rear seatbacks in the locked-up or folded down
position) should not be used as a play area by
children when the vehicle is in motion. They could
be seriously injured in an accident. Children should
be seated and using the proper restraint system.
ADJUSTABLE PEDALS—IF EQUIPPED
This feature allows both the brake and accelerator pedals
to move toward or away from the driver to provide
improved position with the steering wheel. The adjust-
able pedal system is designed to allow a greater range of
driver comfort for steering wheel tilt and seat position.
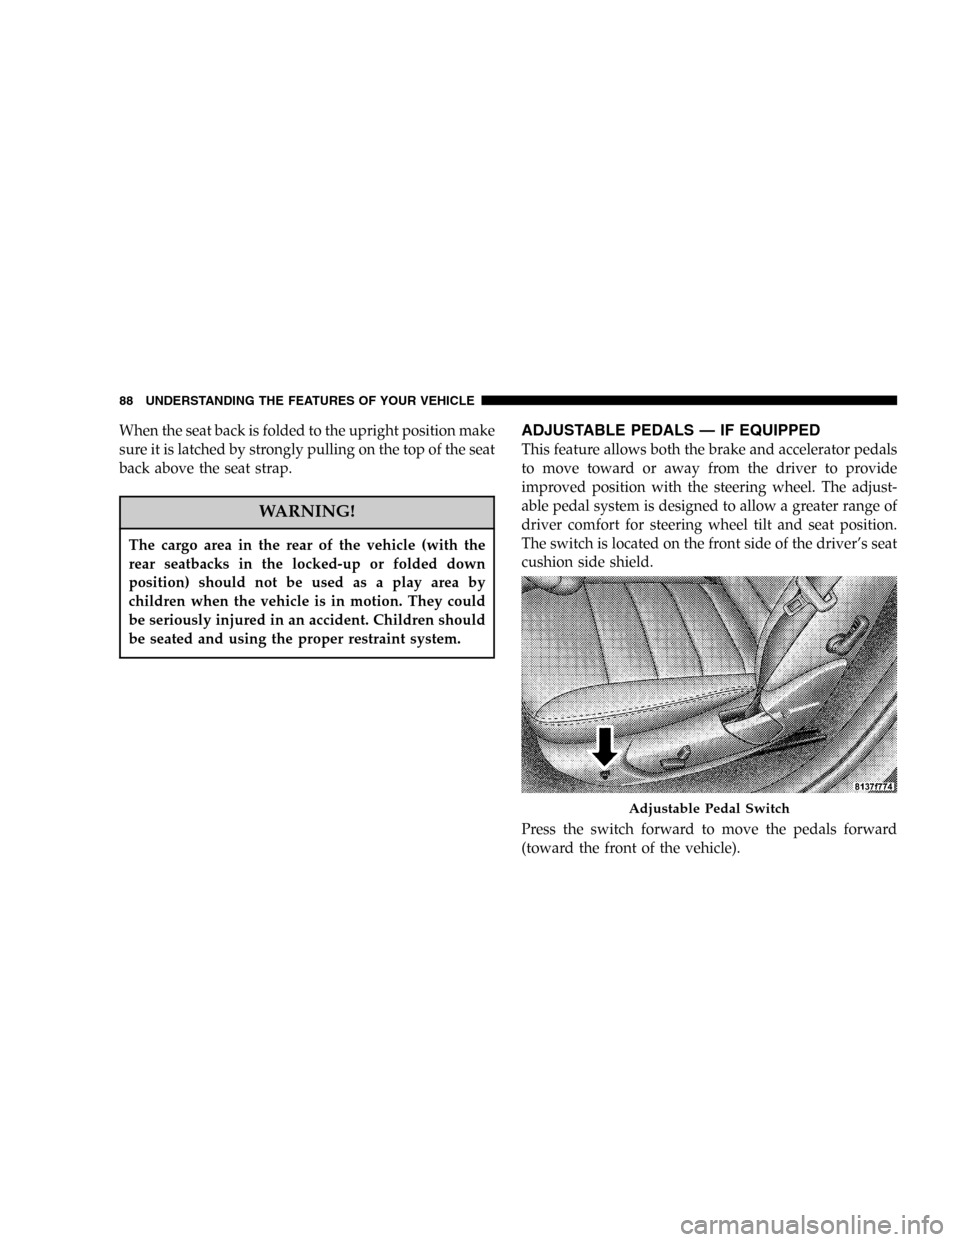
The switch is located on the front side of the driver’s seat
cushion side shield.
Press the switch forward to move the pedals forward
(toward the front of the vehicle).
Adjustable Pedal Switch
88 UNDERSTANDING THE FEATURES OF YOUR VEHICLE
Page 351 of 368

Battery............................... 289
Jump Starting........................ 267
Keyless Transmitter Replacement.......... 23
Location.........................268,289
Bearings.............................. 303
Belts, Drive........................... 286
Body Mechanism Lubrication.............. 293
B-Pillar Location....................... 224
Brake Assist System..................... 100
Brake, Parking......................... 214
Brake System.......................216,299
Anti-Lock........................... 216
Fluid Check......................300,321
Hoses.............................. 299
Warning Light....................... 138
Brake/Transmission Interlock.............. 213
Break-In Recommendations, New Vehicle...... 56
Bulb Replacement...................... 314
Bulbs, Light........................... 313
Calibration, Compass.................... 144
Capacities, Fluid....................... 319Caps, Filler
Fuel............................... 247
Radiator............................ 296
Car Washes........................... 304
Carbon Monoxide Warning............... 246
Cargo Compartment
Luggage Carrier...................... 125
Cargo Management System............... 119
Cargo Organizer...................... 123
Rollaway Tonneau Cover............... 121
Tri-Fold Load Floor.................... 119
Waterproof Liner..................... 122
Cargo Tie-Downs....................... 123
Cassette Tape and Player Maintenance....... 183
Catalytic Converter..................... 287
CD Player......................150,155,166
Cellular Phone.......................... 65
Chains, Tire........................... 240
Changing A Flat Tire.................... 257
Chart, Tire Sizing....................... 221
Child Restraint...................48,50,52,54
Child Restraint Tether Anchors............. 52
Child Safety Locks....................... 19
INDEX 351
10
Page 355 of 368

Heated Seats........................... 85
Heater, Engine Block.................... 201
Holder, Cup........................... 117
Homelink Transmitter................... 107
Hood Release.......................... 89
Hoses............................298,301
Ignition
Key ................................ 11
Illuminated Entry....................... 15
Immobilizer............................ 12
Infant Restraint......................... 49
Information Center, Vehicle............... 141
Instrument Cluster...................133,134
Instrument Panel and Controls............. 131
Instrument Panel Lens Cleaning............ 306
Interior Appearance Care................. 305
Interior Fuses.......................... 307
Interior Lights.......................... 91
Intermittent Wipers...................... 95
Introduction............................ 4
Jack Location.......................... 259Jack Operation......................258,263
Jacking Instructions..................... 263
Jump Starting......................... 267
Key, Programming....................... 14
Key, Replacement....................... 13
Key, Sentry............................ 12
Key-In Reminder........................ 12
Keyless Entry System..................... 20
Keys................................. 11
Knee Bolster........................... 36
Lap/Shoulder Belts...................... 29
LATCH
(Lower Anchors and Tether for CHildren)..... 52
Latch Plate............................ 30
Latches
Hood............................... 89
Lead Free Gasoline...................... 243
Liftgate............................... 26
Lights..............................58,91
Airbag.........................40,58,135
Anti-Lock........................... 140
INDEX 355
10
Page 359 of 368

Safety Checks Outside Vehicle.............. 58
Safety Defects, Reporting................. 344
Safety, Exhaust Gas...................... 26
Safety Information, Tire.................. 220
Safety Tips............................. 57
Satellite Radio......................... 178
Satellite Radio Antenna.................. 180
Schedule, Maintenance................... 324
Seat Belt Maintenance................... 306
Seat Belt Reminder...................... 34
Seat Belts.............................. 29
Adjustable Upper Shoulder Anchorage...... 33
And Pregnant Women.................. 35
Child Restraint....................48,49,54
Extender............................ 36
Front Seat............................ 30
Operating Instructions.................. 30
Reminder........................... 137
Seats................................. 84
Heated.............................. 85
Lumbar Support....................... 85
Power.............................. 84
Rear Folding......................... 87Reclining............................ 85
Security Alarm......................... 24
Selection of Coolant..................... 320
Self-Sealing Tires....................... 236
Sentry Key............................ 12
Service Assistance...................... 340
Service Contract........................ 342
Service Engine Soon Light................ 140
Service Manuals........................ 344
Setting the Clock.................152,157,167
Settings, Personal....................... 148
Shift Speeds........................... 201
Shoulder Belt Upper Anchorage............. 33
Side Airbag............................ 42
Signals, Turn.......................... 135
Slippery Surfaces, Driving On............. 269
Snow Chains.......................... 240
Snow Tires............................ 241
Spare Tire.......................231,232,261
Spark Plugs........................... 287
Speed Control......................... 103
Speedometer.......................... 134
Starting.............................. 199
INDEX 359
10