oil pressure DODGE NEON SRT 2004 2.G Owners Manual
[x] Cancel search | Manufacturer: DODGE, Model Year: 2004, Model line: NEON SRT, Model: DODGE NEON SRT 2004 2.GPages: 200, PDF Size: 3.23 MB
Page 44 of 200

Airbag Light
The light should come on and remain on for 6 to
8 seconds as a bulb check when the ignition
switch is first turned to ON/RUN. If the bulb is
not lit during starting, have it replaced. If the light stays
on or comes on while driving, have the system checked
by an authorized dealer.
Defrosters
Check operation by selecting the defrost mode and place
the blower control on high speed. You should be able to
feel the air directed against the windshield.
Periodic Safety Checks You Should Make Outside
The Vehicle
Tires
Examine tires for excessive tread wear or uneven wear
patterns. Check for stones, nails, glass, or other objects
lodged in the tread. Inspect for tread cuts or sidewall
cracks. Check wheel nuts for tightness, and tires (includ-
ing spare) for proper pressure.
Lights
Have someone observe the operation of exterior lights
while you work the controls. Check turn signal and high
beam indicator lights on the instrument panel.
Fluid Leaks
Check area under vehicle after overnight parking for fuel,
water, oil, or other fluid leaks. Also, if gasoline fumes are
present, the cause should be corrected immediately.
44 THINGS TO KNOW BEFORE STARTING YOUR VEHICLE
Page 64 of 200

If the ABS light remains on or comes on during driving,
it indicates that the Anti-Lock portion of the brake system
is not functioning and that service is required, however,
the conventional brake system will continue to operate
normally provided that the BRAKE warning light is not
on.
If the ABS light is on, the brake system should be serviced
as soon as possible to restore the benefit of Anti-Lock
Brakes.
The warning light should be checked frequently to assure
that it is operating properly. Turn the ignition key to a
point midway between ON and START. The light should
come on. If the light does not come on, have the system
checked by an authorized dealer.
4. Speedometer
Indicates vehicle speed.
5. Turn Signal Indicators
The arrows will flash in unison with the exterior turn
signal, when using the turn signal lever.
6. High Beam Indicator
This light shows that the headlights are on high
beam. Pull the turn signal lever toward the
steering wheel to switch the headlights from high or
low beam.
7. Tachometer
The silver area of the scale shows the permissible engine
revolutions-per-minute (rpm x 1000) for each gear range.
Before reaching the red area, ease up on the accelerator to
prevent engine damage.
8. Oil Pressure Light
Shows low engine oil pressure. The light will
come on and remain on when the ignition key is
turned from OFF to the ON position, and the light will
turn off after the engine is started. If the bulb does not
come on during starting, have the system checked by
an authorized dealer.
If the light comes on and remains on while driving, stop
the vehicle and shut off the engine. DO NOT OPERATE
THE VEHICLE UNTIL THE CAUSE IS CORRECTED.
64 UNDERSTANDING YOUR INSTRUMENT PANEL
Page 121 of 200
the fan control to High. This allows the heater core to act
as a supplement to the radiator and aids in removing heat
from the engine cooling system.
CAUTION!
Driving with a hot cooling system could damage
your vehicle. If temperature gauge reads over 250
degrees (in the red zone), pull over and stop the
vehicle. Idle the vehicle with the air conditioner
turned off until the pointer drops back into the
normal range. If the pointer remains above 250
degrees (in the red zone), turn the engine off imme-
diately, and call for service.
WARNING!
A hot engine cooling system is dangerous. You or
others could be badly burned by steam or boiling
coolant. You may want to call a service center if your
vehicle overheats. If you decide to look under the
hood yourself, see Section 7, Maintenance, of this
manual. Follow the warnings under the Cooling
System Pressure Cap paragraph.
WHAT TO DO IN EMERGENCIES 121
6
Page 137 of 200
Engine Oil
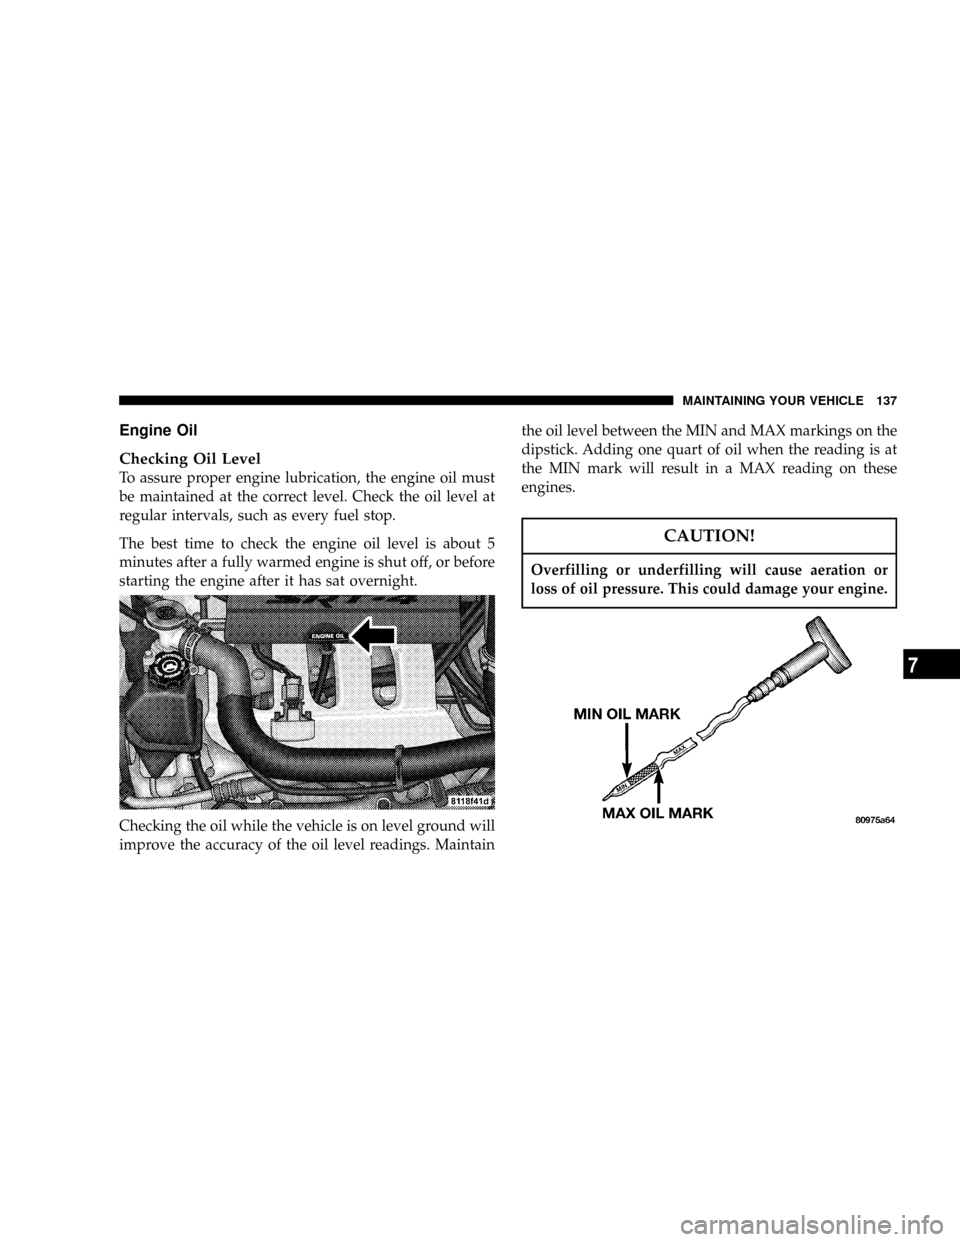
Checking Oil Level
To assure proper engine lubrication, the engine oil must
be maintained at the correct level. Check the oil level at
regular intervals, such as every fuel stop.
The best time to check the engine oil level is about 5
minutes after a fully warmed engine is shut off, or before
starting the engine after it has sat overnight.
Checking the oil while the vehicle is on level ground will
improve the accuracy of the oil level readings. Maintainthe oil level between the MIN and MAX markings on the
dipstick. Adding one quart of oil when the reading is at
the MIN mark will result in a MAX reading on these
engines.
CAUTION!
Overfilling or underfilling will cause aeration or
loss of oil pressure. This could damage your engine.
MAINTAINING YOUR VEHICLE 137
7
Page 148 of 200
Cooling System
WARNING!
²When working near the radiator cooling fan, dis-
connect the fan motor lead or turn the ignition key
to the OFF position. The fan is temperature con-
trolled and can start at any time the ignition key is
in the ON position.
²You or others can be badly burned by hot coolant
or steam from your radiator. If you see or hear
steam coming from under the hood, don't open
the hood until the radiator has had time to cool.
Never try to open a cooling system pressure cap
when the radiator is hot.
Coolant Checks
Check coolant protection every 12 months (before the
onset of freezing weather, where applicable). If coolant is
dirty or rusty in appearance, the system should be
drained, flushed and refilled with fresh coolant.Check the front of the radiator for an accumulation of
bugs, leaves, etc. Clean the radiator by gently spraying
water from a garden hose at the back of the core.
Check the recovery bottle tank tubing for condition and
tightness of connection at the bottle and radiator. Inspect
the entire system for leaks.
With the engine at normal operating temperature (but
not running), check the cooling system pressure cap for
proper vacuum sealing by draining a small amount of
coolant from the radiator drain cock. If the cap is sealing
properly, the coolant will begin to drain from the reserve
tank. Do not remove the cap when the cooling system is
hot.
Cooling System Ð Drain, Flush and Refill
At the intervals shown on the Maintenance Schedules,
the system should be drained, flushed and refilled.
If the solution is dirty and contains a considerable
amount of sediment, clean and flush with a reliable
cooling system cleaner. Follow with a thorough rinsing to
remove all deposits and chemicals. Discard oil antifreeze
solution.
148 MAINTAINING YOUR VEHICLE
Page 153 of 200
Brake System
In order to assure brake system performance, all brake
system components should be inspected periodically.
Suggested service intervals can be found in the Mainte-
nance Section.
WARNING!
Riding the brakes can lead to brake failure and
possibly an accident. Driving with your foot resting
or riding on the brake pedal can result in abnormally
high brake temperatures, excessive lining wear, and
possible brake damage. You wouldn't have your full
braking capacity in an emergency.
Brake and Power Steering System Hoses
When servicing the vehicle for scheduled maintenance,
inspect surface of hoses and nylon tubing for evidence of
heat and mechanical damage. Hard and brittle rubber,
cracking, checking, tears, cuts, abrasions, and excessive
swelling suggest deterioration of the rubber. Particularattention should be made to examining those hose sur-
faces nearest to high heat sources, such as the exhaust
manifold.
Inspect all hose clamps and couplings to make sure they
are secure and no leaks are present.
Insure nylon tubing in these areas has not melted or
collapsed.
NOTE:Often, fluids such as oil, power steering fluid,
and brake fluid are used during assembly plant opera-
tions to ease the assembly of hoses to couplings. There-
fore, oil wetness at the hose-coupling area is not neces-
sarily an indication of leakage. Actual dripping of hot
fluid when systems are under pressure (during vehicle
operation) should be noted before hose is replaced based
on leakage.
NOTE:Inspection of brake hoses should be done
whenever the brake system is serviced and every engine
oil change.
MAINTAINING YOUR VEHICLE 153
7
Page 162 of 200

REPLACEMENT BULBS
LIGHT BULBS Ð Inside Bulb No.
ABS Indicator.......................... LED
Airbag Indicator........................ LED
Brake System Warning Indicator............. LED
Climate Controls........................ LED
Console Gear Selector...................PC194
Dome Light............................T579
Glove Box............................PC194
Front Fog Indicator...................... LED
High Beam Indicator....................PC194
Instrument Cluster Illumination............PC194
Low Fuel Indicator....................... LED
Low Oil Pressure Indicator................. LED
Rear Cargo............................T906
Seat Belt Indicator....................... LED
Security Alarm Indicator................... LED
Malfunction Indicator Light................ LED
TRAC OFF Indicator..................... LED
Turn Signal Indicator....................PC194
Voltage Indicator........................ LEDAll the inside bulbs are brass or glass wedge base.
Aluminum base bulbs are not approved and should not
be used for replacement.
LIGHTS BULBS Ð Outside Bulb No.
Headlight.............................9007
Front Park/Turn Signal Light............4157NAK
Front Side Marker Light.................... 168
Front Fog Light......................9145/H10
Center High Mounted Stop Light
(CHMSL).........................921±W16W
Rear Tail/Stop/Turn Signal Light......3157±P27/7W
Backup Light......................921±W16W
License Light........................... 168
162 MAINTAINING YOUR VEHICLE
Page 169 of 200
NOTE:IfANYof these apply to you then change your
engine oil every 3,000 miles (5 000 km) or 3 months,
whichever comes first and follow schedule ªBº of the
9Maintenance Schedules9section of this manual.
NOTE:Most vehicles are operated under the conditions
listed for Schedule9B9.
Second is ScheduleªAº. It is for vehicles that are not
operated under any of the conditions listed under Sched-
ule9B9
Use the schedule that best describes your driving condi-
tions. Where time and mileage are listed, follow the
interval that occurs first.
CAUTION!
Failure to perform the required maintenance items
may result in damage to the vehicle.
At Each Stop for Fuel
²
Check the engine oil level about 5 minutes after a fully
warmed engine is shut off. Checking the oil level while
the vehicle is on level ground will improve the accu-
racy of the oil level reading. Add oil only when the
level is at or below the ADD or MIN mark.
²Check the windshield washer solvent and add if
required.
Once a Month
²
Check tire pressure and look for unusual wear or
damage.
²Inspect the battery and clean and tighten the terminals
as required.
²Check the fluid levels of coolant reservoir, brake
master cylinder and transaxle and add as needed.
²Check all lights and all other electrical items for correct
operation.
²Check rubber seals on each side of the radiator for
proper fit.
MAINTENANCE SCHEDULES 169
8
M
A
I
N
T
E
N
A
N
C
E
S
C
H
E
D
U
L
E
S
Page 193 of 200
Catalytic Converter..................... 141
CD Changer.........................72,73
CD Player...........................69,71
Center High Mounted Stop Light........... 164
Chains, Tire........................... 111
Changing A Flat Tire.................... 122
Charging System Light................... 65
Child Restraint......................... 35
Child Safety Locks....................... 14
Circuit Breakers.....................160,161
Cleaning
Glass.............................. 159
Headlights.......................... 159
Climate Control......................... 78
Clock................................. 68
Compact Disc Maintenance................ 77
Compact Spare Tire..................... 107
Console............................... 58
Contract, Service....................... 186
Cool Down, Turbo....................... 89
Coolant...........................149,166
Cooling System........................ 148
Adding Coolant (Antifreeze)............. 150Coolant Level.....................148,150
Disposal of Used Coolant............... 149
Drain, Flush, and Refill................. 148
Inspection........................... 150
Points to Remember................150,151
Pressure Cap........................ 150
Rubber and Plastic Components.......... 152
Selection of Coolant................... 149
Corrosion Protection.................... 155
Crankcase Emission Control System......... 142
Cup Holder............................ 58
Customer Assistance.................... 184
Daytime Running Lights.................. 54
Dealer Service......................... 136
Defroster, Rear Window................... 83
Defroster, Windshield..................44,79
Dimmer Control........................ 53
Dimmer Switch, Headlight................. 55
Disposal
Engine Oil.......................... 140
Door Locks............................ 12
Door Locks, Automatic................... 13
INDEX 193
10
Page 196 of 200

Keyless Entry System..................... 16
Keys.................................. 9
Lane Change and Turn Signals.............. 64
Lap/Shoulder Belts...................... 20
Lead Free Gasoline...................... 113
Leaks, Fluid............................ 44
Light Bulbs........................162,163
Lighter, Cigar.......................... 58
Lights................................ 52
Airbag..........................35,44,65
Anti-Lock............................ 63
Brake Warning........................ 63
Center Mounted Stop.................. 164
Daytime Running...................... 54
Dimmer Switch, Headlight.............53,55
Dome............................... 53
Exterior Check........................ 44
Fog ................................ 54
Headlights On Reminder................ 54
High Beam Indicator................... 64
Instrument Cluster..................... 54
Lights On Reminder.................... 54Malfunction Indicator................... 66
Map Reading......................... 52
Oil Pressure.......................... 64
Park................................ 54
Passing............................. 55
Rear Servicing....................... 164
Rear Tail............................ 164
Seat Belt Reminder..................... 65
Side Marker......................... 164
Theft Alarm.......................... 65
Turn Signal.....................55,64,164
Voltage.............................. 65
Loading Vehicle........................ 117
Tires ............................... 100
Locks................................ 12
Child Protection....................... 14
Door............................... 12
Ignition............................ 134
Power Door.......................... 13
Steering Wheel........................ 12
Lubrication, Body....................... 145
Maintenance Free Battery................. 142
196 INDEX