battery DODGE POWER WAGON 2006 2.G User Guide
[x] Cancel search | Manufacturer: DODGE, Model Year: 2006, Model line: POWER WAGON, Model: DODGE POWER WAGON 2006 2.GPages: 467, PDF Size: 1.93 MB
Page 152 of 467

CAUTION!
Electrical Outlet Use With Engine Off
•Many accessories that can be plugged in draw
power from the vehicle’s battery, even when not
in use (i.e. cellular phones, etc.). Eventually, if
plugged in long enough, the vehicle’s battery will
discharge sufficiently to degrade battery life
and/or prevent engine starting.
•Accessories that draw higher power (i.e. coolers,
vacuum cleaners, lights, etc.), will discharge the
battery even more quickly. Only use these inter-
mittently and with greater caution.
•After the use of high power draw accessories, or
long periods of the vehicle not being started (with
accessories still plugged in), the vehicle must be
driven a sufficient length of time to allow the
generator to recharge the vehicle’s battery.
CIGAR LIGHTER AND ASH RECEIVER
The removable ash receiver is located in the instrument
panel cup holder tray.
The cigar lighter is located on the instrument panel,
above and to the left of the ash receiver.
152 UNDERSTANDING THE FEATURES OF YOUR VEHICLE
Page 168 of 467

INSTRUMENT CLUSTER DESCRIPTION
1. Check Gages
This light illuminates when the Voltmeter, Engine
Oil Pressure or Engine Coolant Temperature
gages indicate a reading either too high or too low.
Examine the gages carefully, and follow the instructions
above for each indicated problem.
NOTE:When the ignition switch is turned to OFF, the
Fuel Gage, Voltmeter, Oil Pressure and Engine Coolant
Temperature gages may not show accurate readings.
When the engine is not running, turn the ignition switch
to ON to obtain accurate readings.
2. Voltage Gauge
When the engine is running, the gauge indicates
the electrical system voltage. The pointer should
stay within the normal range if the battery is charged. Ifthe pointer moves to either extreme left or right and
remains there during normal driving, the electrical sys-
tem should be serviced.
NOTE:If the gauge pointer moves to either extreme of
the gauge, the “Check Gages” indicator will illuminate
and a single chime will sound. The “Check Gages”
indicator may also illuminate prior to the voltage gauge
moving out of normal range. In either case, see you local
authorized Dealer for system service.
3. Turn Signal Indicators
Lights in instrument cluster flash when outside turn
signals are operating. (See page 125 for more informa-
tion.)
4. Tachometer
The tachometer indicates engine speed in revolutions per
minute.
168 UNDERSTANDING YOUR INSTRUMENT PANEL
Page 176 of 467

29. Door Ajar
The Door Ajar light will illuminate when any
door is opened. When the ignition is ON the
Door Ajar light will stay illuminated until the
open door is closed. When the ignition is OFF
the Door Ajar light will stay illuminated until the open
door is closed or the battery saver feature automatically
turns the light off.
30. CRUISE Light
This indicator lights when the electronic speed control
system is turned on.
ELECTRONIC DIGITAL CLOCK
The clock and radio each use the display panel built into
the radio. A digital readout shows the frequency and/or
time in hours and minutes (depending on your radio
model) whenever the ignition switch is in the “ON” or
“ACC” position.When the ignition switch is in the “OFF” position, or
when the radio frequency is being displayed, time keep-
ing is accurately maintained.
On the RAQ radio the time button alternates the location
of the time and frequency on the display. On the REF only
one of the two, time or frequency is displayed at a time.
Clock Setting Procedure
1. Press and hold the time button until the hours blink.
2. Adjust the hours by turning the right side Tune /
Audio control.
3. After the hours are adjusted, press the right side Tune
/ Audio control to set the minutes.
4. Adjust the minutes using the right side Tune / Audio
control.
5. To exit, press any button/knob or wait approximately
5 seconds.
176 UNDERSTANDING YOUR INSTRUMENT PANEL
Page 264 of 467

3. Disengage clutch to allow free spooling of the winch
drum, rotate the clutch lever on the winch to disengage.
Freespooling conserves battery power.4. Free the winch hook and attach hook strap. Free the
winch hook from its anchor point. Attach hook strap to
the hook (if not attached).
Free SpoolHook Strap
264 STARTING AND OPERATING
Page 296 of 467

POWER STEERING
Your power steering system will provide mechanical
steering capability if power assist is lost.
If for any reason the hydraulic pressure is interrupted, it
will still be possible to steer your vehicle. Under these
conditions you will experience a substantial increase in
steering effort.
MULTI DISPLACEMENT SYSTEM (MDS) - 5.7L
Engine Only
This feature offers improved fuel economy by shutting
off four of the engine’s eight cylinders during light load
and cruise conditions. The system is automatic with no
driver inputs or additional driving skills required.
NOTE:The MDS system may take some time to return
to full functionality after a battery disconnect.
TIRE SAFETY INFORMATION
Tire Markings
NOTE:
•P(Passenger)-Metric tire sizing is based on U.S. design
standards. P-Metric tires have the letter “P” molded
into the sidewall preceding the size designation. Ex-
ample: P215/65R15 95H.
296 STARTING AND OPERATING
Page 346 of 467

HAZARD WARNING LIGHTS
The Hazard Warning switch is mounted on the top of the
steering column as shown in the illustration.To engage the Hazard Warning lights, depress the button
on the top of the steering column. When the Hazard
Warning switch is activated, all directional turn signals
will flash off and on to warn oncoming traffic of an
emergency. Push the button a second time to turn off the
flashers.
This is an emergency warning system and should not be
used when the vehicle is in motion. Use it when your
vehicle is disabled and is creating a safety hazard for
other motorists.
When you must leave the vehicle to seek assistance, the
Hazard Warning lights will continue to operate even
though the ignition switch is OFF.
NOTE:With extended use, the Hazard Warning lights
may discharge your battery.
Hazard Light Warning Switch
346 WHAT TO DO IN EMERGENCIES
Page 356 of 467

HOISTING
A conventional floor jack may be used at the jacking
locations, refer to the graphics that show jacking loca-
tions. However, a floor jack or frame hoist must never be
used on any other parts or the underbody.
CAUTION!
Never use a floor jack directly under the differential
housing of a loaded truck or damage to your vehicle
may result.
JUMP-STARTING
You should not try to start your vehicle by pushing or
towing. Vehicles equipped with an automatic transmis-
sion cannot be started this way and pushing or towing a
vehicle equipped with a manual transmission may over-
heat and damage the catalytic converter. Also, there is a
greater risk of an accident when a vehicle is being pushed
or towed. If the vehicle has a discharged battery, booster
cables may be used to obtain a start from a booster
battery or the battery in another vehicle. This type of start
can be dangerous if done improperly, so follow this
procedure carefully.
356 WHAT TO DO IN EMERGENCIES
Page 357 of 467

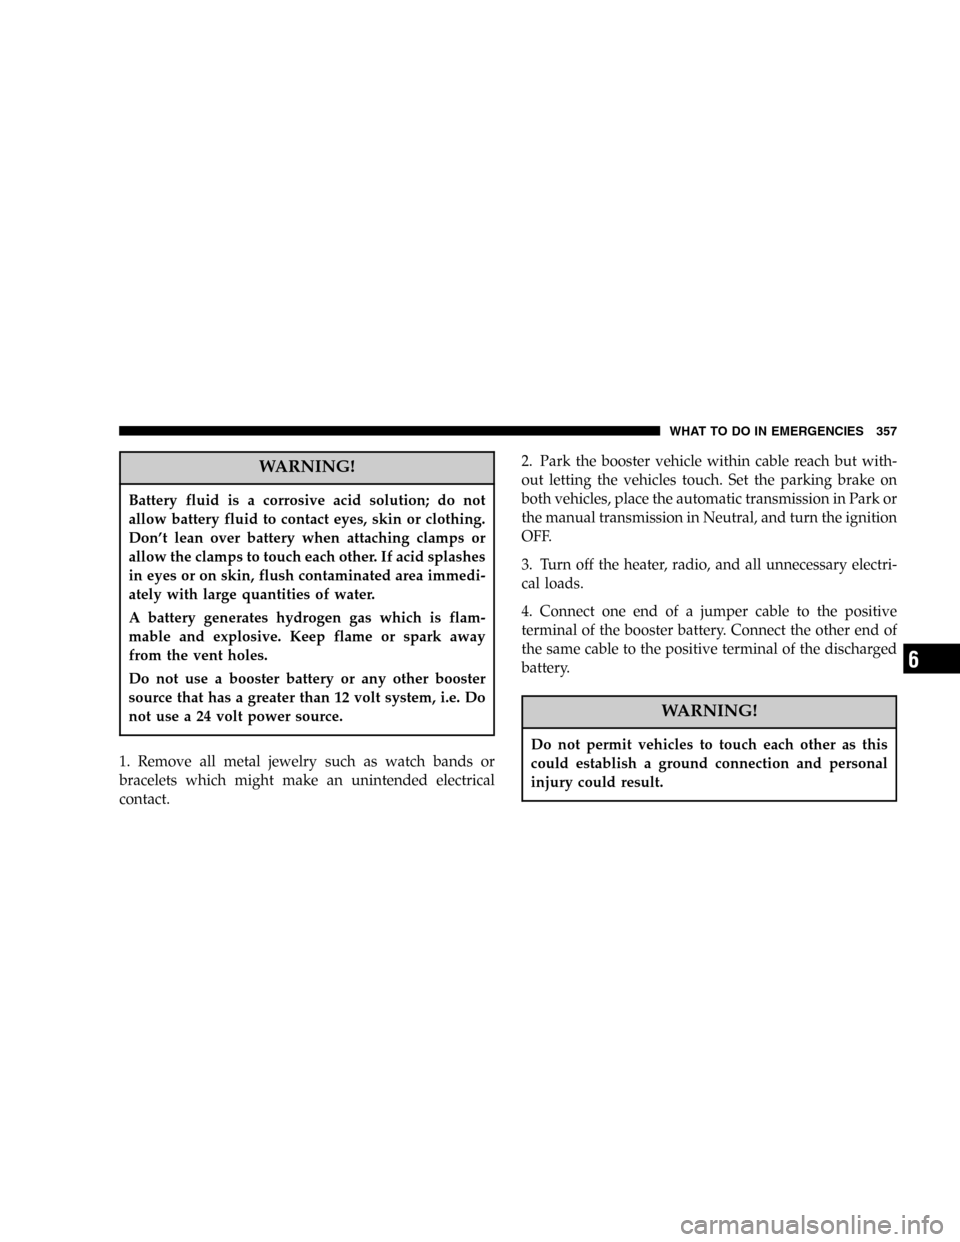
WARNING!
Battery fluid is a corrosive acid solution; do not
allow battery fluid to contact eyes, skin or clothing.
Don’t lean over battery when attaching clamps or
allow the clamps to touch each other. If acid splashes
in eyes or on skin, flush contaminated area immedi-
ately with large quantities of water.
A battery generates hydrogen gas which is flam-
mable and explosive. Keep flame or spark away
from the vent holes.
Do not use a booster battery or any other booster
source that has a greater than 12 volt system, i.e. Do
not use a 24 volt power source.
1. Remove all metal jewelry such as watch bands or
bracelets which might make an unintended electrical
contact.2. Park the booster vehicle within cable reach but with-
out letting the vehicles touch. Set the parking brake on
both vehicles, place the automatic transmission in Park or
the manual transmission in Neutral, and turn the ignition
OFF.
3. Turn off the heater, radio, and all unnecessary electri-
cal loads.
4. Connect one end of a jumper cable to the positive
terminal of the booster battery. Connect the other end of
the same cable to the positive terminal of the discharged
battery.
WARNING!
Do not permit vehicles to touch each other as this
could establish a ground connection and personal
injury could result.
WHAT TO DO IN EMERGENCIES 357
6
Page 358 of 467

5. Connect the other cable, first to the negative terminal
of the booster battery and then to the engine of the
vehicle with the discharged battery. Make sure you have
a good contact on the engine.
WARNING!
•Do not connect the cable to the negative post of
the discharge battery. The resulting electrical
spark could cause the battery to explode.
•During cold weather when temperatures are be-
low freezing point, electrolyte in a discharged
battery may freeze. Do not attempt jump starting
because the battery could rupture or explode. The
battery temperature must be brought up above
freezing point before attempting jump start.
358 WHAT TO DO IN EMERGENCIES
Page 359 of 467

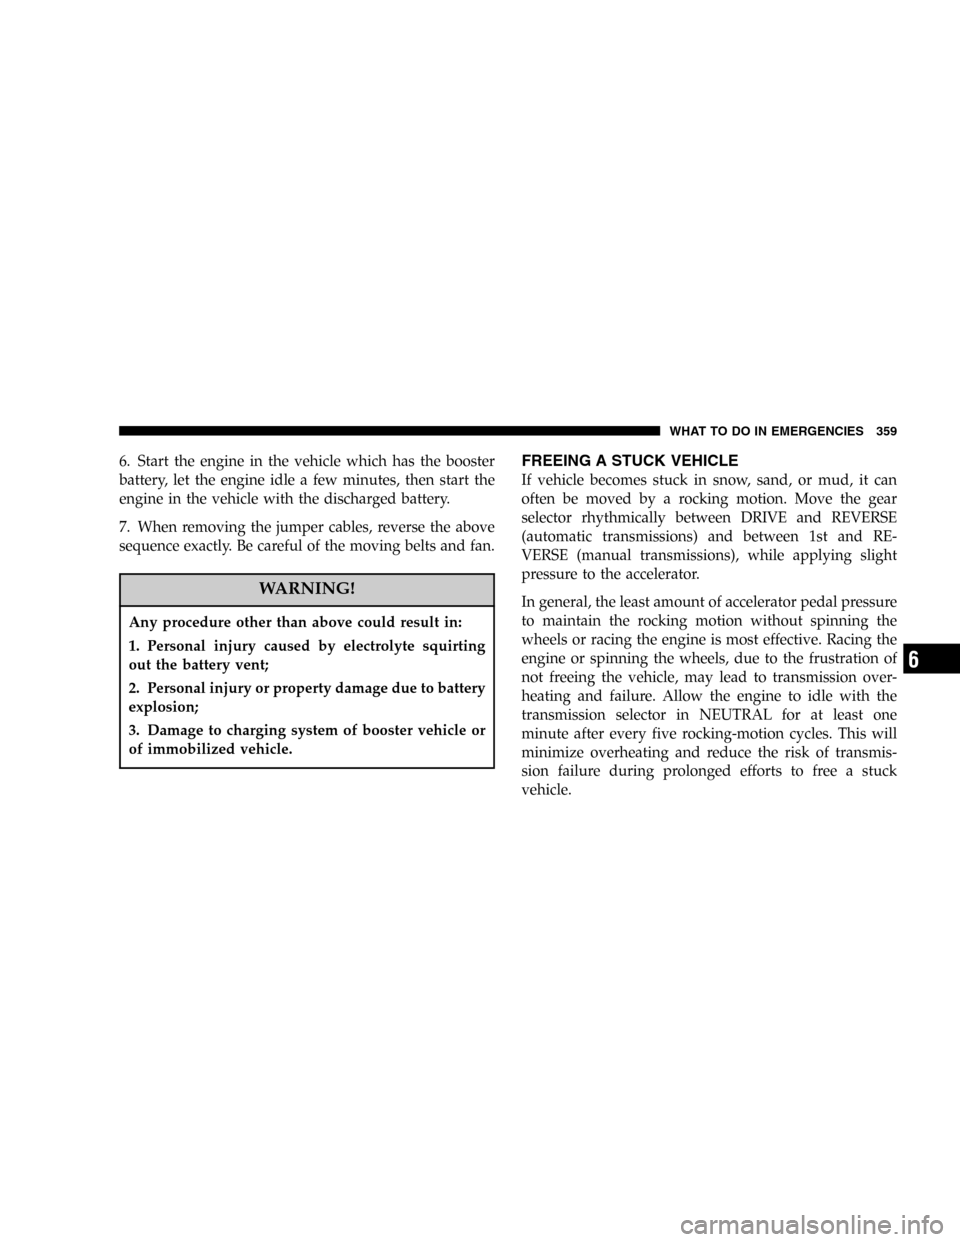
6. Start the engine in the vehicle which has the booster
battery, let the engine idle a few minutes, then start the
engine in the vehicle with the discharged battery.
7. When removing the jumper cables, reverse the above
sequence exactly. Be careful of the moving belts and fan.
WARNING!
Any procedure other than above could result in:
1. Personal injury caused by electrolyte squirting
out the battery vent;
2. Personal injury or property damage due to battery
explosion;
3. Damage to charging system of booster vehicle or
of immobilized vehicle.
FREEING A STUCK VEHICLE
If vehicle becomes stuck in snow, sand, or mud, it can
often be moved by a rocking motion. Move the gear
selector rhythmically between DRIVE and REVERSE
(automatic transmissions) and between 1st and RE-
VERSE (manual transmissions), while applying slight
pressure to the accelerator.
In general, the least amount of accelerator pedal pressure
to maintain the rocking motion without spinning the
wheels or racing the engine is most effective. Racing the
engine or spinning the wheels, due to the frustration of
not freeing the vehicle, may lead to transmission over-
heating and failure. Allow the engine to idle with the
transmission selector in NEUTRAL for at least one
minute after every five rocking-motion cycles. This will
minimize overheating and reduce the risk of transmis-
sion failure during prolonged efforts to free a stuck
vehicle.
WHAT TO DO IN EMERGENCIES 359
6