clock DODGE POWER WAGON 2007 2.G User Guide
[x] Cancel search | Manufacturer: DODGE, Model Year: 2007, Model line: POWER WAGON, Model: DODGE POWER WAGON 2007 2.GPages: 492, PDF Size: 8.25 MB
Page 233 of 492

Bi-Level
Outside air flows through the outlets located in the
instrument panel and at the floor.
Floor
Outside air flows primarily through the floor out-
lets located under the instrument panel.
Mix
Outside air flows in equal proportions through the
floor and defroster outlets, and the air conditioning
may be on.
Defrost
Outside air is primarily directed to the windshield
through the defroster outlets located at the base of
the windshield, and the demister outlets located at the
edge of each side of the instrument panel, and the air
conditioning may be on.
Blower Control
The rotary knob on the left of the
control panel is the blower control.
Turn the knob clockwise to one of the
four positions to obtain the blower
speed you desire. To turn the blower
off, turn the knob to the far left posi-
tion.
Temperature Control
The rotary knob at the center of the
control panel controls the temperature
of the interior air. You can choose your
degree of comfort by rotating the
knob. The coldest temperature setting
is to the extreme left (blue region) and
the warmest setting is to the extreme
right (red region) of the rotation.
232 UNDERSTANDING YOUR INSTRUMENT PANEL
Page 237 of 492

Blower Control
The rotary knob on the left of the
control panel is the blower control.
Turn the knob clockwise to one of the
four positions to obtain the blower
speed you desire. To turn the blower
off, turn the knob to the far left posi-
tion.
Dual Zone Temperature Control
Use this control to regulate the temperature of the air
inside the passenger compartment. This is accomplished
by having separate temperature control slides for both
Dual Zone Temperature Control
236 UNDERSTANDING YOUR INSTRUMENT PANEL
Page 369 of 492
WARNING!
After using the jack and tools, always reinstall them
in the original carrier and location. While driving
you may experience, abrupt stopping, rapid accelera-
tion, or sharp turns. A loose jack, tools, bracket or
other objects in the vehicle may move around with
force, resulting in serious injury.
JACKING INSTRUCTIONS
Removing The Spare Tire
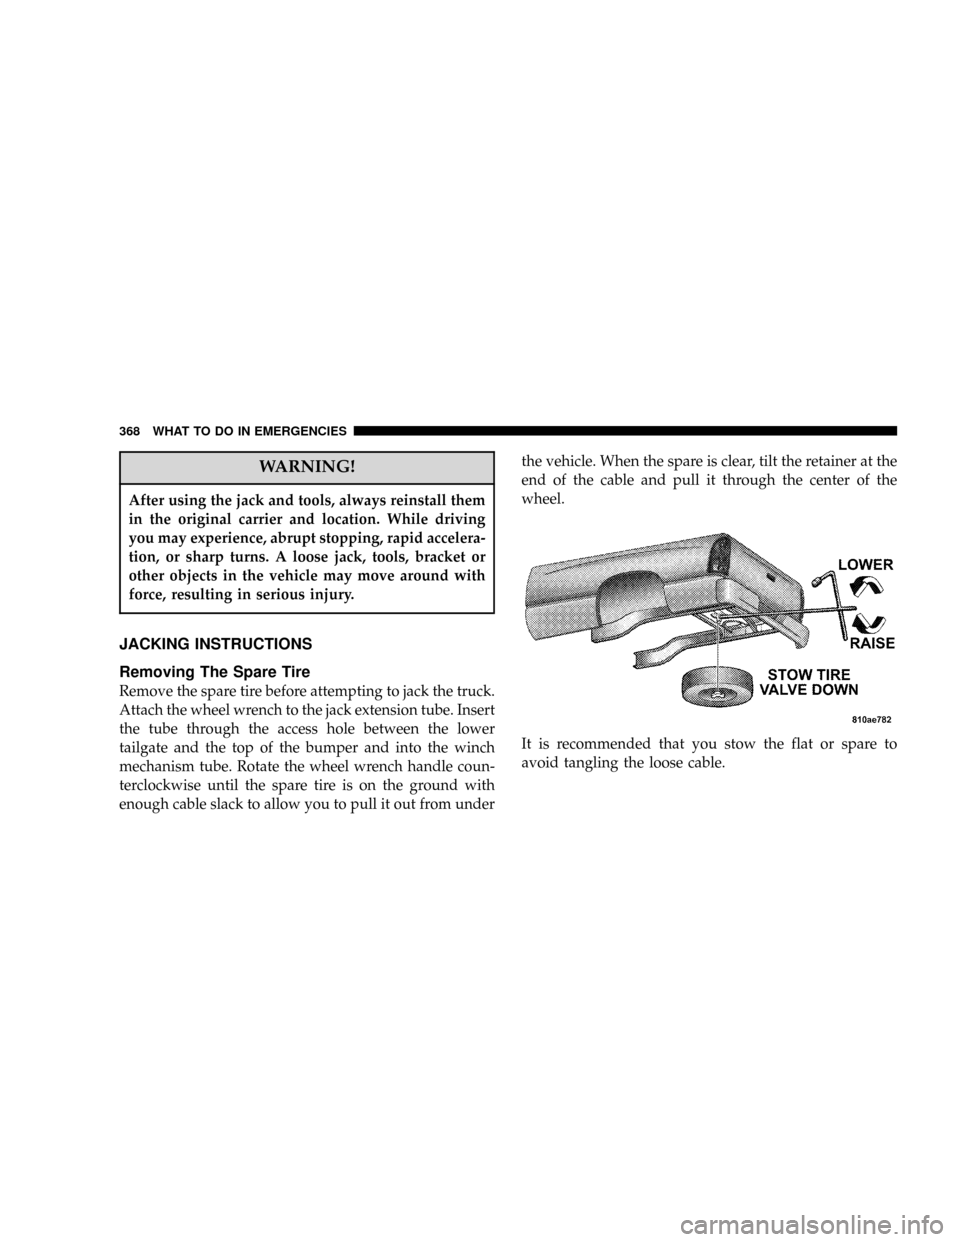
Remove the spare tire before attempting to jack the truck.
Attach the wheel wrench to the jack extension tube. Insert
the tube through the access hole between the lower
tailgate and the top of the bumper and into the winch
mechanism tube. Rotate the wheel wrench handle coun-
terclockwise until the spare tire is on the ground with
enough cable slack to allow you to pull it out from underthe vehicle. When the spare is clear, tilt the retainer at the
end of the cable and pull it through the center of the
wheel.
It is recommended that you stow the flat or spare to
avoid tangling the loose cable.
368 WHAT TO DO IN EMERGENCIES
Page 372 of 492
1. Remove the spare wheel, jack, and tools from storage.
2. Using the wheel wrench, loosen, but do not remove,
the wheel nuts by turning them counterclockwise one
turn while the wheel is still on the ground.
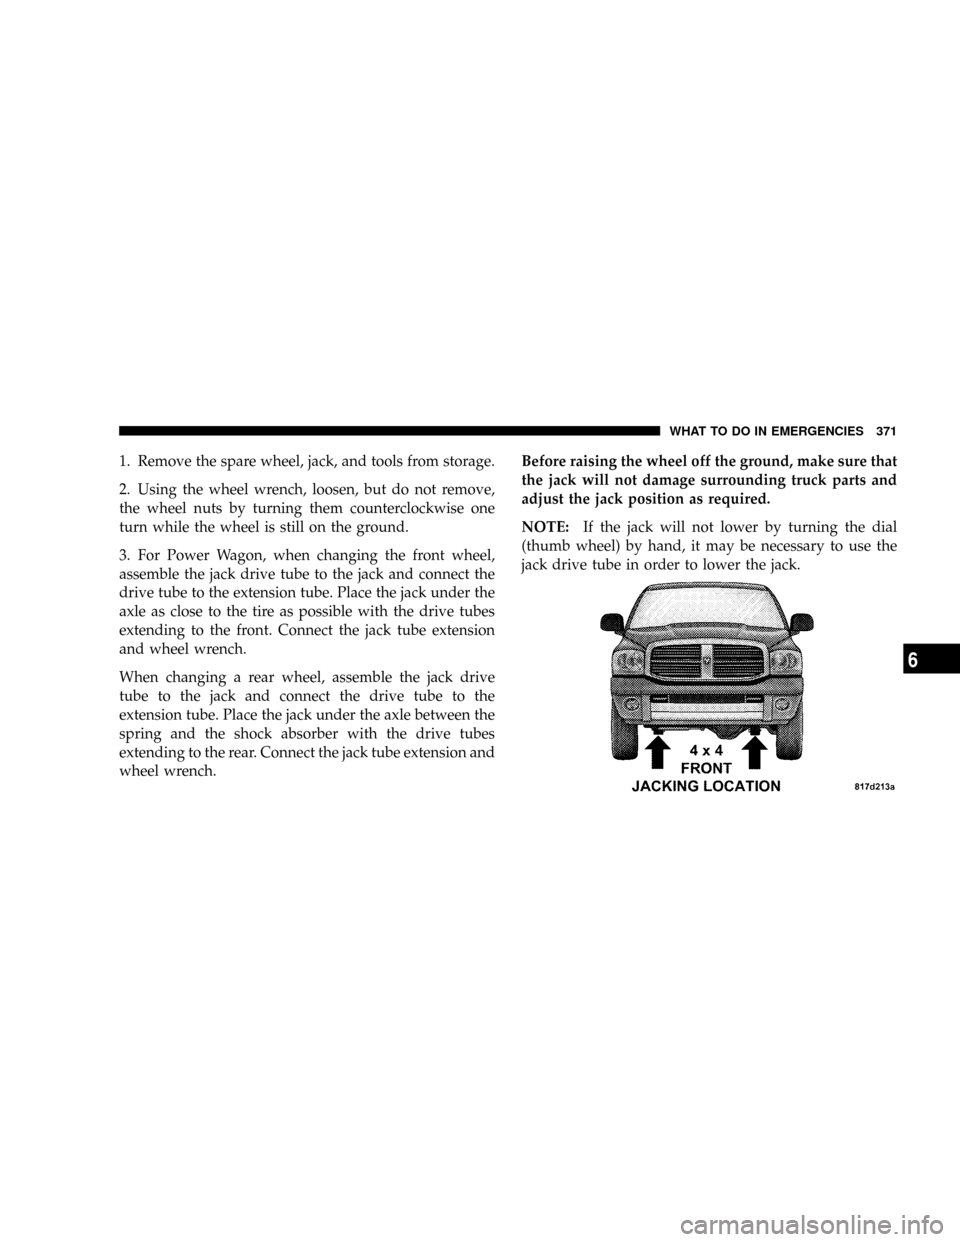
3. For Power Wagon, when changing the front wheel,
assemble the jack drive tube to the jack and connect the
drive tube to the extension tube. Place the jack under the
axle as close to the tire as possible with the drive tubes
extending to the front. Connect the jack tube extension
and wheel wrench.
When changing a rear wheel, assemble the jack drive
tube to the jack and connect the drive tube to the
extension tube. Place the jack under the axle between the
spring and the shock absorber with the drive tubes
extending to the rear. Connect the jack tube extension and
wheel wrench.Before raising the wheel off the ground, make sure that
the jack will not damage surrounding truck parts and
adjust the jack position as required.
NOTE:If the jack will not lower by turning the dial
(thumb wheel) by hand, it may be necessary to use the
jack drive tube in order to lower the jack.
WHAT TO DO IN EMERGENCIES 371
6
Page 373 of 492
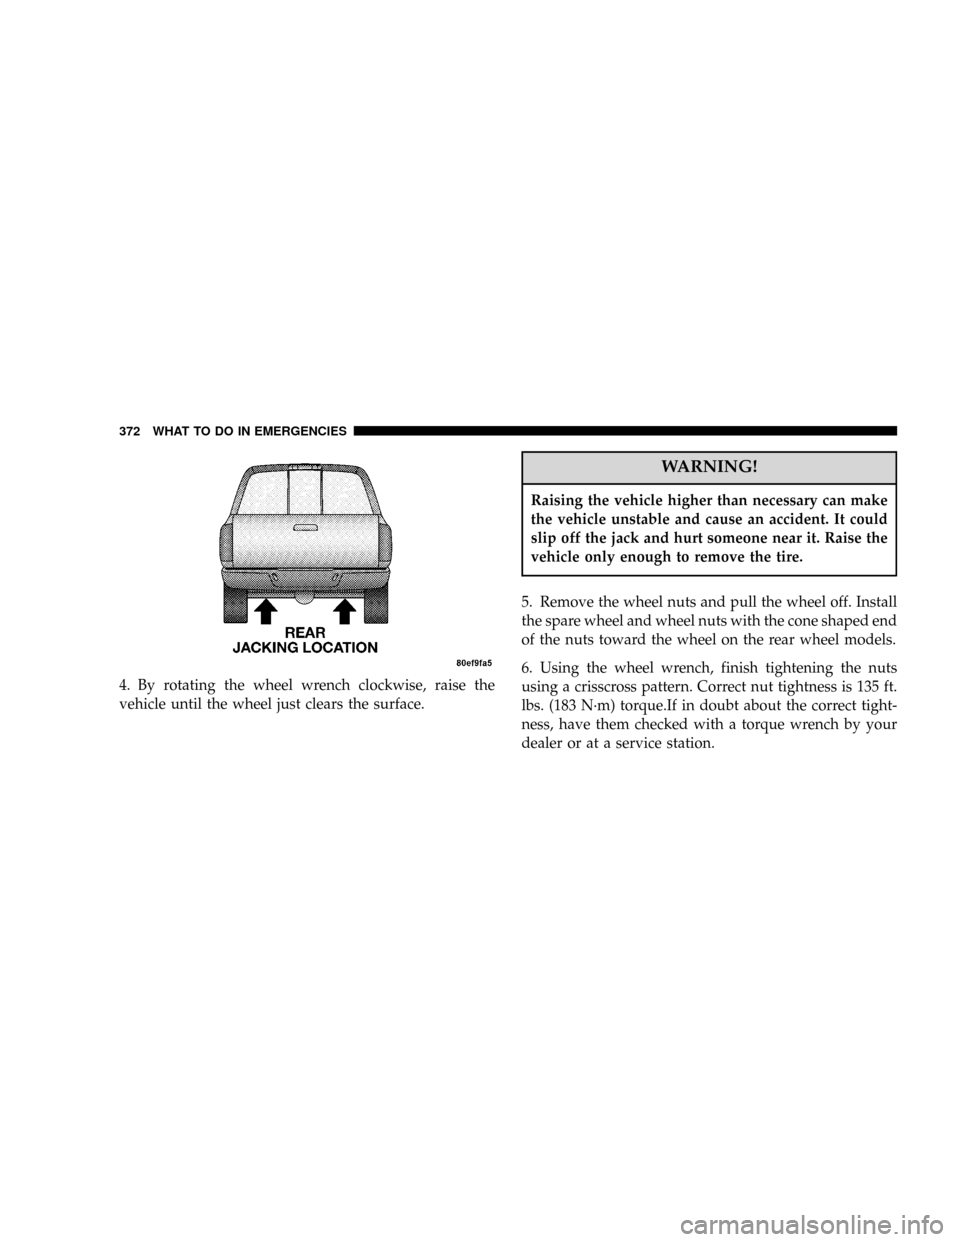
4. By rotating the wheel wrench clockwise, raise the
vehicle until the wheel just clears the surface.
WARNING!
Raising the vehicle higher than necessary can make
the vehicle unstable and cause an accident. It could
slip off the jack and hurt someone near it. Raise the
vehicle only enough to remove the tire.
5. Remove the wheel nuts and pull the wheel off. Install
the spare wheel and wheel nuts with the cone shaped end
of the nuts toward the wheel on the rear wheel models.
6. Using the wheel wrench, finish tightening the nuts
using a crisscross pattern. Correct nut tightness is 135 ft.
lbs. (183 N´m) torque.If in doubt about the correct tight-
ness, have them checked with a torque wrench by your
dealer or at a service station.
372 WHAT TO DO IN EMERGENCIES
Page 436 of 492
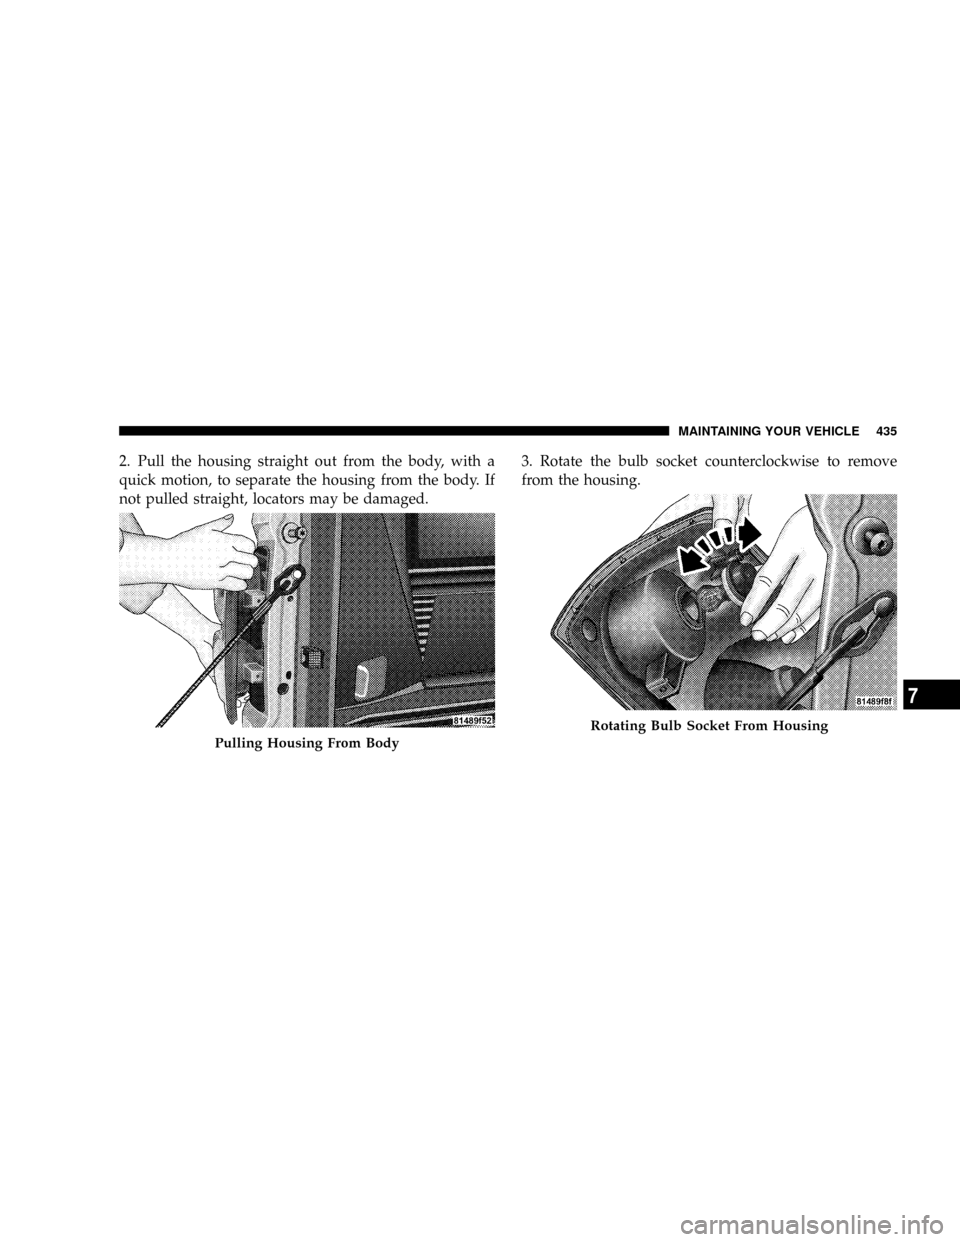
2. Pull the housing straight out from the body, with a
quick motion, to separate the housing from the body. If
not pulled straight, locators may be damaged.3. Rotate the bulb socket counterclockwise to remove
from the housing.
Pulling Housing From Body
Rotating Bulb Socket From Housing
MAINTAINING YOUR VEHICLE 435
7
Page 441 of 492
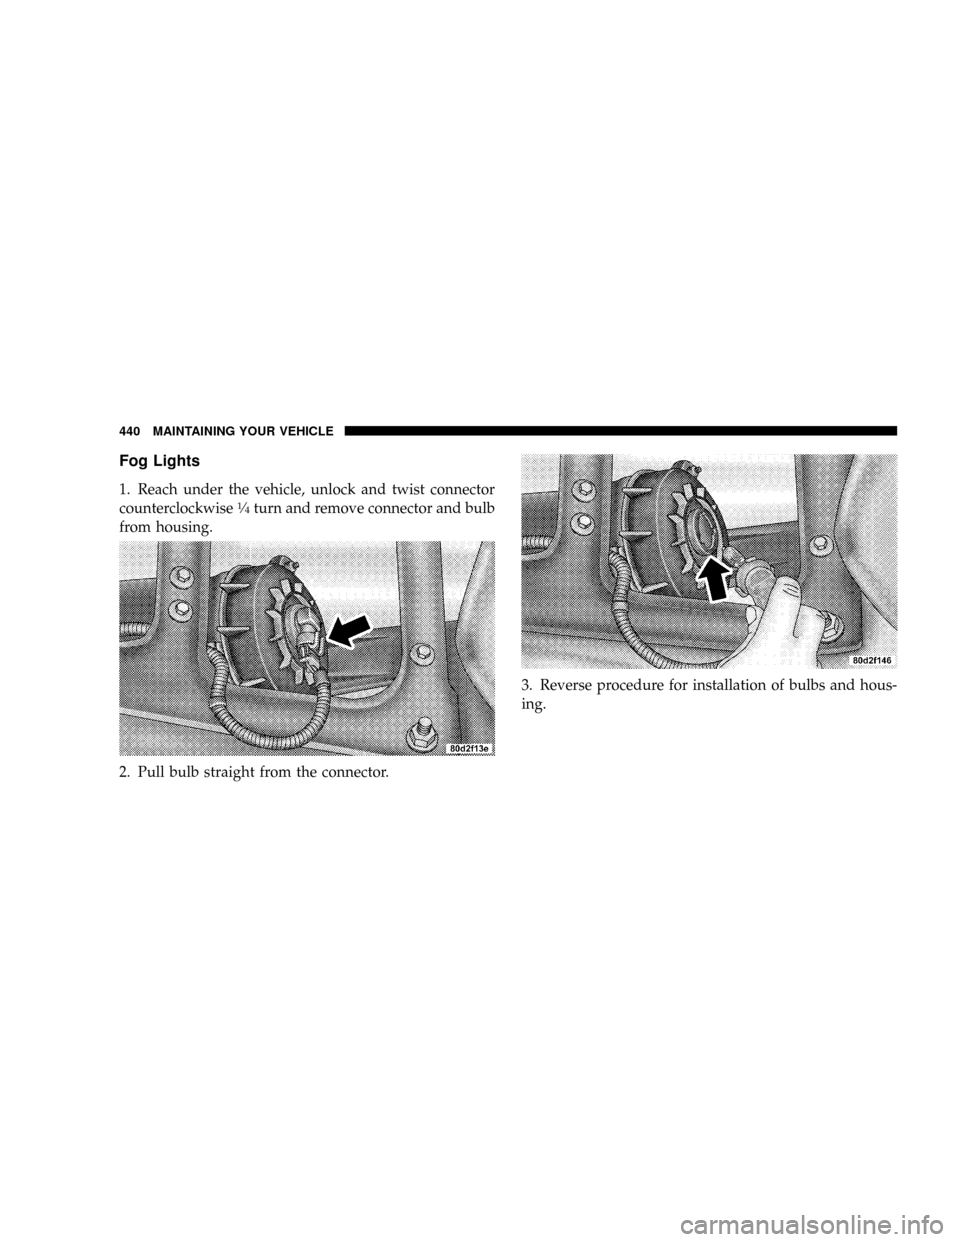
Fog Lights
1. Reach under the vehicle, unlock and twist connector
counterclockwise1¤4turn and remove connector and bulb
from housing.
2. Pull bulb straight from the connector.3. Reverse procedure for installation of bulbs and hous-
ing.
440 MAINTAINING YOUR VEHICLE
Page 477 of 492
Center Seat Storage Compartment............ 152
Certification Label....................... 341
Chart, Tire Sizing........................ 315
Check Engine Light (Malfunction Indicator Light) . 177
Child Restraint........................58,59
Child Restraint Tether Anchors.............62,66
Child Seat............................59,65
Cigar Lighter........................... 150
Cleaning
Wheels............................. 422
Climate Control......................... 227
Clock.....................181,185,193,206,219
Clutch............................... 410
Clutch Linkage Maintenance................ 410
Compact Disc (CD) Maintenance............. 226
Compact Spare Tire...................... 327
Compass.............................. 136
Compass Calibration..................... 136
Compass Variance....................... 137Computer, Trip/Travel.................... 132
Console, Overhead....................... 131
Contract, Service........................ 468
Coolant Pressure Cap (Radiator Cap).......... 406
Cooling System......................... 403
Adding Coolant (Antifreeze).............. 405
Coolant Capacity...................... 441
Coolant Level......................403,407
Disposal of Used Coolant................ 406
Drain, Flush, and Refill.................. 404
Inspection........................... 407
Points to Remember.................... 407
Pressure Cap......................... 406
Radiator Cap......................... 406
Selection of Coolant (Antifreeze)......404,441,442
Temperature Gauge..................... 175
Cruise Control (Speed Control).............. 128
Cup Holder............................ 151
Customer Assistance..................... 466
476 INDEX
Page 487 of 492
Adjustment.......................... 110
Child............................... 70
Cleaning............................ 423
Folding Floor......................... 155
Heated.............................. 115
Lumbar Support....................... 113
Power.............................. 114
Reclining............................ 112
Security Alarm (Theft Alarm).............18,176
Selection of Coolant (Antifreeze)..........404,442
Sentry Key (Immobilizer)................... 16
Service Assistance....................... 466
Service Contract......................... 468
Service Manuals........................ 470
Setting the Clock.............181,185,193,206,219
Shifting............................... 249
Automatic Transmission................. 250
Manual Transmission................... 255
Transfer Case......................... 261Transfer Case, Shifting into Transfer
Case Neutral (N)..................... 361
Transfer Case, Shifting out of Transfer
Case Neutral (N)..................... 362
Shoulder Belt Upper Anchorage.............. 41
Shoulder Belts........................... 34
Side Airbag............................. 54
Signals, Turn........................... 123
Skid Plates............................. 80
Sliding Rear Window
Power.............................. 154
Slippery Surfaces, Driving On............... 263
Snow Chains (Tire Chains)................. 332
Snow Plow............................ 359
Snow Tires............................ 333
Spare Tire..........................327,328
Spark Plug Wires (Ignition Cables/Wires)...... 393
Spark Plugs............................ 393
Speed Control (Cruise Control).............. 128
486 INDEX