maintenance schedule DODGE RAM 2500 DIESEL 2004 3.G Owners Manual
[x] Cancel search | Manufacturer: DODGE, Model Year: 2004, Model line: RAM 2500 DIESEL, Model: DODGE RAM 2500 DIESEL 2004 3.GPages: 426, PDF Size: 7.22 MB
Page 1 of 426
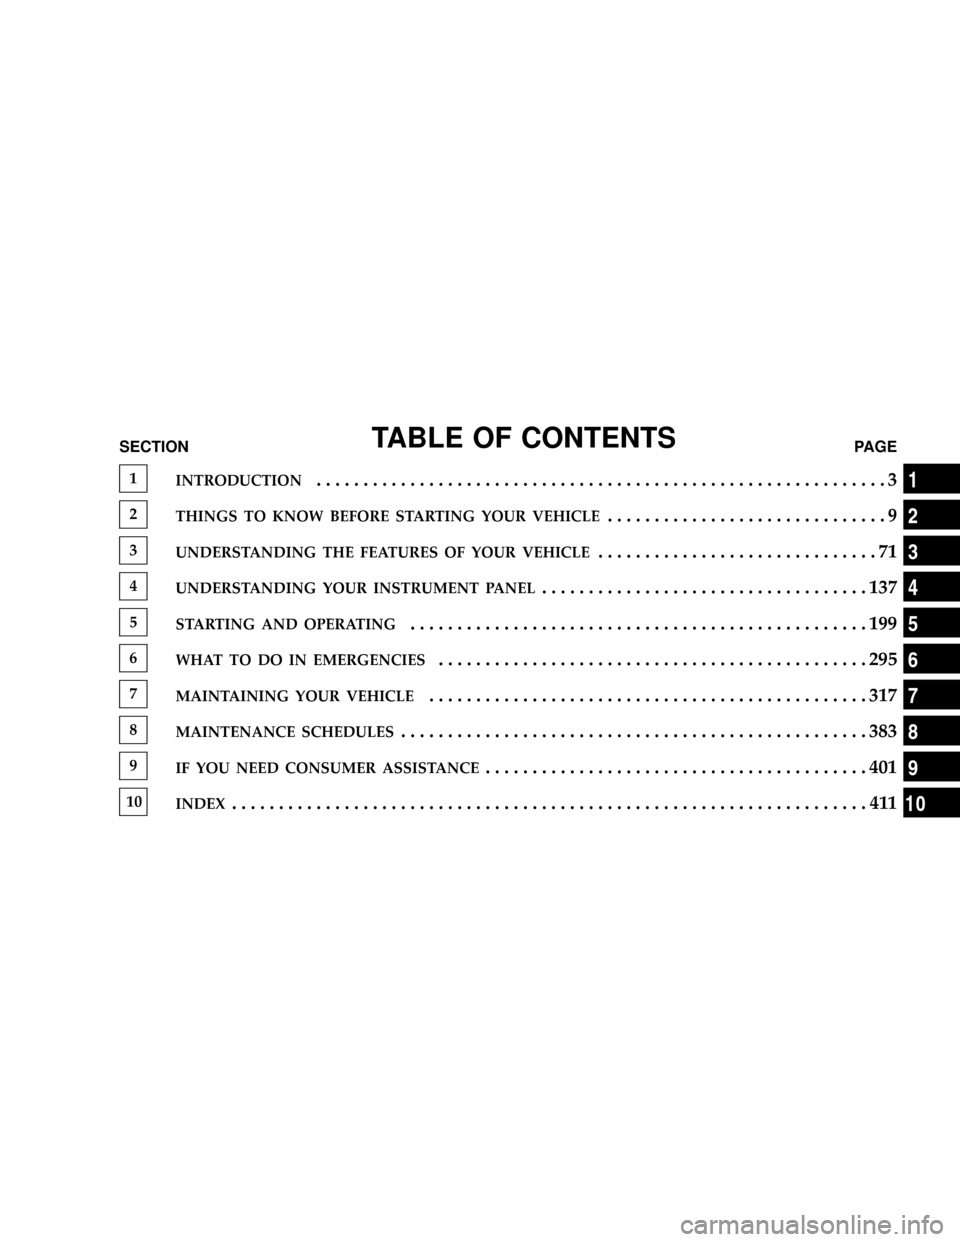
TABLE OF CONTENTSSECTIONPAGE
1INTRODUCTION.............................................................3
2THINGS TO KNOW BEFORE STARTING YOUR VEHICLE..............................9
3UNDERSTANDING THE FEATURES OF YOUR VEHICLE..............................71
4UNDERSTANDING YOUR INSTRUMENT PANEL...................................137
5STARTING AND OPERATING.................................................199
6WHAT TO DO IN EMERGENCIES..............................................295
7MAINTAINING YOUR VEHICLE...............................................317
8MAINTENANCE SCHEDULES..................................................383
9IF YOU NEED CONSUMER ASSISTANCE.........................................401
10INDEX....................................................................411
1
2
3
4
5
6
7
8
9
10
Page 262 of 426

Follow the recommended tire rotation frequency for your
type of driving found in the ªMaintenance Schedulesº
Section of this manual. More frequent rotation is permis-
sible if desired. The reasons for any rapid or unusual
wear should be corrected prior to rotation being per-
formed.NOTE:On Canadian vehicles only, if your Ram truck is
equipped with All-Season type tires on the front and
ON/OFF Road type tires mounted on the rear, do not use
a front to back rotation pattern. Instead, rotate your tires
side to side at the recommended intervals.
262 STARTING AND OPERATING
Page 273 of 426
CAUTION!
²During the first 500 miles (805 km) your new
vehicle is driven, do not tow a trailer. Doing so
may damage your vehicle.
²When first towing a trailer, limit your speed to 50
mph (80 km/h) during the first 500 miles (805 km)
of towing.
Perform the maintenance listed in the ªMaintenance
Schedulesº section of this manual (Section 8). When
towing a trailer, never exceed the Gross Axle Weight
Rating (GAWR), or Gross Combined Vehicle Weight
(GCVW).
CAUTION!
When hauling cargo or towing a trailer, do not
overload your vehicle or trailer. Overloading can
cause a loss of control, poor performance or damage
to brakes, axle, engine, transmission, steering, sus-
pension, body structure or tires.
Consider the following items when computing the
weight on the rear axle:
²the tongue weight of the trailer
²the weight of any other type of cargo or equipment put
in or on your vehicle
²the weight of passenger's and driver
NOTE:Remember that everything put into or on the
trailer adds to the load on your vehicle. Also, additional
factory-installed options, or dealer-installed options,
STARTING AND OPERATING 273
5
Page 322 of 426
REPLACEMENT PARTS
Use of genuine Mopartparts for normal/scheduled
maintenance and repairs is highly recommended to in-
sure the designed performance. Damage or failures
caused by the use of non-Mopar parts for maintenance
and repairs will not be covered by the manufacturer's
warranty.
DEALER SERVICE
Your dealer has the qualified service personnel, special
tools and equipment to perform all service operations in
an expert manner. Service manuals are available which
include detailed service information for your vehicle.
Refer to these manuals before attempting any procedure
yourself.
NOTE:Intentional tampering with emissions control
systems can result in civil penalties being assessed
against you.
WARNING!
You can be badly injured working on or around a
motor vehicle. Do only that service work for which
you have the knowledge and the proper equipment.
If you have any doubt about your ability to perform
a service job, take your vehicle to a competent
mechanic.
SERVICE INFORMATION
Mopar Fluids, Lubricants and Parts are available from
your dealer and will help you keep your vehicle operat-
ing at its best. Your dealer also has the qualified service
personnel, special tools and equipment to perform all
service operations in an expert manner. Service manuals
are available which include detailed service information
for your vehicle. Refer to these manuals before attempt-
ing any procedure yourself. See Service Publications
information at the back of this manual.
322 MAINTAINING YOUR VEHICLE
Page 323 of 426
NOTE:Failure to perform maintenance service at the
specified intervals as outlined in theMaintenance
Schedulesmay void provisions of your Vehicle Warranty.
CAUTION!
To maintain your vehicle safely follow these guide-
lines:
²Watch your vehicle's mileage and check yourMainte-
nance Schedulesregularly for required servicing. Ex-
cessive wear or damage to certain vehicle components
can result if required services are not performed.
²If you have your vehicle undercoated, inspect for
undercoating material on the propeller shafts. Such
material could cause the shafts to become unbalanced
and result in drivetrain vibrations. Remove any under-
coating with solvent.
²If you have your vehicle undercoated, make sure no
undercoating material is sprayed on the exhaust sys-
tem or components of the seat belt system.
NOTE:It is not possible for the manufacturer and
Cummins, Inc. to anticipate every possible circumstance
that can involve a potential hazard.
WARNING!
To maintain your vehicle safely and avoid personal
injury, follow these guidelines:
²Never spray or pour diesel fuel, flammable liquid or
starting fluids (ether) into the air cleaner canister, air
intake piping or turbocharger inlet in an attempt to
start the vehicle.
MAINTAINING YOUR VEHICLE 323
7
Page 343 of 426
Cooling System
Cooling System Maintenance
At the intervals shown in the Maintenance Schedules
Section of the manual, the system should be drained,
flushed and filled.
Inspection
Coolant protection checks should be made every 12
months (prior to the onset of freezing weather, where
applicable). If coolant is dirty or rusty in appearance, the
system should be drained, flushed and refilled with fresh
coolant as specified.
Inspect the entire cooling system for leaks. Check the face
of the radiator for any accumulation of bugs, leaves, or
other foreign matter. If dirty, clean the radiator core with
a garden hose. With the engine OFF, gently spray water
from the back of the radiator core. Check coolant bottle
tube for condition and tightness of connections at coolant
bottle and radiator.Check the coolant pressure cap and coolant bottle for
proper vacuum sealing. With the engine at normal oper-
ating temperature, note the level of the coolant in the
coolant bottle. Without removing the pressure cap (with
the engine off), drain a small amount of coolant from the
radiator drain cock. If the coolant level in the coolant
bottle drops, the system is sealing properly.
Extremely cold ambient temperature may require the
addition of a ªwinter frontº for effective operation of the
cab heating/cooling system. Make certain that a percent-
age of the radiator is exposed for adequate air flow
through the charge air cooler and automatic transmission
oil cooler. The percentage of opening must be increased
with the increasing ambient air temperature and/or
engine load. If the cooling fan can be heard cycling
frequently, increase the size of the opening in the winter
front.
MAINTAINING YOUR VEHICLE 343
7
Page 344 of 426
Coolant bottle level check
The coolant reserve system provides a quick visual
method of determining that the coolant level is adequate.
With the engine idling, and warmed to the normal
operating temperature, the level of the coolant on the
coolant bottle should be between the fluid level marks.
Check the coolant level whenever the hood is raised.
The radiator normally remains completely full, so there is
no longer a need to remove the coolant pressure cap
except for checking coolant freeze point or replacement
with new antifreeze coolant.
WARNING!
Never add coolant to the radiator when the engine is
overheated. Do not loosen or remove pressure cap to
cool overheated engine! The coolant is under pres-
sure and severe scalding could result.
Drain, Flush And Refill
At intervals shown on the Maintenance Schedules, the
system should be drained, flushed and refilled. Refer to
your dealer or consult a service manual for proper
procedures.
Adding Coolant
When adding coolant or refilling system, a 50% solution
of ethylene glycol antifreeze coolant in water should be
used. Higher concentrations (not to exceed 65%) are
required if temperatures below -34 ÉF (-37 ÉC) are antici-
pated. Use only high purity water such as distilled or
deionized water when mixing the water/antifreeze solu-
tion. The use of lower quality water will reduce the
amount of corrosion protection in the engine cooling
system. Please note that it is the owner's responsibility to
maintain the proper level of protection against freezing
according to the temperatures occurring in the area
where the vehicle is operated.
344 MAINTAINING YOUR VEHICLE
Page 351 of 426
Clutch Hydraulic System
The clutch hydraulic system is a sealed maintenance-free
system. In the event of leakage or other malfunction, the
system must be replaced.
Propeller Shaft Universal Joints
Cross Type (No fittings) ÐRelubrication of this type of
universal joint is not required. The seals should be
inspected for external leaks or damage. If external leaks
or damage is evident, the universal joint should be
replaced.
Rear Axle And 4x4 Front Driving Axle Fluid Level
For Model 9.25 Front Axles and 10.5º/11.5º Rear Axles
refer to Recommended Fluids, Lubricants and Genuine
Parts for the correct lubricant type. For normal service,
periodic fluid level checks are not required. When the
vehicle is serviced for other reasons, the exterior surfaces
of the axle assembly should be inspected.When checking the fluid level, the vehicle should be in a
level position. The fluid level should be 1/4º 1/4º (6.4
mm 6.4 mm) below the fill hole on the 9.25º Front Axle.
The fluid level should be 3/4º 1/4º (19 mm 6.4 mm)
below the fill hole on all 10.5º and 1/4º 1/4º (6.4 mm
6.4 mm) on 11.5º Rear Axles.
Drain And Refill
Vehicles operated in normal service do not have regularly
scheduled oil changes. If fluid has become contaminated
with water or subjected to severe service, follow the
recommended change intervals in Maintenance Schedule
ªBº in Section 8 of this manual.
Lubricant Selection
Refer to Recommended Fluids, Lubricants and Genuine
Parts for the correct lubricant type.
NOTE:The presence of water in the gear lubricant will
result in corrosion and possible failure of differential
components. Operation of the vehicle in water, as may be
MAINTAINING YOUR VEHICLE 351
7
Page 355 of 426
It is important that proper lubricant is used in the
transmission. Refer to Recommended Fluids, Lubricants
and Genuine Parts for the correct lubricant type. A band
adjustment and filter change should be made at the time
of the oil change.
The fluid and filter should be changed and the bands
adjusted as specified in the Maintenance Schedule (Sec-
tion 8). Vehicles having severe usage should follow
Maintenance Schedule ªBº of the Maintenance Schedule
(Section 8).
Severe usage consists of:
²Off-the-highway operation;
²Trailer towing;
²Snow plow operation;
²Prolonged operation with heavy loading, especially in
hot weather.NOTE:If the transmission is disassembled for any
reason, the fluid and filter should be changed, and the
bands adjusted.
Special Additives
The manufacturer recommends against the addition of
any additives to the transmission. Exception to this
policy is the use of special dyes to aid in detecting fluid
leaks. The use of transmission sealers should be avoided,
since they may adversely affect seals.
Front Wheel Bearings
Front wheel bearings for all Dodge Ram Trucks are
sealed-for-life. They do not require greasing or seal
replacement. In some instances, these bearings will
ªpurgeº excess grease and the bearing housing will look
slightly wet. This is normal.
²Periodic inspection for excess play is recommended.
MAINTAINING YOUR VEHICLE 355
7
Page 358 of 426

or suspected. Proper maintenance of the entire vehicle
will help the effectiveness of the noise control systems.
Exhaust System
Inspect the entire exhaust system for leaks and damaged
parts. Devices such as hangers, clamps, and U-bolts
should be tight and in good condition. Damaged compo-
nents, burned or blown out mufflers, burned or rusted
out exhaust pipes should be replaced according to the
procedures and specifications outlined in the appropriate
service manual.
Air Cleaner Assembly
Inspect air cleaner housing for proper assembly and fit.
Make certain that the air cleaner is properly positioned
and that the cover is tight. Check all hoses leading to the
cleaner for tightness. The air filter element must also be
clean and serviced according to the instructions outlined
in the Maintenance Schedule Section of this manual.Tampering With Noise Control System Prohibited
Federal law prohibits the following acts or the causing
thereof: (1) the removal or rendering inoperative by any
person, other than for purposes of maintenance, repair, or
replacement, of any device or element of design incorpo-
rated into any new vehicle for the purpose of noise
control prior to its sale or delivery to the ultimate
purchaser or while it is in use, or (2) the use of the vehicle
after such device or element of design has been removed
or rendered inoperative by any person.
Among those acts presumed to constitute tampering are
the acts listed below.
358 MAINTAINING YOUR VEHICLE