oil DODGE RAM 3500 GAS 2008 3.G User Guide
[x] Cancel search | Manufacturer: DODGE, Model Year: 2008, Model line: RAM 3500 GAS, Model: DODGE RAM 3500 GAS 2008 3.GPages: 554, PDF Size: 9.93 MB
Page 210 of 554
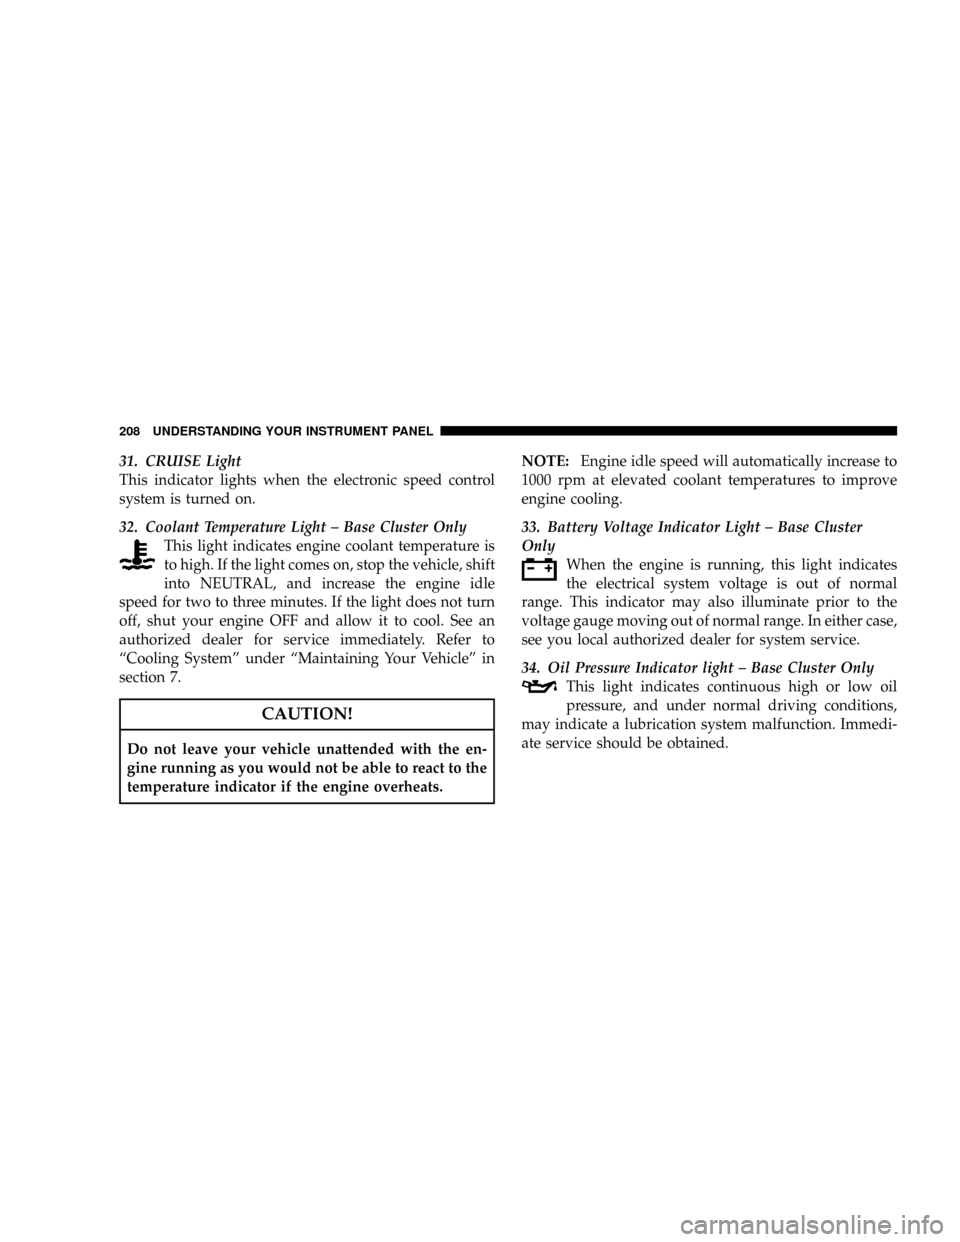
31. CRUISE Light
This indicator lights when the electronic speed control
system is turned on.
32. Coolant Temperature Light ± Base Cluster Only
This light indicates engine coolant temperature is
to high. If the light comes on, stop the vehicle, shift
into NEUTRAL, and increase the engine idle
speed for two to three minutes. If the light does not turn
off, shut your engine OFF and allow it to cool. See an
authorized dealer for service immediately. Refer to
ªCooling Systemº under ªMaintaining Your Vehicleº in
section 7.
CAUTION!
Do not leave your vehicle unattended with the en-
gine running as you would not be able to react to the
temperature indicator if the engine overheats.NOTE:Engine idle speed will automatically increase to
1000 rpm at elevated coolant temperatures to improve
engine cooling.
33. Battery Voltage Indicator Light ± Base Cluster
Only
When the engine is running, this light indicates
the electrical system voltage is out of normal
range. This indicator may also illuminate prior to the
voltage gauge moving out of normal range. In either case,
see you local authorized dealer for system service.
34. Oil Pressure Indicator light ± Base Cluster Only
This light indicates continuous high or low oil
pressure, and under normal driving conditions,
may indicate a lubrication system malfunction. Immedi-
ate service should be obtained.
208 UNDERSTANDING YOUR INSTRUMENT PANEL
Page 271 of 554
Window Fogging
Windows will fog on the inside when the humidity inside
the vehicle is high. This often occurs in mild or cool
temperatures when it's rainy or humid. In most cases
turning on the air conditioning (pressing the snowflake
button) will clear the fog. Adjust the temperature control,
air direction and blower speed to maintain comfort.
As the temperature gets colder it may be necessary to
direct air onto the windshield by using MIX Mode
position on the control. Adjust the temperature control
and blower speed to maintain comfort. Higher blower
speeds will reduce fogging. Interior fogging on the
windshield can be quickly removed by selecting the
defrost mode.
Regular cleaning of the inside of the windows with a
non-filming cleaning solution (vinegar and water works
very well) will help prevent contaminates (cigarettesmoke, perfumes, etc.) from sticking to the windows.
Contaminates increase the rate of window fogging.
Summer Operation
Air conditioned vehicles must be protected with a high
quality antifreeze coolant during summer to provide
proper corrosion protection and to raise the boiling point
of the coolant for protection against overheating. A 50 %
concentration is recommended. For proper coolant type,
refer to ªRecommended Fluids and Genuine Partsº in
Section 7.
When using the air conditioner in extremely heavy traffic
in hot weather, especially when towing a trailer, addi-
tional engine cooling may be required. If this situation is
encountered, operate the transmission in a lower gear to
increase engine RPM, coolant flow and fan speed. When
stopped in heavy traffic, it may be necessary to shift into
NEUTRAL and depress the accelerator slightly for fast
idle operation to increase coolant flow and fan speed.
UNDERSTANDING YOUR INSTRUMENT PANEL 269
4
Page 278 of 554
mFuel Requirements......................371
NReformulated Gasoline.................372
NGasoline/Oxygenate Blends..............373
NMMT In Gasoline.....................373
NMaterials Added To Fuel................374
NFuel System Cautions..................374
NCarbon Monoxide Warnings..............375
mAdding Fuel..........................375
NAdding Fuel (Gas Engines)..............375
mFlexible Fuel Ð If Equipped...............377
NE-85 General Information................377
NEthanol Fuel (E-85)....................379
NFuel Requirements....................379NSelection Of Engine Oil For Flexible Fuel
Vehicles (E-85) And Gasoline Vehicles.......380
NStarting............................380
NCruising Range.......................380
NReplacement Parts.....................381
mVehicle Loading........................381
NCertification Label.....................381
mTrailer Towing.........................385
NCommon Towing Definitions.............385
NTrailer Hitch Classification...............389
NTrailer Towing Weights
(Maximum Trailer Weight Ratings).........390
NTrailer And Tongue Weight..............390
NTowing Requirements..................392
276 STARTING AND OPERATING
Page 318 of 554
CAUTION!
²Driving through standing water may cause dam-
age to your vehicle's drivetrain components. Al-
ways inspect your vehicle's fluids (i.e., engine oil,
transmission, axle, etc.) for signs of contamination
(i.e., fluid that is milky or foamy in appearance)
after driving through standing water. Do not con-
tinue to operate the vehicle if any fluid appears
contaminated, as this may result in further dam-
age. Such damage is not covered by the New
Vehicle Limited Warranty.
²Getting water inside your vehicle's engine can
cause it to lock up and stall out, and cause serious
internal damage to the engine. Such damage is not
covered by the New Vehicle Limited Warranty.
WARNING!
²Driving through standing water limits your vehi-
cle's traction capabilities. Do not exceed 5 mph (8
km/h) when driving through standing water.
²Driving through standing water limits your vehi-
cle's braking capabilities, which increases stop-
ping distances. Therefore, after driving through
standing water, drive slowly and lightly press on
the brake pedal several times to dry the brakes.
²Getting water inside your vehicle's engine can
cause it to lock up and stall out, and leave you
stranded.
²Failure to follow these warnings may result in
injuries that are serious or fatal to you, your
passengers, and others around you.
316 STARTING AND OPERATING
Page 356 of 554
These indicators are molded into the bottom of the tread
grooves. They will appear as bands when the tread depth
becomes 1/16 in (2 mm). When the tread is worn to the
tread wear indicators, the tire should be replaced.
Many states have laws requiring tire replacement at this
point.
Life of Tire
The service life of a tire is dependent upon varying
factors including, but not limited to:
²Driving style
²Tire pressure
²Distance driven
WARNING!
Tires and the spare tire should be replaced after six
years, regardless of the remaining tread. Failure to
follow this warning can result in sudden tire failure.
You could lose control and have an accident resulting
in serious injury or death.
Keep dismounted tires in a cool, dry place with as little
exposure to light as possible. Protect tires from contact
with oil, grease, and gasoline.
354 STARTING AND OPERATING
Page 382 of 554
Selection Of Engine Oil For Flexible Fuel Vehicles
(E-85) and Gasoline Vehicles
Flexible Fuel Vehicles (FFV) vehicles operated on E-85
require specially formulated engine oils. These special
requirements are included in Mopartengine oils, and in
equivalent oils meeting DaimlerChrysler Specification
MS-6395. The manufacturer only recommends engine
oils that are API Certified and meet the requirements of
Material Standard MS-6395. MS-6395 contains additional
requirements, developed during extensive fleet testing,
to provide additional protection to DaimlerChrysler
Corporation engines. Use Mopartor an equivalent oil
meeting the specification MS-6395.
Starting
The characteristics of E-85 fuel make it unsuitable for use
when ambient temperatures fall below 0É F (-18É C). In
the range of 0É F (-18É C) to 32É F (0É C), you may
experience an increase in the time it takes for your engineto start, and a deterioration in drivability (sags and/or
hesitations) until the engine is fully warmed up.
CAUTION!
Do not use ethanol mixture greater than 85% in your
vehicle. It will cause difficulty in cold starting and
may affect drivability.
Cruising Range
Because E-85 fuel contains less energy per gallon/liter
than gasoline, you will experience an increase in fuel
consumption. You can expect your miles per gallon
(mpg)/miles per liter and your driving range to decrease
by about 30%, compared to gasoline operation.
380 STARTING AND OPERATING
Page 431 of 554
WARNING!
A loose tire or jack thrown forward in a collision or
hard stop could injure someone in the vehicle. Al-
ways stow the jack parts and the extra tire and wheel
in the places provided.
7. Install wheel center cap and remove wheel blocks. Do
not install chrome or aluminum wheel center caps on the
spare wheel. This may result in cap damage.
8. Lower the jack to its fully closed position. If the bottle
jack will not lower by turning the dial (thumbwheel) by
hand, it may be necessary to use the jack drive tube in
order to lower the jack. Stow the replaced tire, jack, and
tools as previously described.
9. Adjust the tire pressure when possible.NOTE:Do not oil wheel studs. For chrome wheels, do
not substitute with chrome plated wheel nuts.Hub Caps/Wheel Covers
The hub caps must be removed before raising the vehicle
off the ground.
For 2500/3500 single rear-wheel (SRW) models, use the
blade on the end of the lug wrench to pry the hub cap off.
Insert the blade end into the pryoff notch and carefully
pop off the hub cap with a back-and-forth motion.
On 3500 models with dual rear wheels (DRW), you must
first remove the hub caps. The jack handle driver has a
hook at one end that will fit in the pry off notch of the
rear hub caps. Position the hook and pull out on the
ratchet firmly. The hub cap should pop off. The wheel
skins can now be removed. For the front hub cap on 3500
models use the blade on the end of the lug wrench to pry
the caps off. The wheel skin can now be removed.
WHAT TO DO IN EMERGENCIES 429
6
Page 433 of 554
8-Stud Ð Dual Rear Wheels
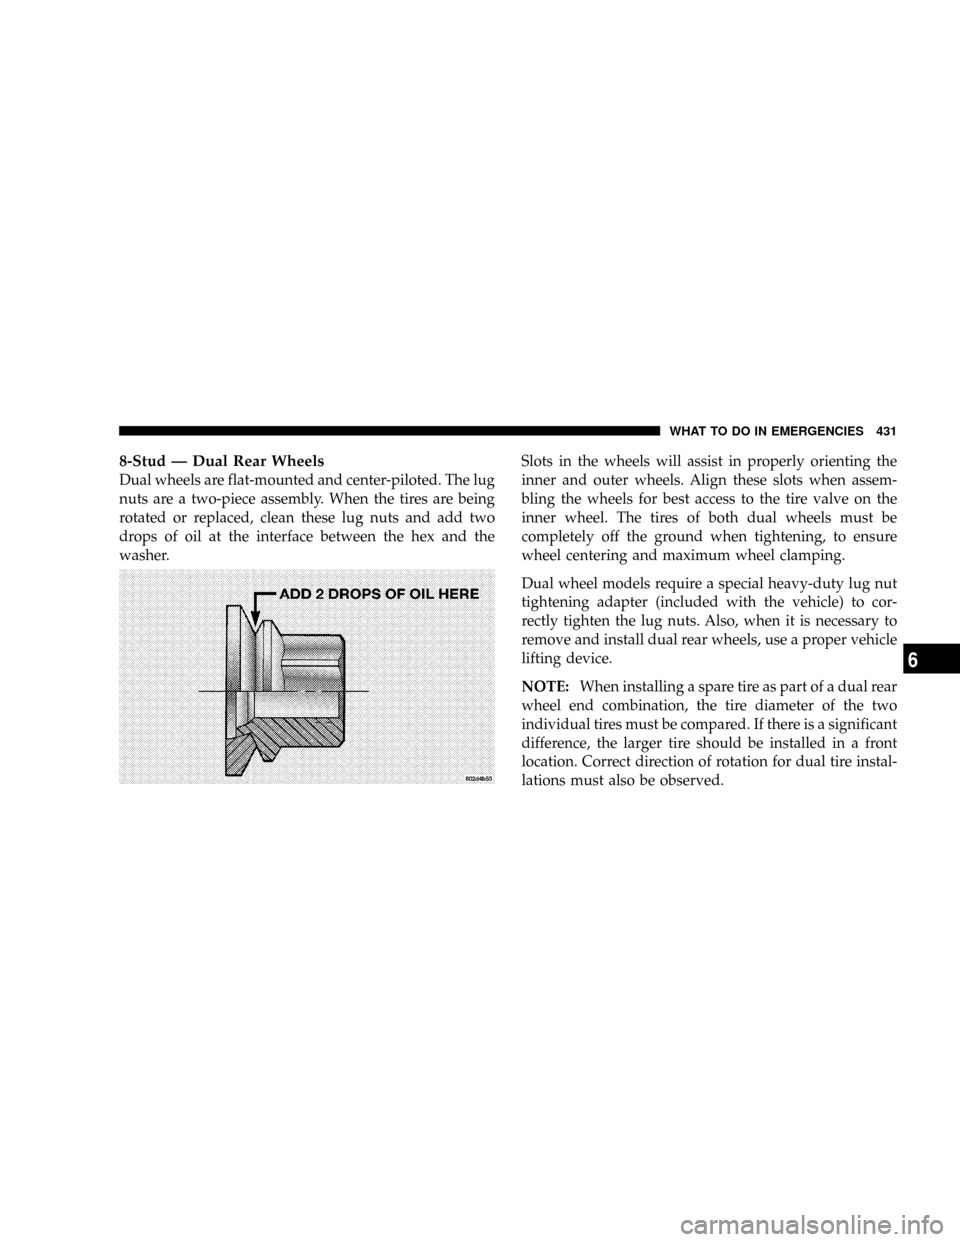
Dual wheels are flat-mounted and center-piloted. The lug
nuts are a two-piece assembly. When the tires are being
rotated or replaced, clean these lug nuts and add two
drops of oil at the interface between the hex and the
washer.Slots in the wheels will assist in properly orienting the
inner and outer wheels. Align these slots when assem-
bling the wheels for best access to the tire valve on the
inner wheel. The tires of both dual wheels must be
completely off the ground when tightening, to ensure
wheel centering and maximum wheel clamping.
Dual wheel models require a special heavy-duty lug nut
tightening adapter (included with the vehicle) to cor-
rectly tighten the lug nuts. Also, when it is necessary to
remove and install dual rear wheels, use a proper vehicle
lifting device.
NOTE:When installing a spare tire as part of a dual rear
wheel end combination, the tire diameter of the two
individual tires must be compared. If there is a significant
difference, the larger tire should be installed in a front
location. Correct direction of rotation for dual tire instal-
lations must also be observed.
WHAT TO DO IN EMERGENCIES 431
6
Page 443 of 554
MAINTAINING YOUR VEHICLE
CONTENTS
mEngine CompartmentÐ 3.7L...............444
mEngine CompartmentÐ 4.7L...............445
mEngine CompartmentÐ 5.7L...............446
mOnboard Diagnostic System (OBD II).........447
NLoose Fuel Filler Cap Message............447
mEmissions Inspection And Maintenance
Programs............................448
mReplacement Parts......................449
mAuthorized Dealer Service................450mMaintenance Procedures..................450
NEngine Oil..........................451
NEngine Oil Filter......................454
NDrive Belts Ð Check Condition And Tension . . 454
NSpark Plugs (Gas Engines)...............454
NEngine Air Cleaner Filter................455
NEngine Fuel Filter.....................455
NCatalytic Converter....................455
NEmission-Related Components............457
7
Page 453 of 554
Engine Oil
Checking Oil Level
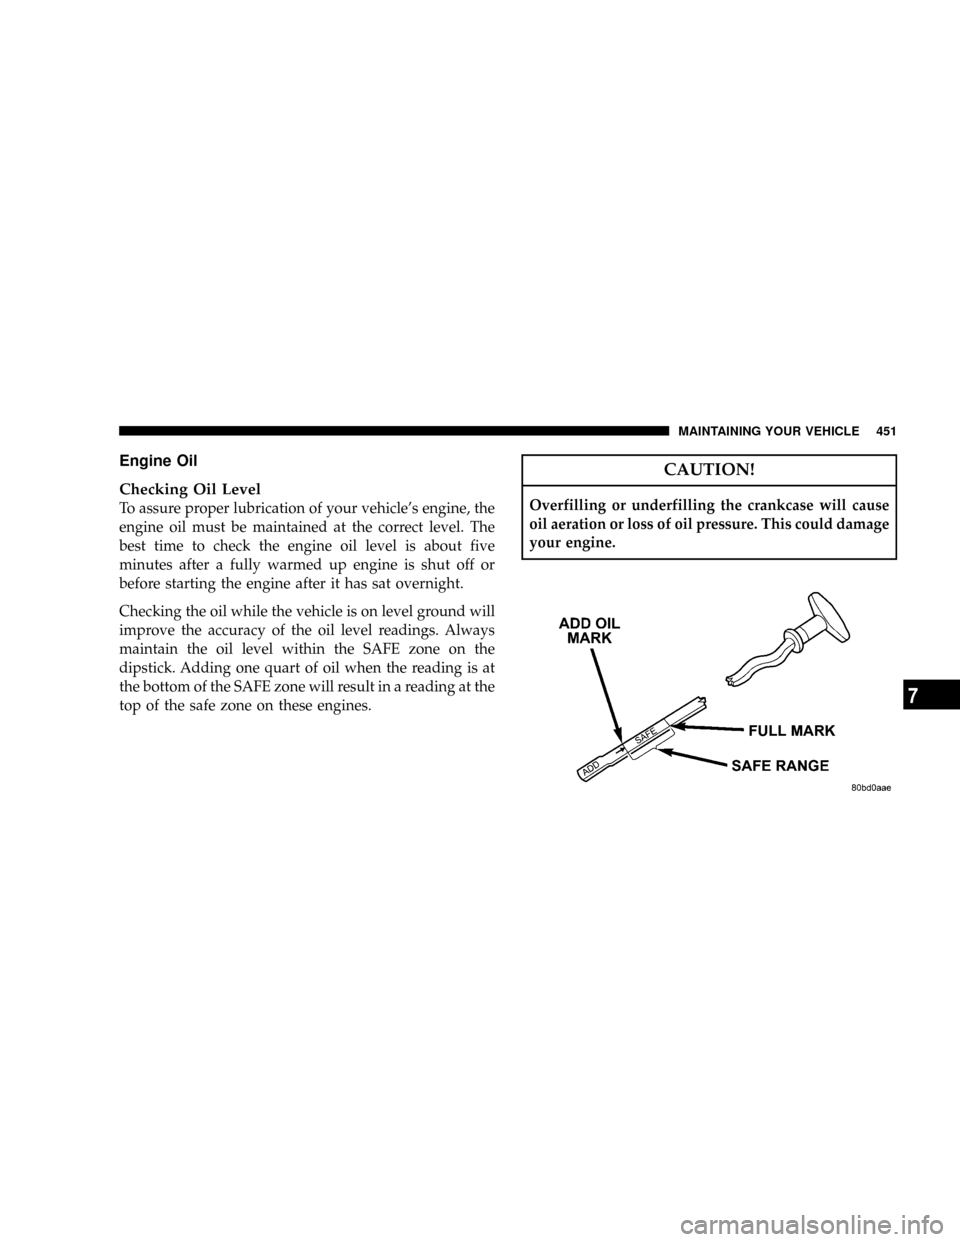
To assure proper lubrication of your vehicle's engine, the
engine oil must be maintained at the correct level. The
best time to check the engine oil level is about five
minutes after a fully warmed up engine is shut off or
before starting the engine after it has sat overnight.
Checking the oil while the vehicle is on level ground will
improve the accuracy of the oil level readings. Always
maintain the oil level within the SAFE zone on the
dipstick. Adding one quart of oil when the reading is at
the bottom of the SAFE zone will result in a reading at the
top of the safe zone on these engines.
CAUTION!
Overfilling or underfilling the crankcase will cause
oil aeration or loss of oil pressure. This could damage
your engine.
MAINTAINING YOUR VEHICLE 451
7