turn signal DODGE RAM 3500 GAS 2008 3.G Owners Manual
[x] Cancel search | Manufacturer: DODGE, Model Year: 2008, Model line: RAM 3500 GAS, Model: DODGE RAM 3500 GAS 2008 3.GPages: 554, PDF Size: 9.93 MB
Page 21 of 554
disengage it. If you turned the wheel to the left to engage
the lock, turn the wheel slightly to the left to disengage it.
Automatic Transmission Ignition Interlock System
This system prevents the key from being removed unless
the shift lever is in PARK. It also prevents shifting out of
PARK unless the key is in the ON positions, and the
brake pedal is depressed.
SECURITY ALARM SYSTEM Ð IF EQUIPPED
This system monitors the vehicle doors and ignition for
unauthorized operation. When the alarm is activated, the
system provides both audible and visible signals. For the
first three minutes the horn will sound and the headlights
and security telltale will flash repeatedly. For an addi-
tional 15 minutes only, the headlights and security telltale
will flash. The engine will run only if a valid Sentry Keyt
is used to start the vehicle. Use of the Sentry Keytwill
disable the alarm.
Rearming of the System:
The Security Alarm System will rearm itself after the 15
additional minutes of headlights and security telltale
flashing, if the system has not been disabled. If the
condition which initiated the alarm is still present, the
system will ignore that condition and monitor the re-
maining doors and ignition.
To Set the Alarm
The alarm will set when you use the power door locks, or
use the Remote Keyless Entry (RKE) Transmitter to
LOCK the doors. After all the doors are locked and
closed, the SECURITY light in the instrument cluster will
flash rapidly to signal that the system is arming. The
SECURITY light in the instrument panel cluster will flash
rapidly for about 16 seconds to indicate that the alarm is
being set. After the alarm is set, the SECURITY light will
flash at a slower rate to indicate that the system is armed.
THINGS TO KNOW BEFORE STARTING YOUR VEHICLE 19
2
Page 82 of 554
Lights
Check the operation of all exterior lights. Check turn
signal and high beam indicator lights on the instrument
panel.
Door Latches
Check for positive closing, latching and locking.
Fluid Leaks
Check area under the vehicle after overnight parking for
fuel, water, oil, or other fluid leaks. Also, if fuel fumes are
detected, the cause should be located and corrected.
80 THINGS TO KNOW BEFORE STARTING YOUR VEHICLE
Page 108 of 554
Turning Confirmation Prompts On/Off
Turning confirmation prompts off will stop the system
from confirming your choices (e.g., the UConnecttsys-
tem will not repeat a phone number before you dial it).
²Press the PHONE button to begin.
²After the9Ready9prompt and the following beep, say
9Setup Confirmations.9The UConnecttsystem will
play the current confirmation prompt status and you
will be given the choice to change it.
Phone and Network Status Indicators
If available on the radio and/or on a premium display
such as the instrument panel cluster, and supported by
your cell phone, the UConnecttsystem will provide
notification to inform you of your phone and network
status when you are attempting to make a phone call
using UConnectt. The status is given for roaming, net-
work signal strength, phone battery strength, etc.
Dialing Using the Cellular Phone Keypad
You can dial a phone number with your cellular phone
keypad and still use the UConnecttsystem (while dial-
ing via the cell phone keypad, the user must exercise
caution and take precautionary safety measures). By
dialing a number with your paired Bluetoothtcellular
phone, the audio will be played through your vehicle's
audio system. The UConnecttsystem will work the same
as if you dial the number using voice recognition.
NOTE:Certain brands of mobile phones do not send the
dial ring to the UConnecttsystem to play it on the
vehicle audio system, so you will not hear it. Under this
situation, after successfully dialing a number the user
may feel that the call did not go through even though the
call is in progress. Once your call is answered, you will
hear the audio.
106 UNDERSTANDING THE FEATURES OF YOUR VEHICLE
Page 139 of 554
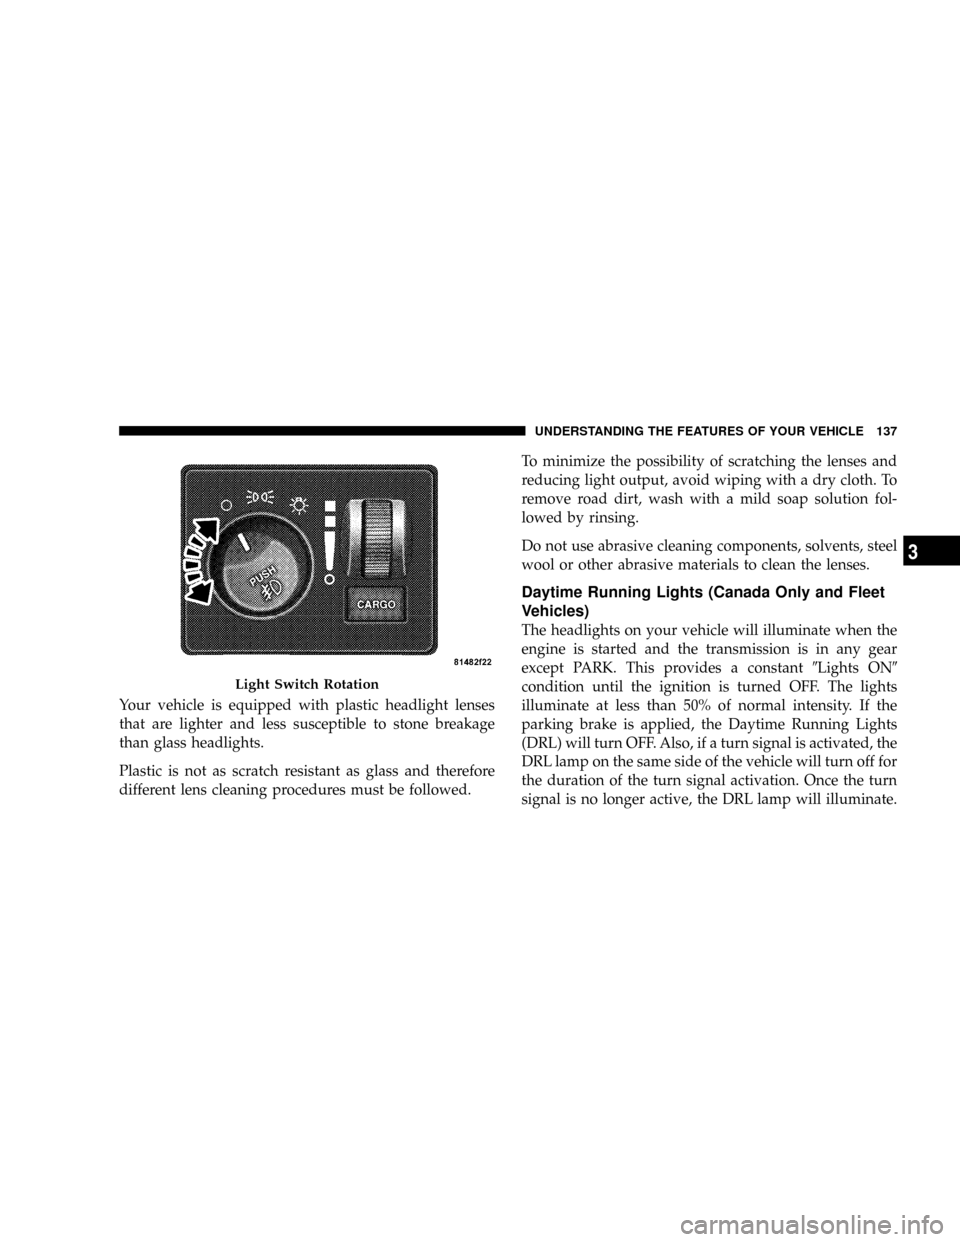
Your vehicle is equipped with plastic headlight lenses
that are lighter and less susceptible to stone breakage
than glass headlights.
Plastic is not as scratch resistant as glass and therefore
different lens cleaning procedures must be followed.To minimize the possibility of scratching the lenses and
reducing light output, avoid wiping with a dry cloth. To
remove road dirt, wash with a mild soap solution fol-
lowed by rinsing.
Do not use abrasive cleaning components, solvents, steel
wool or other abrasive materials to clean the lenses.
Daytime Running Lights (Canada Only and Fleet
Vehicles)
The headlights on your vehicle will illuminate when the
engine is started and the transmission is in any gear
except PARK. This provides a constant9Lights ON9
condition until the ignition is turned OFF. The lights
illuminate at less than 50% of normal intensity. If the
parking brake is applied, the Daytime Running Lights
(DRL) will turn OFF. Also, if a turn signal is activated, the
DRL lamp on the same side of the vehicle will turn off for
the duration of the turn signal activation. Once the turn
signal is no longer active, the DRL lamp will illuminate.
Light Switch Rotation
UNDERSTANDING THE FEATURES OF YOUR VEHICLE 137
3
Page 141 of 554
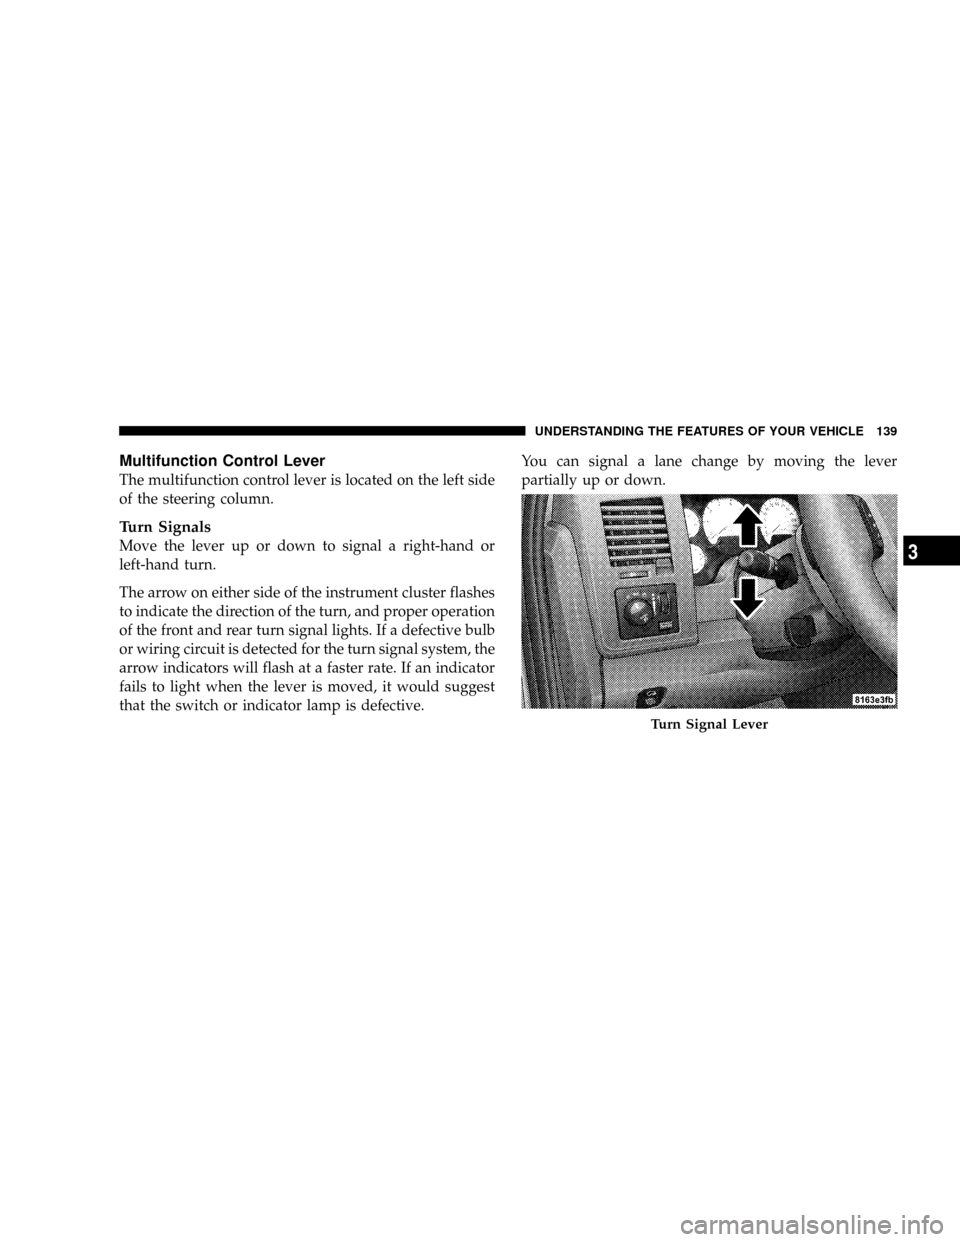
Multifunction Control Lever
The multifunction control lever is located on the left side
of the steering column.
Turn Signals
Move the lever up or down to signal a right-hand or
left-hand turn.
The arrow on either side of the instrument cluster flashes
to indicate the direction of the turn, and proper operation
of the front and rear turn signal lights. If a defective bulb
or wiring circuit is detected for the turn signal system, the
arrow indicators will flash at a faster rate. If an indicator
fails to light when the lever is moved, it would suggest
that the switch or indicator lamp is defective.You can signal a lane change by moving the lever
partially up or down.
Turn Signal Lever
UNDERSTANDING THE FEATURES OF YOUR VEHICLE 139
3
Page 142 of 554
Turn Signal Auto Mode
Tap the multifunction control lever once and the turn
signal (left or right) will flash three times, and automati-
cally turn off.
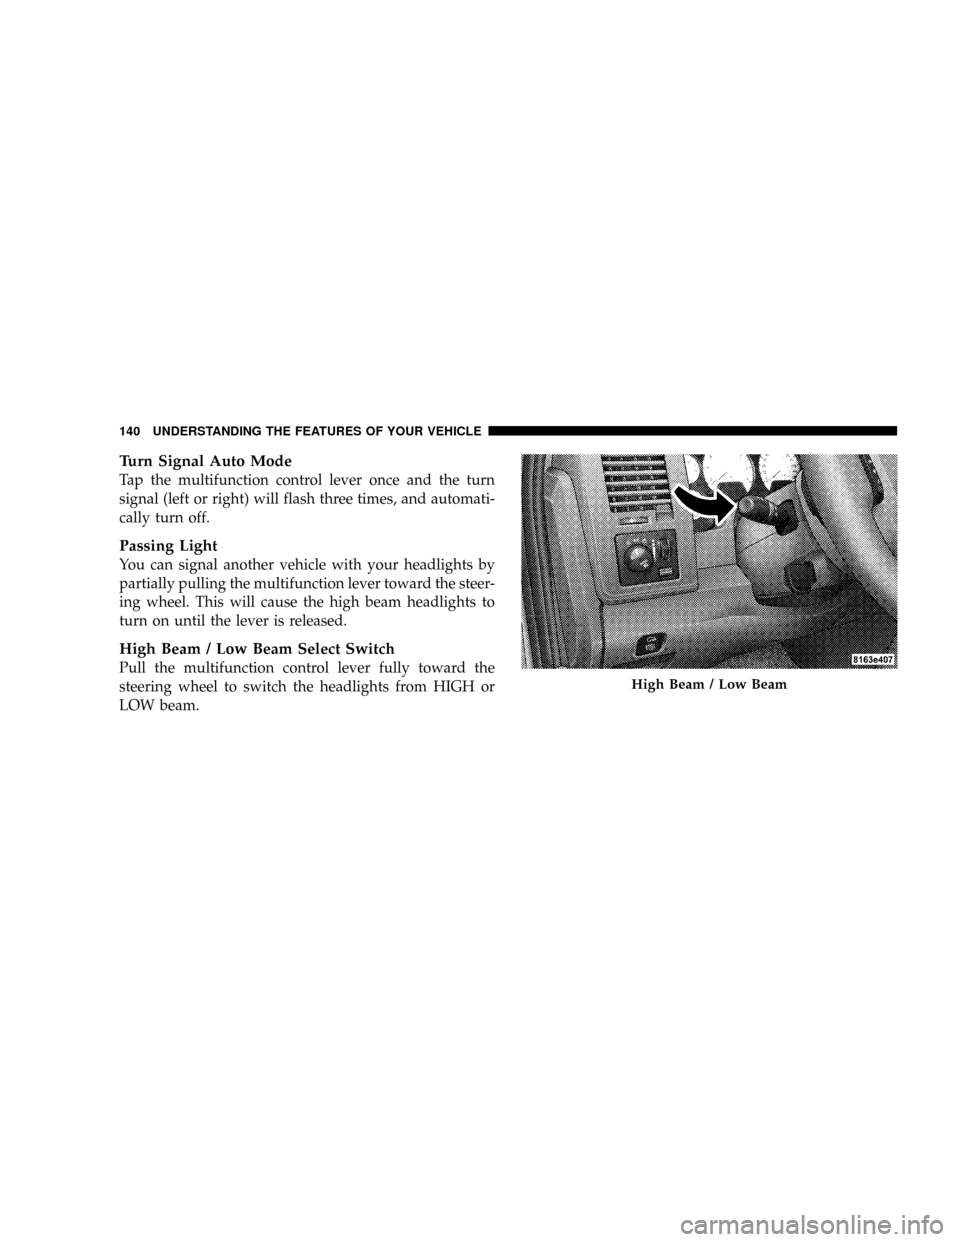
Passing Light
You can signal another vehicle with your headlights by
partially pulling the multifunction lever toward the steer-
ing wheel. This will cause the high beam headlights to
turn on until the lever is released.
High Beam / Low Beam Select Switch
Pull the multifunction control lever fully toward the
steering wheel to switch the headlights from HIGH or
LOW beam.
High Beam / Low Beam
140 UNDERSTANDING THE FEATURES OF YOUR VEHICLE
Page 145 of 554
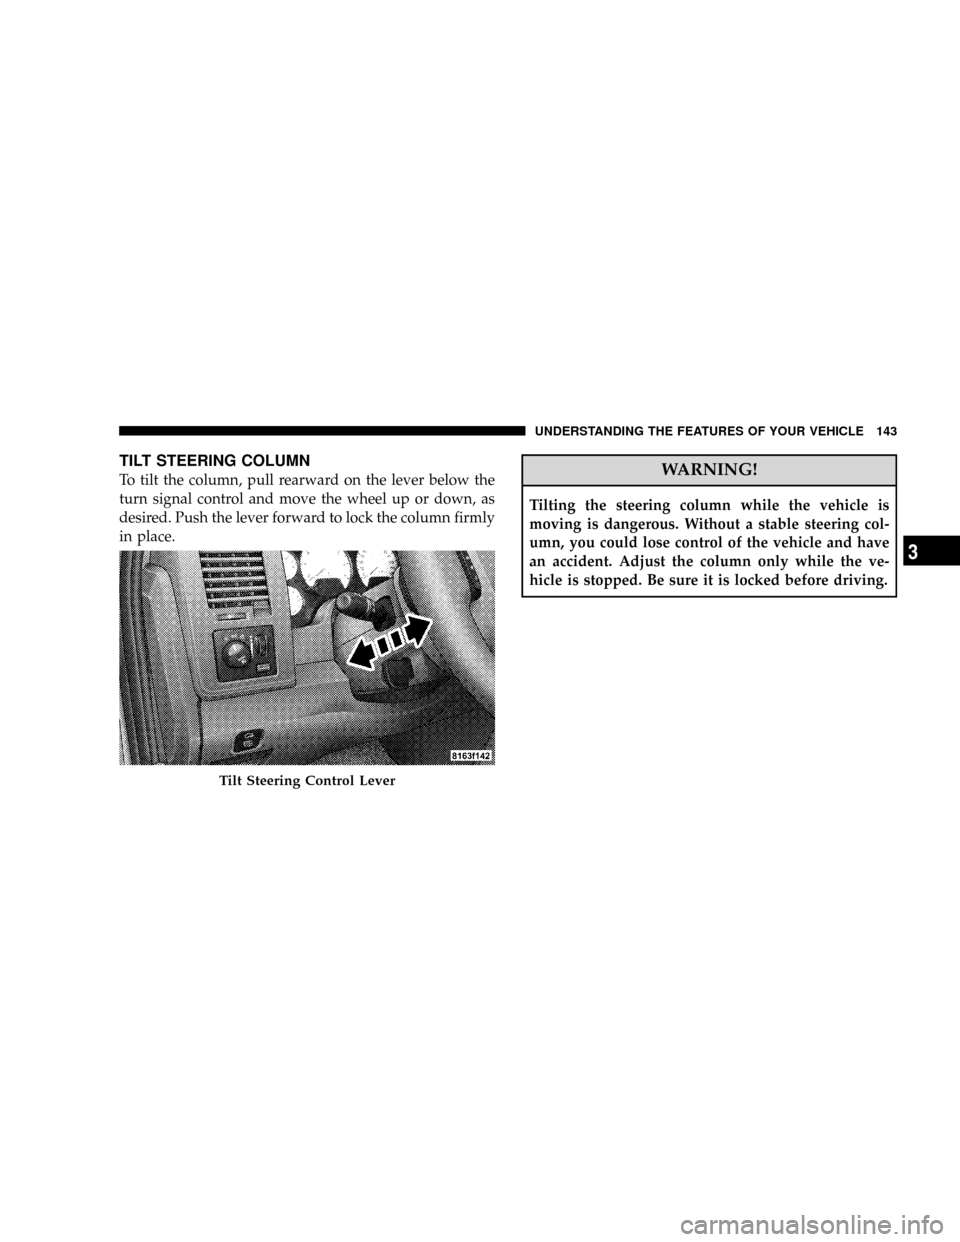
TILT STEERING COLUMN
To tilt the column, pull rearward on the lever below the
turn signal control and move the wheel up or down, as
desired. Push the lever forward to lock the column firmly
in place.WARNING!
Tilting the steering column while the vehicle is
moving is dangerous. Without a stable steering col-
umn, you could lose control of the vehicle and have
an accident. Adjust the column only while the ve-
hicle is stopped. Be sure it is locked before driving.
Tilt Steering Control Lever
UNDERSTANDING THE FEATURES OF YOUR VEHICLE 143
3
Page 160 of 554
WARNING!
Vehicle exhaust contains carbon monoxide, a danger-
ous gas. Do not run your vehicle in the garage while
training the transceiver. Exhaust gas can cause seri-
ous injury or death.
Programming HomeLinkT
Before You Begin
The Compass Mini-Trip Computer (CMTC) illuminates
the HomeLinktsymbol (a house with an arrow inside it)
along with 1, 2 or 3 indicators under it, when a
HomeLinktbutton is pressed.
Pay attention to the indicator(s), as they will flash at
different rates, or remain solid during training.If you have not trained any of the HomeLinktbuttons,
erase all channels before you begin training.
To do this, press and hold the two outside buttons for 20
seconds. Release the buttons when the indicators start to
flash.
It is recommended that anew batterybe placed in the
hand-held transmitter of the device being programmed
to HomeLinkt, for more efficient training and accurate
transmission of the radio-frequency signal.
Your vehicle should be parked outside of the garage
while training.
1. Turn the ignition switch to the ON/RUN position.
2. Place the hand-held transmitter 1 to 3 inches (3 to 8
cm) from the HomeLinktbuttons, while keeping the
HomeLinktdisplay in view.
158 UNDERSTANDING THE FEATURES OF YOUR VEHICLE
Page 163 of 554
7. Return to the vehicle and press the programmed
HomeLinktbutton twice (holding the button for 2 sec-
onds each time). If the device is plugged in and activates,
programming is complete.
If the device does not activate, press the button a third
time (for 2 seconds) to complete the training.
If you are have any problems, or require assistance,
please call toll-free 1±800±355±3515 or, on the Internet at
www.HomeLink.com for information or assistance.
To program the remaining two HomeLinktbuttons,
repeat each step for each remaining button. DO NOT
erase the channels.
Gate Operator/Canadian Programming
Canadian radio-frequency laws require transmitter sig-
nals to ªtime-outº (or quit) after several seconds of
transmission ± which may not be long enough for
HomeLinktto pick up the signal during programming.Similar to this Canadian law, some U.S. gate operators are
designed to ªtime-outº in the same manner.
It may be helpful to unplug the device during the cycling
process, to prevent possible overheating of the garage
door or gate motor.
If you are having difficulties programming a garage door
opener or a gate operator, replace ªProgramming
HomeLink,º Step 3, with the following:
3. Continue to press and hold the HomeLinktbutton,
while you press and release - every two seconds
(ªcycleº), your hand-held transmitter until HomeLinkt
has successfully accepted the frequency signal. The
indicator(s) will change from a slow flash, to a rapid
flash when trained.
If you unplugged the device for training, plug it back in
at this time.
UNDERSTANDING THE FEATURES OF YOUR VEHICLE 161
3
Page 198 of 554
INSTRUMENT CLUSTER DESCRIPTION
1. Check Gauges ± Premium Cluster Only
This light illuminates when the Voltmeter, Engine
Oil Pressure or Engine Coolant Temperature
gauges indicate a reading either too high or too low.
Examine the gauges carefully, and follow the instructions
contained below for each indicated problem.
NOTE:When the ignition switch is turned to OFF, the
Fuel Gauge, Voltmeter, Oil Pressure and Engine Coolant
Temperature gauges may not show accurate readings.
When the engine is not running, turn the ignition switch
to ON to obtain accurate readings.
2. Voltmeter
When the engine is running, the gauge indicates
the electrical system voltage. The pointer should
stay within the normal range if the battery is charged. Ifthe pointer moves to either extreme left or right and
remains there during normal driving, the electrical sys-
tem should be serviced.
NOTE:If the gauge pointer moves to either extreme of
the gauge, the ªCheck Gaugesº indicator will illuminate
and a single chime will sound. The ªCheck Gaugesº
indicator may also illuminate prior to the voltage gauge
moving out of normal range. In either case, see you local
authorized Dealer for system service.
3. Turn Signal Indicators
Lights in instrument cluster flash when outside turn
signals are operating.
4. Tachometer
The Tachometer indicates engine speed in revolutions per
minute.
196 UNDERSTANDING YOUR INSTRUMENT PANEL