warning lights DODGE SPRINTER 2005 1.G Owners Manual
[x] Cancel search | Manufacturer: DODGE, Model Year: 2005, Model line: SPRINTER, Model: DODGE SPRINTER 2005 1.GPages: 288, PDF Size: 27.89 MB
Page 44 of 288

44 THINGS TO KNOW BEFORE STARTING YOUR VEHICLESeat Belt Warning Lamp and Airbag MalfunctionWhen the key is in position 2 in the ignition lock, the
warning lamp < lights up for about 6 seconds; this
takes place whether or not the driver’s seat belt is
fastened.
The warning lamp < must go out after about
6 seconds if the driver’s safety belt is fastened, or the
vehicle is standing still and the driver’s door is opened.
If after about 6 seconds, the driver’s safety belt is not
fastened with all doors closed,
– and the vehicle speed does not exceed 15 mph (25 km/h), the warning lamp < remains on for as
long as the driver ’s safety belt is not fastened.
– and the vehicle speed exceeds 15 mph (25 km/h), the warning lamp < flashes and a warning
signal sounds, which is repeated increasingly
frequently until the driver ’s safety belt is fastened,
or for a maximum of 153 seconds from the time the
vehicle speed exceeded 15 mph (25 km/h) if the
driver ’s safety belt remains unfastened. If the driver’s safety belt remains unfastened after 153
seconds, the warning lamp
< stops flashing and the
warning signal stops sounding. The warning lamp
< lights up for as long as the driver’s safety belt is
not fastened.
If the warning lamp < flashes after the first 6
seconds and no warning signal is audible, the
malfunction indicator lamp 1 is defective.
Have the malfunction indicator lamp 1checked and
repaired by an authorized Sprinter Dealer as soon as
possible.
Malfunction indicator lamp 1, refer to “SRS
Malfunction Indicator Lamp”.
Page 49 of 288
THINGS TO KNOW BEFORE STARTING YOUR VEHICLE 49
2
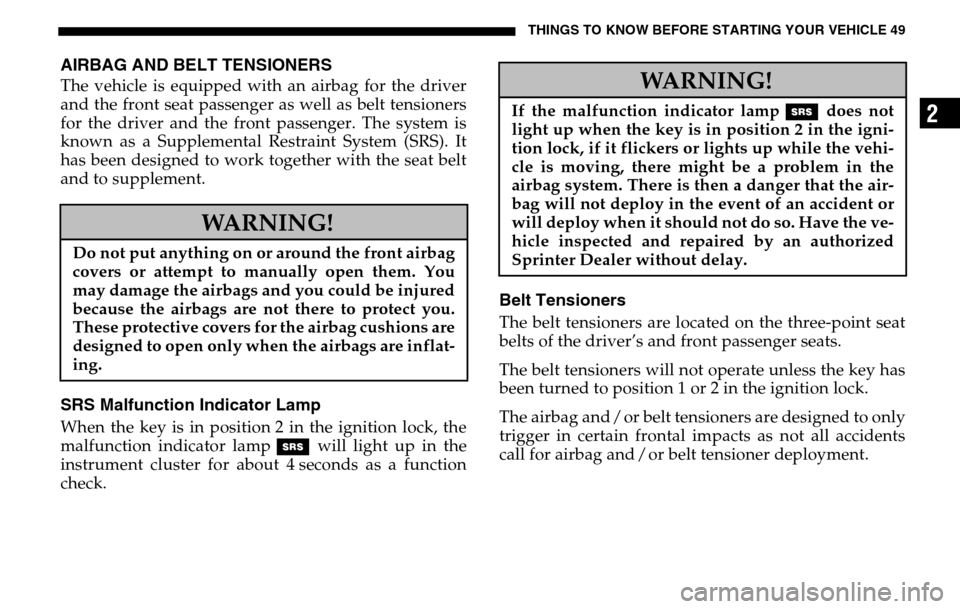
AIRBAG AND BELT TENSIONERSThe vehicle is equipped with an airbag for the driver
and the front seat passenger as well as belt tensioners
for the driver and the front passenger. The system is
known as a Supplemental Restraint System (SRS). It
has been designed to work together with the seat belt
and to supplement.SRS Malfunction Indicator LampWhen the key is in position 2 in the ignition lock, the
malfunction indicator lamp 1 will light up in the
instrument cluster for about 4 seconds as a function
check.
Belt TensionersThe belt tensioners are located on the three-point seat
belts of the driver’s and front passenger seats.
The belt tensioners will not operate unless the key has
been turned to position 1 or 2 in the ignition lock.
The airbag and / or belt tensioners are designed to only
trigger in certain frontal impacts as not all accidents
call for airbag and / or belt tensioner deployment.
WARNING!
Do not put anything on or around the front airbag
covers or attempt to manually open them. You
may damage the airbags and you could be injured
because the airbags are not there to protect you.
These protective covers for the airbag cushions are
designed to open only when the airbags are inflat-
ing.
WARNING!
If the malfunction indicator lamp 1 does not
light up when the key is in position 2 in the igni-
tion lock, if it flickers or lights up while the vehi-
cle is moving, there might be a problem in the
airbag system. There is then a danger that the air-
bag will not deploy in the event of an accident or
will deploy when it should not do so. Have the ve-
hicle inspected and repaired by an authorized
Sprinter Dealer without delay.
Page 73 of 288
UNDERSTANDING THE FEATURES OF YOUR VEHICLE 73
3
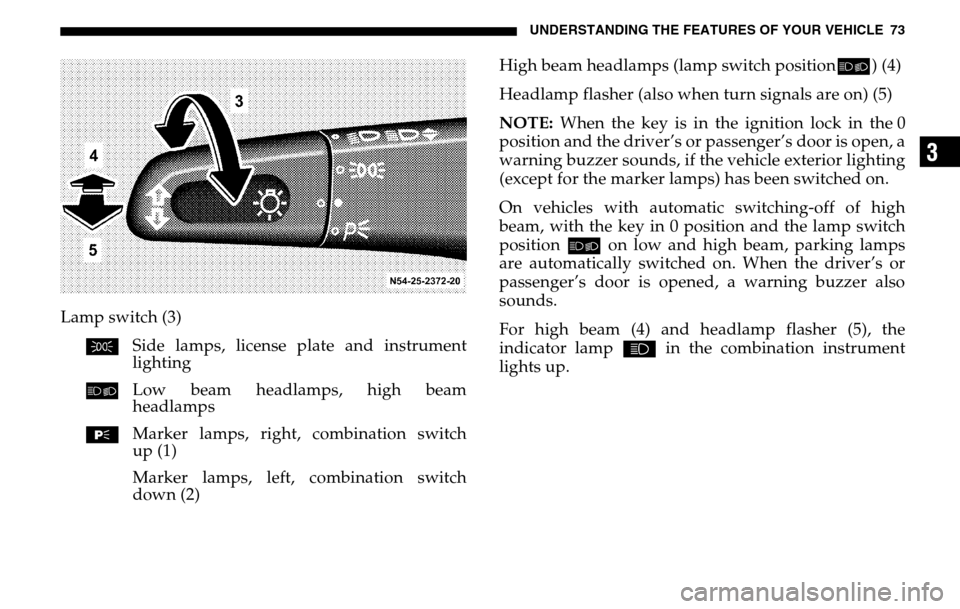
Lamp switch (3) C Side lamps, license plate and instrument
lighting
õ Low beam headlamps, high beam
headlamps
ƒ Marker lamps, right, combination switch
up (1)
Marker lamps, left, combination switch
down (2) High beam headlamps (lamp switch position
õ) (4)
Headlamp flasher (also when turn signals are on) (5)
NOTE: When the key is in the ignition lock in the 0
position and the driver’s or passenger’s door is open, a
warning buzzer sounds, if the vehicle exterior lighting
(except for the marker lamps) has been switched on.
On vehicles with automatic switching-off of high
beam, with the key in 0 position and the lamp switch
position õ on low and high beam, parking lamps
are automatically switched on. When the driver’s or
passenger’s door is opened, a warning buzzer also
sounds.
For high beam (4) and headlamp flasher (5), the
indicator lamp A in the combination instrument
lights up.
Page 107 of 288
UNDERSTANDING YOUR INSTRUMENT PANEL 107
4
If a large quantity of coolant is being lost, or if smaller
amounts are lost at regular intervals, have the engine
cooling system examined by an authorized Sprinter
Dealer.
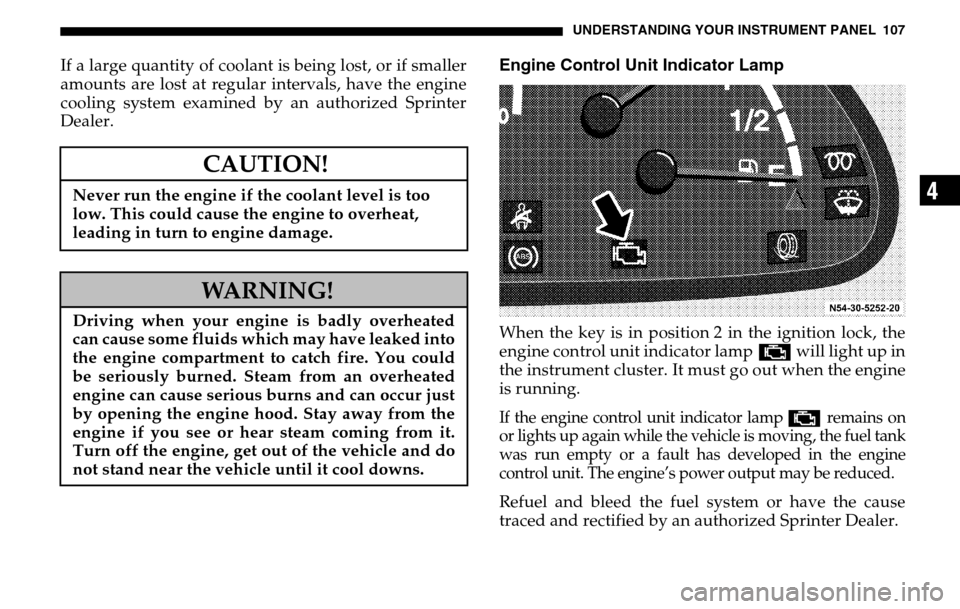
Engine Control Unit Indicator LampWhen the key is in position 2 in the ignition lock, the
engine control unit indicator lamp ± will light up in
the instrument cluster. It must go out when the engine
is running.If the engine control unit indicator lamp
±
remains on
or lights up again while the vehicle is moving, the fuel tank
was run empty or a fault has developed in the engine
control unit. The engine’s power output may be reduced.
Refuel and bleed the fuel system or have the cause
traced and rectified by an authorized Sprinter Dealer.
CAUTION!
Never run the engine if the coolant level is too
low. This could cause the engine to overheat,
leading in turn to engine damage.
WARNING!
Driving when your engine is badly overheated
can cause some fluids which may have leaked into
the engine compartment to catch fire. You could
be seriously burned. Steam from an overheated
engine can cause serious burns and can occur just
by opening the engine hood. Stay away from the
engine if you see or hear steam coming from it.
Turn off the engine, get out of the vehicle and do
not stand near the vehicle until it cool downs.
Page 112 of 288
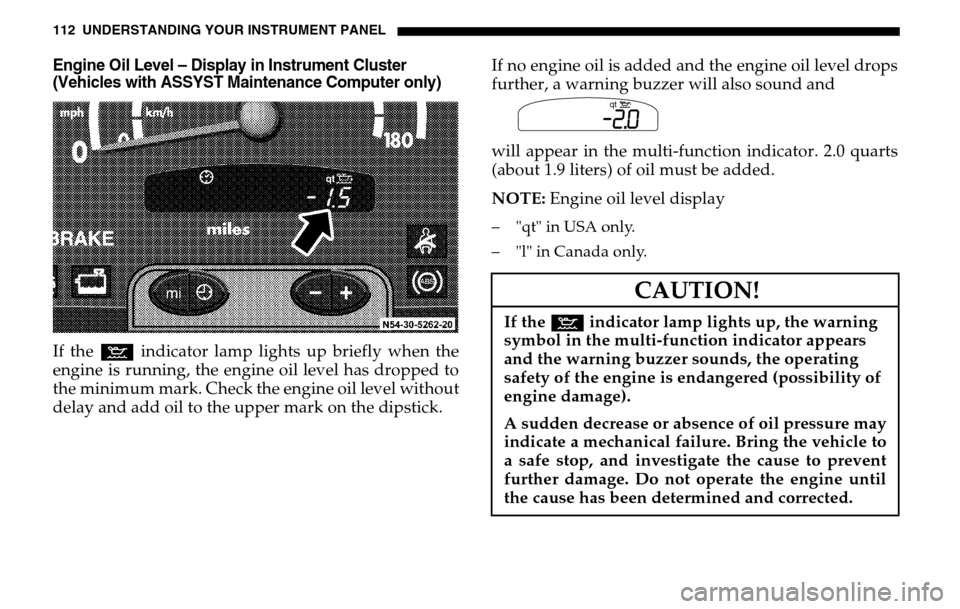
112 UNDERSTANDING YOUR INSTRUMENT PANELEngine Oil Level – Display in Instrument Cluster
(Vehicles with ASSYST Maintenance Computer only)If the : indicator lamp lights up briefly when the
engine is running, the engine oil level has dropped to
the minimum mark. Check the engine oil level without
delay and add oil to the upper mark on the dipstick. If no engine oil is added and the engine oil level drops
further, a warning buzzer will also sound and
will appear in the multi-function indicator. 2.0 quarts
(about 1.9 liters) of oil must be added.
NOTE:
Engine oil level display
– "qt" in USA only.
– "l" in Canada only.
CAUTION!
If the : indicator lamp lights up, the warning
symbol in the multi-function indicator appears
and the warning buzzer sounds, the operating
safety of the engine is endangered (possibility of
engine damage).
A sudden decrease or absence of oil pressure may
indicate a mechanical failure. Bring the vehicle to
a safe stop, and investigate the cause to prevent
further damage. Do not operate the engine until
the cause has been determined and corrected.
Symb
N00.00-2384-00
qt
Page 115 of 288
UNDERSTANDING YOUR INSTRUMENT PANEL 115
4
ENGINE OIL LEVEL INDICATOR IN INSTRUMENT
CLUSTER
(VEHICLES WITHOUT ASSYST MAINTENANCE
COMPUTER)If the : indicator lamp lights up when the engine is
running, the engine oil level has dropped to the
minimum mark. Check the engine oil level without
delay and add engine oil up to the upper mark on the
dipstick.
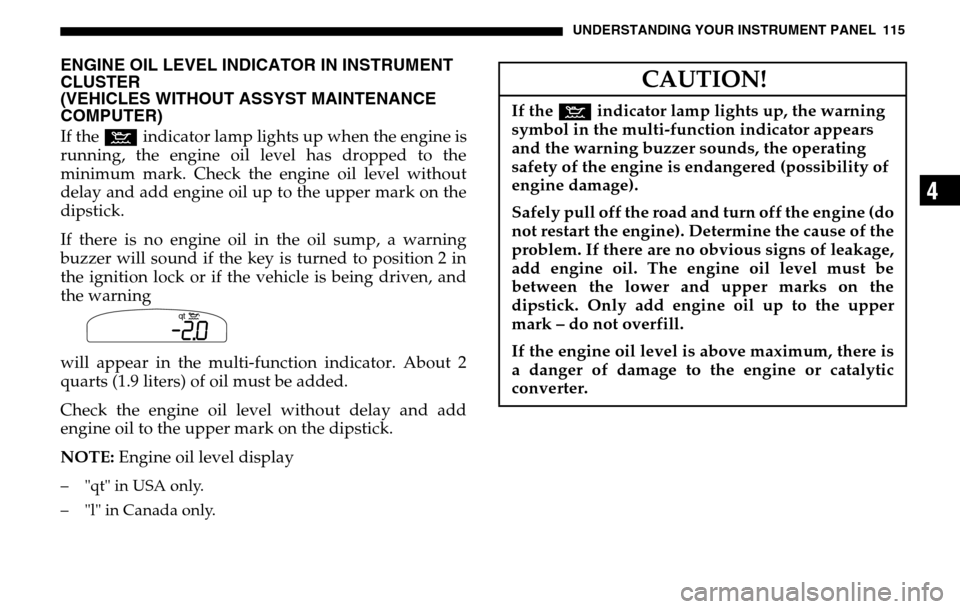
If there is no engine oil in the oil sump, a warning
buzzer will sound if the key is turned to position 2 in
the ignition lock or if the vehicle is being driven, and
the warning
will appear in the multi-function indicator. About 2
quarts (1.9 liters) of oil must be added.
Check the engine oil level without delay and add
engine oil to the upper mark on the dipstick.
NOTE: Engine oil level display– "qt" in USA only.
– "l" in Canada only.
Symb
N00.00-2384-00
qt
CAUTION!
If the : indicator lamp lights up, the warning
symbol in the multi-function indicator appears
and the warning buzzer sounds, the operating
safety of the engine is endangered (possibility of
engine damage).
Safely pull off the road and turn off the engine (do
not restart the engine). Determine the cause of the
problem. If there are no obvious signs of leakage,
add engine oil. The engine oil level must be
between the lower and upper marks on the
dipstick. Only add engine oil up to the upper
mark – do not overfill.
If the engine oil level is above maximum, there is
a danger of damage to the engine or catalytic
converter.
Page 123 of 288
UNDERSTANDING YOUR INSTRUMENT PANEL 123
4
To switch on:
Press switch (1), the indicator lamp (2) in the switch
lights up.
To switch off:
Press switch (1) again, the indicator lamp (2) goes out.
NOTE : Run the air conditioning at least once a month
for about 10 minutes.
It is possible that the air conditioning will
automatically switch off at outside temperatures below
41 °F (+5 °C). Dehumidification is then also not
possible.
Condensation may emerge from the underside of the
vehicle.
The air conditioner only uses the refrigerant R-134a.
This refrigerant does not damage the earth’s ozone
layer.
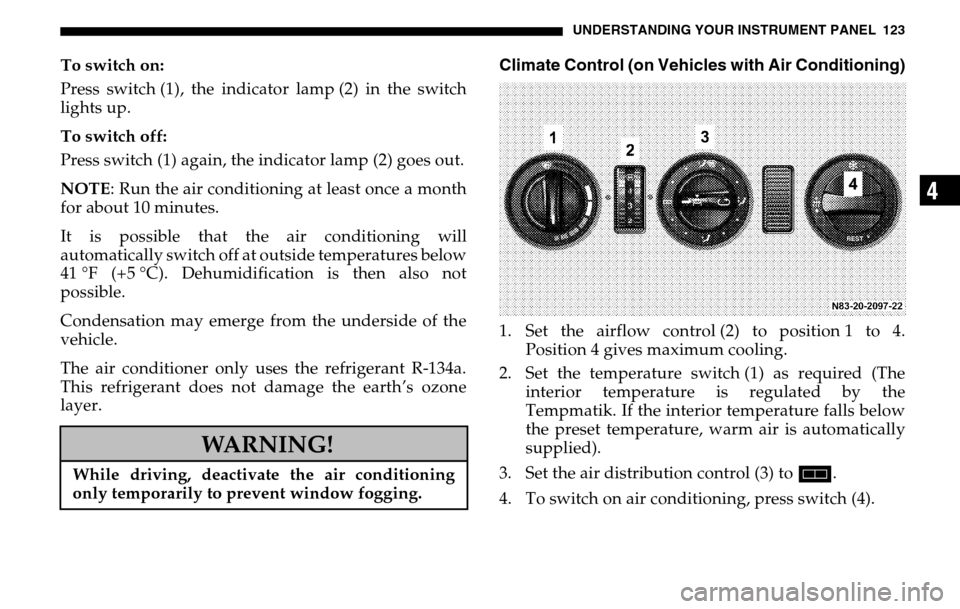
Climate Control (on Vehicles with Air Conditioning)1. Set the airflow control (2) to position 1 to 4. Position 4 gives maximum cooling.
2. Set the temperature switch (1) as required (The interior temperature is regulated by the
Tempmatik. If the interior temperature falls below
the preset temperature, warm air is automatically
supplied).
3. Set the air distribution control (3) to h.
4. To switch on air conditioning, press switch (4).
WARNING!
While driving, deactivate the air conditioning
only temporarily to prevent window fogging.
Page 142 of 288
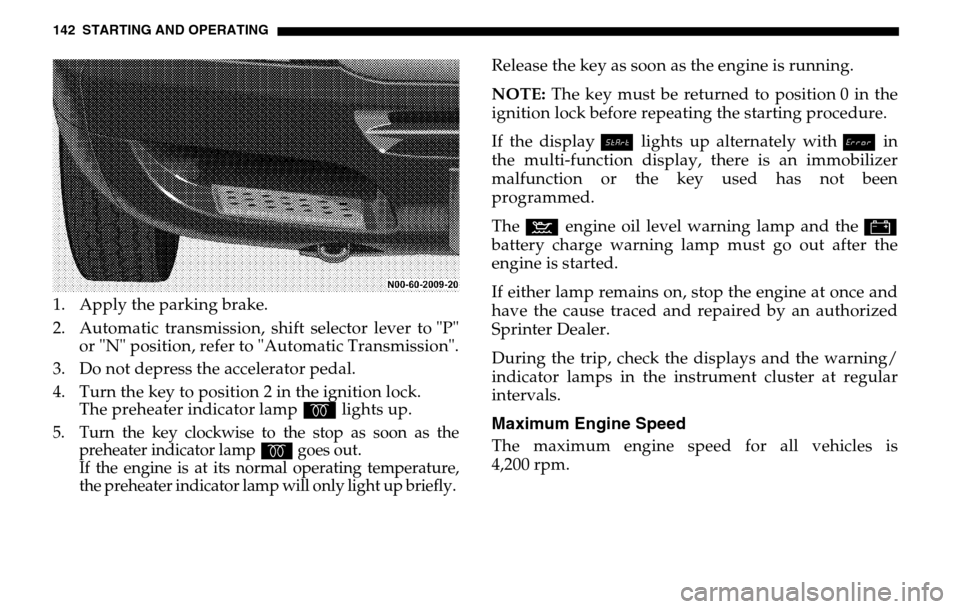
142 STARTING AND OPERATING1. Apply the parking brake.
2. Automatic transmission, shift selector lever to "P" or "N" position, refer to "Automatic Transmission".
3. Do not depress the accelerator pedal.
4. Turn the key to position 2 in the ignition lock. The preheater indicator lamp q lights up.5. Turn the key clockwise to the stop as soon as the
preheater indicator lamp
q
goes out.
If the engine is at its normal operating temperature,
the preheater indicator lamp will only light up briefly.
Release the key as soon as the engine is running.
NOTE: The key must be returned to position 0 in the
ignition lock before repeating the starting procedure.
If the display Á lights up alternately with î in
the multi-function display, there is an immobilizer
malfunction or the key used has not been
programmed.
The : engine oil level warning lamp and the #
battery charge warning lamp must go out after the
engine is started.
If either lamp remains on, stop the engine at once and
have the cause traced and repaired by an authorized
Sprinter Dealer.
During the trip, check the displays and the warning/
indicator lamps in the instrument cluster at regular
intervals.Maximum Engine SpeedThe maximum engine speed for all vehicles is
4,200 rpm.
Page 146 of 288

146 STARTING AND OPERATINGNOTE: After selecting any driving position from "N"
or "P", wait a moment to allow the gear to fully engage
before accelerating, especially when the engine is cold.Accelerator PositionPartial throttle, for early upshifting and normal
acceleration
Full throttle, for later upshifting and rapid acceleration
Kickdown, (depressing the accelerator beyond full
throttle) for downshifting to a lower gear and
maximum acceleration. Once the desired speed is
attained, ease up on the accelerator, the transmission
shifts up again.StoppingFor brief stops, such as at traffic lights, leave the
transmission in gear and hold vehicle with the service
brake.
For longer stops with the engine idling, shift into "N"
or "P" and hold the vehicle with the service brake.
When stopping the vehicle on an uphill grade, do not
hold it with the accelerator, use the brake. This avoids
unnecessary transmission heat build up.
ManeuveringTo maneuver in tight areas, such as when pulling into
a parking space, control the vehicle speed by gradually
releasing the brakes. Acce lerate gently and never
abruptly step on the accelerator.
To rock a vehicle out of soft ground (mud or snow),
alternately shift from forward to reverse, while
applying slight partial throttle.
WARNING!
Getting out of your vehicle with the gear selector le-
ver not fully engaged in position "P" is dangerous.
Also, when parked on an incline, position "P" alone
may not prevent your vehicle from moving, possibly
hitting people or objects.Always set the parking brake in addition to
shifting to position "P".
When parked on an incline, also turn front wheel
against curb.
Page 158 of 288
158 STARTING AND OPERATINGNOTE: If you find that the minimum mark on the
brake fluid reservoir is reached, have the brake system
checked for pad thickness and leaks.
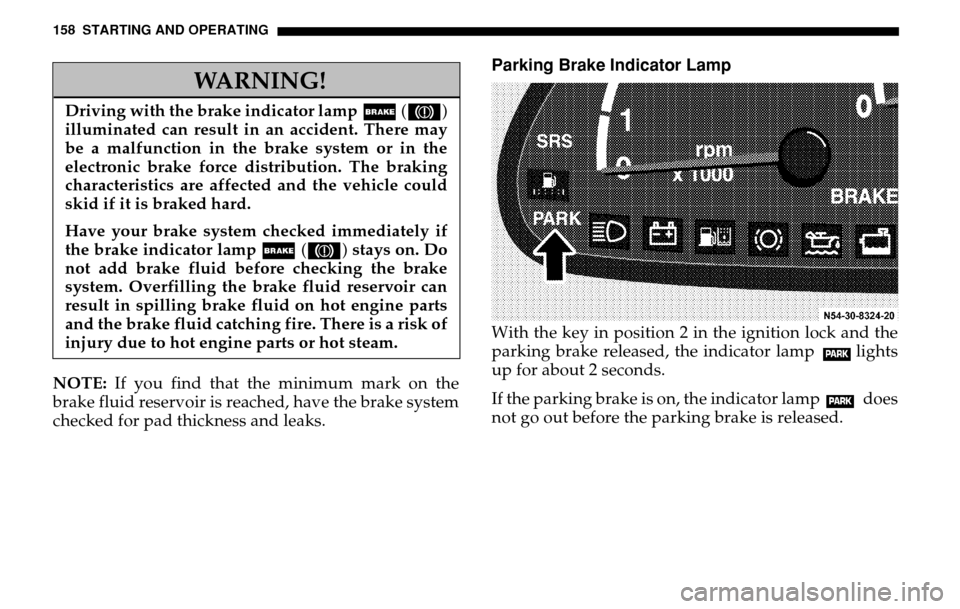
Parking Brake Indicator LampWith the key in position 2 in the ignition lock and the
parking brake released, th e indicator lamp lights
up for about 2 seconds.
If the parking brake is on, the indicator lamp does
not go out before the parking brake is released.
WARNING!
Driving with the brake indicator lamp ; (3 )
illuminated can result in an accident. There may
be a malfunction in the brake system or in the
electronic brake force distribution. The braking
characteristics are affected and the vehicle could
skid if it is braked hard.
Have your brake system checked immediately if
the brake indicator lamp ; (3 ) stays on. Do
not add brake fluid before checking the brake
system. Overfilling the brake fluid reservoir can
result in spilling brake fluid on hot engine parts
and the brake fluid catching fire. There is a risk of
injury due to hot engine parts or hot steam.