brake light DODGE SPRINTER 2008 2.G User Guide
[x] Cancel search | Manufacturer: DODGE, Model Year: 2008, Model line: SPRINTER, Model: DODGE SPRINTER 2008 2.GPages: 666, PDF Size: 14.11 MB
Page 312 of 666
310 OperationDriving tips
4
If possible, do not brake abruptly, but
rather engage the brake slightly at first
to permit the trailer to activate its brake.
Then increase the braking force.Warning
G
Take into consideration that when towing
a trailer, the handling characteristics are
different and less stable from those when
operating the vehicle without a trailer.
It is important to avoid sudden maneu-
vers. Sudden maneuvers may lead to loss
of control over the vehicle-trailer combi-
nation. This could cause an accident re-
sulting in property damage or injury to
you or others.
!
CAUTION
If the transmission hunts between
gears on inclines, manually shift to a
lower gear (select
"4", "3", "2"
or
"1"). A lower gear and reduction
of speed reduces the chance of the
engine overloading and / or over-
heating.
When going down a long hill, shift
into a lower gear and use the en-
gine’s braking effect. Avoid riding the
brakes, thus overheating the vehicle
and trailer brakes.
If the engine coolant rises to an ex-
tremely high temperature (coolant tem-
perature needle approaching the red
zone) when the air conditioner is on,
turn off the air conditioner. Engine cool-
ant heat can be additionally vented by
opening the windows, switching the cli-
mate control fan speed to high and set-
ting the temperature control to the
maximum hot position.
Extreme care must be exercised since
your vehicle with a trailer will require ad-
ditional passing distance ahead than
when driving without a trailer. Because
your vehicle and trailer is longer than
your vehicle alone, you will also need to
go much farther ahead of the passed ve-
hicle before you can return to your lane.
nf_BA.book Page 310 Friday, January 25, 2008 3:53 PM
Page 314 of 666
312 OperationDriving tips
4
You will find information about the
speed limit for your tires under “Tires
and wheels” in this section
(\2
page 383).
Check regularly, e.g. weekly or when re-
fueling:
\4
the vehicle lighting
\4
the condition of the tires
(\2
page 346) and the tire pressures
(
\2
page 361)
\4
the engine oil level (
\2
page 322)
\4
the brake fluid level (
\2
page 331)
\4
the fluid level in the windshield wash-
er system / headlamp cleaning sys-
tem reservoir (
\2
page 333)
\4
the contamination level of the rear
air-conditioning air cleaner
(\2
page 414)
Your vehicle is equipped with monolith-
ic-type catalytic converters, an impor-
tant element in conjunction with the
oxygen sensors to achieve substantial
control of the pollutants in the exhaust
emissions. Keep your vehicle in proper
operating condition by following our rec-
ommended maintenance instructions as
outlined in your Service Booklet.
Warning
G
Exceeding the permissible maximum
speed can cause tire damage, which
could lead to loss of control of the vehi-
cle.
As the driver, you must find out about the
maximum speed of the vehicle and the re-
sulting permissible maximum speed of
the tires (tire and tire pressure).
Never exceed the speed limit for your
tires under any circumstances
(\2page 383).
Regular checks
Catalytic converter (gasoline engine)
nf_BA.book Page 312 Friday, January 25, 2008 3:53 PM
Page 408 of 666
406 OperationWinter driving
4
Drive with particular care on icy roads.
Avoid sudden acceleration, steering
movements and braking.
If it seems likely that the vehicle is about
to enter a skid or cannot be stopped at a
low speed:\4
Move the selector lever to position N.
\4
Try to maintain control of the vehicle
using light corrective steering.
Road salt may adversely affect braking
efficiency. It may therefore be necessary
to apply the brakes more forcefully in or-
der to achieve the same braking force as
normal.
iW h e n t h e y h a v e b e e n r e m o v e d , s t o r e
wheels and tires in a cool, dry, and if
possible dark place. Protect the tires
from oil, grease, and gasoline /
diesel.
Driving in winterWarning
G
Downshifting to brake could cause the
drive wheels to lose grip on a slippery sur-
face due to the increased difference in
speed between the engine and the drive
wheels at this time.
Do not downshift for additional engine
braking on a slippery surface. Use the ser-
vice brake in accordance with road condi-
tions. Only downshift to a lower gear
when traveling at a low engine speed.
nf_BA.book Page 406 Friday, January 25, 2008 3:53 PM
Page 428 of 666
426 OperationCleaning and care of the vehicle
4
\1
Clean the vehicle, particularly the
lighting equipment, windows, exteri-
or mirrors, steps, entrances, grab
handles, wheels, tires, wheel hous-
ings and license plates. Observe the
notes in this section.
\1
Remove any trapped foreign objects,
e.g. stones.
Warning (Continued)
G
Risk of skiddingDirt and mud on the tires / road surface
reduce wheel grip. This is especially so if
the road surface is wet. The vehicle could
then start to skid.Risk of slippingDirt and mud on the steps and entrances
make the steps less safe. As a result you
could slip from the steps and injure yourself.For this reason, always clean your vehicle
carefully after driving off-road and on con-
struction sites before using public roads.
Continued
Warning (Continued)
G
If you use a high-pressure cleaner or auto-
matic car wash for this purpose, you must
follow the relevant safety instructions in
this section.
Warning
G
Dirty brake discs and brake pads / linings
can impair braking power (to the point of
total failure).You could thereby cause an accident.Check the brake system for operating
safety by testing the brakes before driving
the vehicle onto public roads.If braking power is impaired, stop the ve-
h i c l e a s s o o n a s i t i s s a f e t o d o s o a n d c o n -
sult an authorized Sprinter Dealer which
has the necessary specialist knowledge
and tools to carry out the work required.
Continued
nf_BA.book Page 426 Friday, January 25, 2008 3:53 PM
Page 433 of 666
431 Practical hints
What to do if ...
5
Problem
Possible cause / result
Suggested solutions
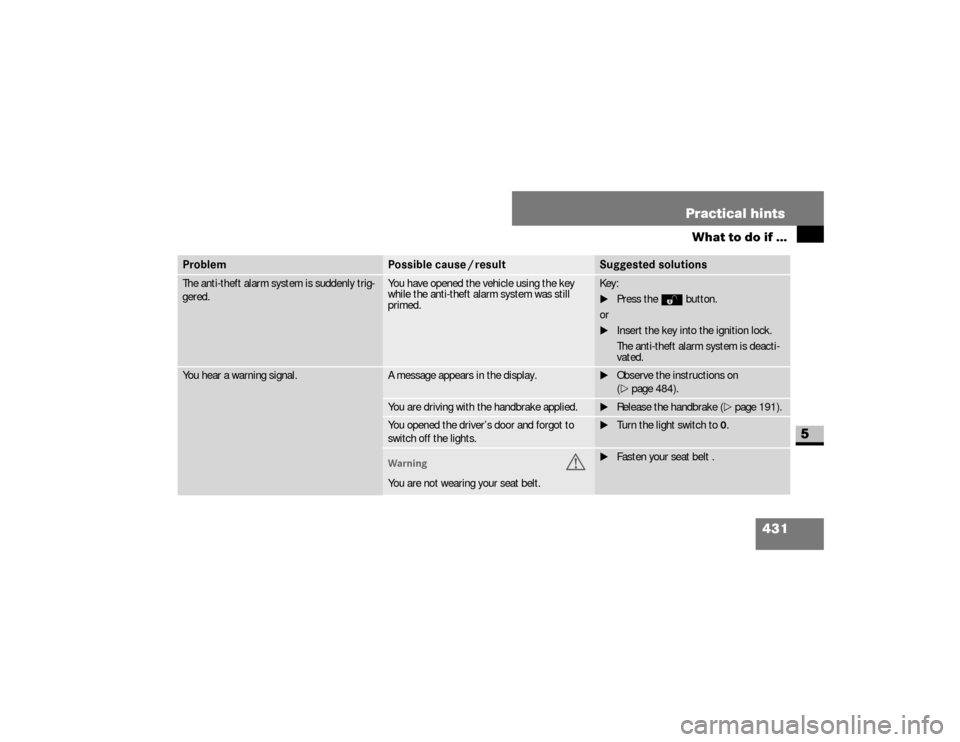
The anti-theft alarm system is suddenly trig-
gered.
You have opened the vehicle using the key
while the anti-theft alarm system was still
primed.
Key:
\1Press theΠbutton.
or
\1Insert the key into the ignition lock.
The anti-theft alarm system is deacti-
vated.
You hear a warning signal.
A message appears in the display.
\1Observe the instructions on
(\2page 484).
You are driving with the handbrake applied.
\1Release the handbrake (\2page 191).
You opened the driver’s door and forgot to
switch off the lights.
\1Turn the light switch to0.
Warning
G
You are not wearing your seat belt.
\1Fasten your seat belt .
nf_BA.book Page 431 Friday, January 25, 2008 3:53 PM
Page 472 of 666
470 Practical hintsWhat to do if ...
5
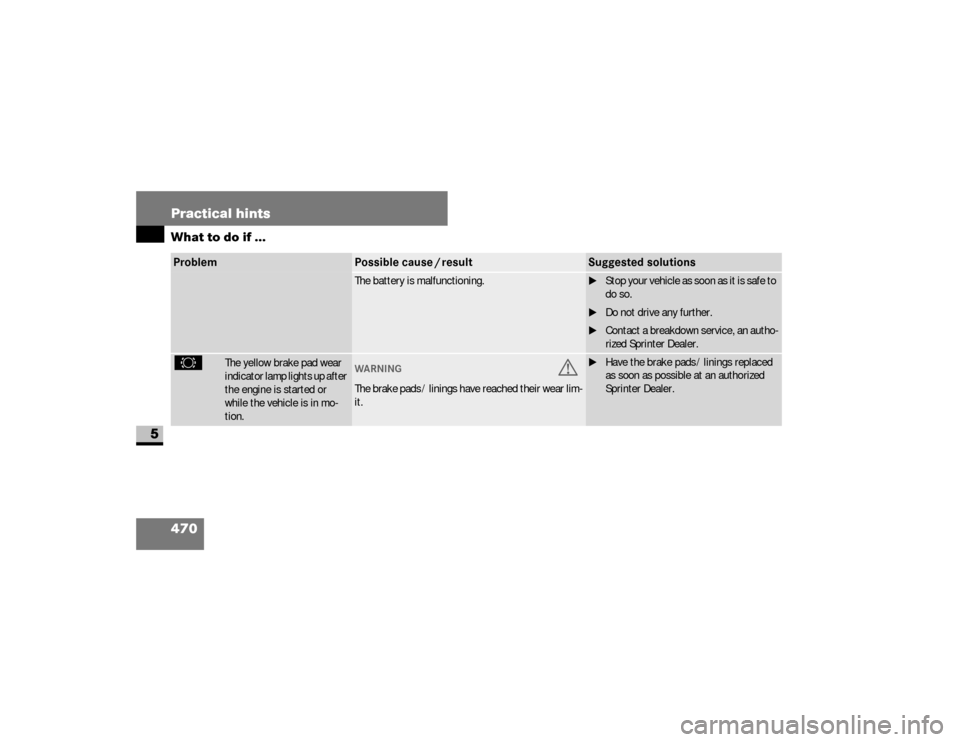
The battery is malfunctioning.
\1Stop your vehicle as soon as it is safe to
do so.
\1Do not drive any further.
\1Contact a breakdown service, an autho-
rized Sprinter Dealer.
2
The yellow brake pad wear
indicator lamp lights up after
the engine is started or
while the vehicle is in mo-
tion.
WA RNING
G
The brake pads / linings have reached their wear lim-
it.
\1Have the brake pads / linings replaced
as soon as possible at an authorized
Sprinter Dealer.
Problem
Possible cause / result
Suggested solutions
nf_BA.book Page 470 Friday, January 25, 2008 3:53 PM
Page 527 of 666
525 Practical hints
Changing bulbs
5
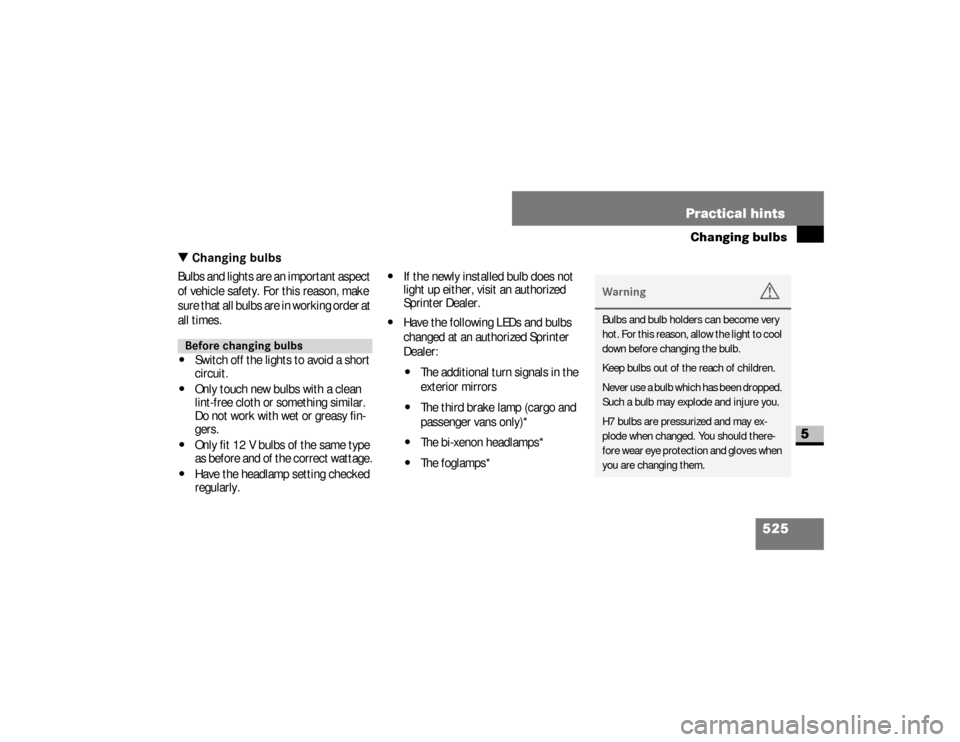
\3 Changing bulbsBulbs and lights are an important aspect
of vehicle safety. For this reason, make
sure that all bulbs are in working order at
all times.\4
Switch off the lights to avoid a short
circuit.
\4
Only touch new bulbs with a clean
lint-free cloth or something similar.
Do not work with wet or greasy fin-
gers.
\4
Only fit 12 V bulbs of the same type
as before and of the correct wattage.
\4
Have the headlamp setting checked
regularly.
\4
If the newly installed bulb does not
light up either, visit an authorized
Sprinter Dealer.
\4
Have the following LEDs and bulbs
changed at an authorized Sprinter
Dealer:\4
The additional turn signals in the
exterior mirrors
\4
The third brake lamp (cargo and
passenger vans only)*
\4
The bi-xenon headlamps*
\4
The foglamps*
Before changing bulbs
Warning
G
Bulbs and bulb holders can become very
hot. For this reason, allow the light to cool
down before changing the bulb.
Keep bulbs out of the reach of children.
Never use a bulb which has been dropped.
Such a bulb may explode and injure you.
H7 bulbs are pressurized and may ex-
plode when changed. You should there-
fore wear eye protection and gloves when
you are changing them.
nf_BA.book Page 525 Friday, January 25, 2008 3:53 PM
Page 533 of 666
531 Practical hints
Changing bulbs
5
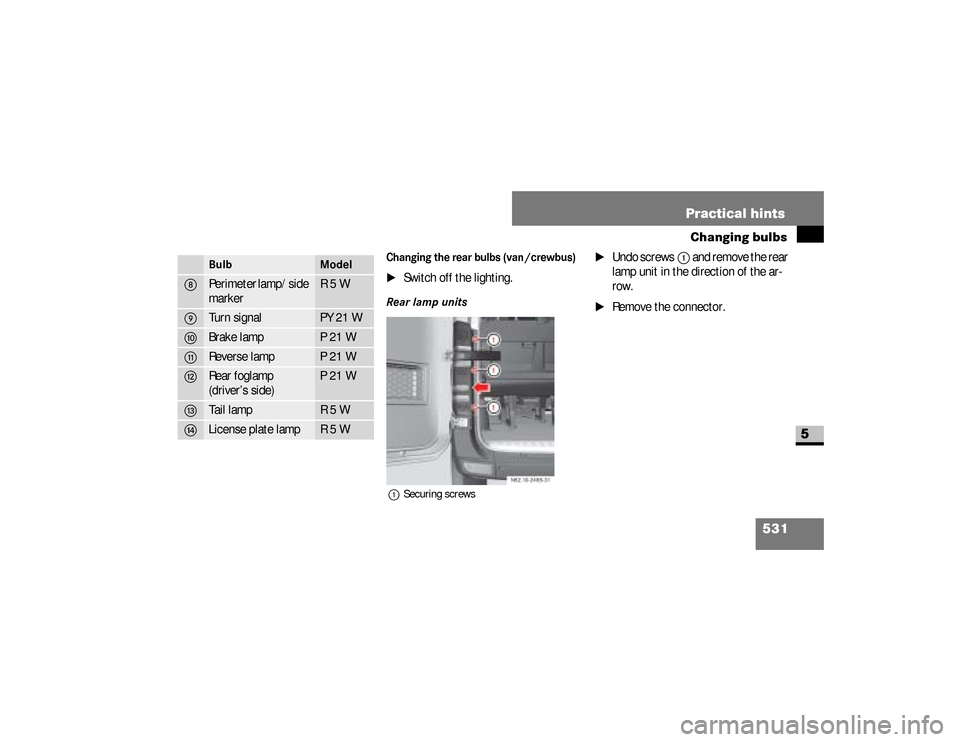
Changing the rear bulbs (van /crewbus)\1
Switch off the lighting.
Rear lamp units1Securing screws
\1
Undo screws
1
and remove the rear
lamp unit in the direction of the ar-
row.
\1
Remove the connector.
Bulb
Model
8
Perimeter lamp/side
marker
R5W
9
Turn signal
PY 21 W
a
Brake lamp
P21W
b
Reverse lamp
P21W
c
Rear foglamp
(driver’s side)
P 21 W
d
Tail lamp
R5W
e
License plate lamp
R5W
nf_BA.book Page 531 Friday, January 25, 2008 3:53 PM
Page 535 of 666
533 Practical hints
Changing bulbs
5
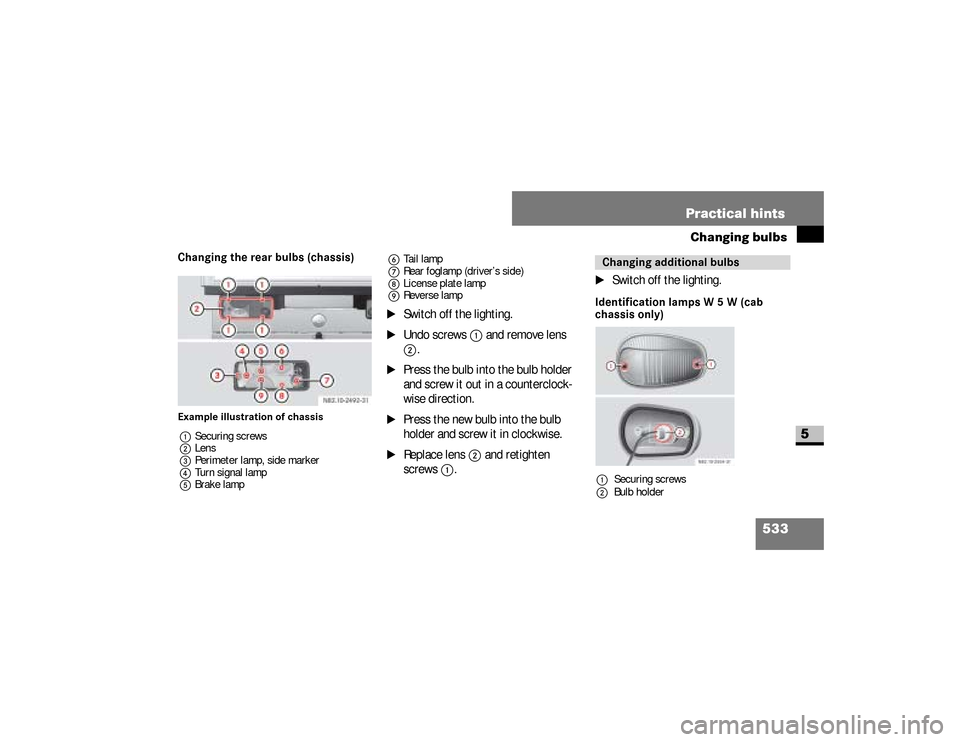
Changing the rear bulbs (chassis)Example illustration of chassis
1Securing screws
2Lens
3Perimeter lamp, side marker
4Turn signal lamp
5Brake lamp6Tail lamp
7Rear foglamp (driver’s side)
8License plate lamp
9Reverse lamp
\1
Switch off the lighting.
\1
Undo screws
1
and remove lens
2
.
\1
Press the bulb into the bulb holder
and screw it out in a counterclock-
wise direction.
\1
Press the new bulb into the bulb
holder and screw it in clockwise.
\1
Replace lens
2
and retighten
screws
1
.
\1
Switch off the lighting.
Identification lamps W 5 W (cab
chassis only) Changing additional bulbs1Securing screws
2Bulb holder
nf_BA.book Page 533 Friday, January 25, 2008 3:53 PM
Page 544 of 666
542 Practical hintsFuel system
5
\3 Fuel systemOn vehicles with a diesel engine, it is
necessary to drain the fuel filter if
the
/
indicator lamp lights up.
To this end, have the fuel filter with wa-
ter separator drained at an authorized
Sprinter Dealer which has the necessary
specialist knowledge and tools to carry
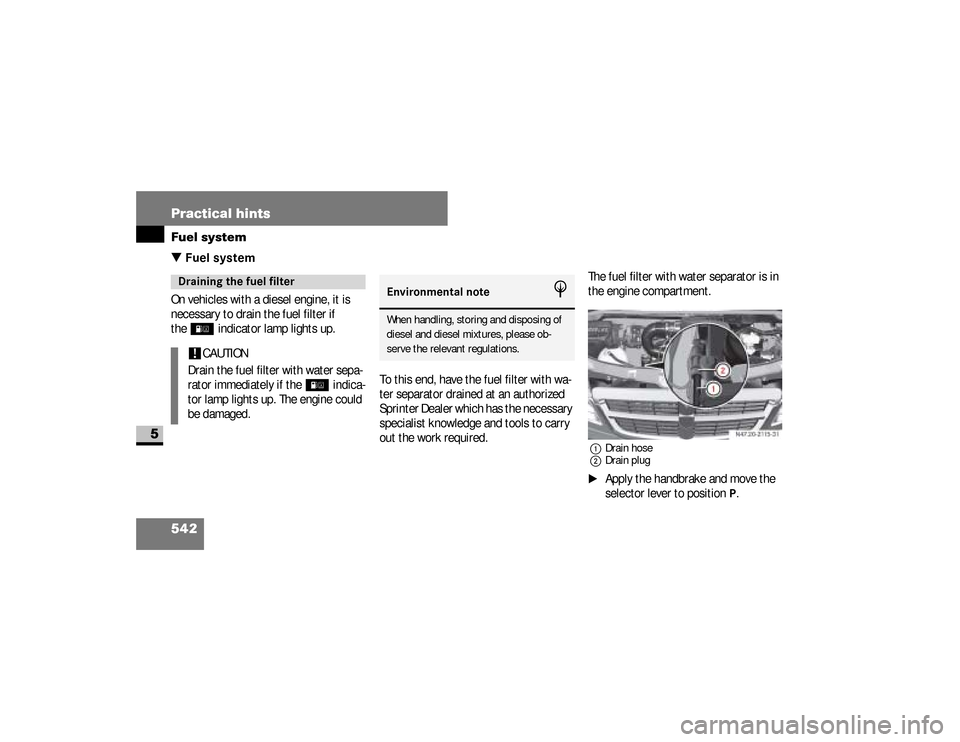
out the work required.The fuel filter with water separator is in
the engine compartment.
1Drain hose
2Drain plug\1
Apply the handbrake and move the
selector lever to position
P.
Draining the fuel filter!
CAUTION
Drain the fuel filter with water sepa-
rator immediately if the
/
indica-
tor lamp lights up. The engine could
be damaged.
Environmental note
H
When handling, storing and disposing of
diesel and diesel mixtures, please ob-
serve the relevant regulations.
nf_BA.book Page 542 Friday, January 25, 2008 3:53 PM