wheel DODGE STRATUS COUPE 2004 2.G User Guide
[x] Cancel search | Manufacturer: DODGE, Model Year: 2004, Model line: STRATUS COUPE, Model: DODGE STRATUS COUPE 2004 2.GPages: 388, PDF Size: 2.28 MB
Page 101 of 388

WARNING!
²Any maintenance performed on or near the com-
ponents of the SRS should be performed only by
an authorized dealer. Do not permit anyone else to
do service, inspection, maintenance or repair on
any SRS components or wiring. Similarly, no part
of the SRS should ever be handled, removed or
disposed of by anyone except at an authorized
dealer.
Improper work on the SRS components or wiring
could result in an accidental air bag deployment
or could make the SRS inoperative. Either of these
situation could result in serious injury.
²Do not modify your steering wheel or any other SRS
components or related vehicle part. For example,
replacement of the steering wheel, or modifications
to the front bumper or body structure can negatively
affect SRS performance and may lead to possible
injury.
²If your vehicle has received any front-end dam-
age, you should have the SRS inspected by an
authorized dealer to make sure it is in proper
working order.
WARNING!
²On vehicles with side air bags, do not modify
your front seats, center pillar or center console.
Such modifications can adversely affect SRS per-
formance and may lead to possible injury.
Also, if you discover any tear or open seam in the
seat fabric near the side air bag, have the seat
inspected by an authorized dealer.
²On vehicles with side air bags, if your vehicle has
received any damage on either side, you should
have the SRS inspected by an authorized dealer to
make sure it is in proper working order.
NOTE:
²
When you transfer ownership of the vehicle to another
person, we urge you to alert the new owner that it is
equipped with the SRS and refer that owner to the
applicable sections in this owner 's manual.
SEATS, SEAT BELTS, CHILD RESTRAINTS AND AIR BAGS 101
3
Page 117 of 388
![DODGE STRATUS COUPE 2004 2.G User Guide driving, take your vehicle to your authorized dealer and
have the system checked.
[See ªSupplemental Restraint System (SRS)º on page
116.]
Brake warning light
This light illuminates when the ignitio DODGE STRATUS COUPE 2004 2.G User Guide driving, take your vehicle to your authorized dealer and
have the system checked.
[See ªSupplemental Restraint System (SRS)º on page
116.]
Brake warning light
This light illuminates when the ignitio](/img/12/5681/w960_5681-116.png)
driving, take your vehicle to your authorized dealer and
have the system checked.
[See ªSupplemental Restraint System (SRS)º on page
116.]
Brake warning light
This light illuminates when the ignition key
is turned to the ªONº position (engine off).
When the engine is started, the light should go off. But
when the parking brake is applied or the brake fluid falls
below the prescribed level, the light illuminates.
Before driving your vehicle, release the parking brake
fully and make certain that the brake warning light has
gone out.
CAUTION!
If the brake warning light does not go on when you
pull the parking brake lever, or if it does not go out
when you release the lever, contact an authorized
dealer immediately.
If the brake warning light illuminates while driving, it
could mean braking performance deterioration. Park
your vehicle in a safe place using the following proce-
dures:
1. If, when pressing the brake pedal, braking is poor,
press your foot harder against the brake pedal.
2. Should the braking deteriorate, use engine braking by
shifting the transaxle into a lower gear (Manual transaxle
or Automatic transaxle autostick) or into the ``3'' (THIRD)
or the ``2'' (SECOND) or the ``L'' (LOW) position (Auto-
matic transaxle) to reduce the speed and slowly pull the
parking brake lever, while applying pressure against the
brake pedal.
Depress the brake pedal to turn on the stop light (brake
light) to alert the vehicles behind you.
CAUTION!
Suddenly applying the parking brake is dangerous,
the wheels may lock.
INSTRUMENTS AND CONTROLS 117
4
Page 123 of 388

There may be occasions when the lever does not return
after cornering. This typically occurs when the steering
wheel is turned only slightly. In this case, return the lever
by hand.
The instrument cluster indicator will flash to indicate
proper operation of the front and rear turn signal lights.
If the indicator light flashes faster than usual, check for a
malfunctioning turn signal light bulb or faulty turn signal
system.
If the indicator fails to light when the lever is moved,
check for a faulty fuse or a burned out indicator bulb.
NOTE: Replace malfunctioning bulbs and fuses
promptly.
FOG LIGHT SWITCH (IF SO EQUIPPED)
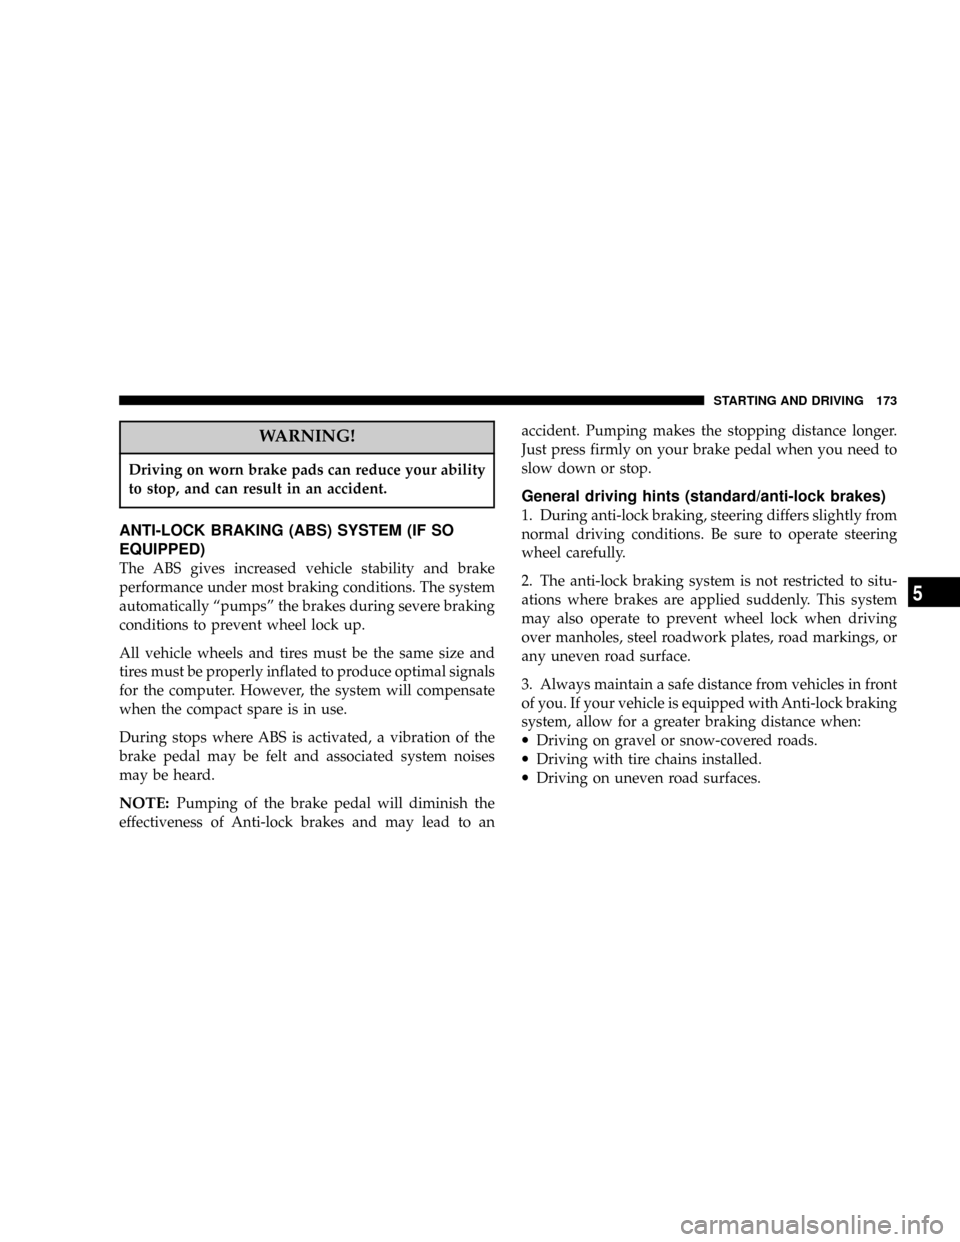
The fog lights illuminate only when the headlights are
on. Press the switch to illuminate the fog lights and press
the switch again to turn the lights off.
The indicator light in the instrument cluster will illumi-
nate while the fog lights are on.
E18A0550
INSTRUMENTS AND CONTROLS 123
4
Page 132 of 388

REAR PERSONAL LIGHTS
ON - The light illuminates
OFF - The light illuminates when a door is opened and
goes out when it is closed.
HORN SWITCH
Pressing on or around themark on the steering wheel,
causes the horn to honk.
GARAGE DOOR OPENER (IF SO EQUIPPED)
The HomeLinkyUniversal Transceiver replaces up to
three remote controls that operate devices such as garage
door openers, motorized gates, or home lighting. It
triggers these devices at the push of a button, located on
your Electrochromic inside rearview mirror (if so
E19A1270E23A0020T
132 INSTRUMENTS AND CONTROLS
Page 142 of 388

NGear positions........................156
NDriving speed
(Vehicles with automatic transaxle).........157
NHolding on an upgrade.................157
NTransaxle reset mode...................158
mAutomatic transaxle Autostick
(if so equipped)
........................158
NSelector lever operation.................159
NIndicator lights.......................161
NSelector positions (Main gate).............162
NSelector positions Manual gate Autostick.....163
NHolding on an upgrade.................165
NTransaxle reset mode...................166
mManual transaxle (if so equipped)..........166
NTo start.............................167
NProper shift points.....................167NRecommended downshifting speed.........169
NDriving precautions....................169
mParking brake.........................169
mBrake pedal...........................171
mPower brakes.........................172
mBrake pad wear alarm...................172
mAnti-lock braking (ABS) system
(if so equipped)
........................173
NGeneral driving hints
(standard/anti-lock brakes)...............173
mSteering wheel tilt lock lever..............175
mPower steering........................176
mInside Day/Night rearview mirrors.........177
NElectrochromic inside rearview mirror
(if so equipped.......................178
NElectrochromic mirror operation
(if so equipped).......................179
142 STARTING AND DRIVING
Page 150 of 388

NOTE: For vehicles with an automatic transaxle, the key
cannot be removed unless the selector lever is set to the
ªPº (PARK) position.
ACC
Allows operation of electrical accessories with the engine
off.
START
Engages the starter. After the engine starts, release the
key and it will return automatically to the ªONº position.
ON
The engine runs and all accessories can be used.
NOTE:Do not use the ªONº position to operate acces-
sories.
CAUTION!
²Do not remove the ignition key from the ignition
switch while driving. The steering wheel will
lock, causing loss of control.
²If the engine is turned off while driving, the
power brake servomechanism will cease to func-
tion and braking efficiency will deteriorate. Also,
the power steering system will not function and it
will require greater effort to operate the steering.
²Do not leave the key in the ªONº position for a
long time when the engine is not running; doing
so will cause the battery to discharge.
²Do not turn the key to the ªSTARTº position
when the engine is running; doing so could dam-
age the starter motor.
KEY REMINDER CHIME
If the driver's door is opened while the ignition key is in
the ªLOCKº or ªACCº position, a warning chime
sounds.
150 STARTING AND DRIVING
Page 151 of 388

THEFT PROTECTION
CAUTION!
Always remove the key from the ignition switch and
lock all doors when leaving the vehicle unattended.
Always try to park your vehicle in a well lighted
area.
The ignition key can only be removed in the ªLOCKº
position. If the key is left in the lock cylinder, a warning
chime sounds when the driver's door is opened.
NOTE: If your vehicle is equipped with a Theft-alarm
system, refer to ªTheft-alarm systemº.
STEERING LOCK
Withdraw the key and the steering wheel will be locked.
Turn the steering wheel to confirm that it is locked.
CAUTION!
If your vehicle needs to be towed, turn the key to the
(ACC(position to unlock the steering wheel.
STARTING
Tips for starting
1. Do not operate the starter motor continuously for
longer than 15 seconds at a time; doing so could run
down the battery. If the engine does not start, turn the
ignition switch back to ªLOCKº, wait a few seconds, and
then try again.
2. If the engine will not start because the battery is weak
or dead, refer to ªJump-starting the engineº section (page
277) for instructions on starting the engine.
3. The engine is well warmed up if the pointer of the
coolant temperature gauge starts to move. Extended
warm up operation will result in excessive fuel consump-
tion.
STARTING AND DRIVING 151
5
Page 170 of 388

Before leaving the vehicle, make sure that the parking
brake is set. To set the parking brake, pull up firmly on
the lever. Also place the gear selector in the Park position
(automatic transaxle) or Reverse (manual transaxle). To
release the parking brake, apply the brake pedal and pull
up on the parking brake lever. Push the release button
and lower the lever fully.When parking on a hill, it is important to set the parking
brake before placing the gear selector in Park, otherwise
the load on the transmission locking mechanism may
make it difficult to move the selector out of Park. As an
added precaution, turn the front wheels toward the curb
on a downhill grade and away from the curb on a uphill
grade.
You should always apply the parking brake before leav-
ing the vehicle.
I07A0020I07A0030
170 STARTING AND DRIVING
Page 173 of 388

WARNING!
Driving on worn brake pads can reduce your ability
to stop, and can result in an accident.
ANTI-LOCK BRAKING (ABS) SYSTEM (IF SO
EQUIPPED)
The ABS gives increased vehicle stability and brake
performance under most braking conditions. The system
automatically ªpumpsº the brakes during severe braking
conditions to prevent wheel lock up.
All vehicle wheels and tires must be the same size and
tires must be properly inflated to produce optimal signals
for the computer. However, the system will compensate
when the compact spare is in use.
During stops where ABS is activated, a vibration of the
brake pedal may be felt and associated system noises
may be heard.
NOTE:Pumping of the brake pedal will diminish the
effectiveness of Anti-lock brakes and may lead to anaccident. Pumping makes the stopping distance longer.
Just press firmly on your brake pedal when you need to
slow down or stop.
General driving hints (standard/anti-lock brakes)
1. During anti-lock braking, steering differs slightly from
normal driving conditions. Be sure to operate steering
wheel carefully.
2. The anti-lock braking system is not restricted to situ-
ations where brakes are applied suddenly. This system
may also operate to prevent wheel lock when driving
over manholes, steel roadwork plates, road markings, or
any uneven road surface.
3. Always maintain a safe distance from vehicles in front
of you. If your vehicle is equipped with Anti-lock braking
system, allow for a greater braking distance when:
·Driving on gravel or snow-covered roads.
·Driving with tire chains installed.
·Driving on uneven road surfaces.
STARTING AND DRIVING 173
5
Page 174 of 388

CAUTION!
²Anti-lock braking system can not prevent acci-
dents. It remains the driver's task to exercise
safety precautions and to drive prudently.
²To prevent failure of the anti-lock braking system,
be sure all 4-wheels and tires are the same size
and type (space saver spare excluded).
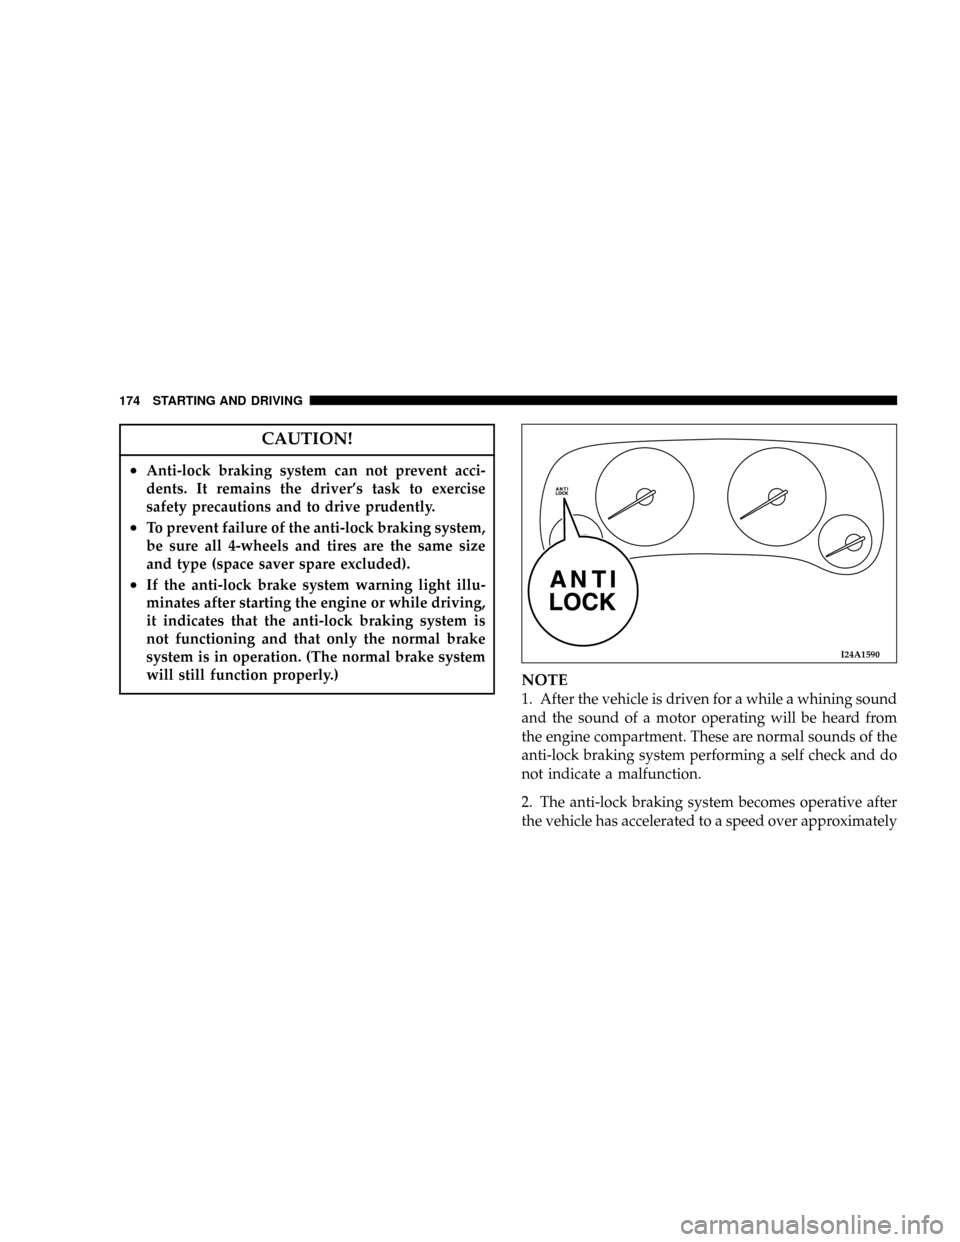
²If the anti-lock brake system warning light illu-
minates after starting the engine or while driving,
it indicates that the anti-lock braking system is
not functioning and that only the normal brake
system is in operation. (The normal brake system
will still function properly.)
NOTE
1. After the vehicle is driven for a while a whining sound
and the sound of a motor operating will be heard from
the engine compartment. These are normal sounds of the
anti-lock braking system performing a self check and do
not indicate a malfunction.
2. The anti-lock braking system becomes operative after
the vehicle has accelerated to a speed over approximately
I24A1590
174 STARTING AND DRIVING