warning DODGE VIPER 2004 ZB / 2.G Repair Manual
[x] Cancel search | Manufacturer: DODGE, Model Year: 2004, Model line: VIPER, Model: DODGE VIPER 2004 ZB / 2.GPages: 236, PDF Size: 4.18 MB
Page 165 of 236
²Rubber bushings
²Starter bearing
²Throttle control cable
²Water pump bearings
Windshield Washers
The fluid reservoir in the right side engine compartment
should be checked for fluid level at regular intervals. Fill
the reservoir with windshield antifreeze (not radiator
antifreeze).
Exhaust System
The best protection against carbon monoxide entry into
the vehicle body is a properly maintained engine exhaust
system.
If you notice a change in the sound of the exhaust system;
or if exhaust fumes can be detected inside the vehicle; or
when the underside or side of the vehicle is damaged;have a competent mechanic inspect the complete exhaust
system and adjacent body areas for broken, damaged,
deteriorated, or mispositioned parts. Open seams or
loose connections could permit exhaust fumes to seep
into the passenger compartment. In addition, inspect the
exhaust system each time the vehicle is raised for lubri-
cation or oil change. Replace as required.
WARNING!
Exhaust gases can injure or kill. They contain carbon
monoxide which is colorless and odorless. Breathing
it can make you unconscious and can eventually
poison you.
MAINTAINING YOUR VEHICLE 165
7
Page 166 of 236
Cooling System
WARNING!
You or others can be badly burned by hot coolant or
steam from your radiator. If you see or hear steam
coming from under the hood, don't open the hood
until the radiator has had time to cool. Never try to
open a cooling system pressure cap when the radia-
tor is hot.
Inspection
Coolant protection checks should be made every 12
months (before the onset of freezing weather, where
applicable). If coolant is dirty or rusty in appearance, the
system should be drained, flushed and refilled with fresh
coolant. Check the front of the radiator for any accumu-
lation of bugs, leaves, etc.Check the coolant bottle tubing for condition and tight-
ness of connection at reserve tank and radiator. Inspect
the entire system for leaks.
NOTE:Check the front of the radiator for debris (leaves,
paper, etc.) regularly. A build up of such material could
lead to engine overheating.
Do not remove the cooling system pressure cap when the
cooling system is hot.
Cooling System Ð Drain, Flush and Refill
The cooling system should be drained, flushed and
refilled at the intervals shown on the Maintenance Sched-
ules.
If the solution is dirty and contains a considerable
amount of sediment, clean and flush with a reliable
cooling system cleaner. Follow with a thorough rinsing to
remove all deposits and chemicals. Discard old antifreeze
solution according to recommended procedure.
166 MAINTAINING YOUR VEHICLE
Page 168 of 236
Adding Coolant
DO NOT remove the pressure cap when checking cool-
ant. When adding coolant or refilling system, a 50%
solution of ethylene glycol antifreeze coolant in water
should be used. Higher concentrations (not to exceed
65%) are required if temperatures below ±37ÉF are antici-
pated.
Use only high purity water such as distilled or deionized
water when mixing the water / antifreeze solution. The
use of lower quality water will reduce the amount of
corrosion protection in the engine cooling system.
NOTE:It is the owner's responsibility to maintain the
proper level of protection against freezing according to
the temperatures occurring in the area where the vehicle
is operated.WARNING!
Never add coolant to the radiator when the engine is
overheated. Do not loosen or remove pressure cap to
cool overheated engine. The coolant is under pres-
sure and severe scalding could result.
Cooling System Pressure Cap
The cap must be fully tightened to prevent loss of
coolant, and to insure that coolant will return to the
radiator from the coolant reserve tank.
The pressure cap should be inspected and cleaned if there
is any accumulation of foreign material on the sealing
surfaces.
168 MAINTAINING YOUR VEHICLE
Page 169 of 236
WARNING!
The warning words ªDO NOT OPEN HOTº on the
pressure cap are a safety precaution. Never add
coolant to the radiator when the engine is over-
heated. Do not loosen or remove the pressure cap to
cool overheated engine. Heat causes pressure to
build up in the cooling system. To prevent scalding
or injury, do not remove the pressure cap while the
system is hot or under pressure.
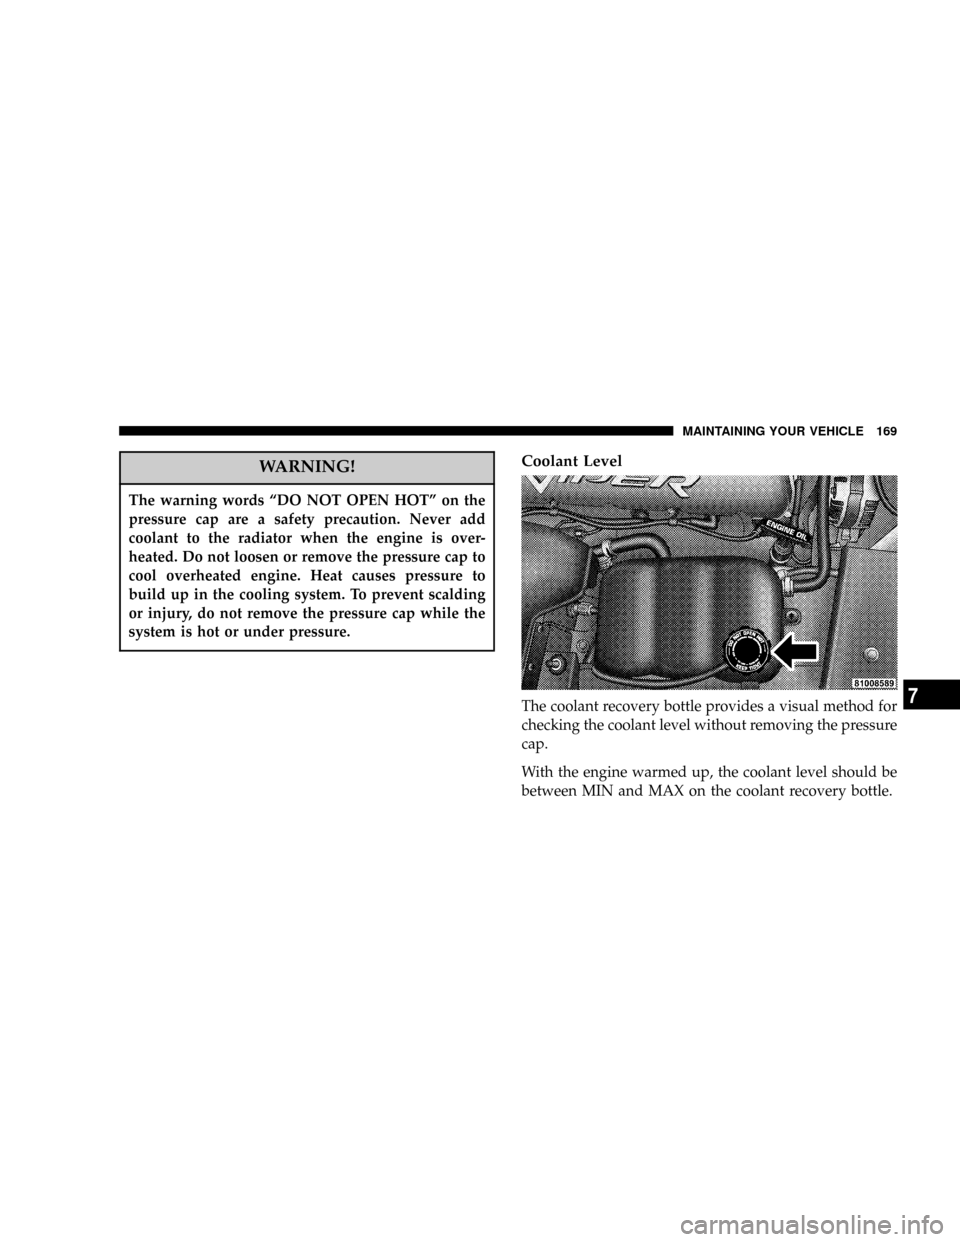
Coolant Level
The coolant recovery bottle provides a visual method for
checking the coolant level without removing the pressure
cap.
With the engine warmed up, the coolant level should be
between MIN and MAX on the coolant recovery bottle.
MAINTAINING YOUR VEHICLE 169
7
Page 171 of 236
hose routing to be sure hoses do not touch any heat
source or moving component that may cause heat dam-
age or mechanical wear.
Insure nylon tubing in these areas has not melted or
collapsed.
Inspect all hose connections such as clamps and cou-
plings to make sure they are secure and no leaks are
present.
Components should be replaced immediately if there is
any evidence of degradation that could result in failure.
Brake System
To assure brake system performance, all brake system
components should be inspected periodically. Suggested
service intervals can be found in Section 8 of this manual.
WARNING!
Riding the brakes can lead to brake failure and
possibly an accident. Driving with your foot resting
or riding on the brake pedal can result in abnormally
high brake temperatures, excessive lining wear, and
possible brake damage. You wouldn't have your full
braking capacity in an emergency.
Brake, Power Steering, and Fuel System Hoses
When servicing the vehicle for scheduled maintenance,
inspect surface of hoses and nylon tubing for evidence of
heat and mechanical damage. Hard and brittle rubber,
cracking, checking, tears, cuts, abrasion, and excessive
swelling suggest deterioration of the rubber. Particular
attention should be made to examining those hose sur-
faces nearest to high heat sources, such as the exhaust
manifold.
MAINTAINING YOUR VEHICLE 171
7
Page 173 of 236
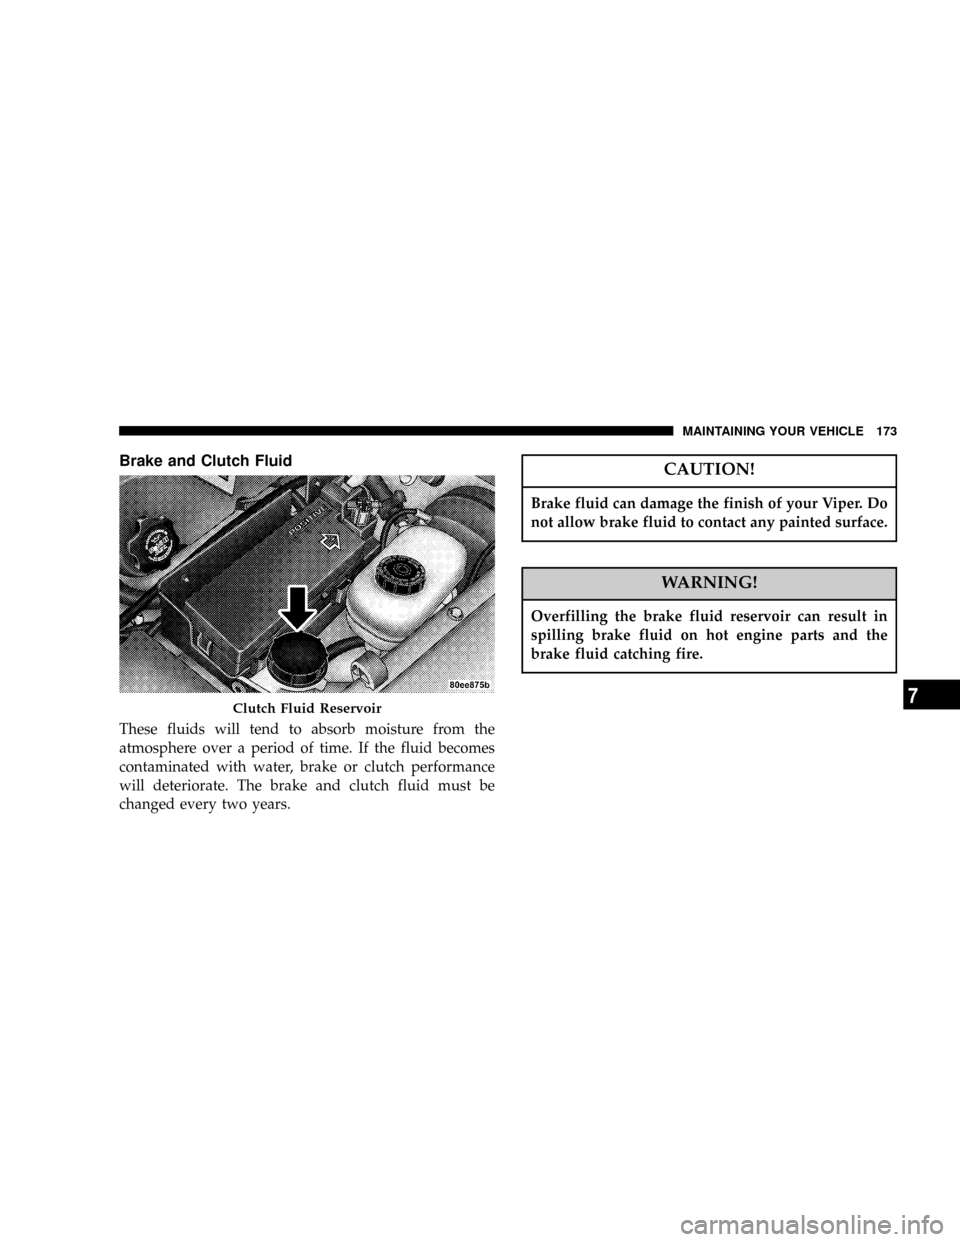
Brake and Clutch Fluid
These fluids will tend to absorb moisture from the
atmosphere over a period of time. If the fluid becomes
contaminated with water, brake or clutch performance
will deteriorate. The brake and clutch fluid must be
changed every two years.
CAUTION!
Brake fluid can damage the finish of your Viper. Do
not allow brake fluid to contact any painted surface.
WARNING!
Overfilling the brake fluid reservoir can result in
spilling brake fluid on hot engine parts and the
brake fluid catching fire.
Clutch Fluid Reservoir
MAINTAINING YOUR VEHICLE 173
7
Page 174 of 236

Master Cylinder
The fluid level in the master cylinder should be checked
when performing underhood services, or immediately if
the brake system warning lamp shows system failure. Be
sure to clean the top of the master cylinder area before
removing the cap. If necessary, add fluid to bring thefluid level up to the requirements described on the brake
fluid reservoir. With disc brakes, fluid level can be
expected to fall as the brake pads wear. However, low
fluid level may be caused by a leak and a checkup may be
needed. Use only the manufacturer's recommended
brake fluid. Refer to the Recommended Fluids, Lubri-
cants and Genuine Parts section for the correct fluid type.
Mopar Brake Fluid is fluid of this quality and is recom-
mended to provide best brake performance. Use of a
brake fluid that may have a lower initial boiling point or
unidentified as to specification, may result in sudden
brake failure during hard prolonged braking.
Use only brake fluid that has been in a tightly closed
container to avoid contamination from foreign matter.
Brake Fluid Reservoir
174 MAINTAINING YOUR VEHICLE
Page 188 of 236
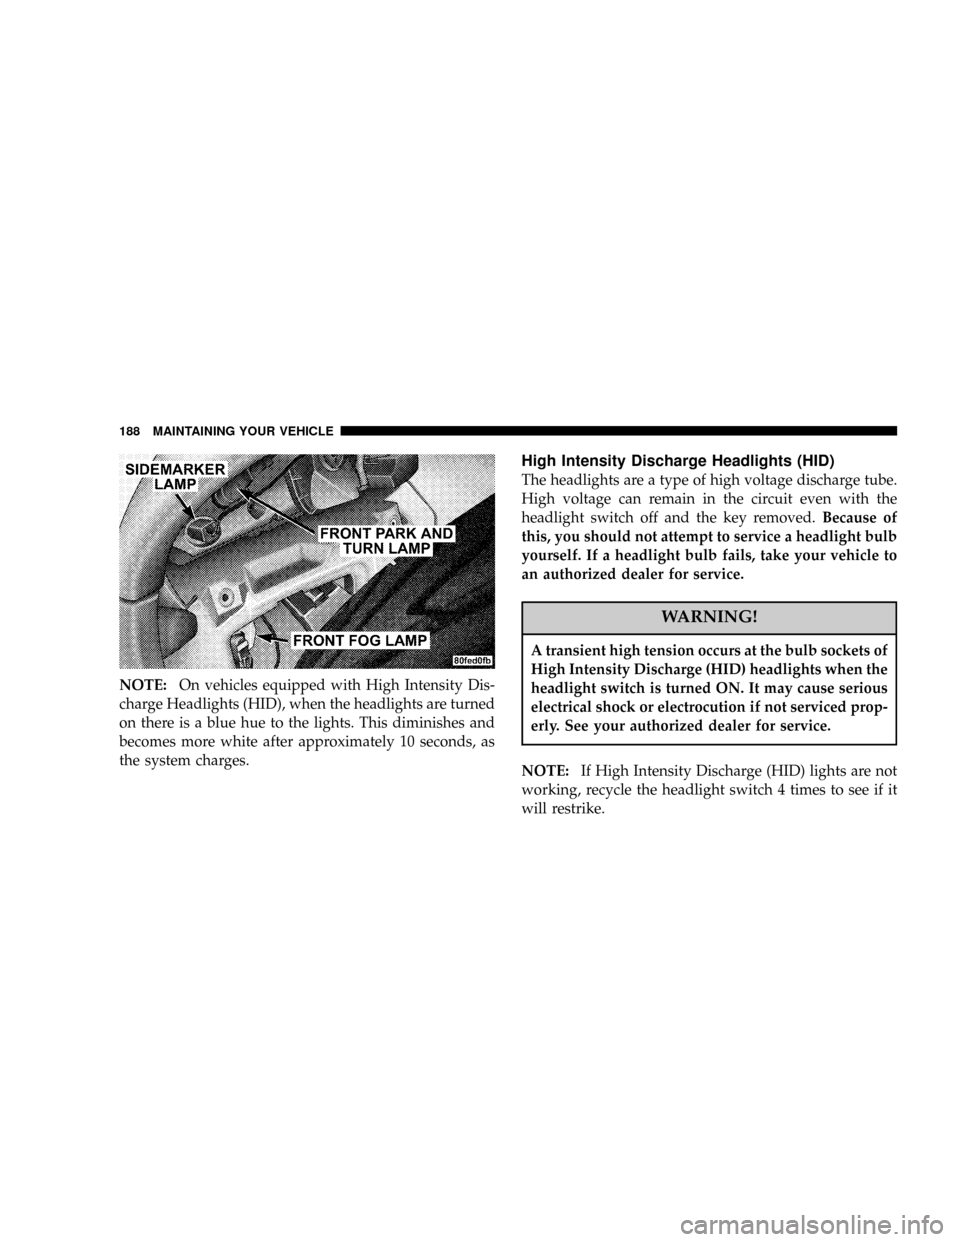
NOTE:On vehicles equipped with High Intensity Dis-
charge Headlights (HID), when the headlights are turned
on there is a blue hue to the lights. This diminishes and
becomes more white after approximately 10 seconds, as
the system charges.
High Intensity Discharge Headlights (HID)
The headlights are a type of high voltage discharge tube.
High voltage can remain in the circuit even with the
headlight switch off and the key removed.Because of
this, you should not attempt to service a headlight bulb
yourself. If a headlight bulb fails, take your vehicle to
an authorized dealer for service.
WARNING!
A transient high tension occurs at the bulb sockets of
High Intensity Discharge (HID) headlights when the
headlight switch is turned ON. It may cause serious
electrical shock or electrocution if not serviced prop-
erly. See your authorized dealer for service.
NOTE:If High Intensity Discharge (HID) lights are not
working, recycle the headlight switch 4 times to see if it
will restrike.
188 MAINTAINING YOUR VEHICLE
Page 213 of 236
* This maintenance is recommended by DaimlerChrysler
Corporation to the owner but is not required to maintain
the warranty on the PCV orifice.
³ This maintenance is not required if previously replaced.
Inspection and service should also be performed anytime
a malfunction is observed or suspected. Retain all re-
ceipts.WARNING!
You can be badly injured working on or around a
motor vehicle. Do only that service work for which
you have the knowledge and the right equipment. If
you have any doubt about your ability to perform a
service job, take your vehicle to a competent me-
chanic.
SCHEDULE ªAº 213
8
M
A
I
N
T
E
N
A
N
C
E
S
C
H
E
D
U
L
E
S
Page 222 of 236
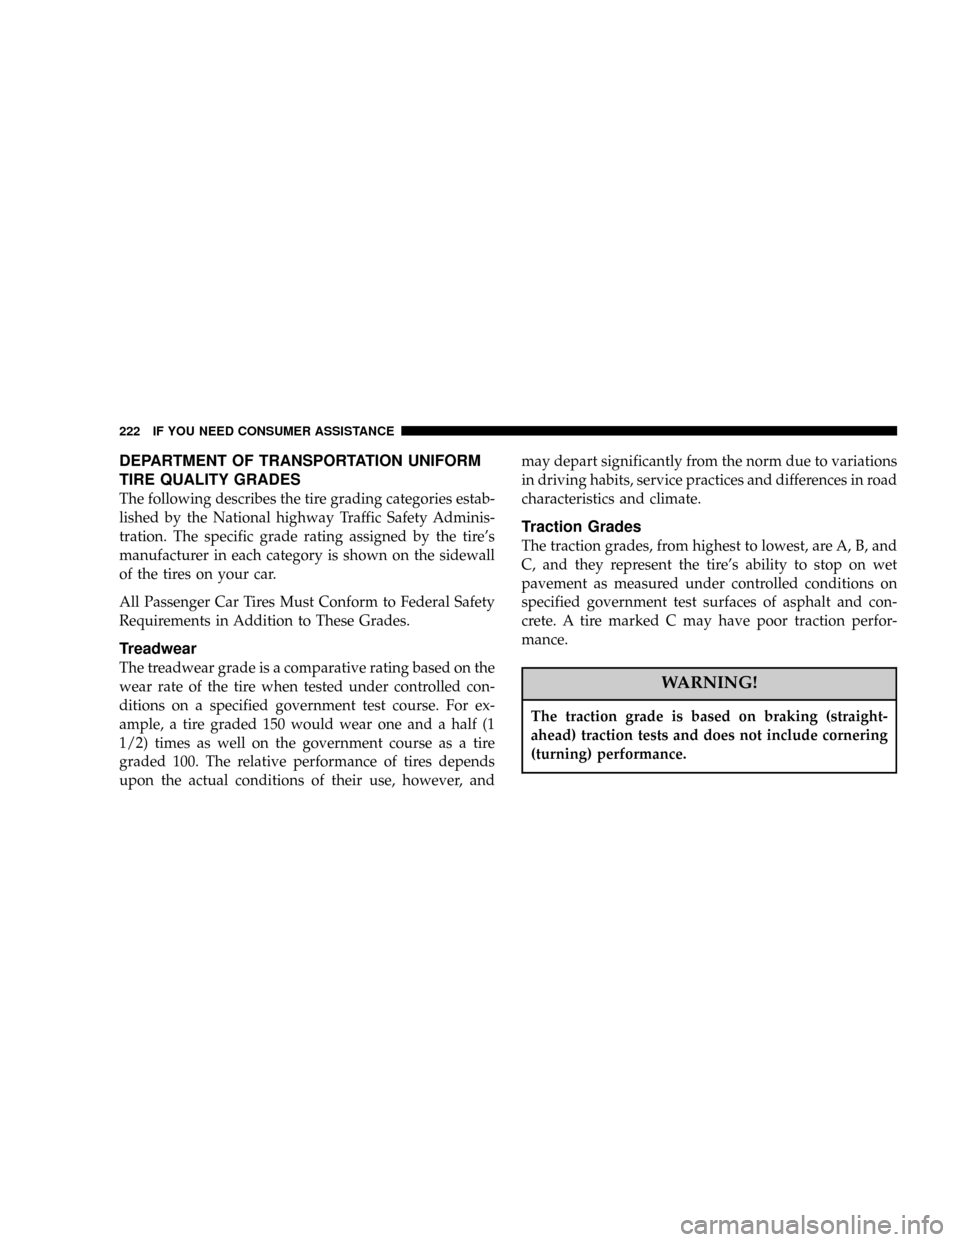
DEPARTMENT OF TRANSPORTATION UNIFORM
TIRE QUALITY GRADES
The following describes the tire grading categories estab-
lished by the National highway Traffic Safety Adminis-
tration. The specific grade rating assigned by the tire's
manufacturer in each category is shown on the sidewall
of the tires on your car.
All Passenger Car Tires Must Conform to Federal Safety
Requirements in Addition to These Grades.
Treadwear
The treadwear grade is a comparative rating based on the
wear rate of the tire when tested under controlled con-
ditions on a specified government test course. For ex-
ample, a tire graded 150 would wear one and a half (1
1/2) times as well on the government course as a tire
graded 100. The relative performance of tires depends
upon the actual conditions of their use, however, andmay depart significantly from the norm due to variations
in driving habits, service practices and differences in road
characteristics and climate.
Traction Grades
The traction grades, from highest to lowest, are A, B, and
C, and they represent the tire's ability to stop on wet
pavement as measured under controlled conditions on
specified government test surfaces of asphalt and con-
crete. A tire marked C may have poor traction perfor-
mance.
WARNING!
The traction grade is based on braking (straight-
ahead) traction tests and does not include cornering
(turning) performance.
222 IF YOU NEED CONSUMER ASSISTANCE