manual DODGE VIPER 2008 ZB II / 2.G User Guide
[x] Cancel search | Manufacturer: DODGE, Model Year: 2008, Model line: VIPER, Model: DODGE VIPER 2008 ZB II / 2.GPages: 303, PDF Size: 2.65 MB
Page 66 of 303
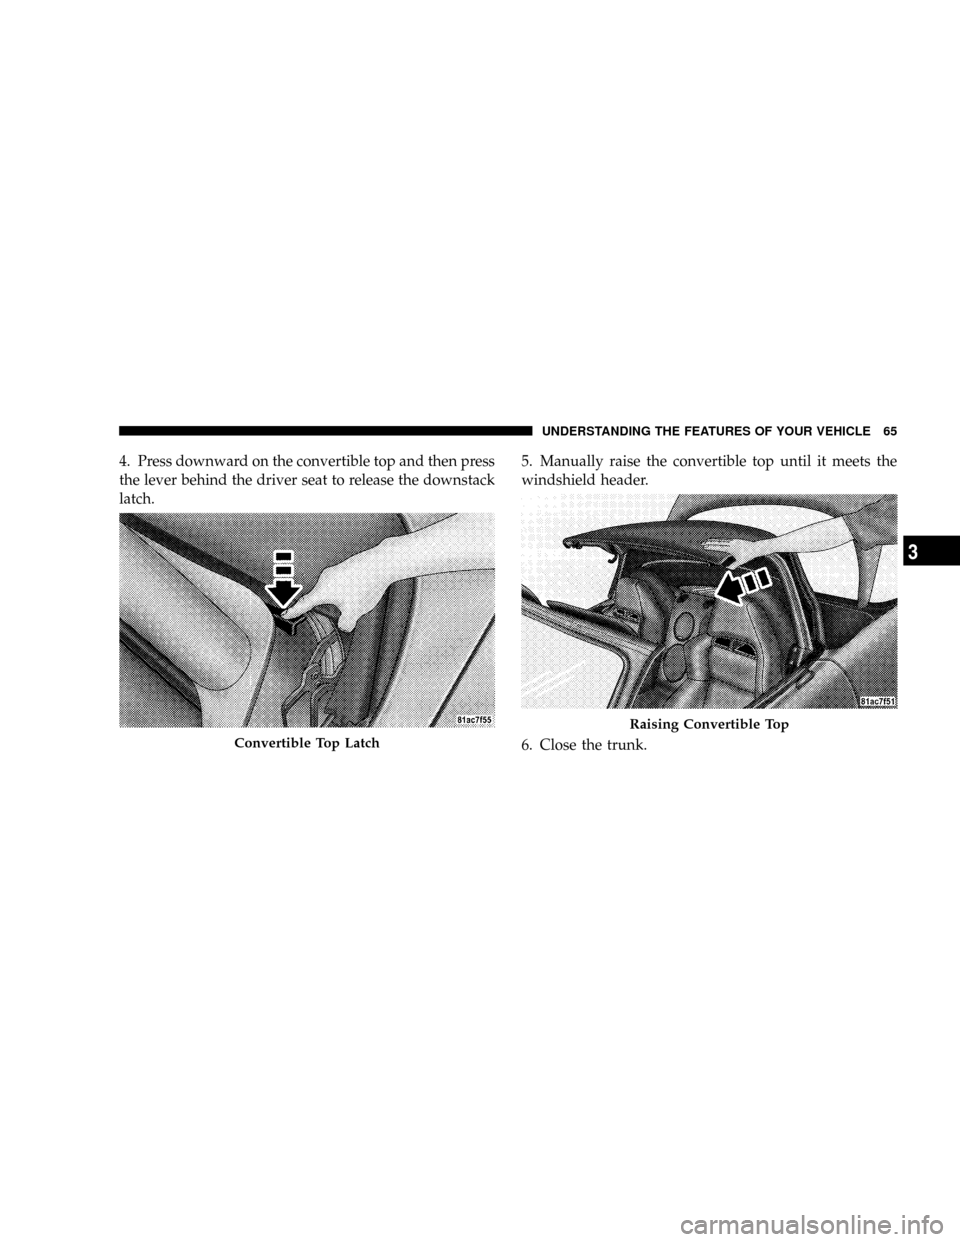
4. Press downward on the convertible top and then press
the lever behind the driver seat to release the downstack
latch.5. Manually raise the convertible top until it meets the
windshield header.
6. Close the trunk.
Convertible Top Latch
Raising Convertible Top
UNDERSTANDING THE FEATURES OF YOUR VEHICLE 65
3
Page 78 of 303
NOTE:When not in use, return the power mirror switch
to the neutral (off) position to prevent accidental mirror
movement.
SEATS
Manual Seat Adjustments
Forward & Rearward Adjustment
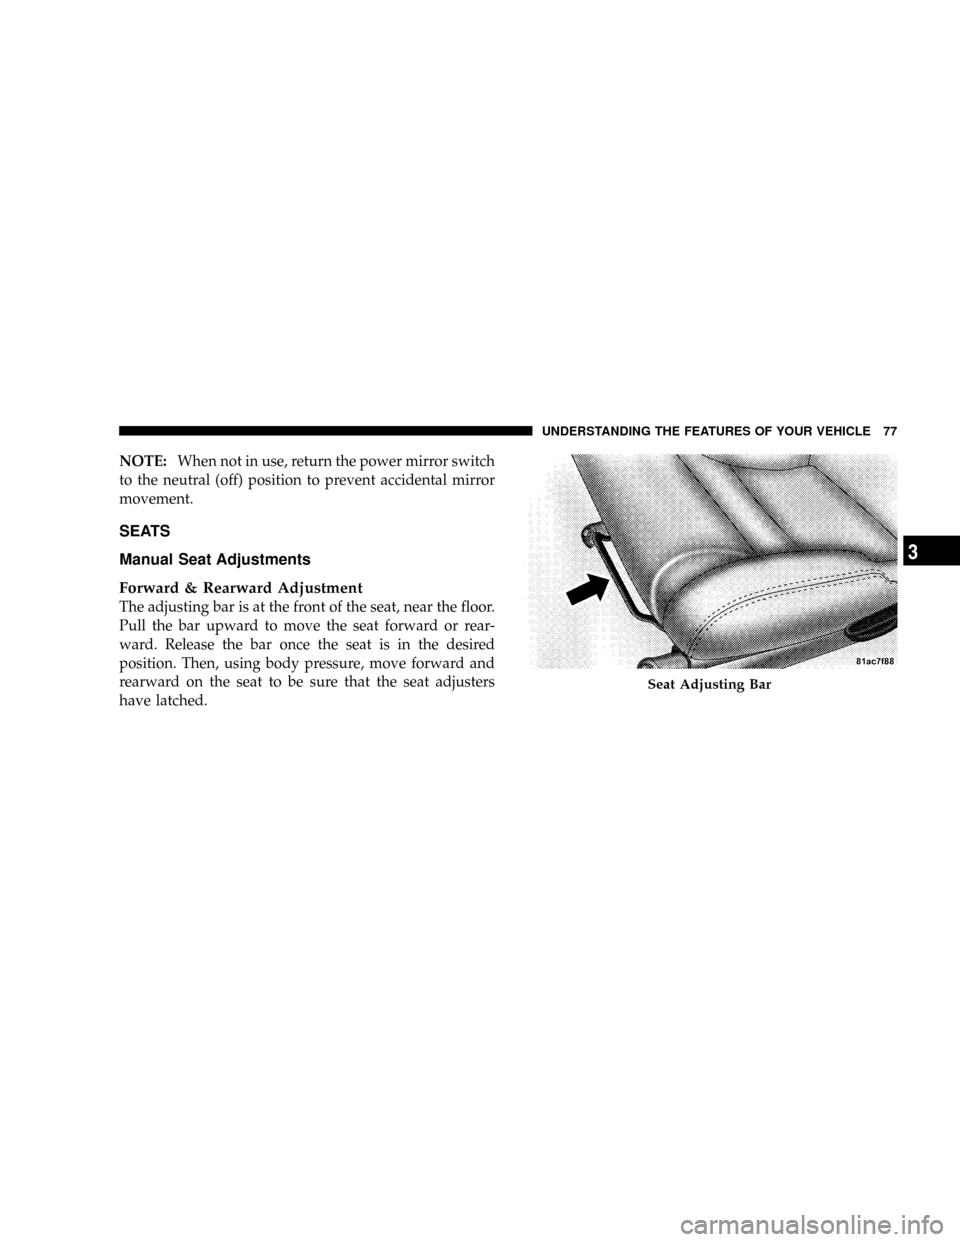
The adjusting bar is at the front of the seat, near the floor.
Pull the bar upward to move the seat forward or rear-
ward. Release the bar once the seat is in the desired
position. Then, using body pressure, move forward and
rearward on the seat to be sure that the seat adjusters
have latched.
Seat Adjusting Bar
UNDERSTANDING THE FEATURES OF YOUR VEHICLE 77
3
Page 86 of 303
Courtesy lights are also found in the driver's foot well,
the passenger's foot well, and in the liftgate on Coupe
models. You can turn this light on and off from the
dimmer control in the Multi-Function Lever. This light is
also controlled automatically by the illuminated entry
system.
Battery Saver Feature Ð Interior Lights
To protect the battery, the interior lights will turn off
automatically 15 minutes after the ignition switch is
moved to the OFF/LOCK position. This will occur if the
interior lights were switched on manually or are on
because a door is open or the liftgate is open (Coupe
models). To restore interior light operation, turn the
ignition switch to the ON/RUN position or cycle the
light switch.
Dimmer Control
The dimmer control is part of the Multi-Function Lever. It
controls the operation of the interior lights and the
brightness of the instrument panel lights.
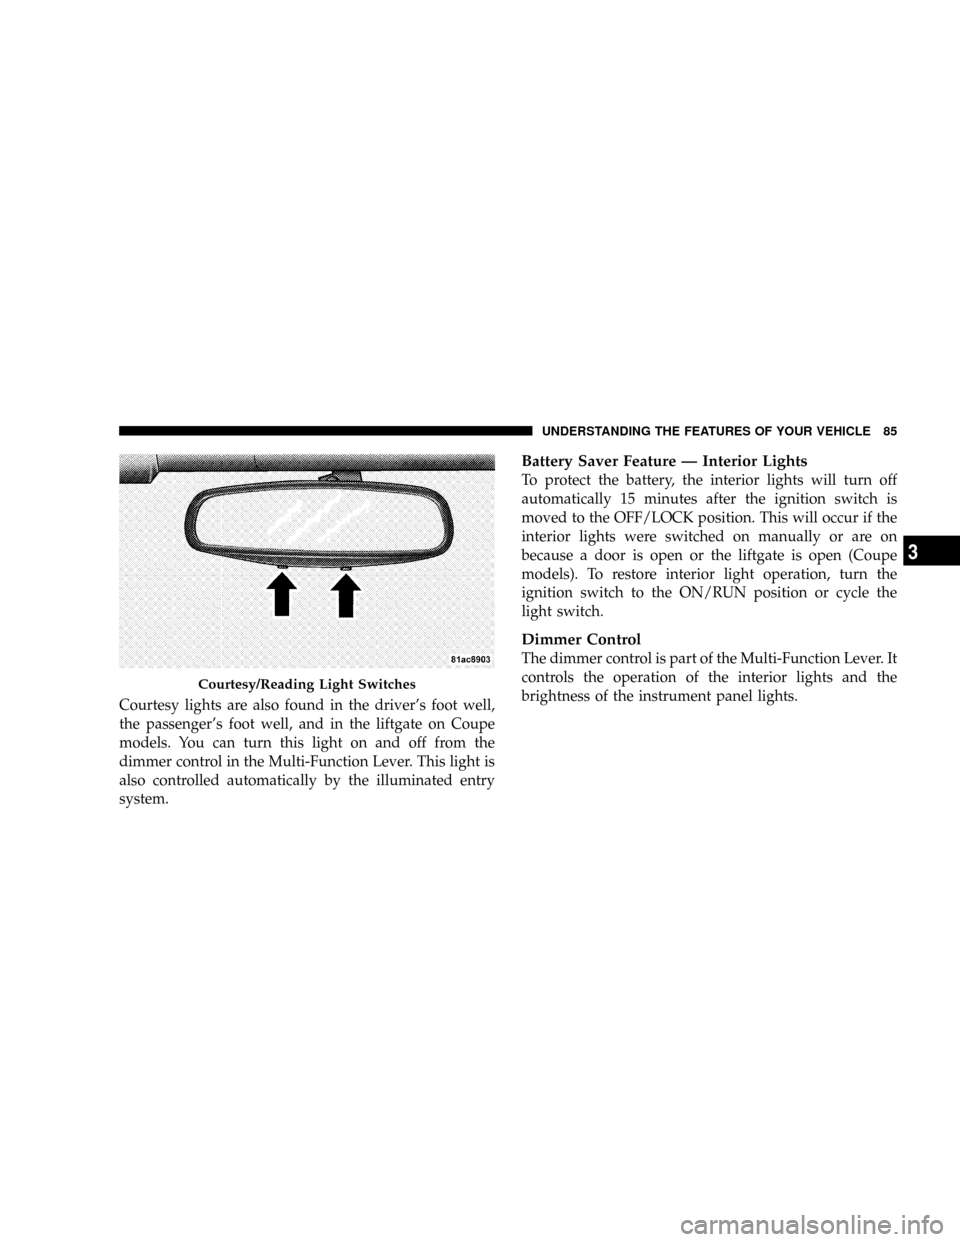
Courtesy/Reading Light Switches
UNDERSTANDING THE FEATURES OF YOUR VEHICLE 85
3
Page 118 of 303
RW/FF (CD Mode For MP3 Play)
Press the FF side of the button to move forward through
the MP3 selection. Press the RW side of the button to
move back through the MP3 selection.
AM/FM Button (CD Mode For MP3 Play)
Switches back to Radio mode.
RND Button (CD Mode For MP3 Play)
Pressing this button plays files randomly.
DIR Button (CD Mode For MP3 Play)
Press the DIR Button to display folders, when playing an
MP3 discs that have a file/folder structure. Press DISC
up (button 1) or DISC down (button 5) to move through
the folders. Press the SET button to select a folder.
Operating Instructions - Hands Free Phone (If
Equipped)
Refer to Hands Free Phone section of the Owner's
Manual.
Operating Instructions - Satellite Radio Mode (If
Equipped)
Refer to the Satellite Radio section of the Owner's
Manual.
Operating Instructions - Video Entertainment
System (VESt) (If Equipped)
Refer to 6 Disc CD/DVD Changer (RDV) section of the
Owner's Manual.
SATELLITE RADIO Ð IF EQUIPPED
Satellite radio uses direct satellite to receiver broadcast-
ing technology to provide clear digital sound, coast to
coast. The subscription service provider is SiriusŸ Satel-
lite Radio. This service offers up to 100 channels of music,
sports, news, entertainment, and programming for chil-
dren, directly from its satellites and broadcasting studios.
UNDERSTANDING YOUR INSTRUMENT PANEL 117
4
Page 127 of 303
Operating Tips
NOTE:Refer to the chart at the end of this section for
suggested control settings for various weather condi-
tions.
Summer Operation
The engine cooling system in air-conditioned vehicles
must be protected with a high-quality antifreeze coolant
to provide proper corrosion protection and to protect
against engine overheating. A 50% solution of ethylene
glycol antifreeze coolant in water is recommended. Refer
to ªMaintenance Proceduresº in Section 7 of this manual
for proper coolant selection.
Winter Operation
²
Use the Defrost mode to direct cold air away from the
occupants during engine warm-up in cold weather.
²The blower air will heat faster in cold weather if you
use only the low blower speeds for the first ten
minutes of vehicle operation.
²Use of the air Recirculation mode during winter
months is not recommended because it may cause
window fogging.
Vacation Storage
Anytime you store your vehicle, or keep it out of service
(i.e. vacation) for two weeks or more, run the air condi-
tioning system at idle for about five minutes in the fresh
air and high blower setting. This will insure adequate
system lubrication to minimize the possibility of com-
pressor damage when the system is started again.
126 UNDERSTANDING YOUR INSTRUMENT PANEL
Page 134 of 303
CAUTION!
Long periods of engine idling, especially at high
engine speeds, can cause excessive exhaust tempera-
tures, which can damage your vehicle. Do not leave
your vehicle unattended with the engine running.
Normal Starting
NOTE:
²You must disarm the security system in order to start
the engine. For details, refer to ªSecurity Alarm Sys-
temº in Section 2 of this manual
²Normal Starting of either a cold or a warm engine does
not require pumping or depressing the accelerator
pedal. However, if the engine has not started within 3
seconds, slightly depress the accelerator pedal while
continuing to crank. If the engine fails to start within
15 seconds, turn the key to the ªOFF/LOCKº position,
wait 5 seconds, then repeat the normal starting proce-
dure.
To start the engine:
1. Fully apply the parking brake.
2. Press the clutch pedal to the floor.
NOTE:The engine will not start unless the clutch pedal
is pressed to the floor.
3. Place the gear selector in NEUTRAL
4. Insert the ignition key fully into the ignition switch
STARTING AND OPERATING 133
5
Page 136 of 303
If Engine Fails to Start
CAUTION!
To prevent damage to the starter, do not crank the
engine for more than 15 seconds at a time. Wait 10 to
15 seconds before trying again.
WARNING!
²Never pour fuel or other flammable liquid into the
throttle body air inlet opening in an attempt to
start the vehicle. This could result in flash fire
causing serious personal injury.
²Do not attempt to push or tow your vehicle to get
it started. Unburned fuel could enter the catalytic
converter and once the engine has started, ignite
and damage the converter and vehicle. If the
vehicle has a discharged battery, booster cables
may be used to obtain a start from a booster
battery or the battery in another vehicle. This type
of start can be dangerous if done improperly, so
follow this procedure carefully. See section 6 of
this manual for jump starting instructions.
STARTING AND OPERATING 135
5
Page 139 of 303
driving. The noise may also be more noticeable when
the transmission is warm. This noise is normal and is
not an indication of a problem with your clutch or
transmission.
Recommended Shift Speeds
To use your manual transmission for fuel economy it
should be upshifted as listed below. Shift at the vehicle
speeds listed for acceleration. Earlier upshifts during
cruise conditions (relatively steady speeds) will result in
increased fuel economy, and may be used as indicated.
MANUAL TRANSMISSION
RECOMMENDED SHIFT SPEEDS
1-2 2-3 3-4 4-5 5-6
MPH 15 25 40 45 50
(km/h) (24) (40) (64) (72) (80)
Higher upshift speeds may be used to obtain a desired
acceleration rate.
Skip Shift Indicator Light
There are times when you must shift the transmis-
sion directly from First gear to Fourth gear instead
of from First gear to Second gear. This is to help you get
the best possible fuel economy from your vehicle. This
occurs when engine coolant is higher than 106ÉF (41ÉC),
and vehicle speed is greater than 12 MPH but less than 20
MPH, and engine speed is less than 1322 RPM, and the
transmission is in 1st gear, and the accelerator is at 1/4
throttle or less. The Skip Shift Indicator Light located in
the tachometer will turn Amber during these times.
When the indicator light turns amber, the shift mecha-
nism will only allow shifts from First gear to Fourth gear.
After you shift the transmission to Fourth gear, you can
press the clutch in and shift to another forward gear.
Downshifting - Proper downshifting will improve fuel
economy and prolong engine life.
138 STARTING AND OPERATING
Page 155 of 303
Loading
The vehicle maximum load on the tire must not exceed
the load carrying capacity of the tire on your vehicle. You
will not exceed the tire's load carrying capacity if you
adhere to the loading conditions, tire size, and cold tire
inflation pressures specified on the Tire and Loading
Information placard and in the ªVehicle Loadingº section
of this manual.
NOTE:Under a maximum loaded vehicle condition,
gross axle weight ratings (GAWRs) for the front and rear
axles must not be exceeded. For further information on
GAWRs, vehicle loading, and trailer towing, refer to the
ªVehicle Loadingº section of this manual.
To determine the maximum loading conditions of your
vehicle, locate the statement ªThe combined weight ofoccupants and cargo should never exceed XXX kg or XXX
lbs.º on the Tire and Loading Information placard. The
combined weight of occupants, cargo/luggage and
trailer tongue weight (if applicable) should never exceed
the weight referenced here.
Steps for Determining Correct Load Limit
1. Locate the statement ªThe combined weight of occu-
pants and cargo should never exceed XXX poundsº on
your vehicle's placard.
2. Determine the combined weight of the driver and
passengers that will be riding in your vehicle.
3. Subtract the combined weight of the driver and pas-
sengers from XXX kilograms or XXX pounds.
154 STARTING AND OPERATING
Page 156 of 303
4. The resulting figure equals the available amount of
cargo and luggage load capacity. For example, if ªXXXº
amount equals 1400 lbs. and there will be five 150 lb.
passengers in your vehicle, the amount of available cargo
and luggage load capacity is 650 lbs (295 kg) (since 5 x
150 = 750, and 1400 ± 750 = 650 lbs (295 kg)
5. Determine the combined weight of luggage and cargo
being loaded on the vehicle. That weight may not safely
exceed the available cargo and luggage load capacity
calculated in Step 4.
6. If your vehicle will be towing a trailer, load from your
trailer will be transferred to your vehicle. Consult thismanual to determine how this reduces the available
cargo and luggage load capacity of your vehicle.
NOTE:The following table shows examples on how to
calculate total load, cargo/luggage, and towing capaci-
ties of your vehicle with varying seating configurations
and number and size of occupants. This table is for
illustration purposes only and may not be accurate for
the seating and load carry capacity of your vehicle.
NOTE:For the following example, the combined weight
of occupants and cargo should never exceed 865 lbs (392
kg).
STARTING AND OPERATING 155
5