service reset DODGE VIPER 2010 ZB II / 2.G Owners Manual
[x] Cancel search | Manufacturer: DODGE, Model Year: 2010, Model line: VIPER, Model: DODGE VIPER 2010 ZB II / 2.GPages: 315, PDF Size: 4.43 MB
Page 112 of 315

INSTRUMENT CLUSTER DESCRIPTIONS
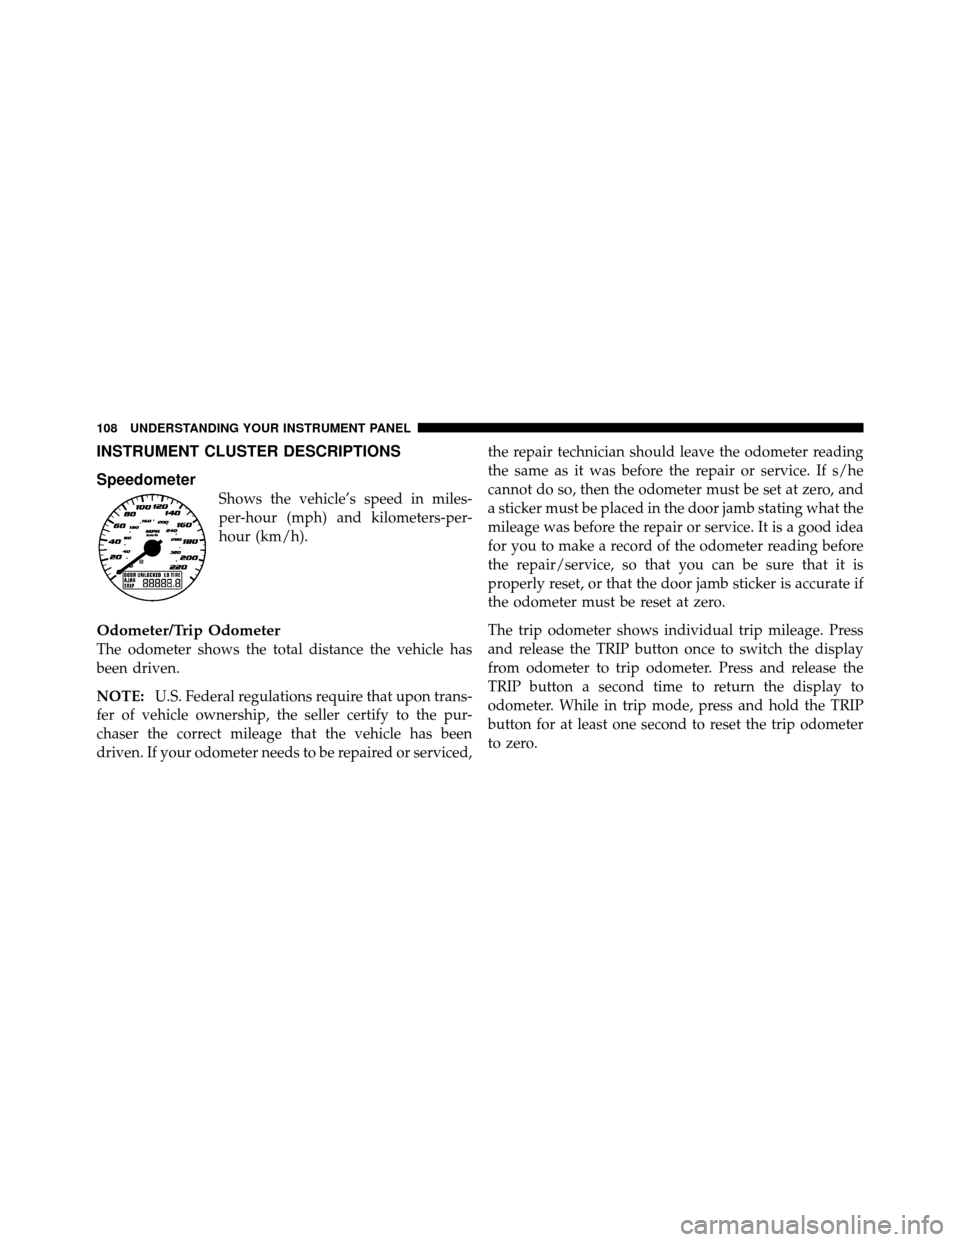
Speedometer
Shows the vehicle’s speed in miles-
per-hour (mph) and kilometers-per-
hour (km/h).
Odometer/Trip Odometer
The odometer shows the total distance the vehicle has
been driven.
NOTE:U.S. Federal regulations require that upon trans-
fer of vehicle ownership, the seller certify to the pur-
chaser the correct mileage that the vehicle has been
driven. If your odometer needs to be repaired or serviced, the repair technician should leave the odometer reading
the same as it was before the repair or service. If s/he
cannot do so, then the odometer must be set at zero, and
a sticker must be placed in the door jamb stating what the
mileage was before the repair or service. It is a good idea
for you to make a record of the odometer reading before
the repair/service, so that you can be sure that it is
properly reset, or that the door jamb sticker is accurate if
the odometer must be reset at zero.
The trip odometer shows individual trip mileage. Press
and release the TRIP button once to switch the display
from odometer to trip odometer. Press and release the
TRIP button a second time to return the display to
odometer. While in trip mode, press and hold the TRIP
button for at least one second to reset the trip odometer
to zero.
108 UNDERSTANDING YOUR INSTRUMENT PANEL
Page 114 of 315

Front Fog Light Indicator
This indicator will illuminate when the front fog
lights are on.
Anti-Lock Brake (ABS) Warning Light
The amber Anti-Lock Brake Warning Light will
turn on and stay on briefly as a bulb check
when the ignition is first turned on. If the light
does not turn on during starting, see your
authorized dealer for service.
This light also illuminates at vehicle start-up to indicate
that the ABS self-check is in process. If the light remains
on after start-up, or turns on and remains on at road
speeds, it may indicate a system malfunction or that the
system is inoperative. In this case, the system reverts to
standard non-anti-lock brakes. If this occurs, safely bring
the vehicle to a complete stop as soon as possible and
cycle the ignition key to attempt to reset the ABS. If the
light remains on, see your authorized dealer immediately to have the system serviced. Furthermore, if the red
BRAKE Warning Light and the amber ABS Warning
Light are on, and the parking brake is fully released, see
your authorized dealer immediately.WARNING!
If the ABS and/or Brake Warning Lights illuminate,
please seek service immediately! Your vehicle will
have diminished braking capability and control if
ABS and/or service brake systems are not working
properly. Have your brake system serviced immedi-
ately.
Malfunction Indicator Light (MIL)
The Malfunction Indicator Light (MIL) is part
of an onboard diagnostic system called OBD.
The OBD system monitors engine control sys-
tems. The light will turn on when the key is in
the ON/RUN position before engine start. If the light
110 UNDERSTANDING YOUR INSTRUMENT PANEL
Page 165 of 315

Anti-Lock Brake Warning Light
The “Anti-Lock Brake Warning Light” will turn
on and stay on briefly as a bulb check when the
ignition is first turned on. If the light does not
turn on during starting, have it repaired
promptly.
This light also illuminates at vehicle start-up to indicate
that the ABS self-check is in process. If the light remains
on after start-up, or turns on and remains on at road
speeds, it may indicate a system malfunction or that the
system is inoperative. In this case, the system reverts to
standard non-anti-lock brakes. If this occurs, safely bring
the vehicle to a complete stop as soon as possible and
cycle the ignition key to attempt to reset the ABS. If the
light remains on, see your authorized dealer immediately
to have the system serviced. Also, if the “BRAKE Warn-
ing Light” and the “ABS Warning Light” are on, and the
parking brake is fully released, see your authorized
dealer immediately.
TIRE SAFETY INFORMATION
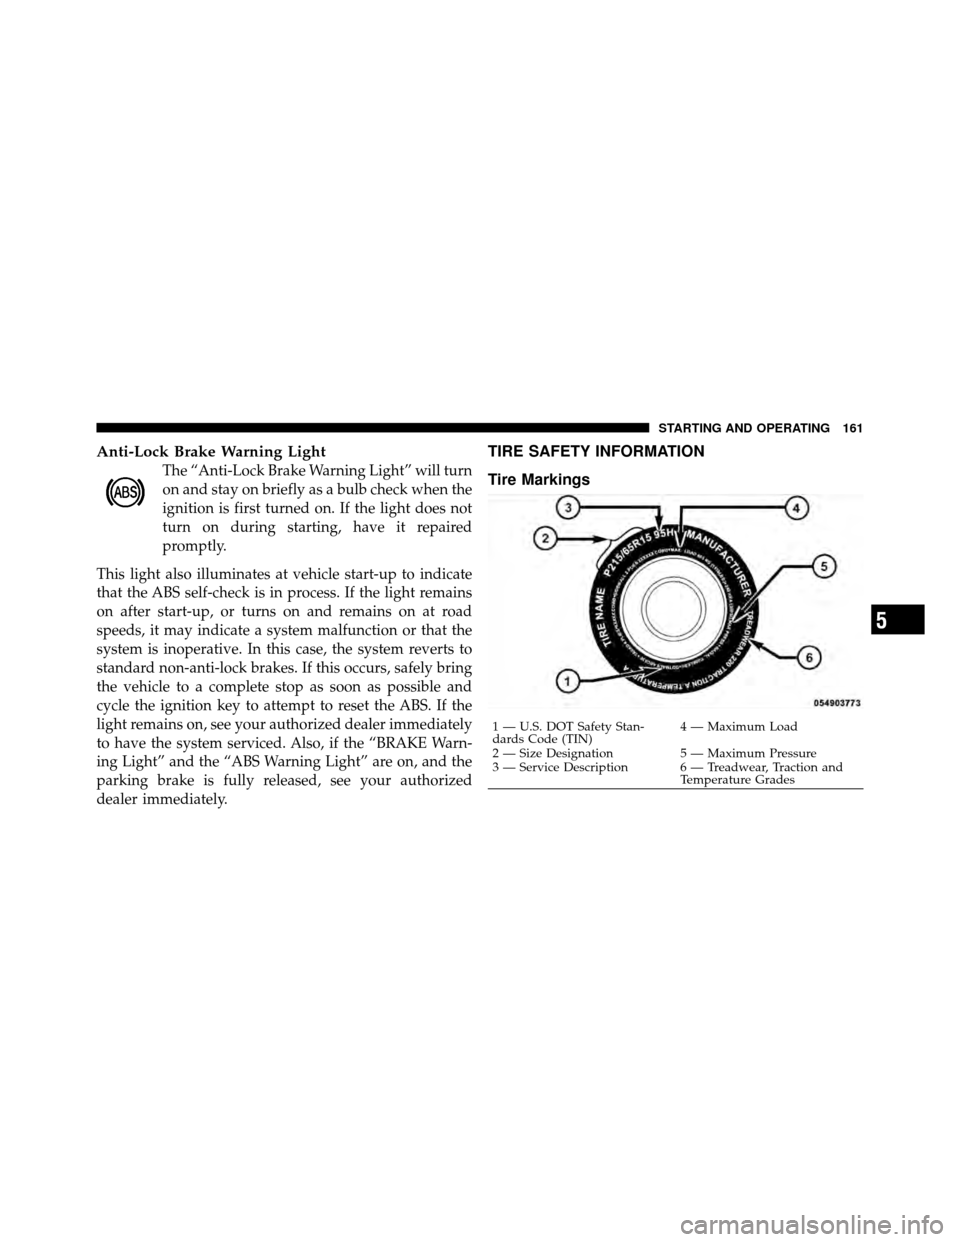
Tire Markings
1 — U.S. DOT Safety Stan-
dards Code (TIN) 4 — Maximum Load
2 — Size Designation 5 — Maximum Pressure
3 — Service Description 6 — Treadwear, Traction and Temperature Grades
5
STARTING AND OPERATING 161