audio DODGE VIPER 2013 VX / 3.G Owner's Manual
[x] Cancel search | Manufacturer: DODGE, Model Year: 2013, Model line: VIPER, Model: DODGE VIPER 2013 VX / 3.GPages: 100, PDF Size: 3.1 MB
Page 57 of 100
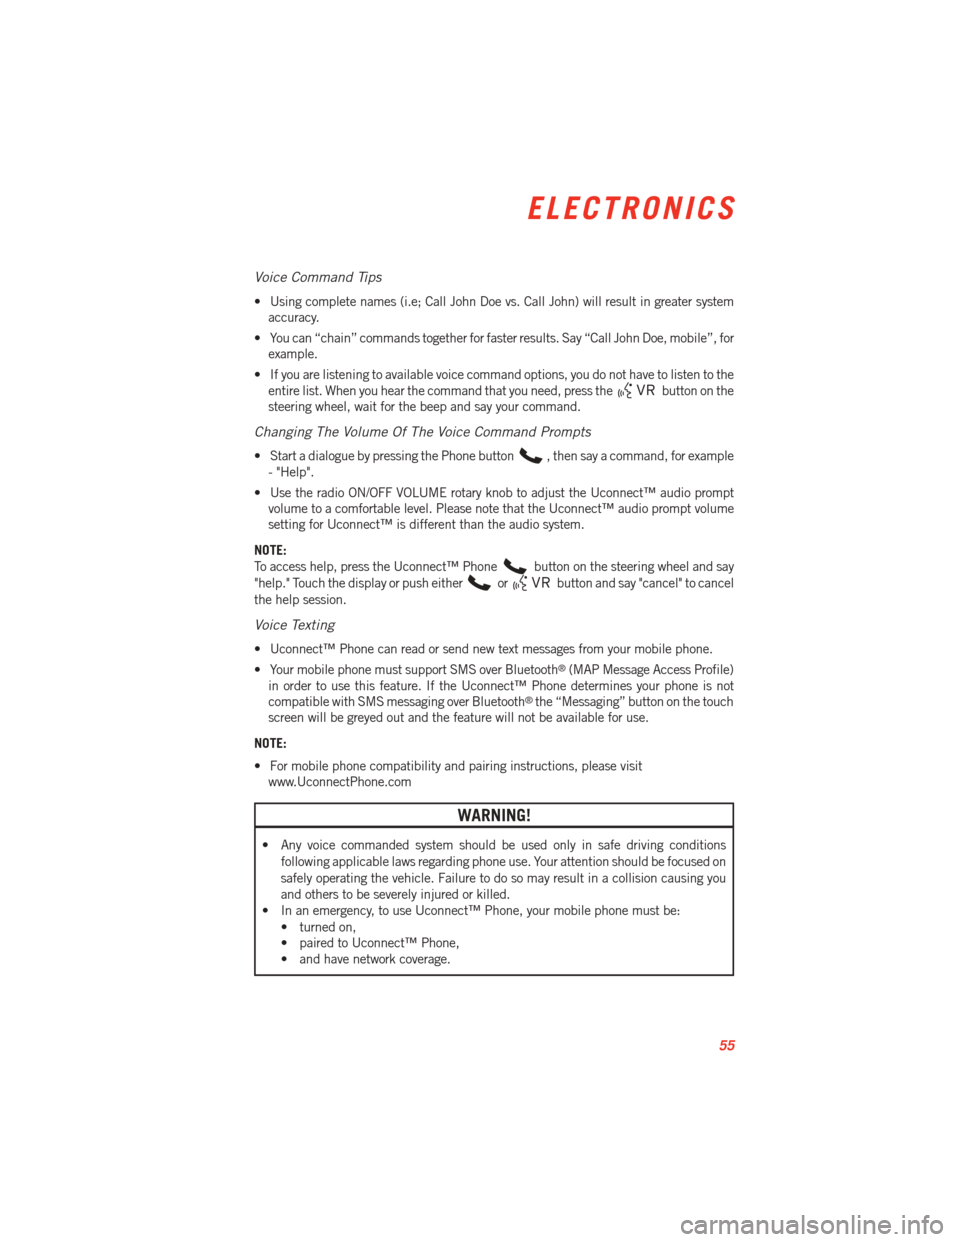
Voice Command Tips
• Using complete names (i.e; Call John Doe vs. Call John) will result in greater systemaccuracy.
• You can “chain” commands together for faster results. Say “Call John Doe, mobile”, for example.
• If you are listening to available voice command options, you do not have to listen to the entire list. When you hear the command that you need, press the
button on the
steering wheel, wait for the beep and say your command.
Changing The Volume Of The Voice Command Prompts
• Start a dialogue by pressing the Phone button, then say a command, for example
- "Help".
• Use the radio ON/OFF VOLUME rotary knob to adjust the Uconnect™ audio prompt volume to a comfortable level. Please note that the Uconnect™ audio prompt volume
setting for Uconnect™ is different than the audio system.
NOTE:
To access help, press the Uconnect™ Phone
button on the steering wheel and say
"help." Touch the display or push either
orbutton and say "cancel" to cancel
the help session.
Voice Texting
• Uconnect™ Phone can read or send new text messages from your mobile phone.
• Your mobile phone must support SMS over Bluetooth
®(MAP Message Access Profile)
in order to use this feature. If the Uconnect™ Phone determines your phone is not
compatible with SMS messaging over Bluetooth
®the “Messaging” button on the touch
screen will be greyed out and the feature will not be available for use.
NOTE:
• For mobile phone compatibility and pairing instructions, please visit www.UconnectPhone.com
WARNING!
• Any voice commanded system should be used only in safe driving conditions
following applicable laws regarding phone use. Your attention should be focused on
safely operating the vehicle. Failure to do so may result in a collision causing you
and others to be severely injured or killed.
• In an emergency, to use Uconnect™ Phone, your mobile phone must be:
• turned on,
• paired to Uconnect™ Phone,
• and have network coverage.
ELECTRONICS
55
Page 58 of 100
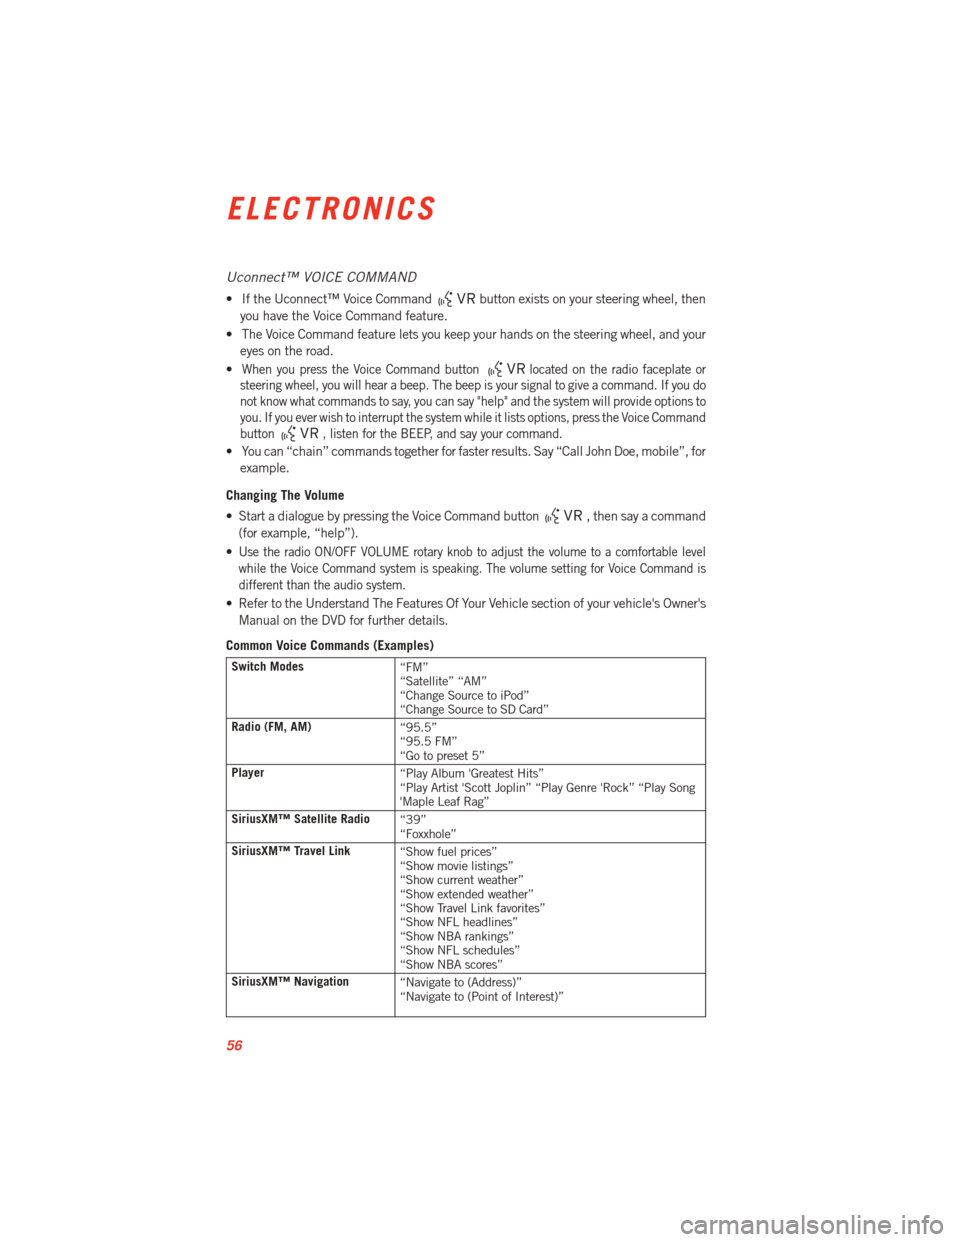
Uconnect™ VOICE COMMAND
• If the Uconnect™ Voice Commandbutton exists on your steering wheel, then
you have the Voice Command feature.
• The Voice Command feature lets you keep your hands on the steering wheel, and your eyes on the road.
•
When you press the Voice Command buttonlocated on the radio faceplate or
steering wheel, you will hear a beep. The beep is your signal to give a command. If you do
not know what commands to say, you can say "help" and the system will provide options to
you. If you ever wish to interrupt the system while it lists options, press the Voice Command
button
, listen for the BEEP, and say your command.
• You can “chain” commands together for faster results. Say “Call John Doe, mobile”, for
example.
Changing The Volume
• Start a dialogue by pressing the Voice Command button
, then say a command
(for example, “help”).
•
Use the radio ON/OFF VOLUME rotary knob to adjust the volume to a comfortable level
while the Voice Command system is speaking. The volume setting for Voice Command is
different than the audio system.
• Refer to the Understand The Features Of Your Vehicle section of your vehicle's Owner's Manual on the DVD for further details.
Common Voice Commands (Examples)
Switch Modes “FM”
“Satellite” “AM”
“Change Source to iPod”
“Change Source to SD Card”
Radio (FM, AM) “95.5”
“95.5 FM”
“Go to preset 5”
Player “Play Album 'Greatest Hits”
“Play Artist 'Scott Joplin” “Play Genre 'Rock” “Play Song
'Maple Leaf Rag”
SiriusXM™ Satellite Radio “39”
“Foxxhole”
SiriusXM™ Travel Link “Show fuel prices”
“Show movie listings”
“Show current weather”
“Show extended weather”
“Show Travel Link favorites”
“Show NFL headlines”
“Show NBA rankings”
“Show NFL schedules”
“Show NBA scores”
SiriusXM™ Navigation “Navigate to (Address)”
“Navigate to (Point of Interest)”
ELECTRONICS
56
Page 60 of 100
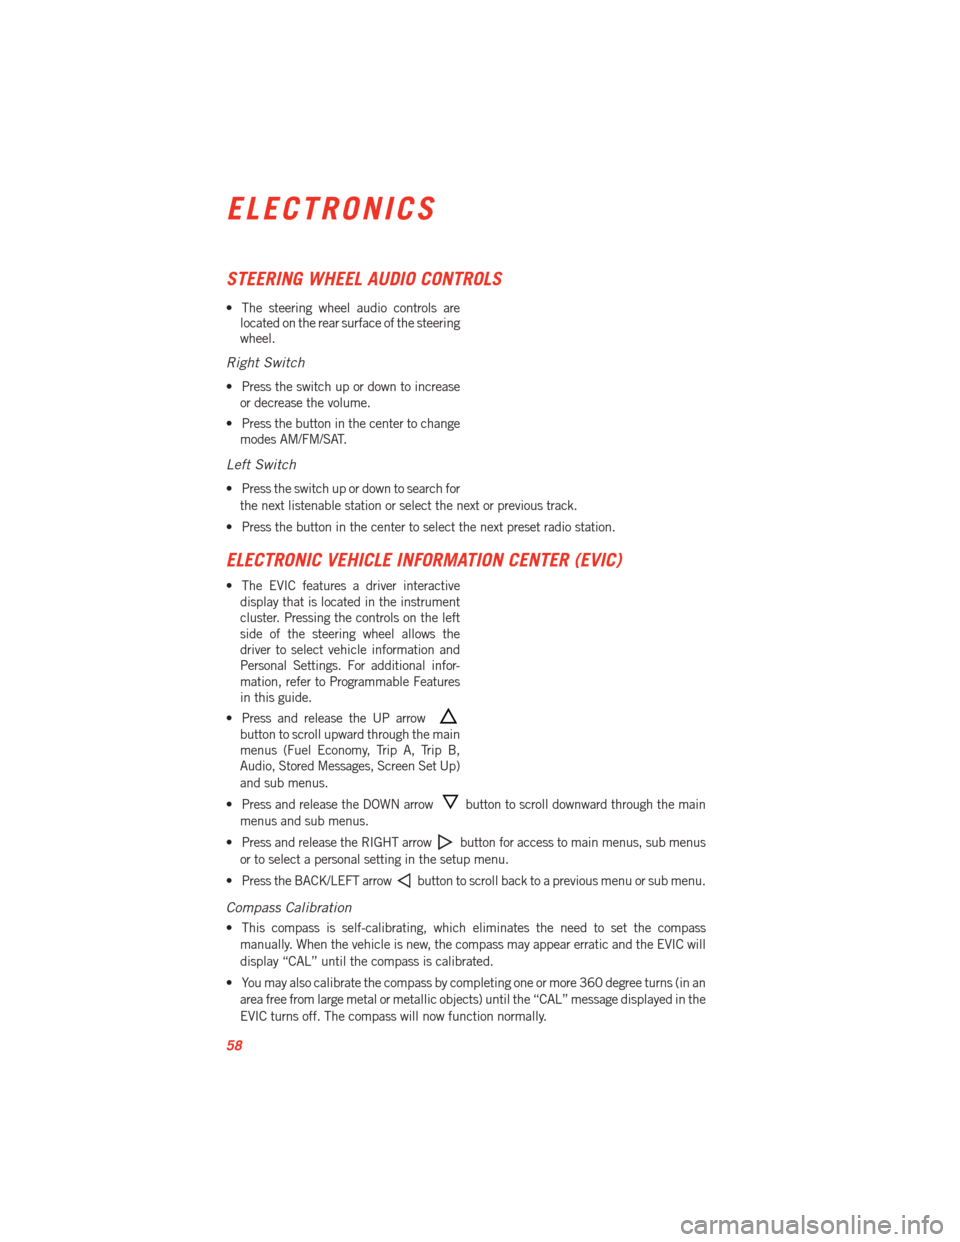
STEERING WHEEL AUDIO CONTROLS
• The steering wheel audio controls arelocated on the rear surface of the steering
wheel.
Right Switch
• Press the switch up or down to increase
or decrease the volume.
• Press the button in the center to change modes AM/FM/SAT.
Left Switch
• Press the switch up or down to search for
the next listenable station or select the next or previous track.
• Press the button in the center to select the next preset radio station.
ELECTRONIC VEHICLE INFORMATION CENTER (EVIC)
• The EVIC features a driver interactive display that is located in the instrument
cluster. Pressing the controls on the left
side of the steering wheel allows the
driver to select vehicle information and
Personal Settings. For additional infor-
mation, refer to Programmable Features
in this guide.
• Press and release the UP arrow
button to scroll upward through the main
menus (Fuel Economy, Trip A, Trip B,
Audio, Stored Messages, Screen Set Up)
and sub menus.
• Press and release the DOWN arrow
button to scroll downward through the main
menus and sub menus.
• Press and release the RIGHT arrow
button for access to main menus, sub menus
or to select a personal setting in the setup menu.
• Press the BACK/LEFT arrow
button to scroll back to a previous menu or sub menu.
Compass Calibration
• This compass is self-calibrating, which eliminates the need to set the compass manually. When the vehicle is new, the compass may appear erratic and the EVIC will
display “CAL” until the compass is calibrated.
• You may also calibrate the compass by completing one or more 360 degree turns (in an area free from large metal or metallic objects) until the “CAL” message displayed in the
EVIC turns off. The compass will now function normally.
ELECTRONICS
58
Page 61 of 100
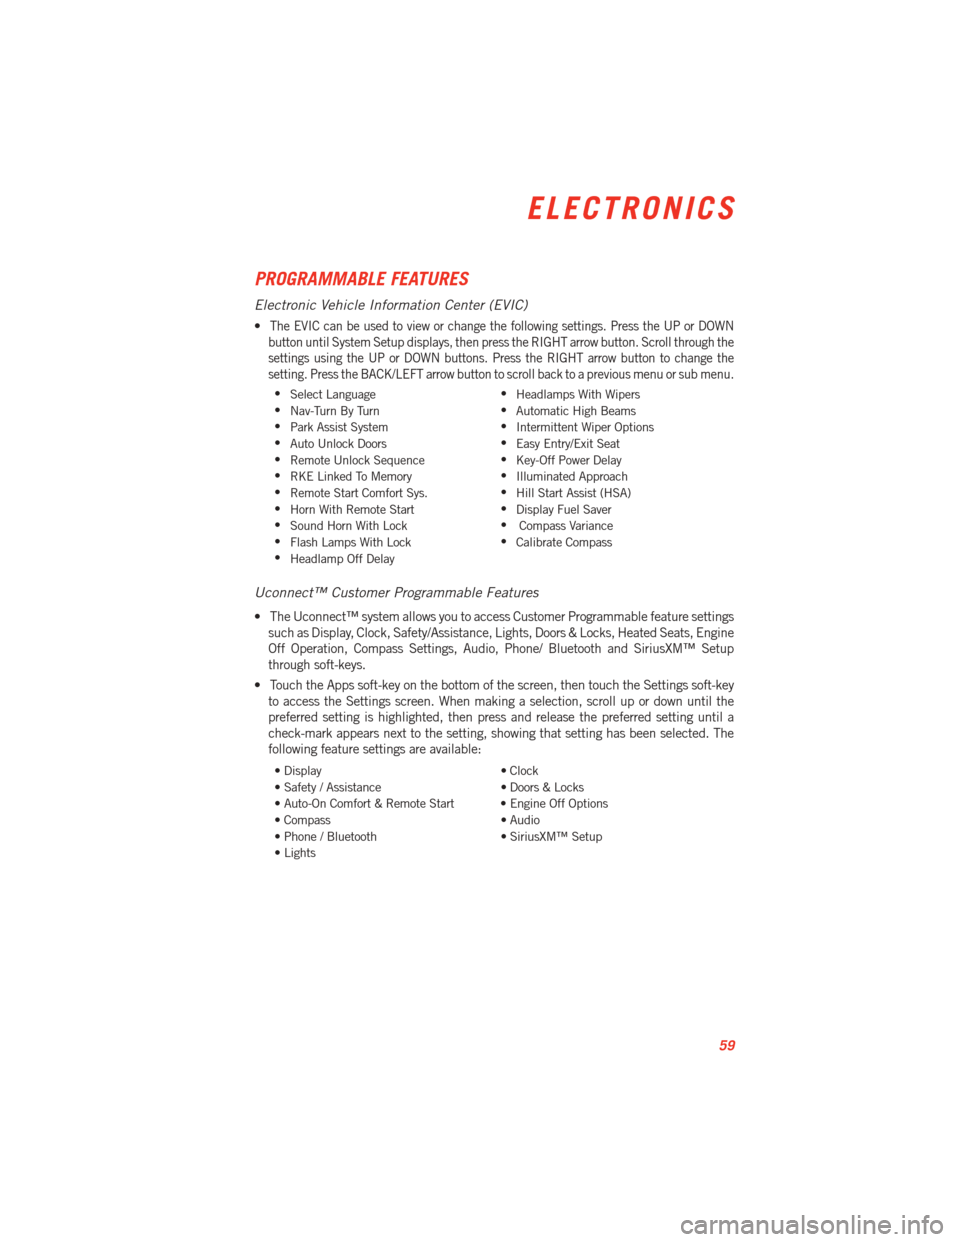
PROGRAMMABLE FEATURES
Electronic Vehicle Information Center (EVIC)
•The EVIC can be used to view or change the following settings. Press the UP or DOWN
button until System Setup displays, then press the RIGHT arrow button. Scroll through the
settings using the UP or DOWN buttons. Press the RIGHT arrow button to change the
setting. Press the BACK/LEFT arrow button to scroll back to a previous menu or sub menu.
• Select Language •
Headlamps With Wipers
• Nav-Turn By Turn •
Automatic High Beams
• Park Assist System •
Intermittent Wiper Options
• Auto Unlock Doors •
Easy Entry/Exit Seat
• Remote Unlock Sequence •
Key-Off Power Delay
• RKE Linked To Memory •
Illuminated Approach
• Remote Start Comfort Sys. •
Hill Start Assist (HSA)
• Horn With Remote Start •
Display Fuel Saver
• Sound Horn With Lock •
Compass Variance
• Flash Lamps With Lock •
Calibrate Compass
• Headlamp Off Delay
Uconnect™ Customer Programmable Features
• The Uconnect™ system allows you to access Customer Programmable feature settings
such as Display, Clock, Safety/Assistance, Lights, Doors & Locks, Heated Seats, Engine
Off Operation, Compass Settings, Audio, Phone/ Bluetooth and SiriusXM™ Setup
through soft-keys.
• Touch the Apps soft-key on the bottom of the screen, then touch the Settings soft-key to access the Settings screen. When making a selection, scroll up or down until the
preferred setting is highlighted, then press and release the preferred setting until a
check-mark appears next to the setting, showing that setting has been selected. The
following feature settings are available:
• Display • Clock
• Safety / Assistance • Doors & Locks
• Auto-On Comfort & Remote Start • Engine Off Options
• Compass • Audio
• Phone / Bluetooth • SiriusXM™ Setup
• Lights
ELECTRONICS
59
Page 95 of 100
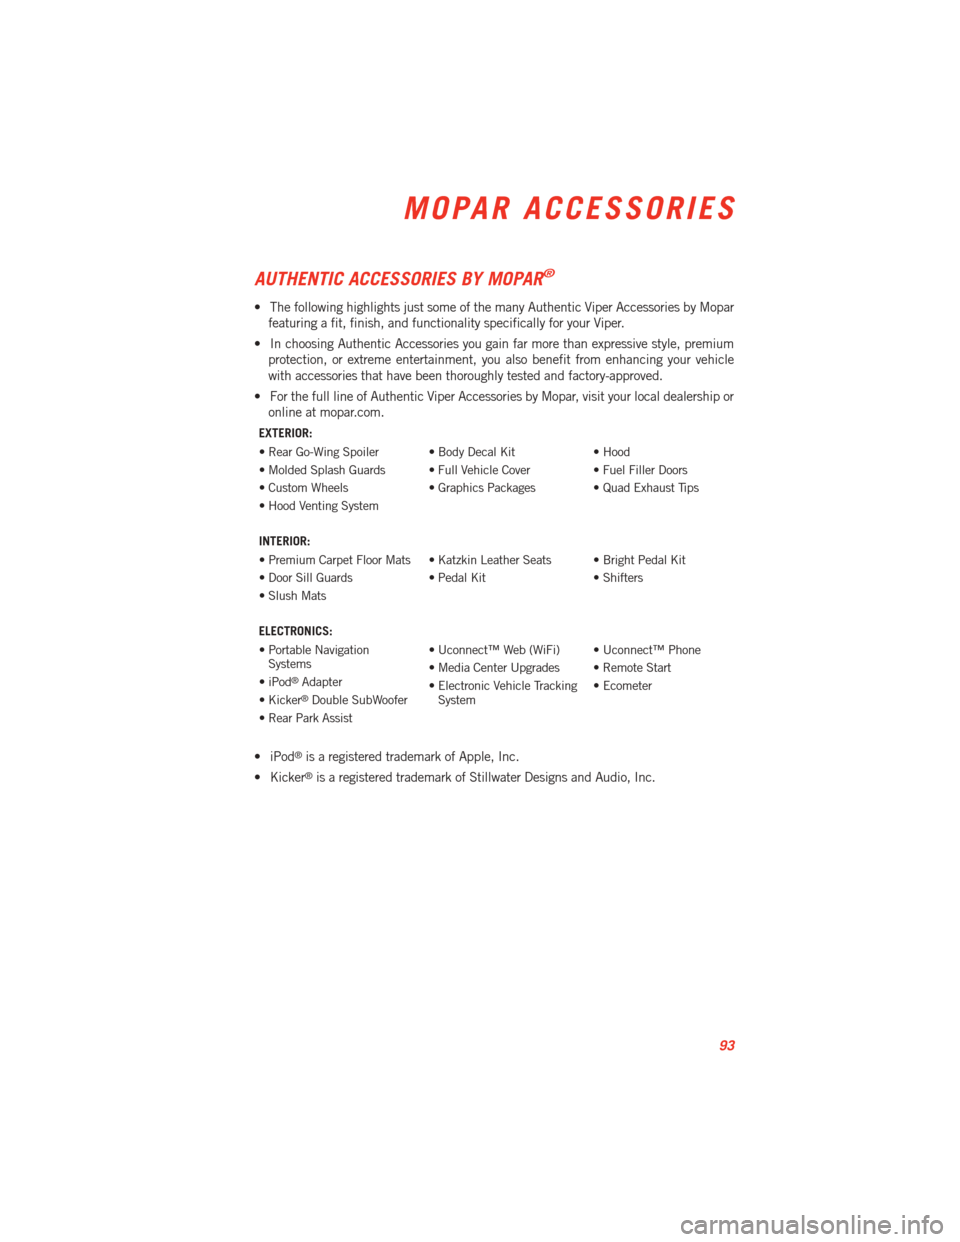
AUTHENTIC ACCESSORIES BY MOPAR®
• The following highlights just some of the many Authentic Viper Accessories by Moparfeaturing a fit, finish, and functionality specifically for your Viper.
• In choosing Authentic Accessories you gain far more than expressive style, premium protection, or extreme entertainment, you also benefit from enhancing your vehicle
with accessories that have been thoroughly tested and factory-approved.
• For the full line of Authentic Viper Accessories by Mopar, visit your local dealership or online at mopar.com.
EXTERIOR:
• Rear Go-Wing Spoiler • Body Decal Kit • Hood
• Molded Splash Guards • Full Vehicle Cover • Fuel Filler Doors
• Custom Wheels • Graphics Packages • Quad Exhaust Tips
• Hood Venting System
INTERIOR:
• Premium Carpet Floor Mats • Katzkin Leather Seats • Bright Pedal Kit
• Door Sill Guards • Pedal Kit • Shifters
• Slush Mats
ELECTRONICS:
• Portable NavigationSystems • Uconnect™ Web (WiFi) • Uconnect™ Phone
• iPod
®Adapter • Media Center Upgrades • Remote Start
• Kicker®Double SubWoofer • Electronic Vehicle Tracking
System • Ecometer
• Rear Park Assist
• iPod®is a registered trademark of Apple, Inc.
• Kicker
®is a registered trademark of Stillwater Designs and Audio, Inc.
MOPAR ACCESSORIES
93
Page 98 of 100
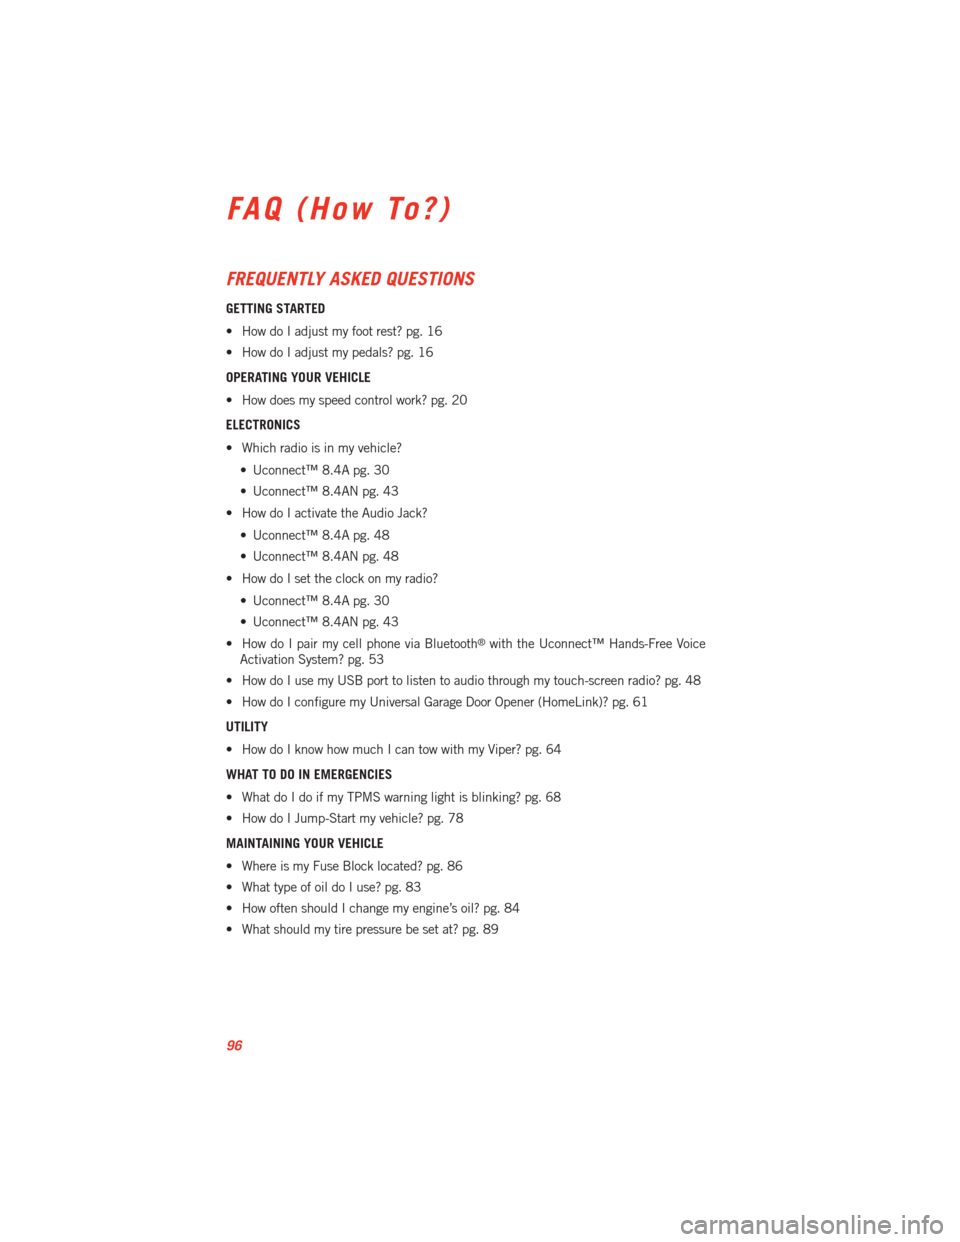
FREQUENTLY ASKED QUESTIONS
GETTING STARTED
• How do I adjust my foot rest? pg. 16
• How do I adjust my pedals? pg. 16
OPERATING YOUR VEHICLE
• How does my speed control work? pg. 20
ELECTRONICS
• Which radio is in my vehicle?• Uconnect™ 8.4A pg. 30
• Uconnect™ 8.4AN pg. 43
• How do I activate the Audio Jack?
• Uconnect™ 8.4A pg. 48
• Uconnect™ 8.4AN pg. 48
• How do I set the clock on my radio?
• Uconnect™ 8.4A pg. 30
• Uconnect™ 8.4AN pg. 43
• How do I pair my cell phone via Bluetooth
®with the Uconnect™ Hands-Free Voice
Activation System? pg. 53
• How do I use my USB port to listen to audio through my touch-screen radio? pg. 48
• How do I configure my Universal Garage Door Opener (HomeLink)? pg. 61
UTILITY
• How do I know how much I can tow with my Viper? pg. 64
WHAT TO DO IN EMERGENCIES
• What do I do if my TPMS warning light is blinking? pg. 68
• How do I Jump-Start my vehicle? pg. 78
MAINTAINING YOUR VEHICLE
• Where is my Fuse Block located? pg. 86
• What type of oil do I use? pg. 83
• How often should I change my engine’s oil? pg. 84
• What should my tire pressure be set at? pg. 89
FAQ (How To?)
96