horn DODGE VIPER 2013 VX / 3.G User Guide
[x] Cancel search | Manufacturer: DODGE, Model Year: 2013, Model line: VIPER, Model: DODGE VIPER 2013 VX / 3.GPages: 100, PDF Size: 3.1 MB
Page 29 of 100
Uconnect™ Access (Available on Uconnect™ 8.4A and
Uconnect™ 8.4AN)
• With Uconnect™ Access, owners now have emergency and remote vehicle featuresand apps. In-vehicle features include 9-1-1 Call, and Roadside Assistance Call. Your
vehicle is also capable of remote vehicle features such as Remote Start, Remote Door
Lock/Unlock, and Remote Horn and Lights , once you are registered and have
downloaded the Uconnect™ Access Mobile App on a compatible smartphone.
• Your vehicle comes with an included trial period for use of the Uconnect™ Access features. To activate the trial, you must first register with Uconnect™. See the simple
registration steps below. Once registered, Uconnect™ Access customers can purchase
additional features and Apps as they become available. After the trial period, you
can subscribe for continued service . For Uconnect™ customer support, visit
www.Uconnect-Phone.com or call 1–877–855–8400. (U.S. Residents). Canadian
Residents call, 1-800-465–2001 (English) or 1-800-387-9983 (French).
Uconnect™ Access In-Vehicle Features
Uconnect™ Access in-vehicle features do not require that you have a compatible smart-
phone. Instead, they work by using the built-in 3G Cellular Connection. For additional
information, contact Uconnect™ Customer Care at 855-792-4241, or visit Owner Connect
at driveSRT.com/MoparOwnerConnect.
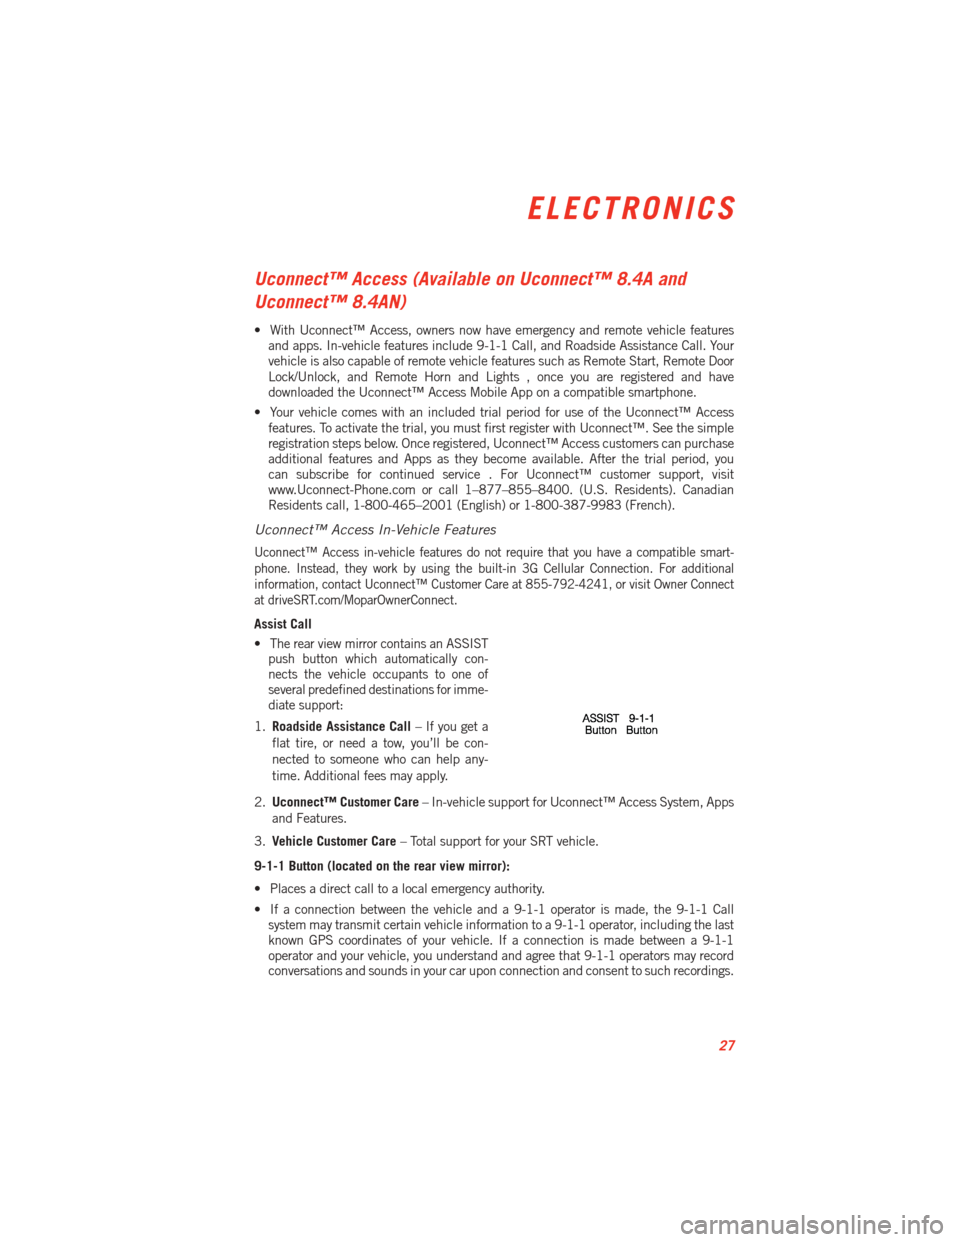
Assist Call
•
The rear view mirror contains an ASSIST
push button which automatically con-
nects the vehicle occupants to one of
several predefined destinations for imme-
diate support:
1. Roadside Assistance Call – If you get a
flat tire, or need a tow, you’ll be con-
nected to someone who can help any-
time. Additional fees may apply.
2. Uconnect™ Customer Care – In-vehicle support for Uconnect™ Access System, Apps
and Features.
3. Vehicle Customer Care – Total support for your SRT vehicle.
9-1-1 Button (located on the rear view mirror):
• Places a direct call to a local emergency authority.
• If a connection between the vehicle and a 9-1-1 operator is made, the 9-1-1 Call system may transmit certain vehicle information to a 9-1-1 operator, including the last
known GPS coordinates of your vehicle. If a connection is made between a 9-1-1
operator and your vehicle, you understand and agree that 9-1-1 operators may record
conversations and sounds in your car upon connection and consent to such recordings.
ELECTRONICS
27
Page 61 of 100
PROGRAMMABLE FEATURES
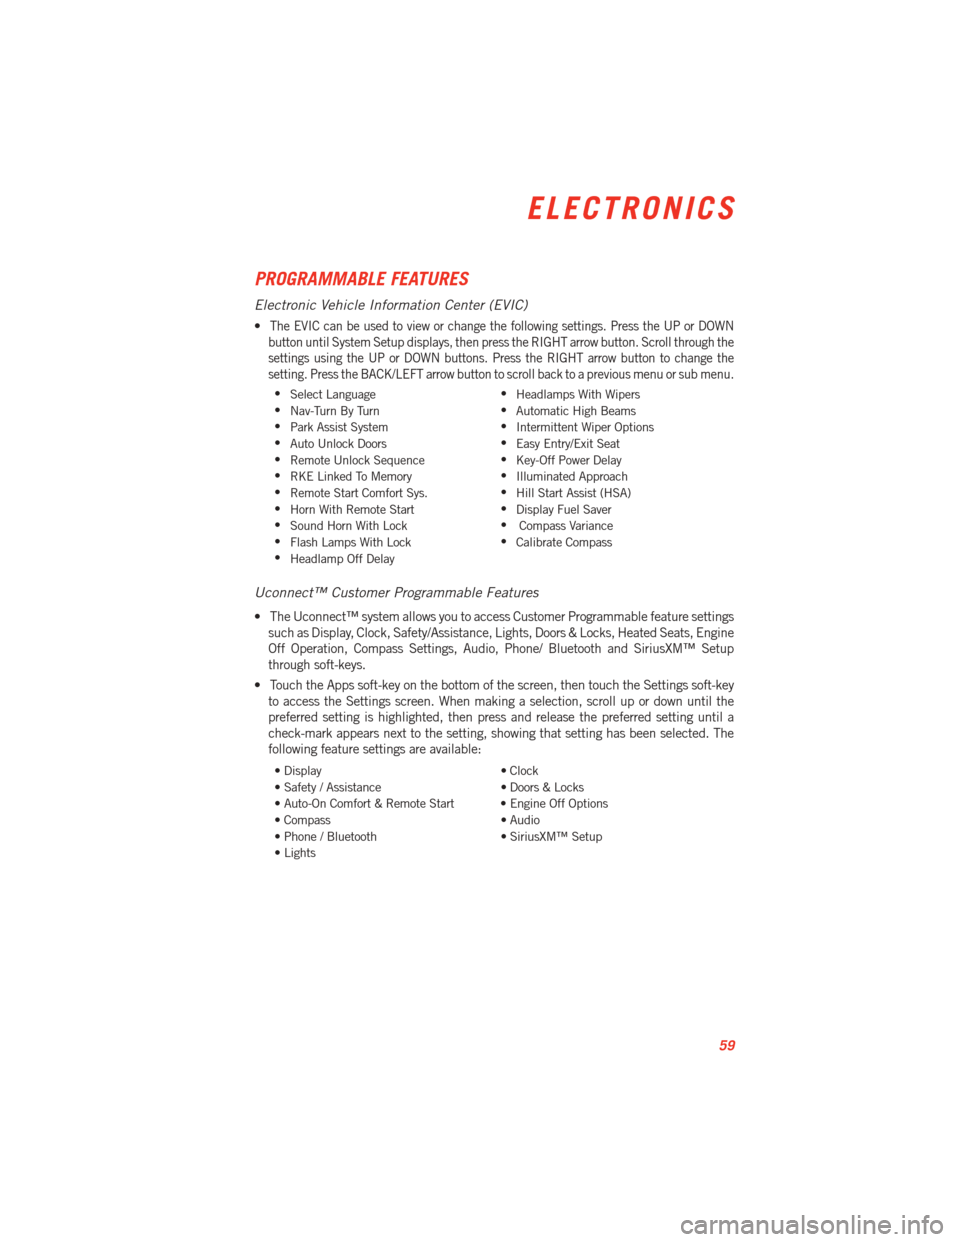
Electronic Vehicle Information Center (EVIC)
•The EVIC can be used to view or change the following settings. Press the UP or DOWN
button until System Setup displays, then press the RIGHT arrow button. Scroll through the
settings using the UP or DOWN buttons. Press the RIGHT arrow button to change the
setting. Press the BACK/LEFT arrow button to scroll back to a previous menu or sub menu.
• Select Language •
Headlamps With Wipers
• Nav-Turn By Turn •
Automatic High Beams
• Park Assist System •
Intermittent Wiper Options
• Auto Unlock Doors •
Easy Entry/Exit Seat
• Remote Unlock Sequence •
Key-Off Power Delay
• RKE Linked To Memory •
Illuminated Approach
• Remote Start Comfort Sys. •
Hill Start Assist (HSA)
• Horn With Remote Start •
Display Fuel Saver
• Sound Horn With Lock •
Compass Variance
• Flash Lamps With Lock •
Calibrate Compass
• Headlamp Off Delay
Uconnect™ Customer Programmable Features
• The Uconnect™ system allows you to access Customer Programmable feature settings
such as Display, Clock, Safety/Assistance, Lights, Doors & Locks, Heated Seats, Engine
Off Operation, Compass Settings, Audio, Phone/ Bluetooth and SiriusXM™ Setup
through soft-keys.
• Touch the Apps soft-key on the bottom of the screen, then touch the Settings soft-key to access the Settings screen. When making a selection, scroll up or down until the
preferred setting is highlighted, then press and release the preferred setting until a
check-mark appears next to the setting, showing that setting has been selected. The
following feature settings are available:
• Display • Clock
• Safety / Assistance • Doors & Locks
• Auto-On Comfort & Remote Start • Engine Off Options
• Compass • Audio
• Phone / Bluetooth • SiriusXM™ Setup
• Lights
ELECTRONICS
59
Page 62 of 100
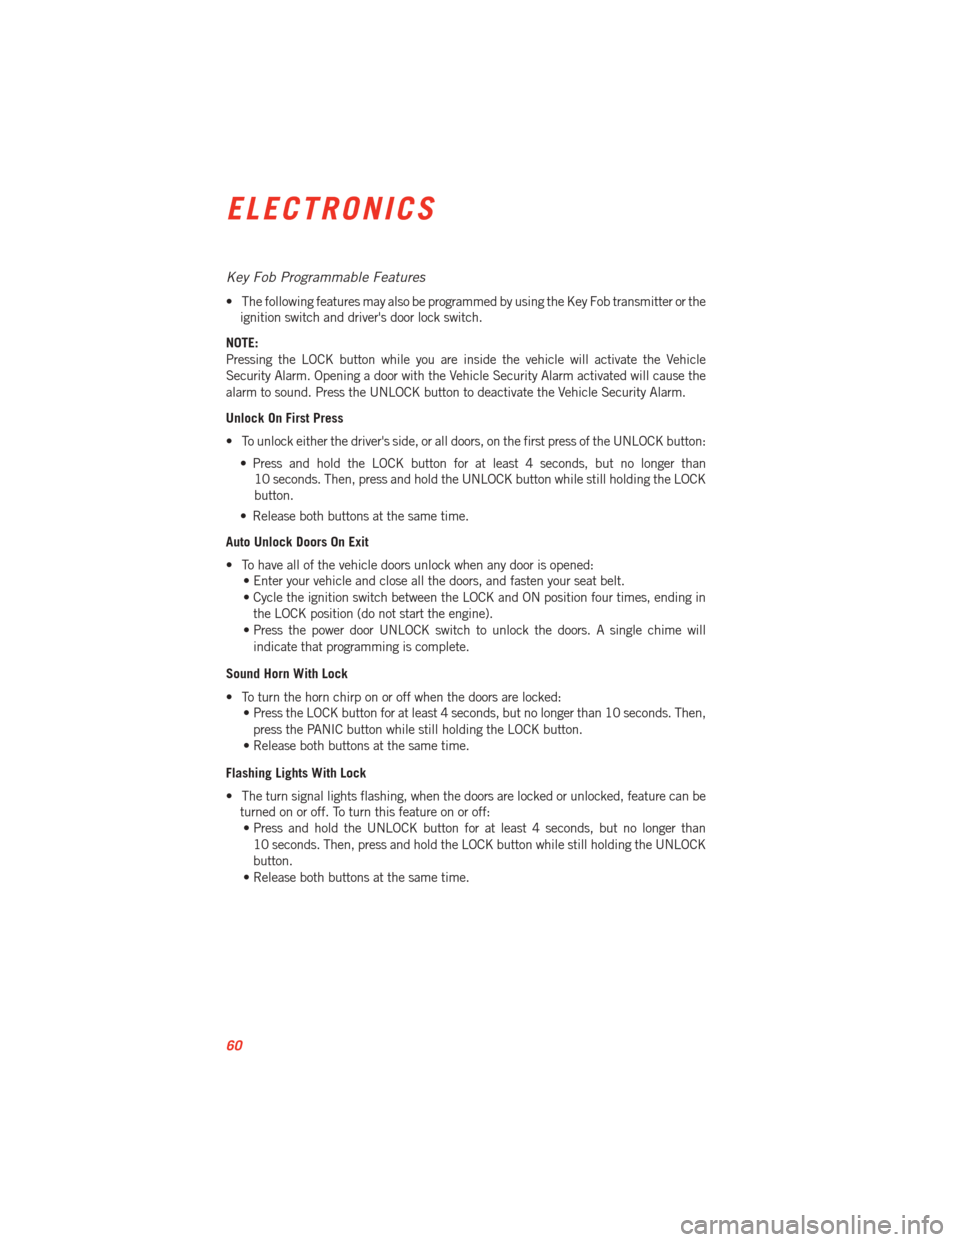
Key Fob Programmable Features
• The following features may also be programmed by using the Key Fob transmitter or theignition switch and driver's door lock switch.
NOTE:
Pressing the LOCK button while you are inside the vehicle will activate the Vehicle
Security Alarm. Opening a door with the Vehicle Security Alarm activated will cause the
alarm to sound. Press the UNLOCK button to deactivate the Vehicle Security Alarm.
Unlock On First Press
• To unlock either the driver's side, or all doors, on the first press of the UNLOCK button: • Press and hold the LOCK button for at least 4 seconds, but no longer than10 seconds. Then, press and hold the UNLOCK button while still holding the LOCK
button.
• Release both buttons at the same time.
Auto Unlock Doors On Exit
• To have all of the vehicle doors unlock when any door is opened: • Enter your vehicle and close all the doors, and fasten your seat belt.
• Cycle the ignition switch between the LOCK and ON position four times, ending in
the LOCK position (do not start the engine).
• Press the power door UNLOCK switch to unlock the doors. A single chime will indicate that programming is complete.
Sound Horn With Lock
• To turn the horn chirp on or off when the doors are locked: • Press the LOCK button for at least 4 seconds, but no longer than 10 seconds. Then,
press the PANIC button while still holding the LOCK button.
• Release both buttons at the same time.
Flashing Lights With Lock
• The turn signal lights flashing, when the doors are locked or unlocked, feature can be turned on or off. To turn this feature on or off:• Press and hold the UNLOCK button for at least 4 seconds, but no longer than
10 seconds. Then, press and hold the LOCK button while still holding the UNLOCK
button.
• Release both buttons at the same time.
ELECTRONICS
60
Page 88 of 100
FUSES
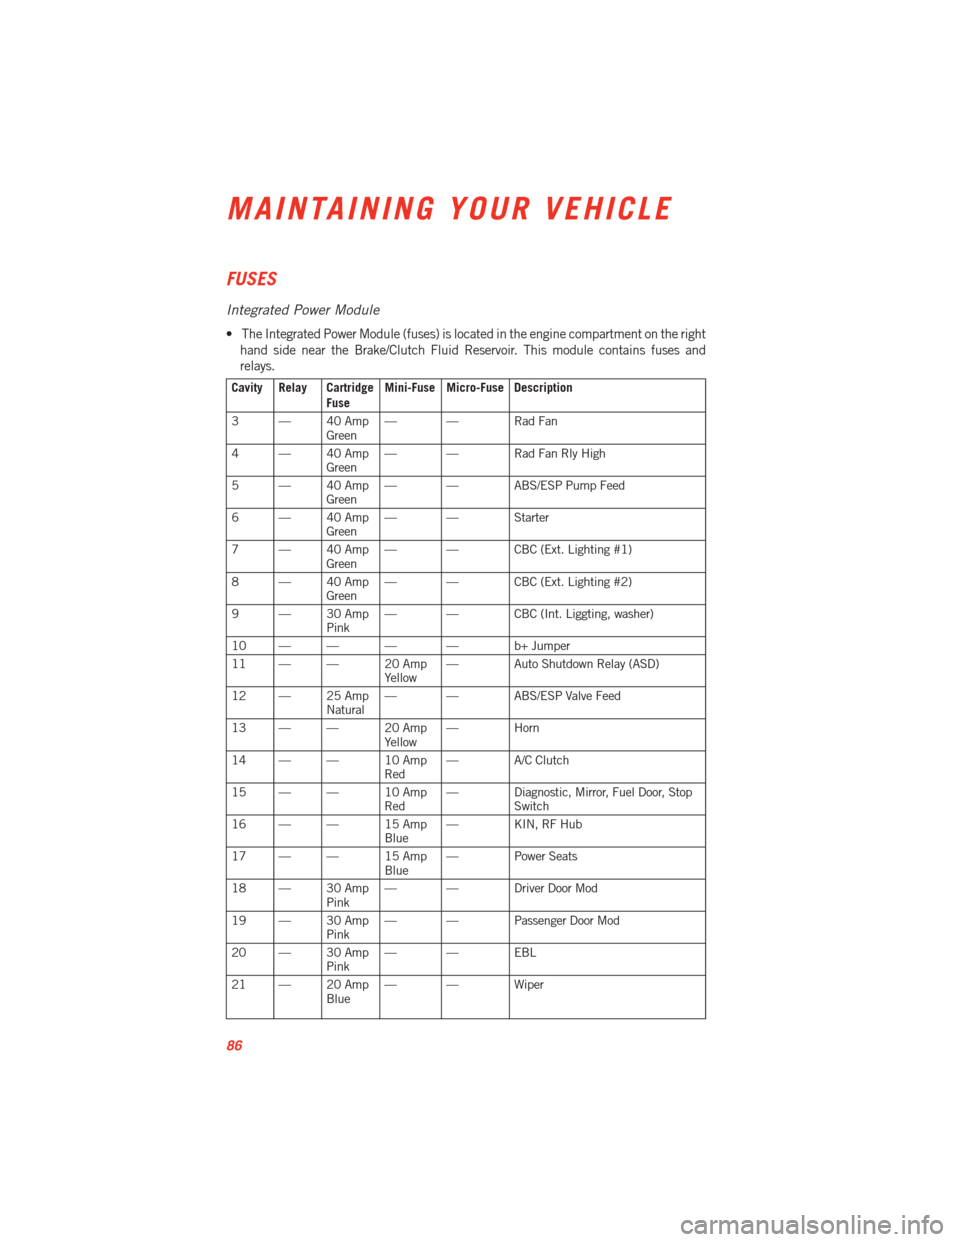
Integrated Power Module
• The Integrated Power Module (fuses) is located in the engine compartment on the righthand side near the Brake/Clutch Fluid Reservoir. This module contains fuses and
relays.
Cavity Relay Cartridge
FuseMini-Fuse Micro-Fuse Description
3 — 40 Amp Green— — Rad Fan
4 — 40 Amp Green— — Rad Fan Rly High
5 — 40 Amp Green— — ABS/ESP Pump Feed
6 — 40 Amp Green— — Starter
7 — 40 Amp Green— — CBC (Ext. Lighting #1)
8 — 40 Amp Green— — CBC (Ext. Lighting #2)
9 — 30 Amp Pink— — CBC (Int. Liggting, washer)
10 — — — — b+ Jumper
11 — — 20 Amp Yellow— Auto Shutdown Relay (ASD)
12 — 25 Amp Natural— — ABS/ESP Valve Feed
13 — — 20 Amp Yellow— Horn
14 — — 10 Amp Red— A/C Clutch
15 — — 10 Amp Red— Diagnostic, Mirror, Fuel Door, Stop
Switch
16 — — 15 Amp Blue— KIN,RFHub
17 — — 15 Amp Blue— Power Seats
18 — 30 Amp Pink— — Driver Door Mod
19 — 30 Amp Pink— — Passenger Door Mod
20 — 30 Amp Pink— — EBL
21 — 20 Amp Blue— — Wiper
MAINTAINING YOUR VEHICLE
86
Page 90 of 100
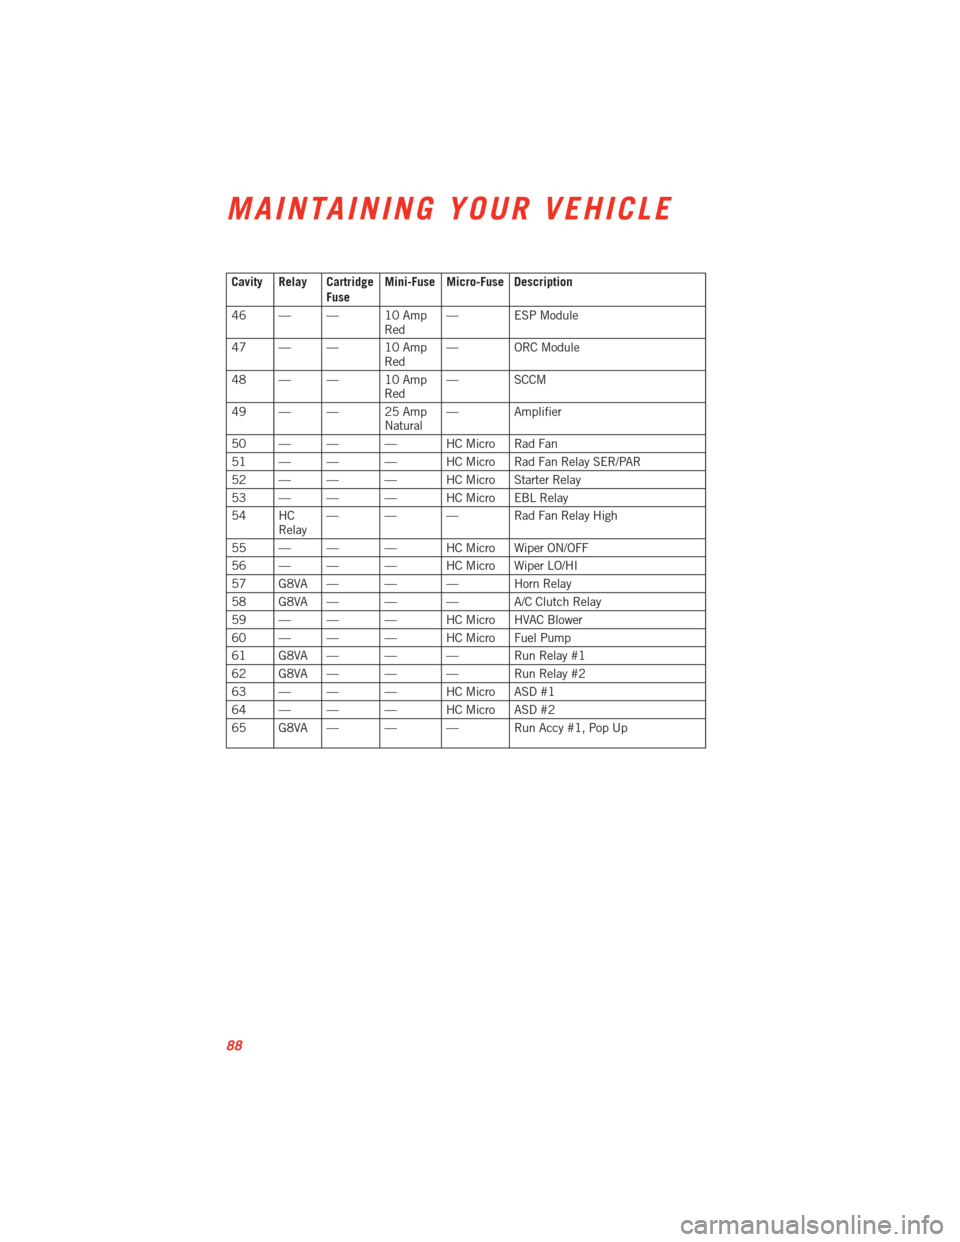
Cavity Relay CartridgeFuseMini-Fuse Micro-Fuse Description
46 — — 10 Amp Red— ESP Module
47 — — 10 Amp Red— ORC Module
48 — — 10 Amp Red— SCCM
49 — — 25 Amp Natural— Amplifier
50 — — — HC Micro Rad Fan
51 — — — HC Micro Rad Fan Relay SER/PAR
52 — — — HC Micro Starter Relay
53 — — — HC Micro EBL Relay
54 HC Relay — — — Rad Fan Relay High
55 — — — HC Micro Wiper ON/OFF
56 — — — HC Micro Wiper LO/HI
57 G8VA — — — Horn Relay
58 G8VA — — — A/C Clutch Relay
59 — — — HC Micro HVAC Blower
60 — — — HC Micro Fuel Pump
61 G8VA — — — Run Relay #1
62 G8VA — — — Run Relay #2
63 — — — HC Micro ASD #1
64 — — — HC Micro ASD #2
65 G8VA — — — Run Accy #1, Pop Up
MAINTAINING YOUR VEHICLE
88