remote start DODGE VIPER 2013 VX / 3.G User Guide
[x] Cancel search | Manufacturer: DODGE, Model Year: 2013, Model line: VIPER, Model: DODGE VIPER 2013 VX / 3.GPages: 100, PDF Size: 3.1 MB
Page 5 of 100
VEHICLES SOLD IN CANADA
With respect to any vehicles sold in Canada, the name Chrysler Group LLC shall be
deemed to be deleted and the name Chrysler Canada Inc. used in substitution.
WARNING!
• Pedals that cannot move freely can cause loss of vehicle control and increase therisk of serious personal injury.
• Always make sure that objects cannot fall into the driver foot well while the vehicle
is moving. Objects can become trapped under the brake pedal and accelerator
pedal causing a loss of vehicle control.
• Failure to properly follow floor mat installation or mounting can cause interference
with the brake pedal and accelerator pedal operation causing loss of control of the
vehicle.
• Never use the ‘PARK’ position as a substitute for the parking brake. Always apply the parking brake fully when parked to guard against vehicle movement and
possible injury or damage.
• Refer to your Owner's Manual on the DVD for further details.
USE OF AFTERMARKET PRODUCTS (ELECTRONICS)
The use of aftermarket devices including cell phones, MP3 players, GPS systems, or
chargers may affect the performance of on-board wireless features including Keyless
Enter-N-Go™ and Remote Start range. If you are experiencing difficulties with any of your
wireless features, try disconnecting your aftermarket devices to see if the situation
improves. If your symptoms persist, please see an authorized dealer.
CHRYSLER, DODGE, JEEP, RAM TRUCK, SRT, ATF+4, MOPAR and Uconnect are
registered trademarks of Chrysler Group LLC.
COPYRIGHT ©2012 CHRYSLER GROUP LLC
INTRODUCTION/WELCOME
3
Page 11 of 100
ENGINE STARTING/STOPPING
Starting
1. Fully apply the parking brake.
2. Press the clutch pedal to the floor.
3. Place the shift lever in NEUTRAL.
4. Press the red ENGINE START/STOPbutton located on the instrument panel.
Release the button when the engine
starts.
NOTE:
The engine will not start unless the clutch pedal is pressed to the floor.
Stopping
1. Bring the vehicle to a complete stop.
2. Fully apply the parking brake.
3. Press the clutch pedal to the floor.
4. Place the shift lever in NEUTRAL/1st Gear.
5. Press the ENGINE START/STOP button once. The ignition switch will return to the OFF position.
THEFT ALARM
To Arm:
Follow these steps to arm the Vehicle Security Alarm:
• Press LOCK on the interior power door lock switch with the driver and/or passenger dooropen.
• Press the LOCK button on the Remote Keyless Entry (RKE) transmitter.
NOTE:
Using the key to open the liftgate while the Vehicle Security Alarm is armed will not trigger
the theft alarm.
To Disarm:
The Vehicle Security Alarm can be disarmed using any of the following methods:
• Press the UNLOCK button on the Remote Keyless Entry (RKE) transmitter.
• Cycle the vehicle ignition system out of the OFF position.
GETTING STARTED
9
Page 29 of 100
Uconnect™ Access (Available on Uconnect™ 8.4A and
Uconnect™ 8.4AN)
• With Uconnect™ Access, owners now have emergency and remote vehicle featuresand apps. In-vehicle features include 9-1-1 Call, and Roadside Assistance Call. Your
vehicle is also capable of remote vehicle features such as Remote Start, Remote Door
Lock/Unlock, and Remote Horn and Lights , once you are registered and have
downloaded the Uconnect™ Access Mobile App on a compatible smartphone.
• Your vehicle comes with an included trial period for use of the Uconnect™ Access features. To activate the trial, you must first register with Uconnect™. See the simple
registration steps below. Once registered, Uconnect™ Access customers can purchase
additional features and Apps as they become available. After the trial period, you
can subscribe for continued service . For Uconnect™ customer support, visit
www.Uconnect-Phone.com or call 1–877–855–8400. (U.S. Residents). Canadian
Residents call, 1-800-465–2001 (English) or 1-800-387-9983 (French).
Uconnect™ Access In-Vehicle Features
Uconnect™ Access in-vehicle features do not require that you have a compatible smart-
phone. Instead, they work by using the built-in 3G Cellular Connection. For additional
information, contact Uconnect™ Customer Care at 855-792-4241, or visit Owner Connect
at driveSRT.com/MoparOwnerConnect.
Assist Call
•
The rear view mirror contains an ASSIST
push button which automatically con-
nects the vehicle occupants to one of
several predefined destinations for imme-
diate support:
1. Roadside Assistance Call – If you get a
flat tire, or need a tow, you’ll be con-
nected to someone who can help any-
time. Additional fees may apply.
2. Uconnect™ Customer Care – In-vehicle support for Uconnect™ Access System, Apps
and Features.
3. Vehicle Customer Care – Total support for your SRT vehicle.
9-1-1 Button (located on the rear view mirror):
• Places a direct call to a local emergency authority.
• If a connection between the vehicle and a 9-1-1 operator is made, the 9-1-1 Call system may transmit certain vehicle information to a 9-1-1 operator, including the last
known GPS coordinates of your vehicle. If a connection is made between a 9-1-1
operator and your vehicle, you understand and agree that 9-1-1 operators may record
conversations and sounds in your car upon connection and consent to such recordings.
ELECTRONICS
27
Page 61 of 100
PROGRAMMABLE FEATURES
Electronic Vehicle Information Center (EVIC)
•The EVIC can be used to view or change the following settings. Press the UP or DOWN
button until System Setup displays, then press the RIGHT arrow button. Scroll through the
settings using the UP or DOWN buttons. Press the RIGHT arrow button to change the
setting. Press the BACK/LEFT arrow button to scroll back to a previous menu or sub menu.
• Select Language •
Headlamps With Wipers
• Nav-Turn By Turn •
Automatic High Beams
• Park Assist System •
Intermittent Wiper Options
• Auto Unlock Doors •
Easy Entry/Exit Seat
• Remote Unlock Sequence •
Key-Off Power Delay
• RKE Linked To Memory •
Illuminated Approach
• Remote Start Comfort Sys. •
Hill Start Assist (HSA)
• Horn With Remote Start •
Display Fuel Saver
• Sound Horn With Lock •
Compass Variance
• Flash Lamps With Lock •
Calibrate Compass
• Headlamp Off Delay
Uconnect™ Customer Programmable Features
• The Uconnect™ system allows you to access Customer Programmable feature settings
such as Display, Clock, Safety/Assistance, Lights, Doors & Locks, Heated Seats, Engine
Off Operation, Compass Settings, Audio, Phone/ Bluetooth and SiriusXM™ Setup
through soft-keys.
• Touch the Apps soft-key on the bottom of the screen, then touch the Settings soft-key to access the Settings screen. When making a selection, scroll up or down until the
preferred setting is highlighted, then press and release the preferred setting until a
check-mark appears next to the setting, showing that setting has been selected. The
following feature settings are available:
• Display • Clock
• Safety / Assistance • Doors & Locks
• Auto-On Comfort & Remote Start • Engine Off Options
• Compass • Audio
• Phone / Bluetooth • SiriusXM™ Setup
• Lights
ELECTRONICS
59
Page 80 of 100
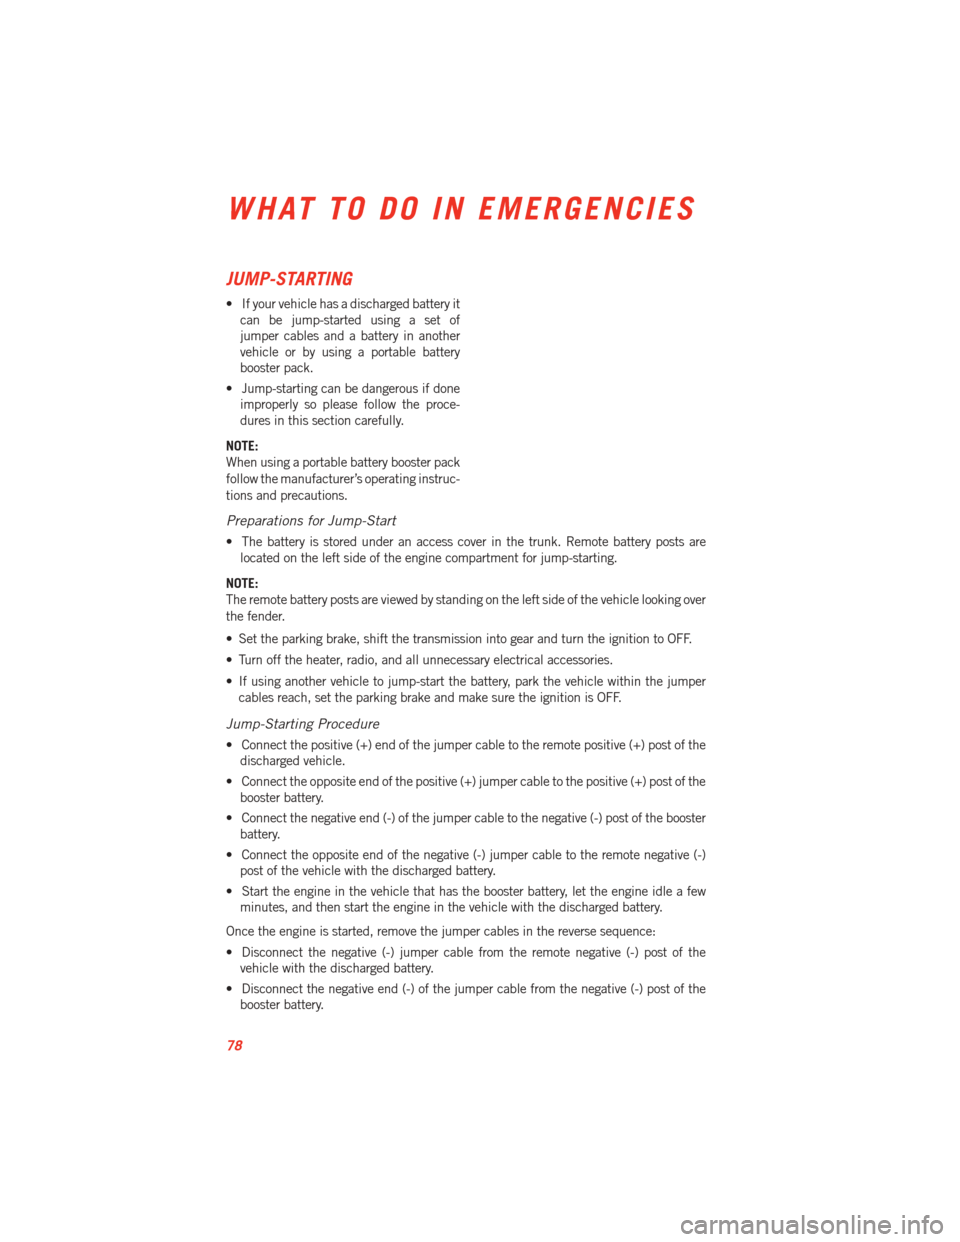
JUMP-STARTING
• If your vehicle has a discharged battery itcan be jump-started using a set of
jumper cables and a battery in another
vehicle or by using a portable battery
booster pack.
• Jump-starting can be dangerous if done improperly so please follow the proce-
dures in this section carefully.
NOTE:
When using a portable battery booster pack
follow the manufacturer’s operating instruc-
tions and precautions.
Preparations for Jump-Start
• The battery is stored under an access cover in the trunk. Remote battery posts are located on the left side of the engine compartment for jump-starting.
NOTE:
The remote battery posts are viewed by standing on the left side of the vehicle looking over
the fender.
• Set the parking brake, shift the transmission into gear and turn the ignition to OFF.
• Turn off the heater, radio, and all unnecessary electrical accessories.
• If using another vehicle to jump-start the battery, park the vehicle within the jumper cables reach, set the parking brake and make sure the ignition is OFF.
Jump-Starting Procedure
• Connect the positive (+) end of the jumper cable to the remote positive (+) post of the discharged vehicle.
• Connect the opposite end of the positive (+) jumper cable to the positive (+) post of the booster battery.
• Connect the negative end (-) of the jumper cable to the negative (-) post of the booster battery.
• Connect the opposite end of the negative (-) jumper cable to the remote negative (-) post of the vehicle with the discharged battery.
• Start the engine in the vehicle that has the booster battery, let the engine idle a few minutes, and then start the engine in the vehicle with the discharged battery.
Once the engine is started, remove the jumper cables in the reverse sequence:
• Disconnect the negative (-) jumper cable from the remote negative (-) post of the vehicle with the discharged battery.
• Disconnect the negative end (-) of the jumper cable from the negative (-) post of the booster battery.
WHAT TO DO IN EMERGENCIES
78
Page 81 of 100
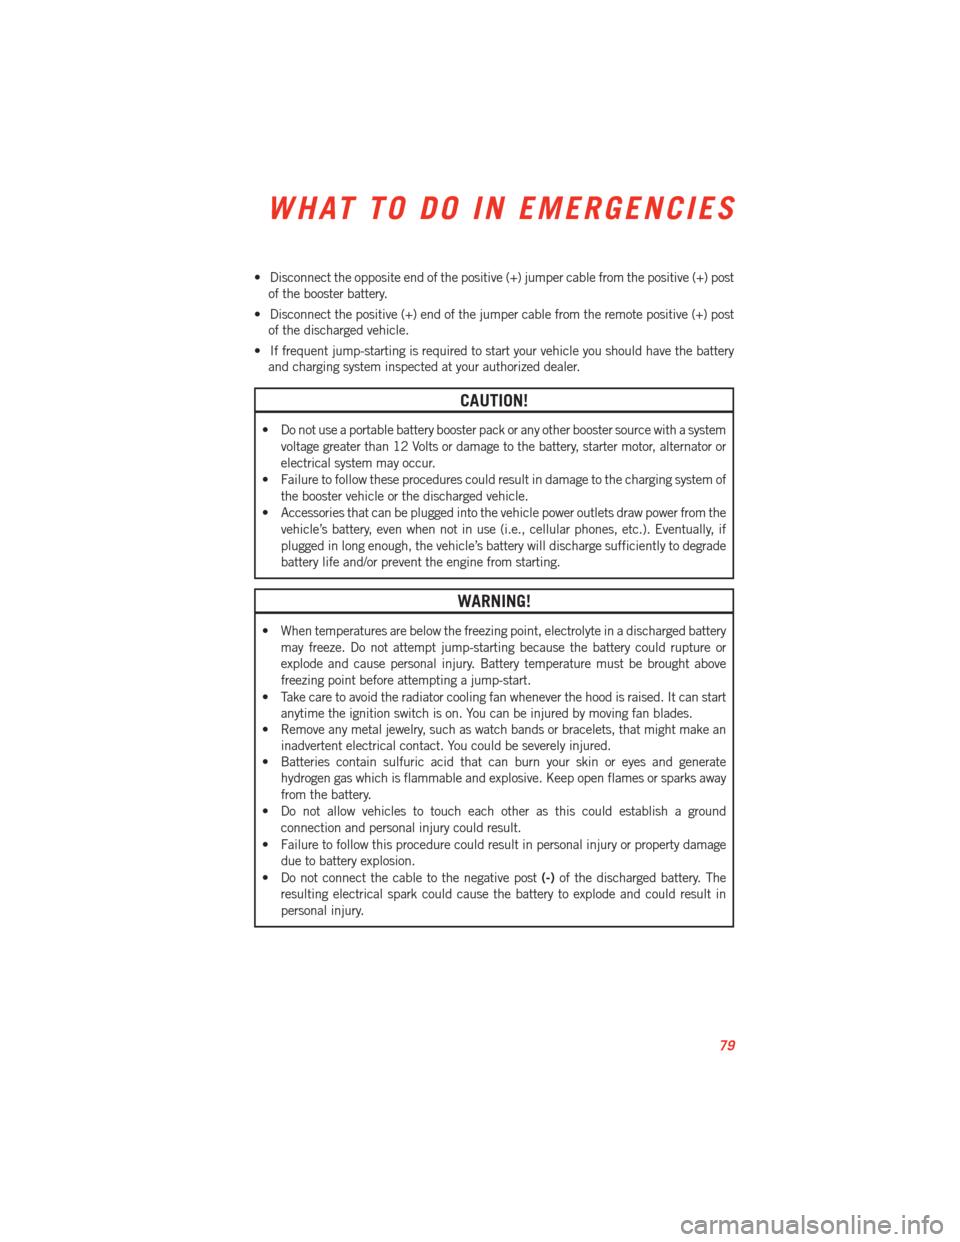
• Disconnect the opposite end of the positive (+) jumper cable from the positive (+) postof the booster battery.
• Disconnect the positive (+) end of the jumper cable from the remote positive (+) post of the discharged vehicle.
• If frequent jump-starting is required to start your vehicle you should have the battery and charging system inspected at your authorized dealer.
CAUTION!
• Do not use a portable battery booster pack or any other booster source with a system
voltage greater than 12 Volts or damage to the battery, starter motor, alternator or
electrical system may occur.
• Failure to follow these procedures could result in damage to the charging system of the booster vehicle or the discharged vehicle.
• Accessories that can be plugged into the vehicle power outlets draw power from the vehicle’s battery, even when not in use (i.e., cellular phones, etc.). Eventually, if
plugged in long enough, the vehicle’s battery will discharge sufficiently to degrade
battery life and/or prevent the engine from starting.
WARNING!
• When temperatures are below the freezing point, electrolyte in a discharged batterymay freeze. Do not attempt jump-starting because the battery could rupture or
explode and cause personal injury. Battery temperature must be brought above
freezing point before attempting a jump-start.
• Take care to avoid the radiator cooling fan whenever the hood is raised. It can start anytime the ignition switch is on. You can be injured by moving fan blades.
• Remove any metal jewelry, such as watch bands or bracelets, that might make an
inadvertent electrical contact. You could be severely injured.
• Batteries contain sulfuric acid that can burn your skin or eyes and generate
hydrogen gas which is flammable and explosive. Keep open flames or sparks away
from the battery.
• Do not allow vehicles to touch each other as this could establish a ground connection and personal injury could result.
• Failure to follow this procedure could result in personal injury or property damage due to battery explosion.
• Do not connect the cable to the negative post (-)of the discharged battery. The
resulting electrical spark could cause the battery to explode and could result in
personal injury.
WHAT TO DO IN EMERGENCIES
79
Page 95 of 100
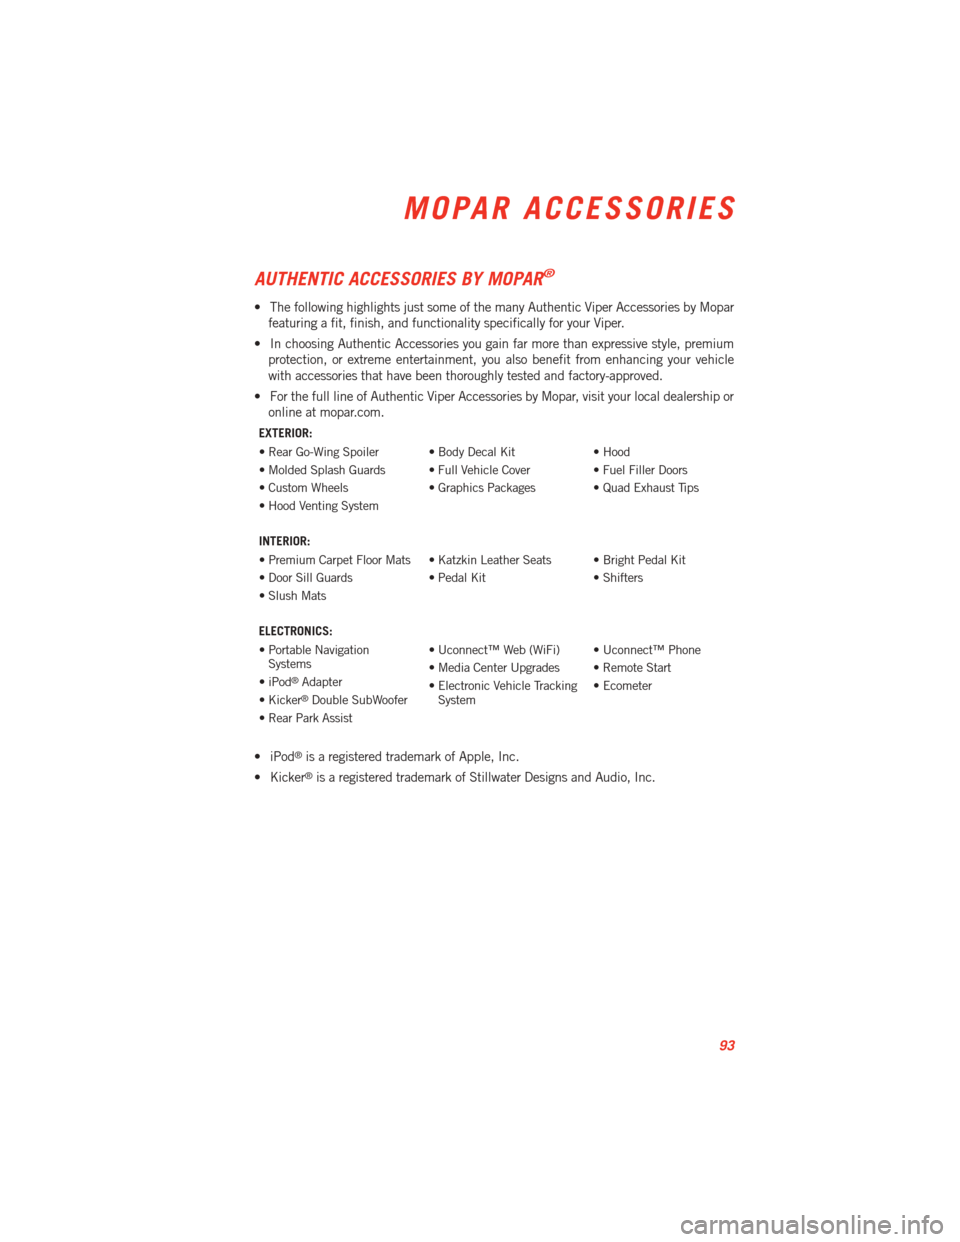
AUTHENTIC ACCESSORIES BY MOPAR®
• The following highlights just some of the many Authentic Viper Accessories by Moparfeaturing a fit, finish, and functionality specifically for your Viper.
• In choosing Authentic Accessories you gain far more than expressive style, premium protection, or extreme entertainment, you also benefit from enhancing your vehicle
with accessories that have been thoroughly tested and factory-approved.
• For the full line of Authentic Viper Accessories by Mopar, visit your local dealership or online at mopar.com.
EXTERIOR:
• Rear Go-Wing Spoiler • Body Decal Kit • Hood
• Molded Splash Guards • Full Vehicle Cover • Fuel Filler Doors
• Custom Wheels • Graphics Packages • Quad Exhaust Tips
• Hood Venting System
INTERIOR:
• Premium Carpet Floor Mats • Katzkin Leather Seats • Bright Pedal Kit
• Door Sill Guards • Pedal Kit • Shifters
• Slush Mats
ELECTRONICS:
• Portable NavigationSystems • Uconnect™ Web (WiFi) • Uconnect™ Phone
• iPod
®Adapter • Media Center Upgrades • Remote Start
• Kicker®Double SubWoofer • Electronic Vehicle Tracking
System • Ecometer
• Rear Park Assist
• iPod®is a registered trademark of Apple, Inc.
• Kicker
®is a registered trademark of Stillwater Designs and Audio, Inc.
MOPAR ACCESSORIES
93